Skip to content
KitploitKITPLOIT
ToolsExploitsBlog
Log in
Submit
ToolsExploitsBlog
Submit

Hacking, PenTest, and Cybersecurity Tools for Your Security Arsenal!

Kitploit is a directory of hacking, cybersecurity, and pentesting tools. Discover the latest project updates to find vulnerabilities, analyze systems, automate testing, and strengthen your security.

FeedsContactPrivacy© 2026 Kitploit

Tool Directory

Categories

View all categories
Loading categories
the-endorser — An OSINT tool that allows you to draw out relationships between people on LinkedIn via endorsements/skills. | Kitploit
Tools/GitHubGitHub/eth0izzle/the-endorser
OSINT (Open Source Intelligence)ReconnaissanceInformation GatheringSocial Engineering
GitHubeth0izzle/the-endorser

the-endorser

An OSINT tool that allows you to draw out relationships between people on LinkedIn via endorsements/skills.

View Repository
35451441 year agoReviewed by Kitploit
Share
Website

🚨 The Endorser is no longer maintained. If you need support or consultation for your OSINT endeavours, drop me an e-mail [email protected] 🚨

The Endorser

An OSINT tool that allows you to draw out relationships between people on LinkedIn via endorsements/skills.

Check out the example (digraph), which is based on mine and my friends (David Prince) LinkedIn profile. By glancing at the visualisation you can easily see, by the number of "arrows", there is some sort of relationship between us and "Zoë Rose" (in this case we used to work together). If I was carrying out an investigation I would focus my efforts towards her next.

Example

Due to the way LinkedIn's privacy settings work this tool works best when your target is within your 3rd degree network or higher. Using a LinkedIn Premium or Recruiter account will allow you to map targets outside of your network.

Installation

All you need it Python 3.4+ and do the following:

  1. git clone https://github.com/eth0izzle/the-endorser.git
  2. sudo pip3 install -r requirements.txt
  3. Install Graphviz from https://www.graphviz.org/download/ or via your package manager, e.g. apt-get install graphviz or brew install graphviz or choco install graphiz
  4. Download ChromeDriver for your platform (requires Chrome) and place in ./drivers. Alternatively you can use PhantomJS and launch with the --driver phantomjs flag (note phantomjs is 8x slower).
  5. Setup your LinkedIn credentials in config.yaml
  6. python3 the-endorser.py <profile1> <profile2> <profile3> <etc..> <etc..>

Usage

usage: python the-endorser.py https://www.linkedin.com/in/user1 https://www.linkedin.com/in/user2

Maps out relationships between peoples endorsements on LinkedIn.

positional arguments:
  profiles              Space separated list of LinkedIn profile URLs to map

optional arguments:
  -h, --help            show this help message and exit
  --config_file CONFIG_FILE
                        Specify the path of the config.yaml file (default:
                        ./the-endorser/config.yaml)
  --driver DRIVER       Selenium WebDriver to use to parse the webpages:
                        chromedriver, phantomjs (default: chromedriver)
  --output OUTPUT       Output module to visualise the relationships: digraph,
                        stdout (default: digraph)
  --log LOG             Path of log file. None for stdout. (default: None)
  --log-level LOG_LEVEL
                        Logging output level: DEBUG, INFO, WARNING, ERROR.
                        (default: INFO)

Outputs

The Endorser is "modular" in the sense that it can output and visualise the data in different ways. An output module just needs one method: def run(profiles)

Currently there is only one output module (digraph). In the future I plan to add modules for Maltego and Plot.ly - but feel free to get involved!

Digraph

It's best to read the graph from right-to-left, identifying people that have a large collection of "arrows" from multiple profiles (different colours). Square box = skill, ellipse = person.

Contributing

Check out the issue tracker and see what tickles your fancy.

  1. Fork it, baby!
  2. Create a feature branch: git checkout -b my-new-feature
  3. Create your super-awesome feature!
  4. Commit your changes: git commit -am 'Add some feature'
  5. Push to the branch: git push origin my-new-feature
  6. Submit a pull request

License

MIT. See LICENSE

Download Tool

Most Popular

View all →

Discover the most used tools by our community.

  • 1

    OsintHunter

    letox4/osinthunter

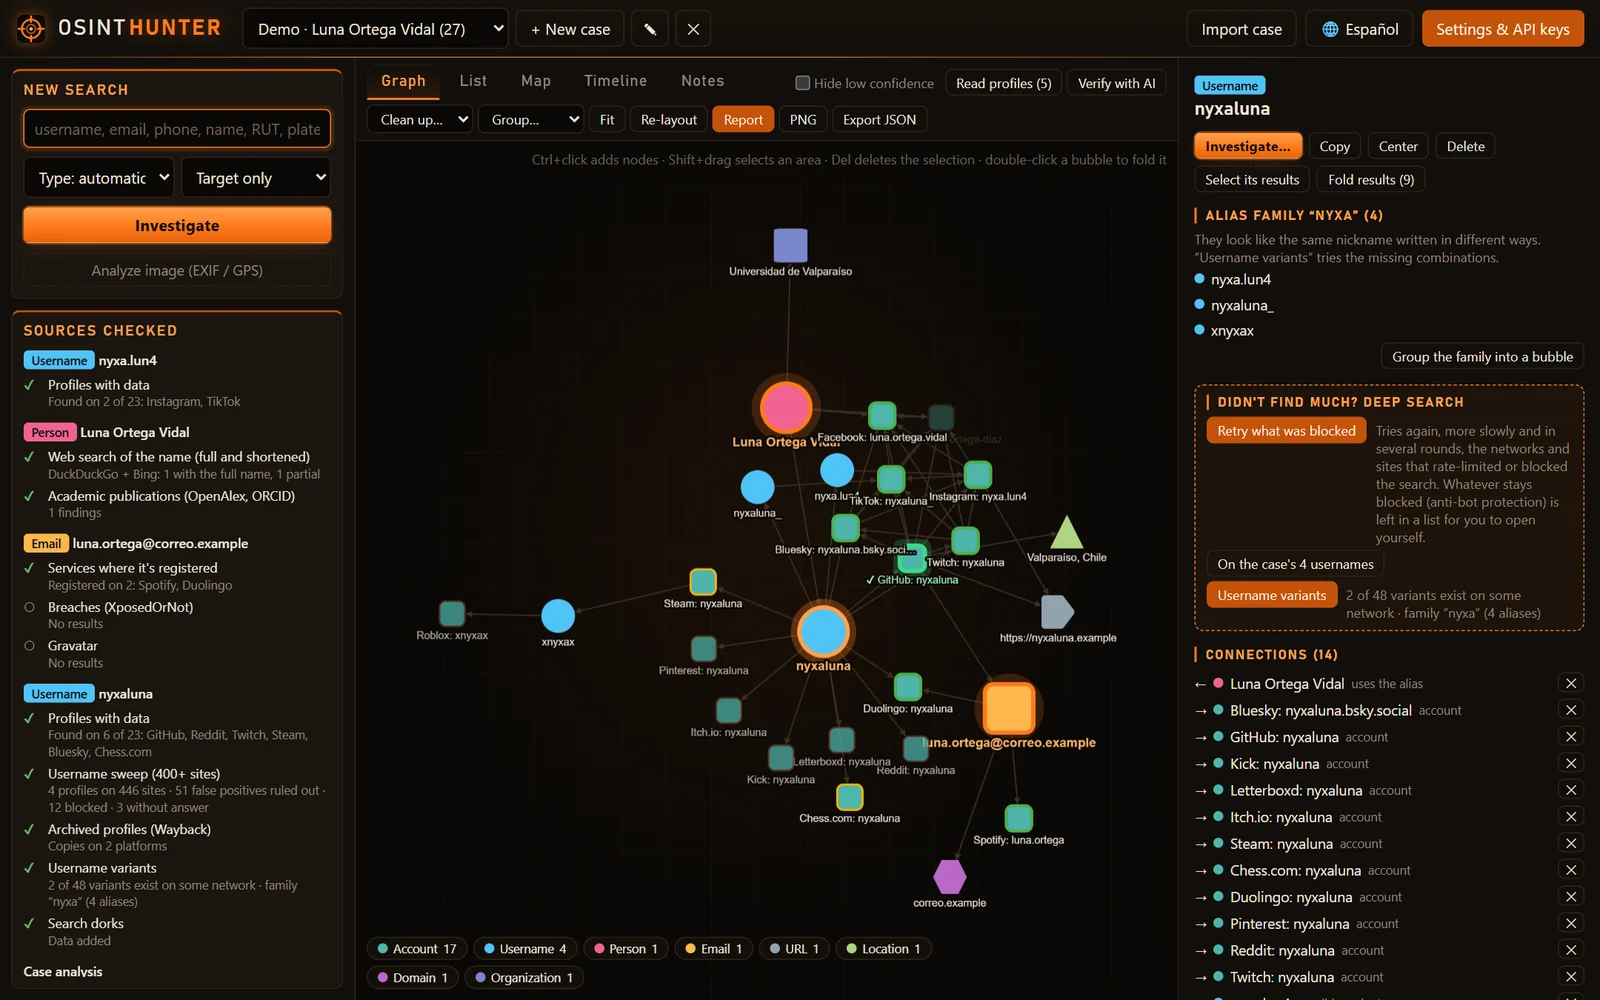
    🎯 The ultimate OSINT toolkit: investigation graph, confidence scoring, alias families, map, timeline and reports. 49 modules, 400+ sites, no API keys required.

    927
  • 2

    ghostlock-app

    yukonga/ghostlock-app

    GhostLock One-Tap Execution App (CVE-2026-43499)

    555
  • 3

    redforge

    cybersecurity91/redforge

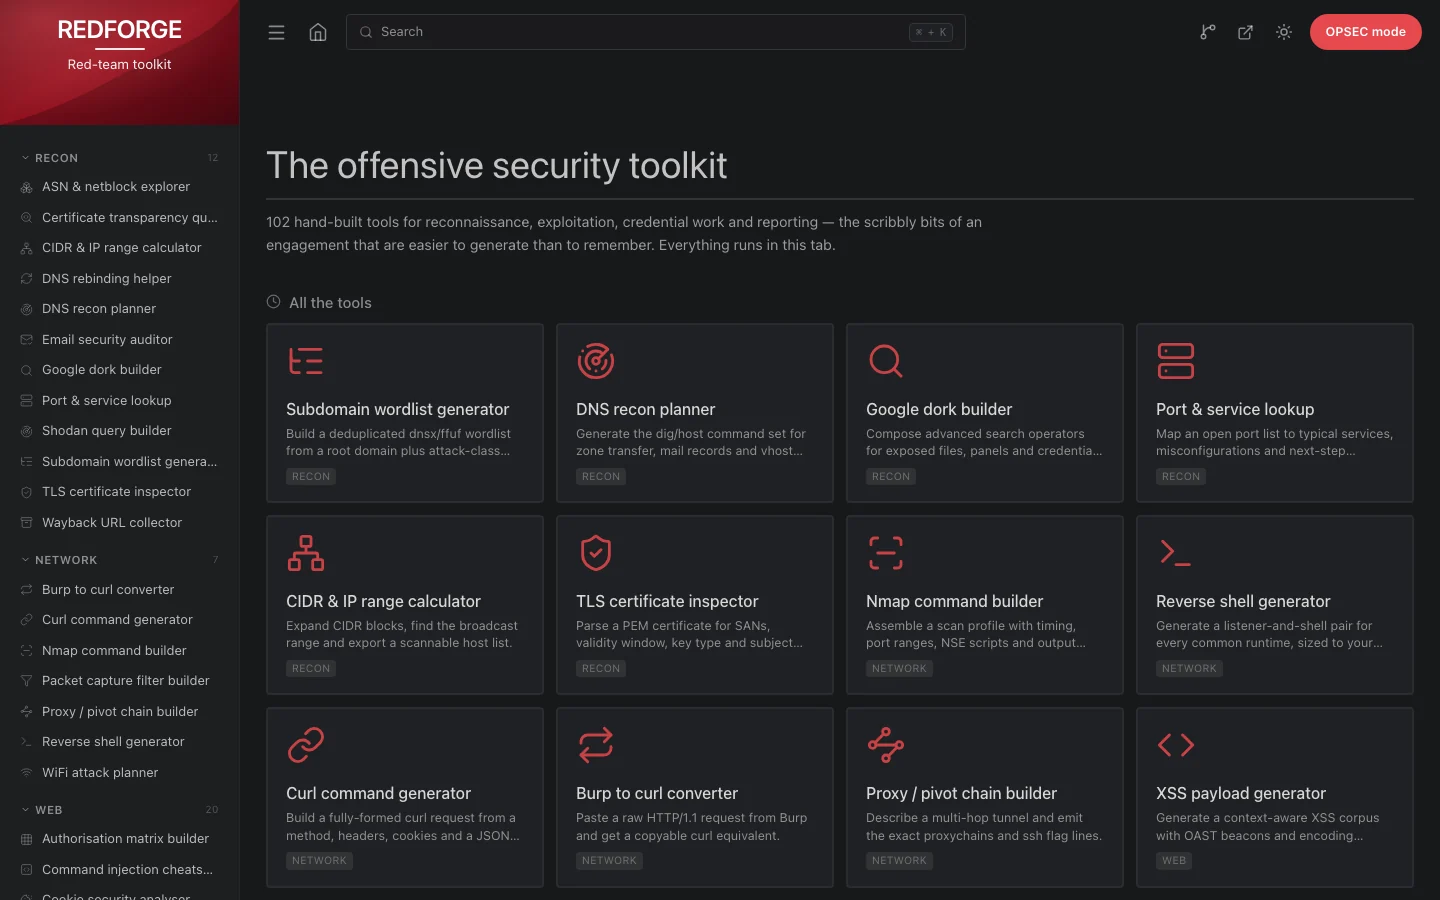
    Browser-side red team toolkit with 102 offline tools for recon, payload generation, credential attacks, crypto, encoding and engagement reporting.

    360
  • 4

    ARTEX

    baarai/artex

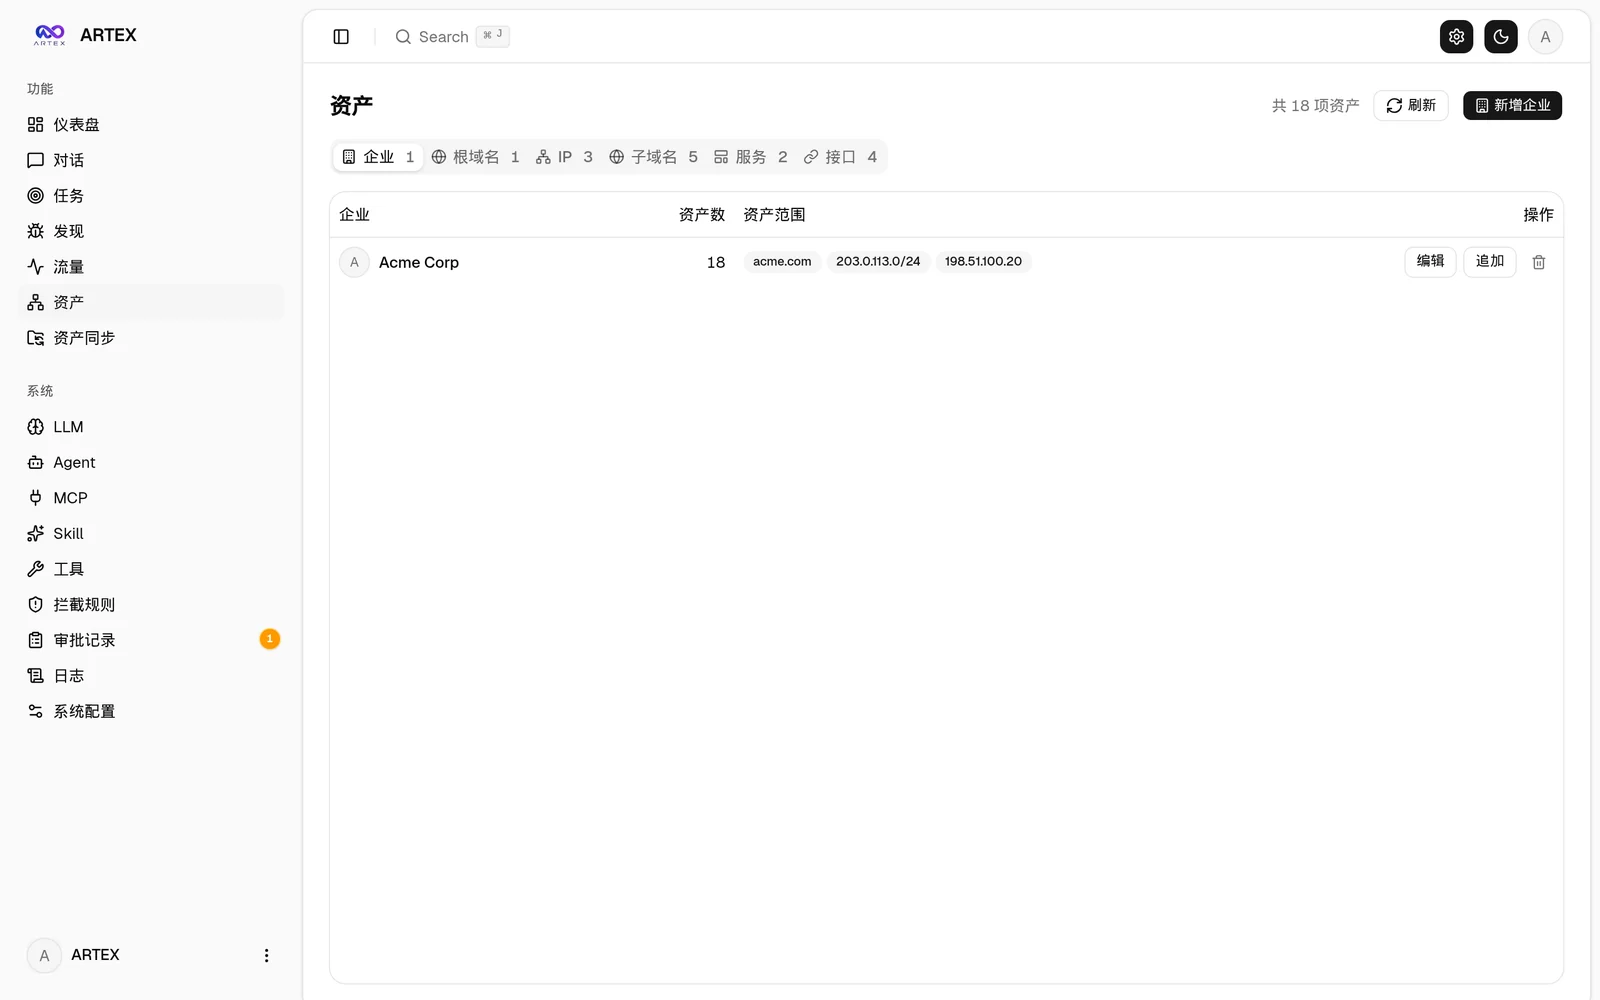
    LLM multi-agent autonomous penetration testing platform with planner/worker agents, asset and exploration graphs, MITM traffic recording, and vulnerability retesting.

    357
  • 5

    looking-glass

    anonghosty/looking-glass

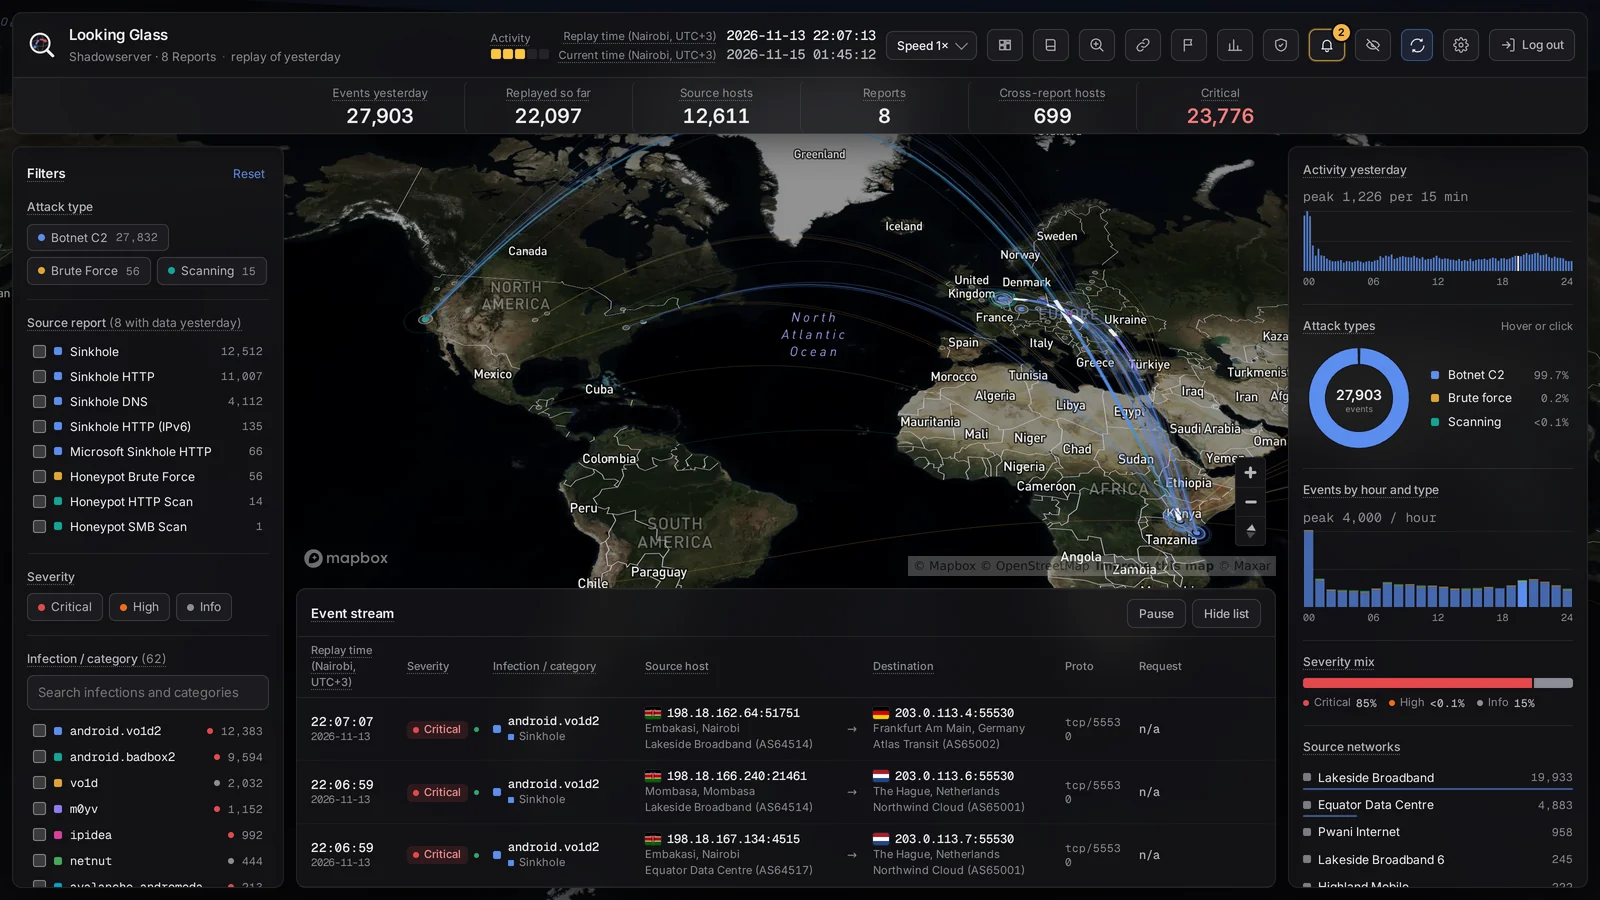
    CSIRT platform that ingests Shadowserver reports into MongoDB and replays them as interactive maps, analysis, findings, advisories and executive dashboards.

    324
  • 6

    CyberStrikeAI

    ed1s0nz/cyberstrikeai

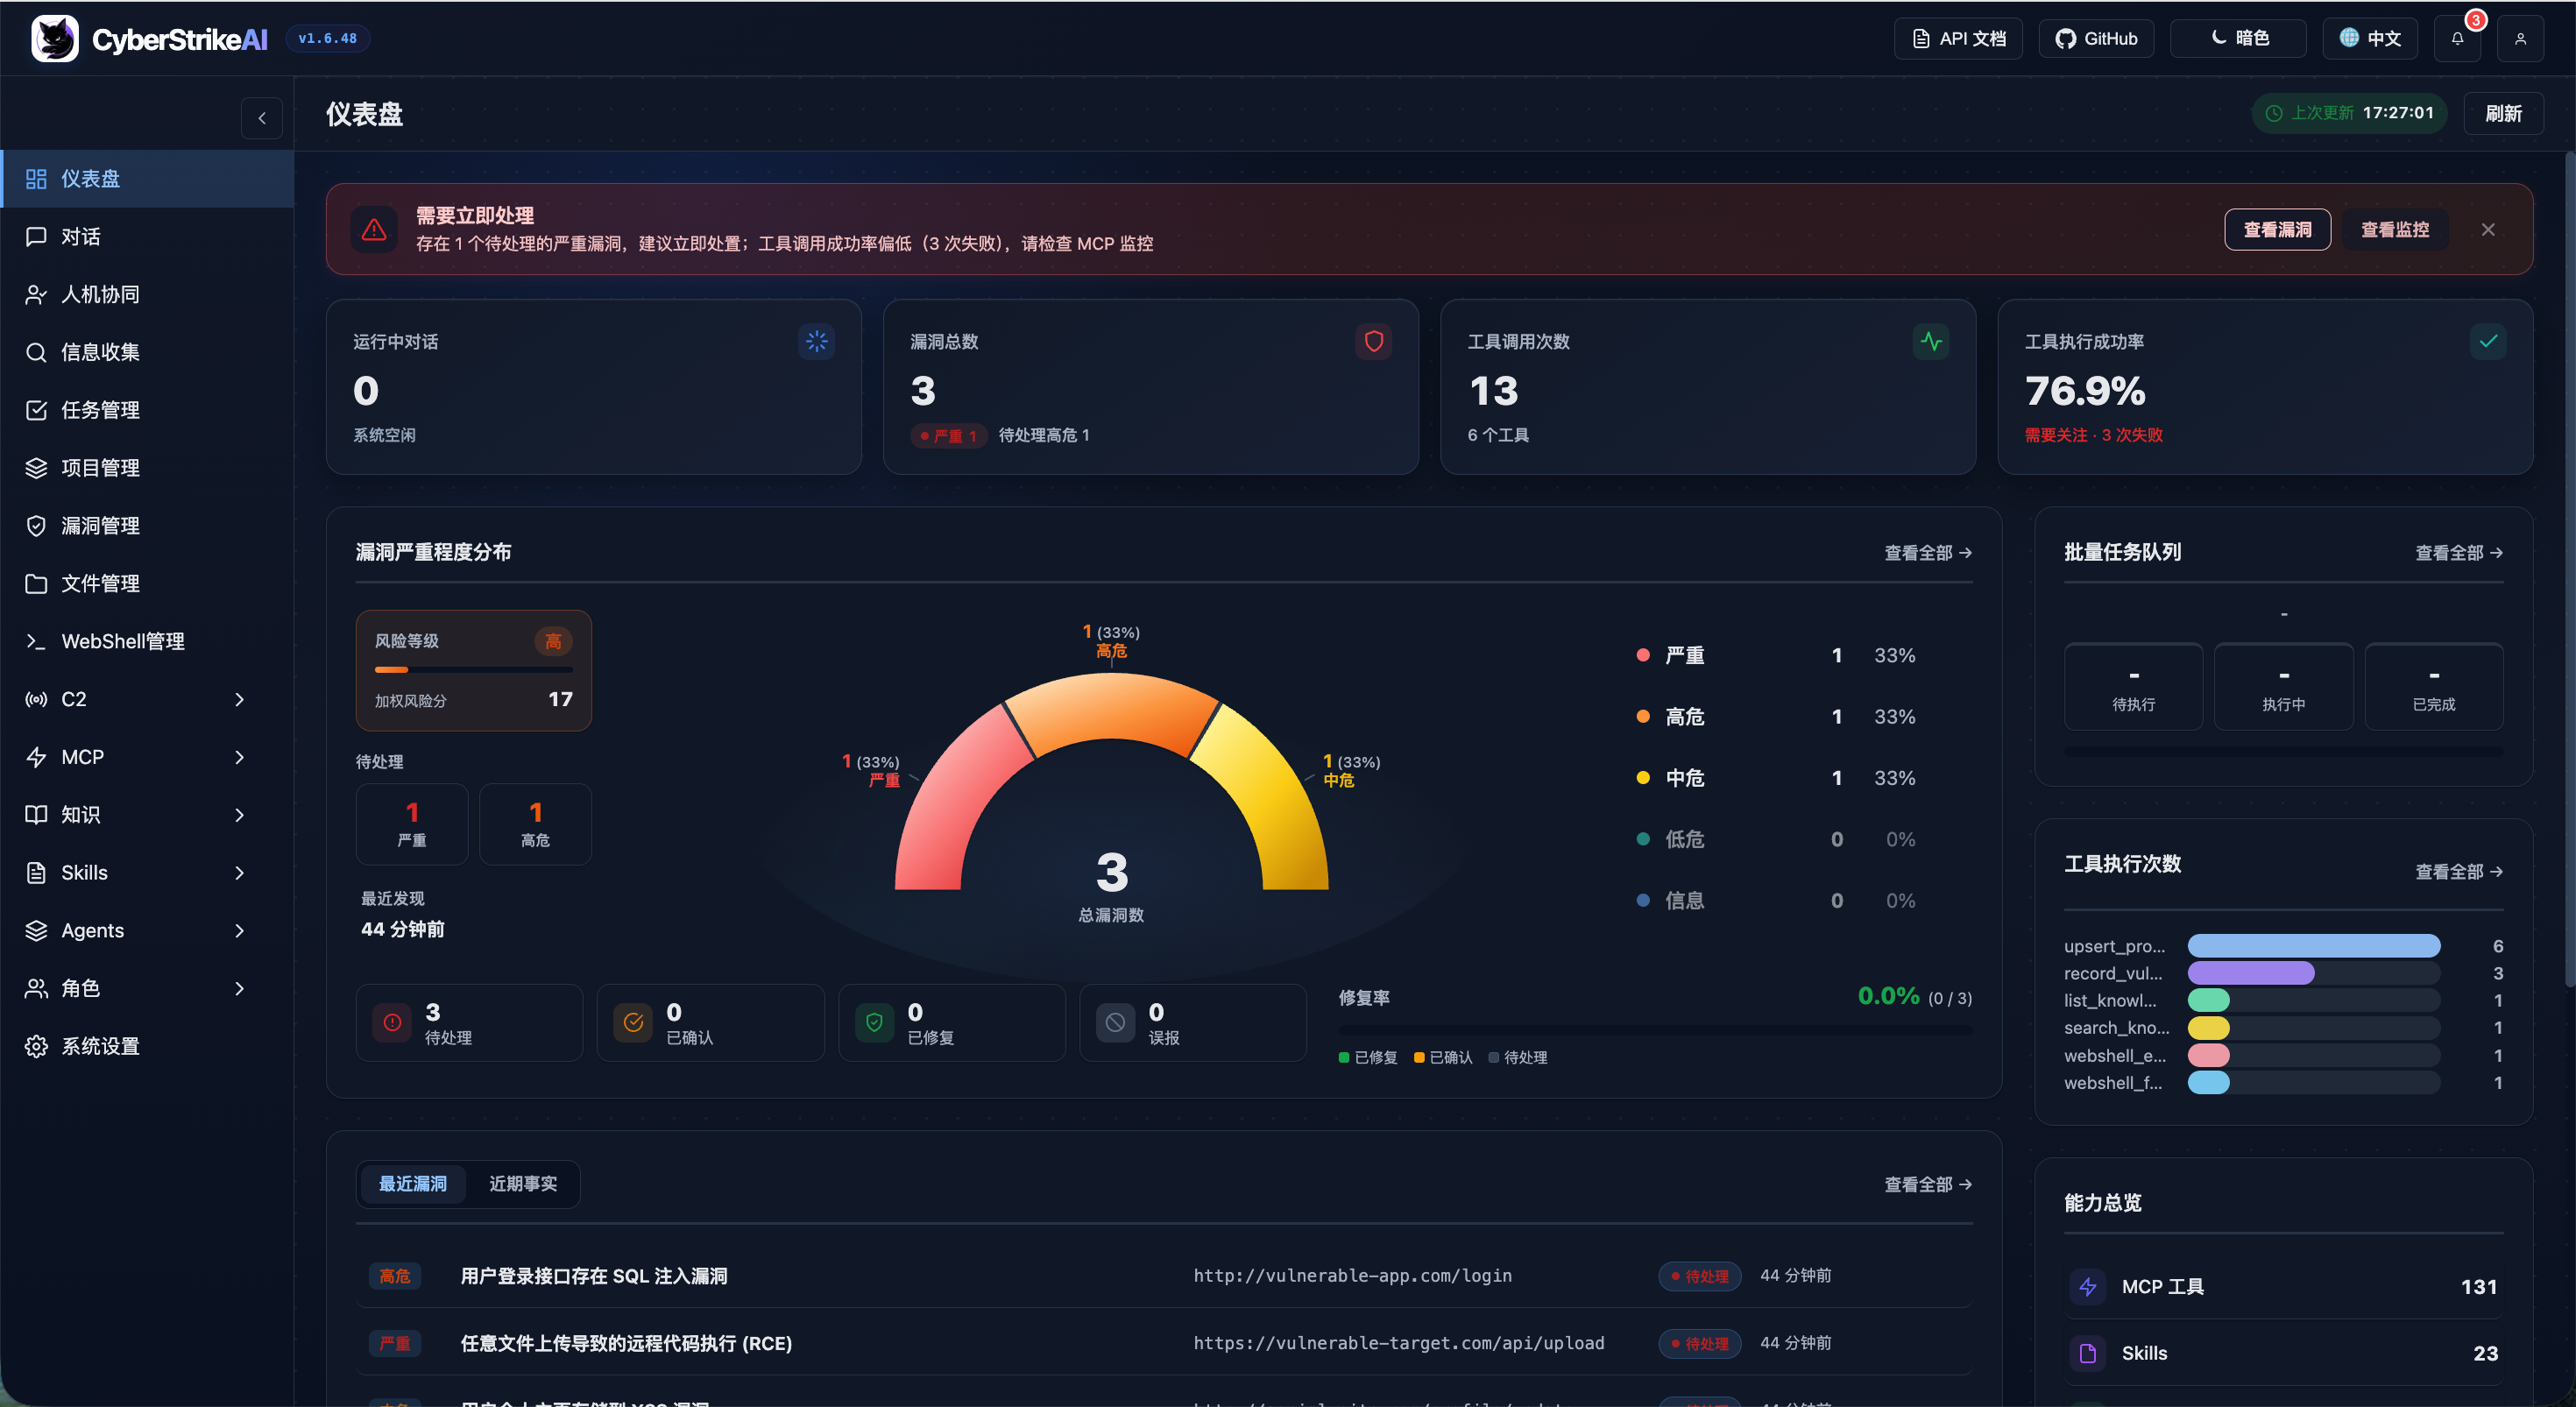
    The system of action for AI-native cybersecurity—where intent becomes governed execution, evidence becomes operational memory, and every operation improves the next.

    289

Explore all tools

Browse our collection of tools

View all tools →