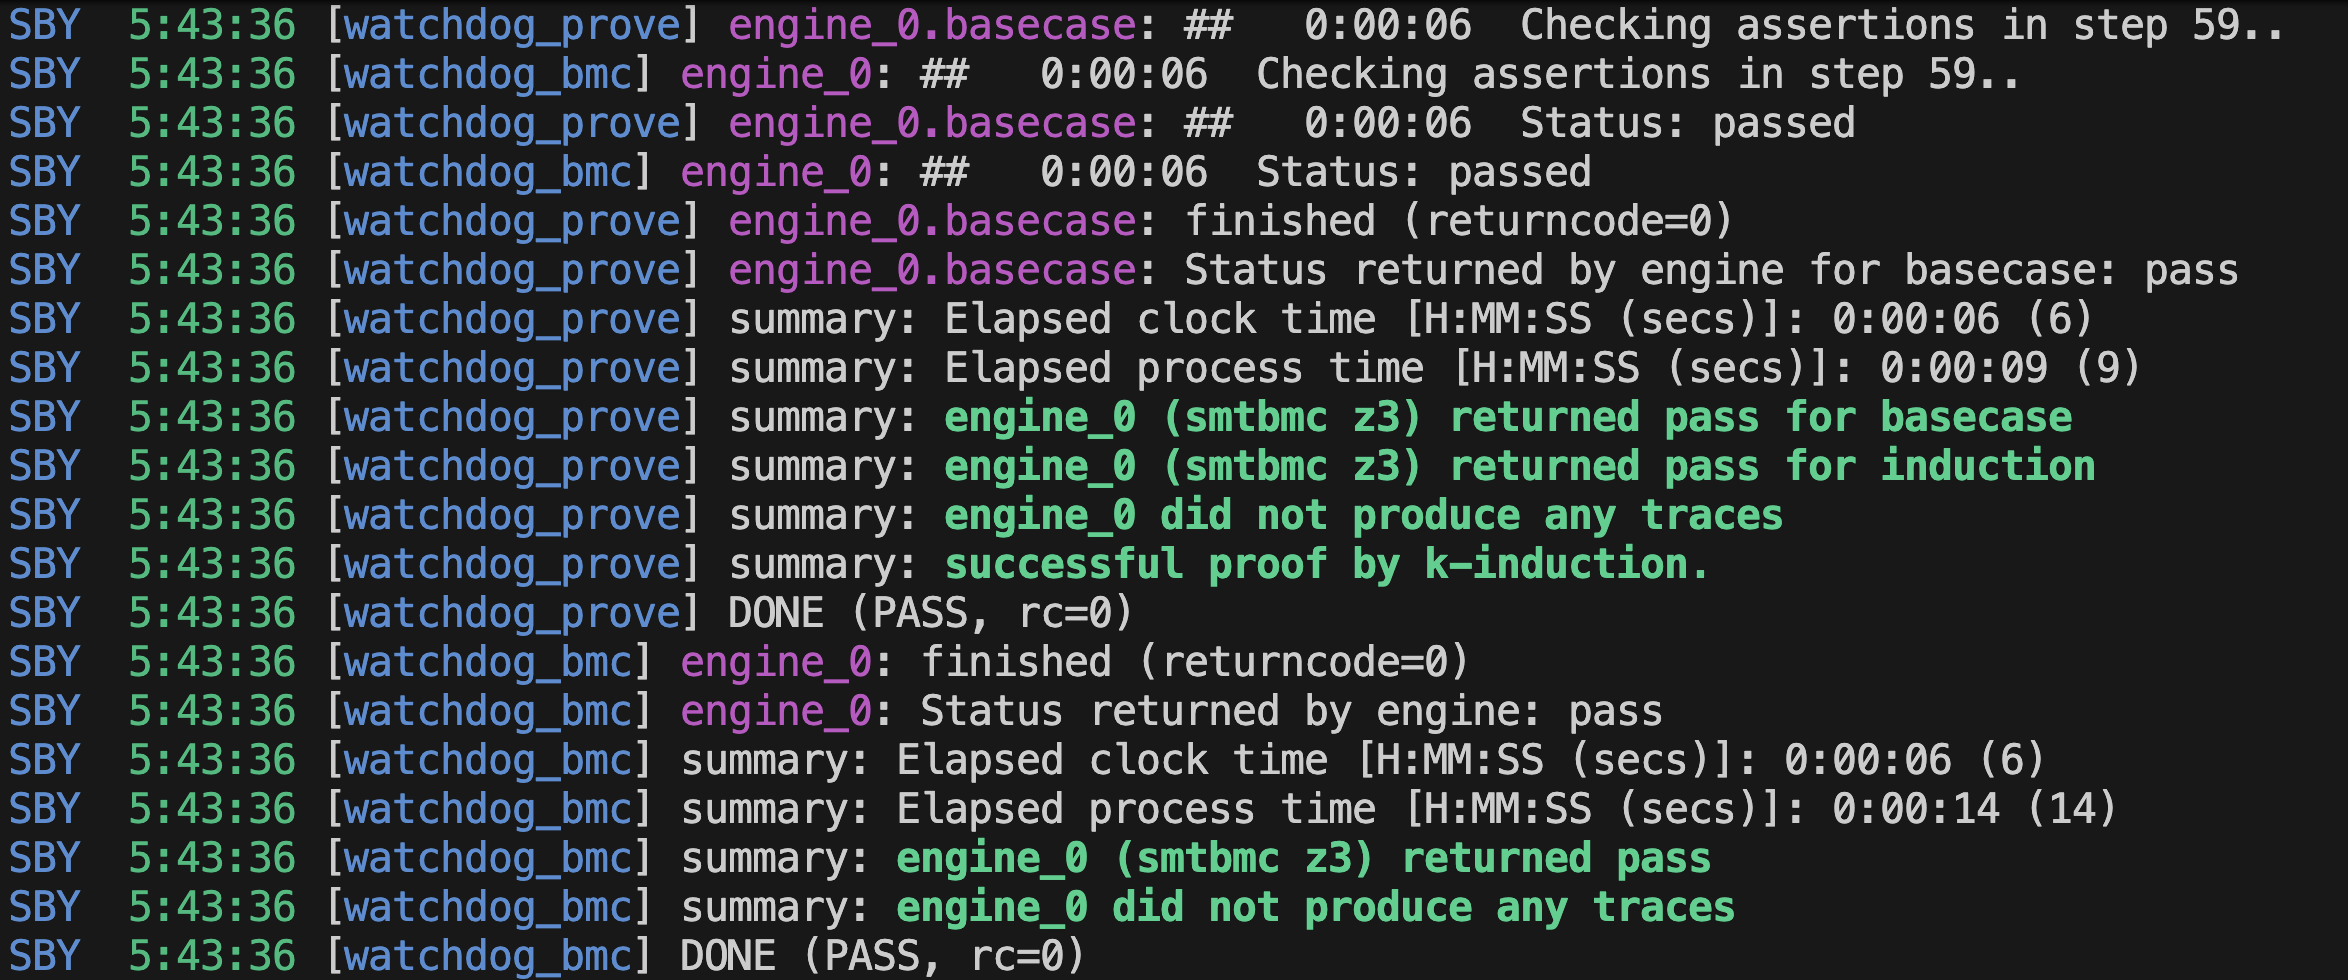
一套12通道AM无线电广播系统,使用Red Pitaya FPGA在无人隧道中传输紧急警报。
为什么在隧道中使用AM无线电? 在施工和维护期间,配备标准AM收音机的车辆会穿越没有移动网络覆盖的隧道。AM信号通过泄漏馈线电缆沿隧道结构传播,接收器廉价、坚固且已存在于每辆车中。该系统在多个频率上广播预录的紧急警报,使得调谐到该频段任何电台的任何AM收音机都能接收到消息。硬件看门狗确保在控制系统故障时切断射频输出——因为在无人隧道中自动重启发射机是不可接受的故障模式。




| 功能 | 状态 |
|---|---|
| 12路同步载波频率 | ✅ |
| 运行时频率配置(无需硬件变更) | ✅ |
| 预录音频的AM调制 | ✅ |
| 动态功率缩放 | ✅ |
| MVC架构(Rust + JavaScript) | ✅ |
| 基于事件总线的发布/订阅 | ✅ |
| 无状态UI —— 设备是事实来源 | ✅ |
| 网络轮询与自动重连 | ✅ |
| 故障安全硬件看门狗(5秒超时) | ✅ |
| 形式化验证(14个属性,6个覆盖,全部证明) | ✅ |
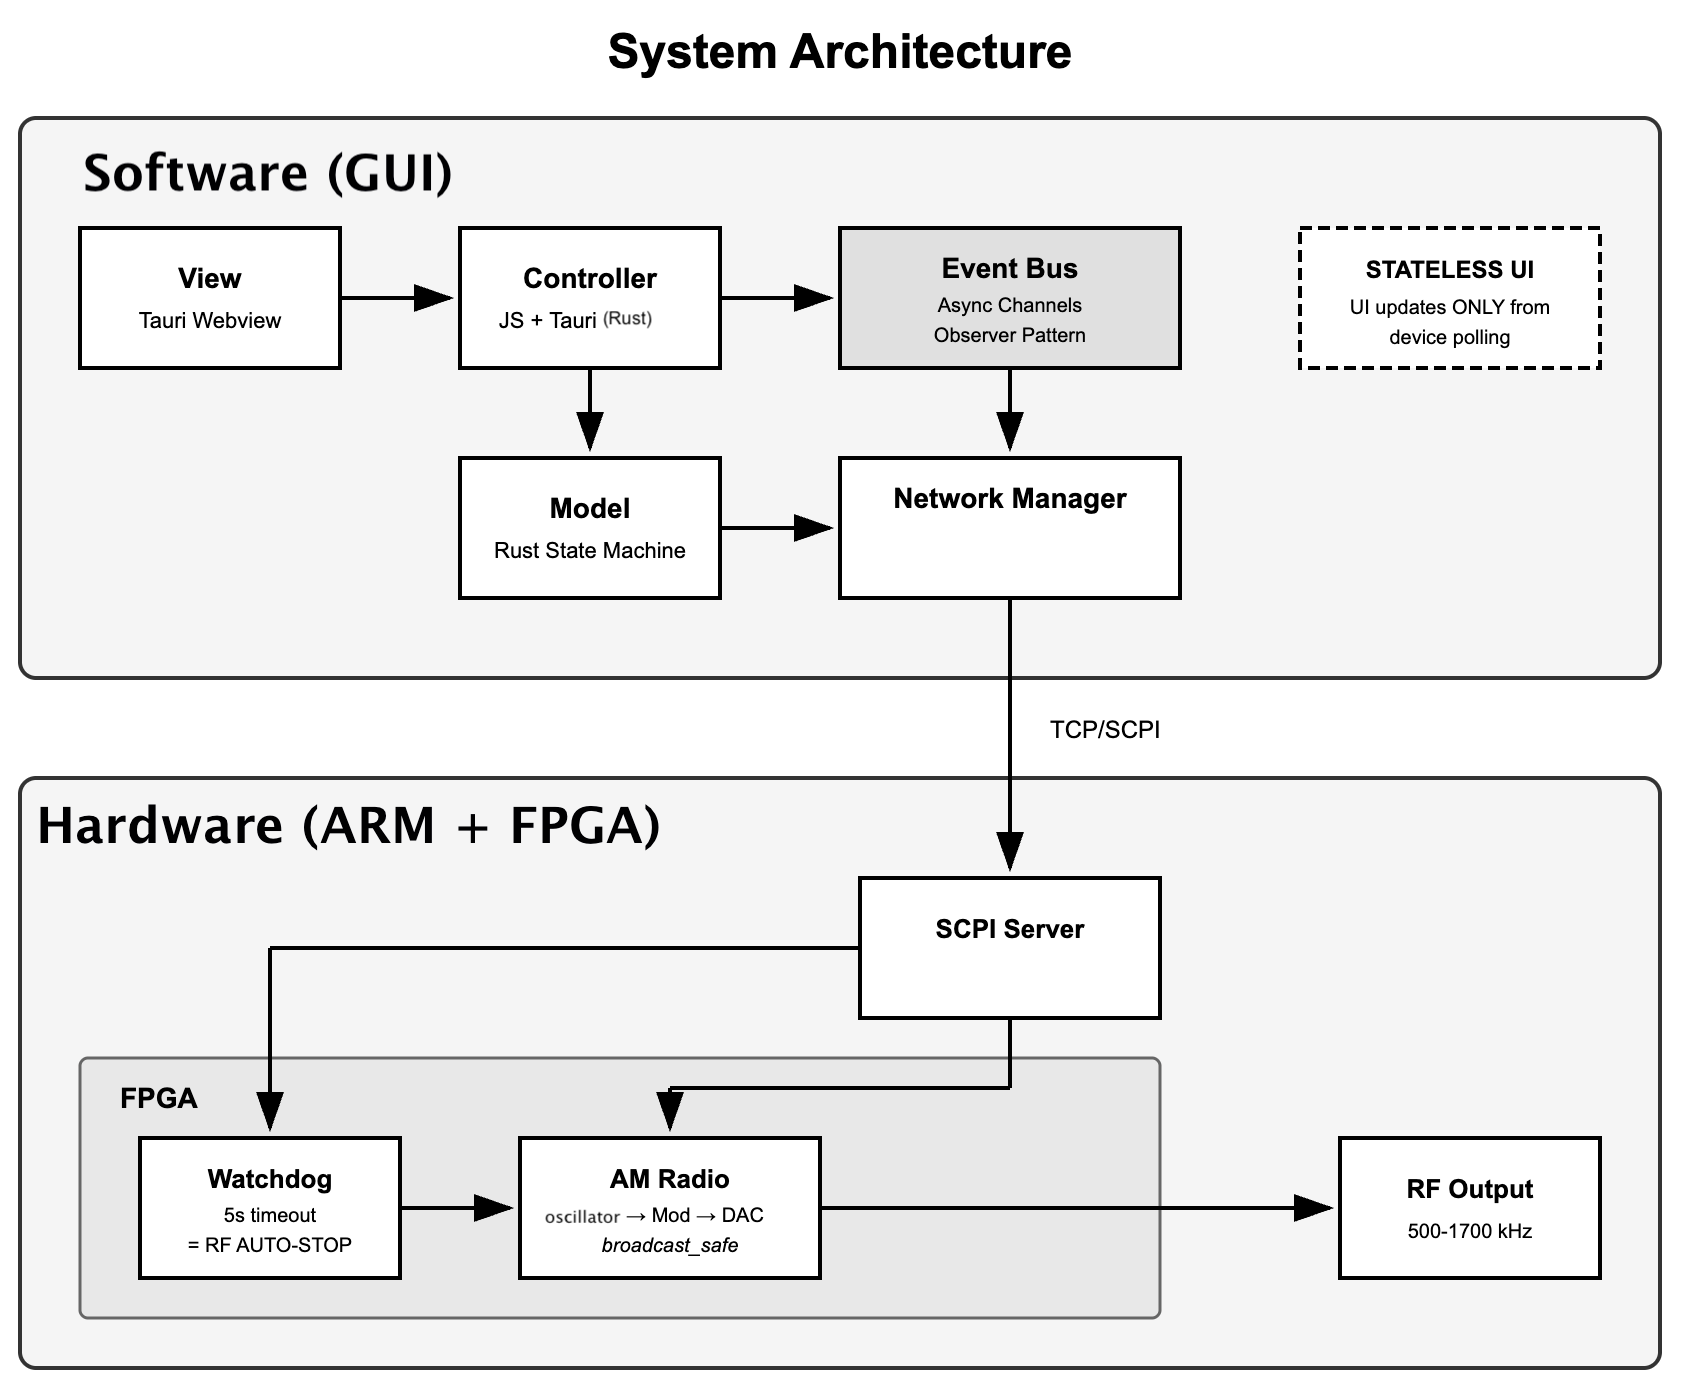
model.rs):NetworkManager 处理 TCP/SCPI、设备状态、500ms轮询、带指数退避的自动重连view.js, index.html):无状态 —— 仅渲染已确认的设备状态。绝不假设硬件状态。controller.js):处理用户输入,向总线发布事件event_bus.rs, event_bus.js):组件通过中央总线通信而非直接调用。Rust 通过 Tauri 桥将事件发送到 JS 前端。state_machine.rs):IDLE → ARMING → ARMED → STARTING → BROADCASTING → STOPPING。中间状态防止无效转换。wd.v):硬件故障安全 —— 若GUI心跳停止5秒,则切断并锁存射频输出。只有操作员手动复位才能恢复输出。am_scpi_server.py):运行于 Red Pitaya,解析文本命令,将频率转换为相位增量,通过 /dev/mem 写入FPGA寄存器。GUI click → invoke("set_frequency") → model.rs sends "FREQ:CH1 700000" over TCP → am_scpi_server.py converts to phase_inc = (700000 × 2³²) / 125MHz → writes to FPGA register via /dev/mem → NCO generates carrier → AM modulates → RF output
---

## 形式化验证

该看门狗定时器通过有界模型检查和k-归纳(SymbiYosys + Z3 SMT求解器)在数学上被证明是正确的。与基于模拟的测试检查单个场景不同,形式化验证证明了**所有可能的输入、所有可能的状态、所有时间**的正确性。

### 14个安全属性(全部通过)

| 类别 | # | 属性 | 保证 |
|----------|---|----------|-----------|
| **基本** | 1 | 复位清除所有 | `!rstn` → counter=0, triggered=0, warning=0 |
| | 2 | 心跳防止触发 | 心跳重置计数器,清除triggered和warning |
| | 6 | 禁用杀死所有 | `!enable` → 所有输出清零 |
| | 7 | 计数器有界 | 计数器永不超出TIMEOUT_CYCLES |
| | 8 | 强制复位有效 | `force_reset` 清除所有状态 |
| | 9 | 阈值前警告为低 | counter < WARNING_CYCLES → warning=0 |
| **安全** | 3 | **无提前触发** | **仅当 counter ≥ TIMEOUT_CYCLES 时 triggered** |
| | 4 | 超时保证触发 | 活性:超时总会触发trigger |
| | 5 | 触发前警告 | triggered=1 → warning=1 |
| | 5b | 逆否命题 | !warning → !triggered |
| | 10 | 区域中警告为高 | counter > WARNING_CYCLES → warning=1 |
| | 11 | 计数器正确递增 | 计数期间每个时钟周期恰好+1 |
| **输出** | 12 | 零时time_remaining | counter=0 → time_remaining = TIMEOUT_SEC |
| | 13 | 触发时time_remaining | triggered → time_remaining = 0 |
| | 14 | time_remaining单调 | 计数期间每个周期递减 |

### 6个覆盖场景(全部达到)

| # | 场景 | 步骤 | 描述 |
|---|----------|-------|-------------|
| 1 | 触发激发 | 23 | 计数器达到超时 |
| 2 | 警告而无触发 | 21 | 在警告区,尚未超时 |
| 3 | 精确超时边界 | 22 | 计数器恰好等于TIMEOUT_CYCLES |
| 4 | 最后一秒心跳 | 19 | 计数器 = T-1 时心跳 |
| 5 | 从触发中恢复 | 24 | 通过force_reset清除触发状态 |
| 6 | 警告到触发生命周期 | 23 | 警告然后立即触发 |

### 运行验证```bash
cd fpga/formal/
sby -f wd.sby
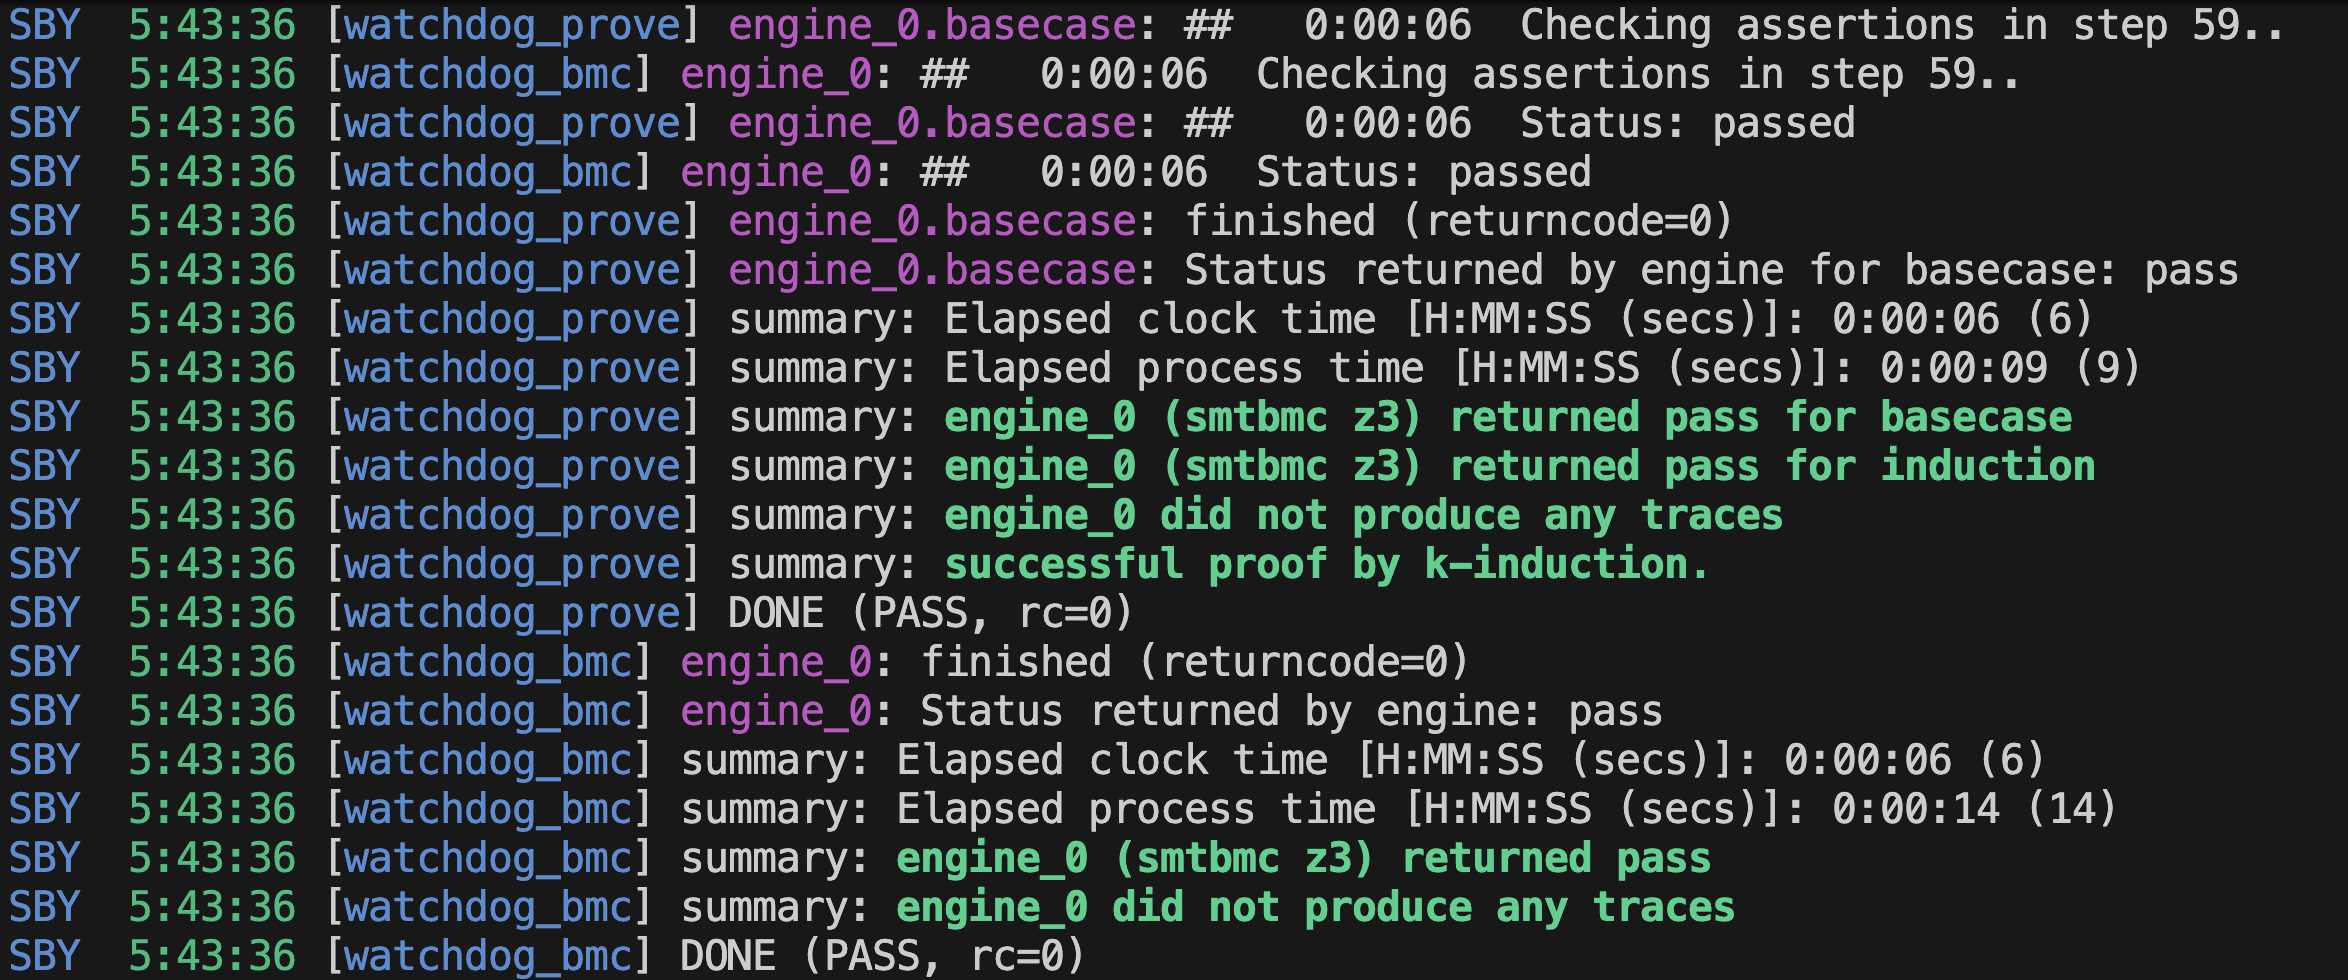 ```
SBY [wd_prove] DONE (PASS, rc=0)
summary: successful proof by k-induction.
SBY [wd_cover] DONE (PASS, rc=0)
summary: 6/6 cover statements reached.
```
SBY [wd_prove] DONE (PASS, rc=0)
summary: successful proof by k-induction.
SBY [wd_cover] DONE (PASS, rc=0)
summary: 6/6 cover statements reached.
### 可扩展性

验证使用 `CLK_FREQ=1`、`TIMEOUT_SEC=5` 来保持状态空间可处理。生产环境使用 `CLK_FREQ=125000000`。RTL 采用参数化设计——相同的 if/else 逻辑,相同的状态转换。缩小规模下的验证结果意味着生产规模下的正确性。

参见 [`fpga/formal/README.md`](https://github.com/park07/amradio/blob/main/am_radio/fpga/formal/README.md)
---

## 系统要求

### 硬件

- Red Pitaya STEMlab 125-10
- 用于测试的 AM 收音机(一个或多个)
- 以太网线(连接 Red Pitaya)

### 软件

| 依赖项 | macOS | Windows |
|-----------|-------|---------|
| Rust + Cargo | `curl --proto '=https' --tlsv1.2 -sSf https://sh.rustup.rs \| sh` | 下载 `rustup-init.exe`,来自 [rustup.rs](https://rustup.rs) |
| Node.js (LTS) | `brew install node` 或访问 [nodejs.org](https://nodejs.org) | [nodejs.org](https://nodejs.org) |
| Xcode 命令行工具(仅 macOS) | `xcode-select --install` | — |
| Visual Studio 生成工具(仅 Windows) | — | [下载](https://visualstudio.microsoft.com/visual-cpp-build-tools/) — 选择 **“使用 C++ 的桌面开发”** |

### 形式验证(可选)

- SymbiYosys
- Yosys
- Z3 SMT 求解器

---

## 安装

### 1. 克隆仓库```bash
git clone https://github.com/Park07/amradio.git
cd amradio/am_radio
curl --proto '=https' --tlsv1.2 -sSf https://sh.rustup.rs | sh source $HOME/.cargo/env
xcode-select --install
brew install node
cd gui npm install npm run build
构建好的 `.app` 将位于 `gui/src-tauri/target/release/bundle/macos/` 目录下。

#### Windows (PowerShell)```powershell
# 1. Install Rust
#    Download and run rustup-init.exe from https://rustup.rs
#    Close and reopen PowerShell after install

# 2. Install Visual Studio Build Tools
#    Download from https://visualstudio.microsoft.com/visual-cpp-build-tools/
#    Select "Desktop development with C++" during installation
#    Close and reopen PowerShell after install

# 3. Install Node.js
#    Download LTS from https://nodejs.org
#    Close and reopen PowerShell after install

# 4. Verify installations
rustc --version
cargo --version
node --version
npm --version

# 5. Build
cd gui
npm install
npm run build
构建的 .exe 文件位于 gui\src-tauri\target\release\。
注意: 首次构建大约需要2-3分钟(编译Rust)。后续构建会更快。
通过SSH连接到 Red Pitaya:```bash ssh root@<RED_PITAYA_IP>
复制所需文件:```bash

scp am_scpi_server.py root@<RED_PITAYA_IP>:/root/
scp axi_audio_sequence_loop.py root@<RED_PITAYA_IP>:/root/
scp alarm_fast.wav 0009_part1.wav 0009_part2_fast.wav root@<RED_PITAYA_IP>:/root/
scp fpga/red_pitaya_top.bit root@<RED_PITAYA_IP>:/root/
注意
Red Pitaya 运行 Alpine Linux 及 Python 3.5。SCPI 服务器没有外部依赖(仅 std Lib)。音频加载器需要 numpy:```bash
pip install numpy
> **注意:** Red Pitaya 自带的 Python 3.5 不支持开箱即用的 `venv`,并且以 root 身份运行,因此软件包会全局安装。这没问题——它是一个嵌入式设备,而不是共享服务器。

### 5. Python 环境(本地开发——可选)

如果你想要在本地运行或修改 Python 脚本(例如,在不使用 Red Pitaya 的情况下测试音频处理):```bash
python3 -m venv venv
source venv/bin/activate        # macOS/Linux
# or
.\venv\Scripts\activate         # Windows PowerShell

pip install -r requirements.txt
如果尚未添加,请将 venv/ 添加到 .gitignore。
系统循环播放三个音频文件:警报 → 第一部分 → 第二部分 → (重复)。
| 文件 | 描述 | 时长 |
|---|---|---|
alarm_fast.wav | 警报音 | ~4 秒 |
0009_part1.wav | 紧急消息第一部分 | ~3 秒 |
0009_part2_fast.wav | 紧急消息第二部分 | ~3.6 秒 |
所有音频被降采样至约 5 kHz,以适应 FPGA 的 16,384 样本 BRAM 缓冲区。axi_audio_sequence_loop.py 脚本自动处理重采样、14 位转换和顺序加载。
你需要打开三个 SSH 终端连接到 Red Pitaya,再加上一个本地终端用于 GUI。
注意: Red Pitaya 的 IP 地址每次开机后可能会变化。请查看路由器的 DHCP 客户端列表,或使用
ping rp-f0866a.local来查找它。
打开一个终端并 SSH 登录:```bash ssh root@<RED_PITAYA_IP>
### 步骤2:加载FPGA比特流

在Red Pitaya(第一个SSH终端)上:```bash
cat /root/red_pitaya_top.bit > /dev/xdevcfg
这将AM无线电设计加载到FPGA上。每次上电后都需要执行。
在 Red Pitaya 上(同一个或第二个 SSH 终端):```bash python3 /root/am_scpi_server.py
保持运行——它将来自 GUI 的 TCP 命令桥接到 FPGA 寄存器。

### 步骤 4:启动音频循环