Grepmarx 是一个 Web 应用程序,提供单一平台,用于快速理解、分析并识别可能庞大且未知的代码库中的漏洞。
SAST(静态分析安全测试)能力:
SCA(软件组成分析)能力:
额外功能
| 扫描定制 | 分析工作台 | 规则包编辑 |
|---|---|---|
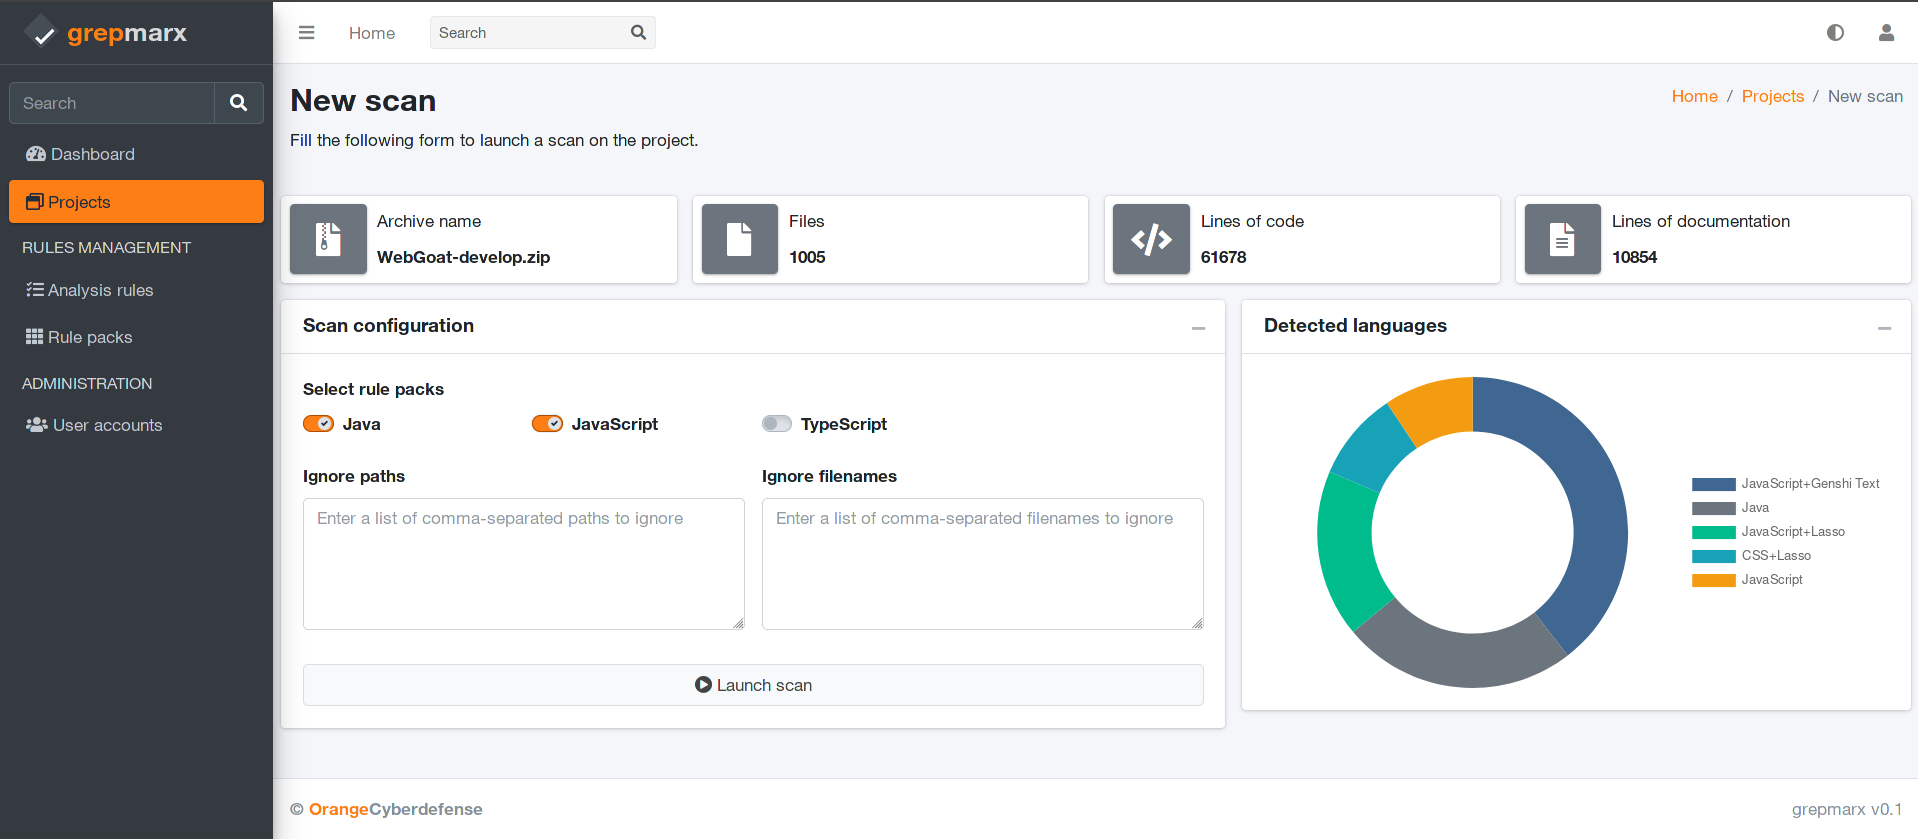 | 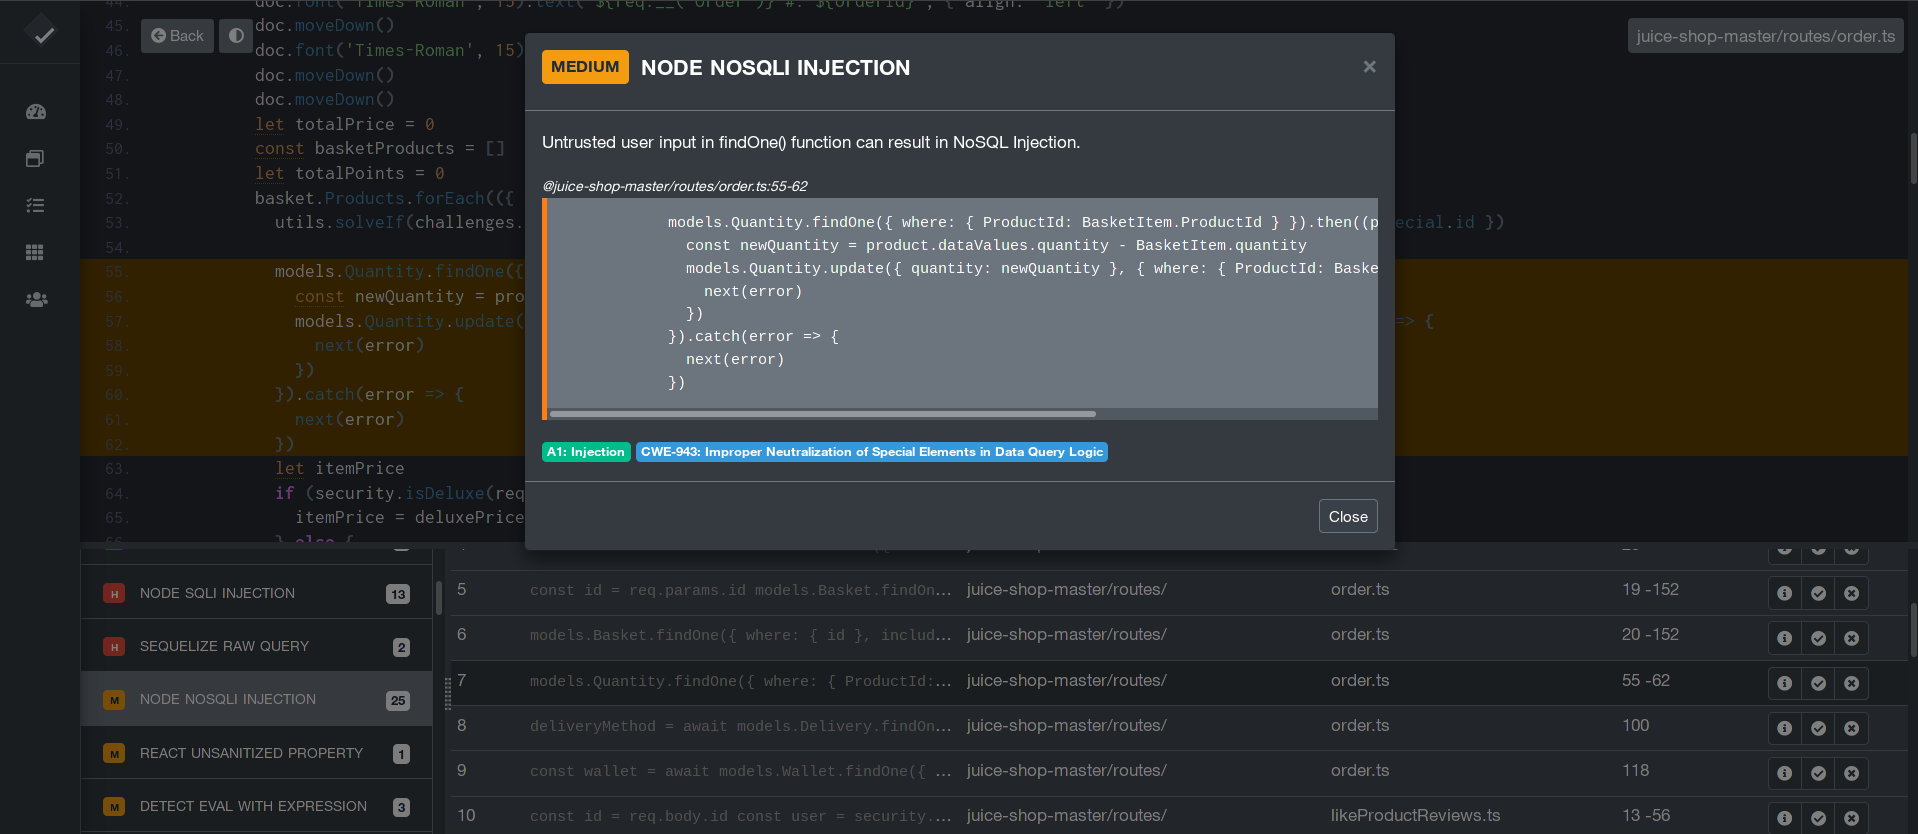 | 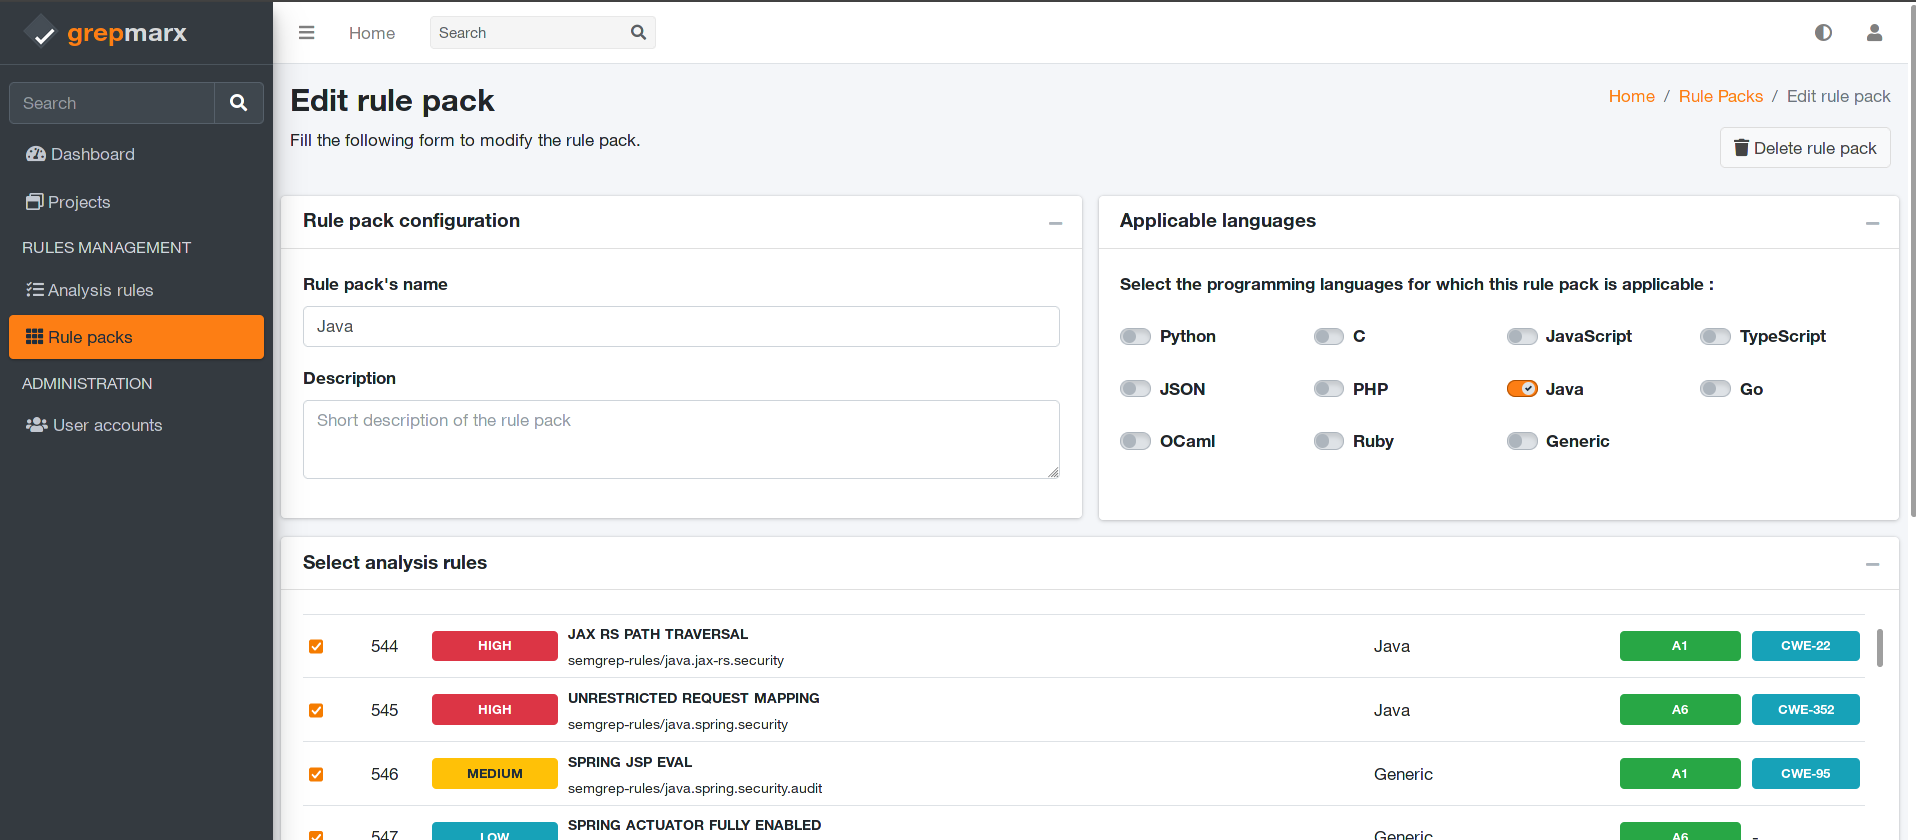 |
Grepmarx 附带配置文件,可在 Docker 和 Gunicorn 中执行。
确保系统上已安装 docker-compose,并且 docker 守护进程正在运行。 然后可以轻松地在 docker 容器中执行应用程序。步骤如下:
获取代码
$ git clone https://github.com/Orange-Cyberdefense/grepmarx.git
$ cd grepmarx
在 Docker 中启动应用
$ sudo docker-compose pull && sudo docker-compose build && sudo docker-compose up -d
在浏览器中访问 http://localhost:5000。应用应该已经运行起来。
Gunicorn(绿色独角兽)是一个用于 UNIX 的 Python WSGI HTTP 服务器。提供了一个 supervisor 配置文件用于启动它以及所需的 Celery 工作进程(用于安全扫描排队)。
使用 pip 安装
$ pip install gunicorn supervisor
使用 gunicorn 二进制启动应用
$ supervisord -c supervisord.conf
在浏览器中访问 http://localhost:8001。应用应该已经运行起来。
要运行扫描,您需要手动在 管理/仓库 中添加至少一条记录。以下是一些可以使用的 Semgrep/Opengrep 规则仓库示例:
https://github.com/opengrep/opengrep-rules:Opengrep 规则的标准库https://github.com/patched-codes/semgrep-rules:一套宽松许可的 Semgrep 规则集合https://github.com/trailofbits/semgrep-rules:Trail of Bits 开发的 Semgrep 规则https://github.com/Decurity/semgrep-smart-contracts:寻找智能合约漏洞模式的 Semgrep 规则https://github.com/0xdea/semgrep-rules:0xdea 的 Semgrep 规则https://github.com/mindedsecurity/semgrep-rules-android-security:源自 OWASP MASTG、专门针对 Android 应用的 Semgrep 规则https://github.com/akabe1/akabe1-semgrep-rules:akabe1 自定义 Semgrep 规则集合https://github.com/s0rcy/semgrep-rules:s0rcy 个人 Semgrep 规则集合,用于安全分析和研究请确保您同意并遵守所用规则仓库的许可协议!
在此阶段,您只需根据需要创建规则包,然后启动扫描即可。
获取代码
$ git clone https://github.com/Orange-Cyberdefense/grepmarx.git
$ cd grepmarx
安装 virtualenv 模块
$ virtualenv env
$ source env/bin/activate
安装 Python 模块
$ # SQLite 数据库(开发环境)
$ pip3 install -r requirements.txt
$ # 或者使用 PostgreSQL 连接器(生产环境)
$ # pip install -r requirements-pgsql.txt
安装额外依赖
# 依赖扫描依赖(cdxgen)
$ sudo apt install -y npm openjdk-17-jdk maven gradle golang composer
$ sudo npm install -g @cyclonedx/cdxgen
# 应用检查器依赖
$ sudo apt install -y dotnet-runtime-8.0
确保 nodejs 版本 >= 20.X,否则 cdxgen 会失败。
需要一个 Redis 服务器来排队安全扫描。使用您喜欢的发行版包管理器安装
redis包,然后:
$ redis-server
设置 FLASK_APP 环境变量
$ export FLASK_APP=run.py
$ # 设置 DEBUG 环境
$ # export FLASK_ENV=development
启动 celery 工作进程
更改并发数以增加同时扫描数量
$ celery -A app.celery_worker.celery worker --pool=prefork --loglevel=info --detach --concurrency=1 -Q scans
启动应用程序(开发模式)
$ # --host=0.0.0.0 - 在所有网络接口上暴露应用(默认 127.0.0.1)
$ # --port=5000    - 指定应用端口(默认 5000)
$ flask run --host=0.0.0.0 --port=5000
在浏览器中访问 grepmarx:http://127.0.0.1:5000/
Grepmarx - 由 Orange Cyberdefense 提供