

Grepmarxは、大規模で未知のコードベースの脆弱性を迅速に理解、分析、特定するための単一プラットフォームを提供するWebアプリケーションです。
SAST(静的アプリケーションセキュリティテスト)機能:
SCA(ソフトウェア構成分析)機能:
追加機能
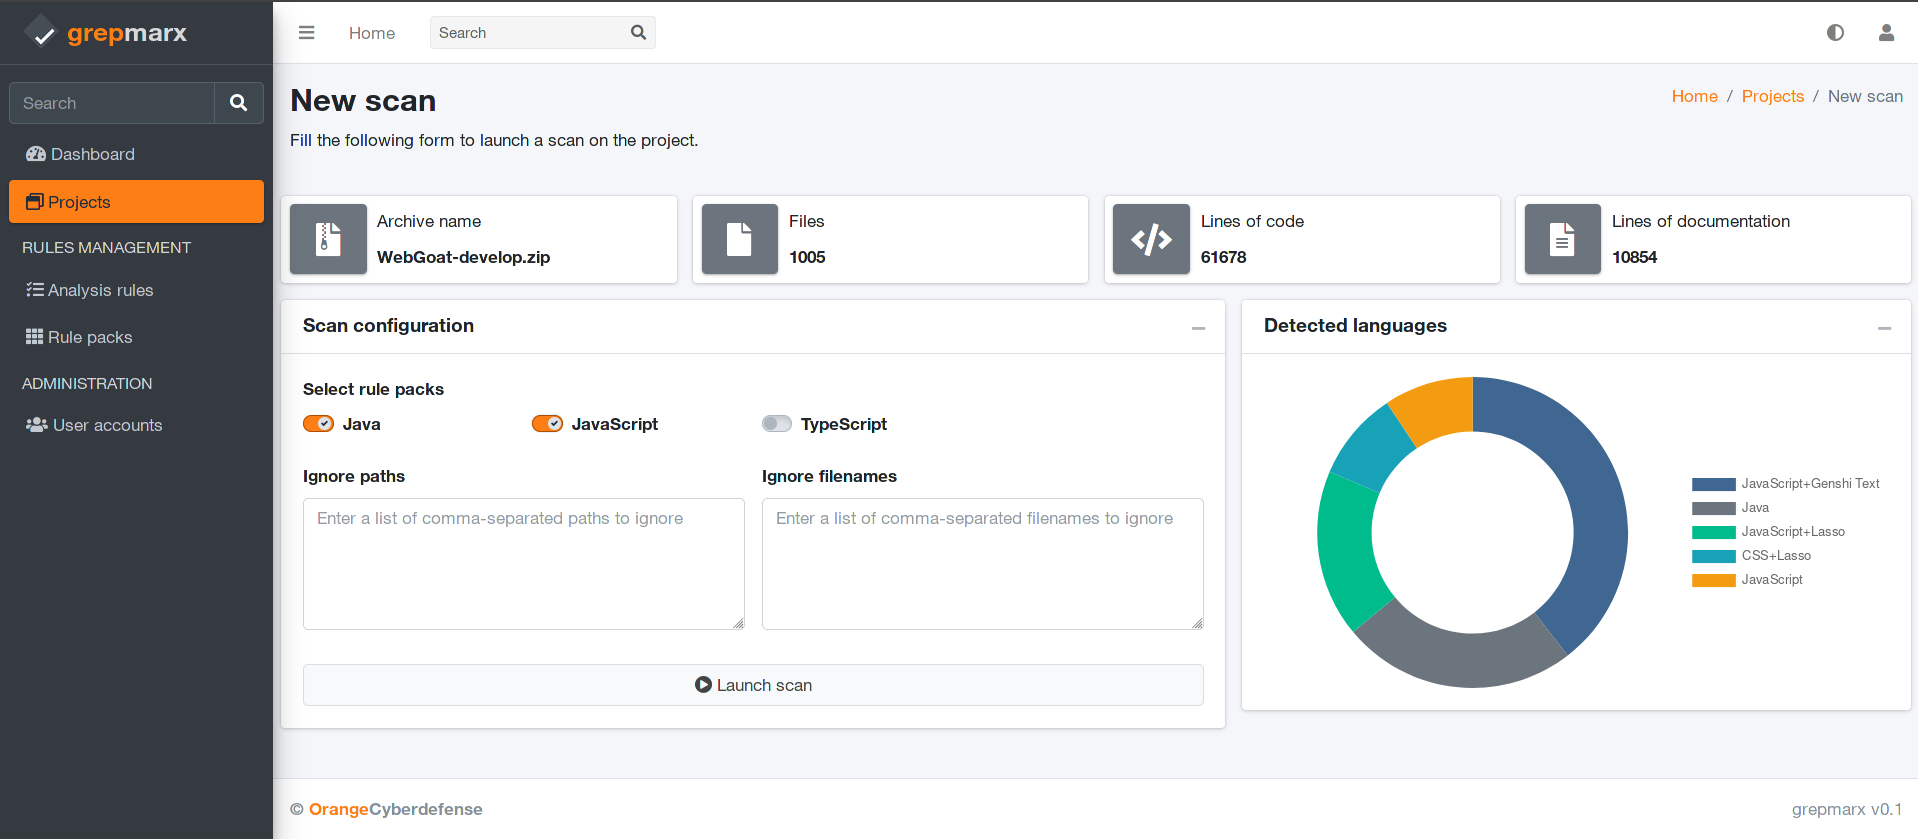
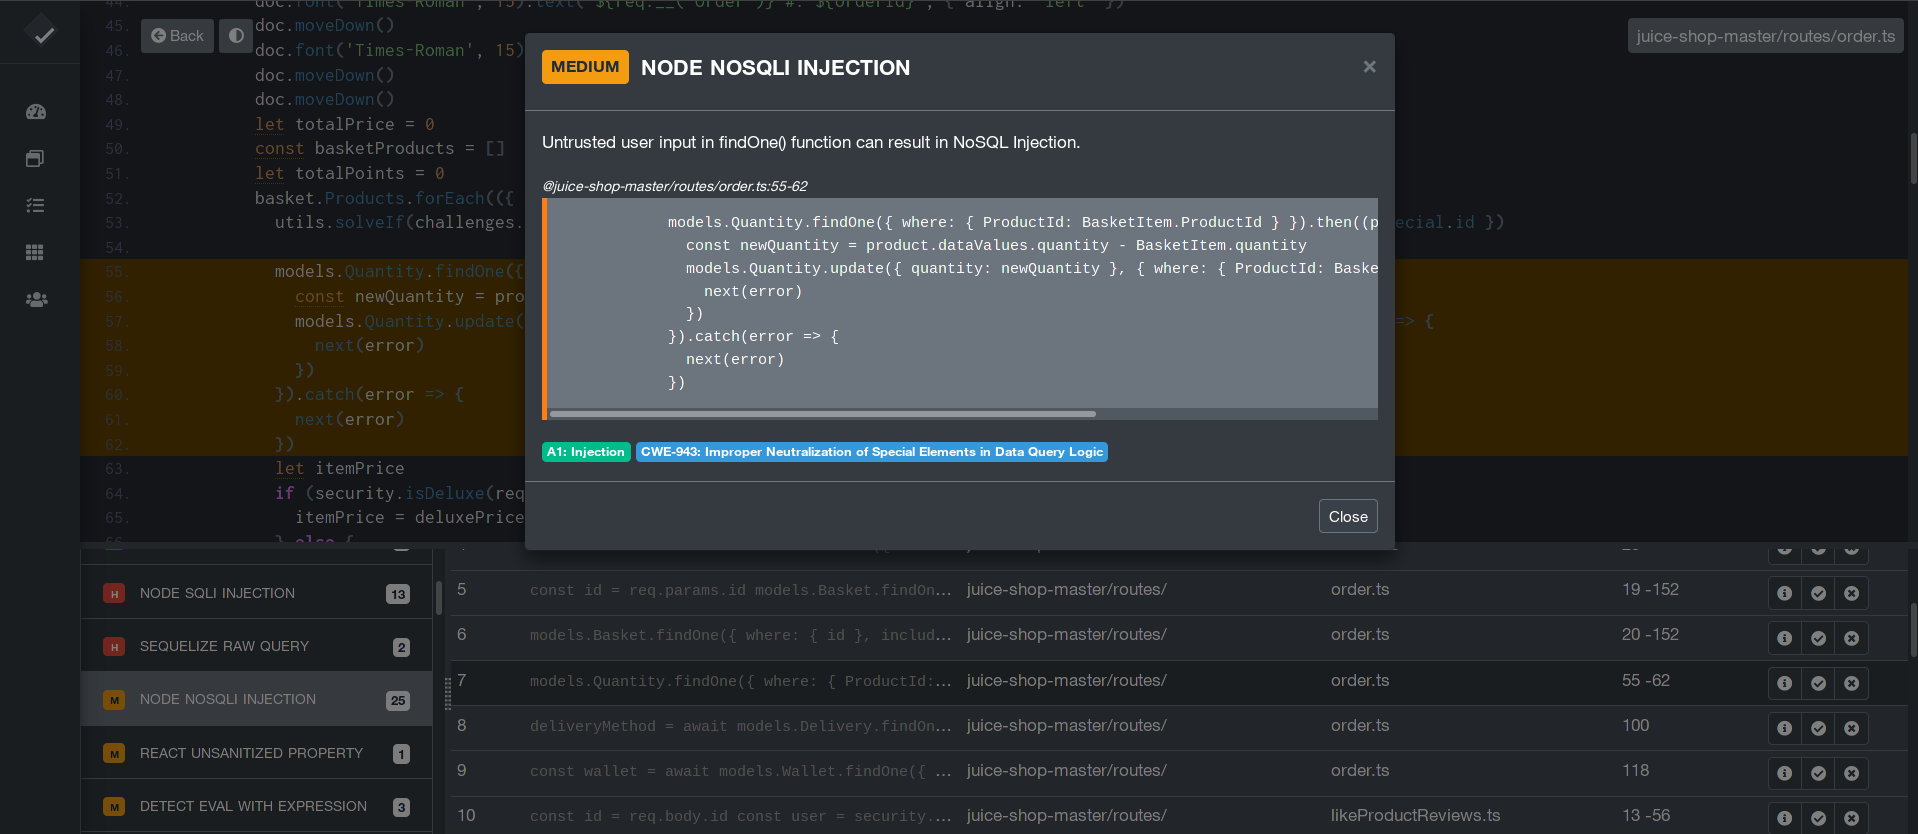
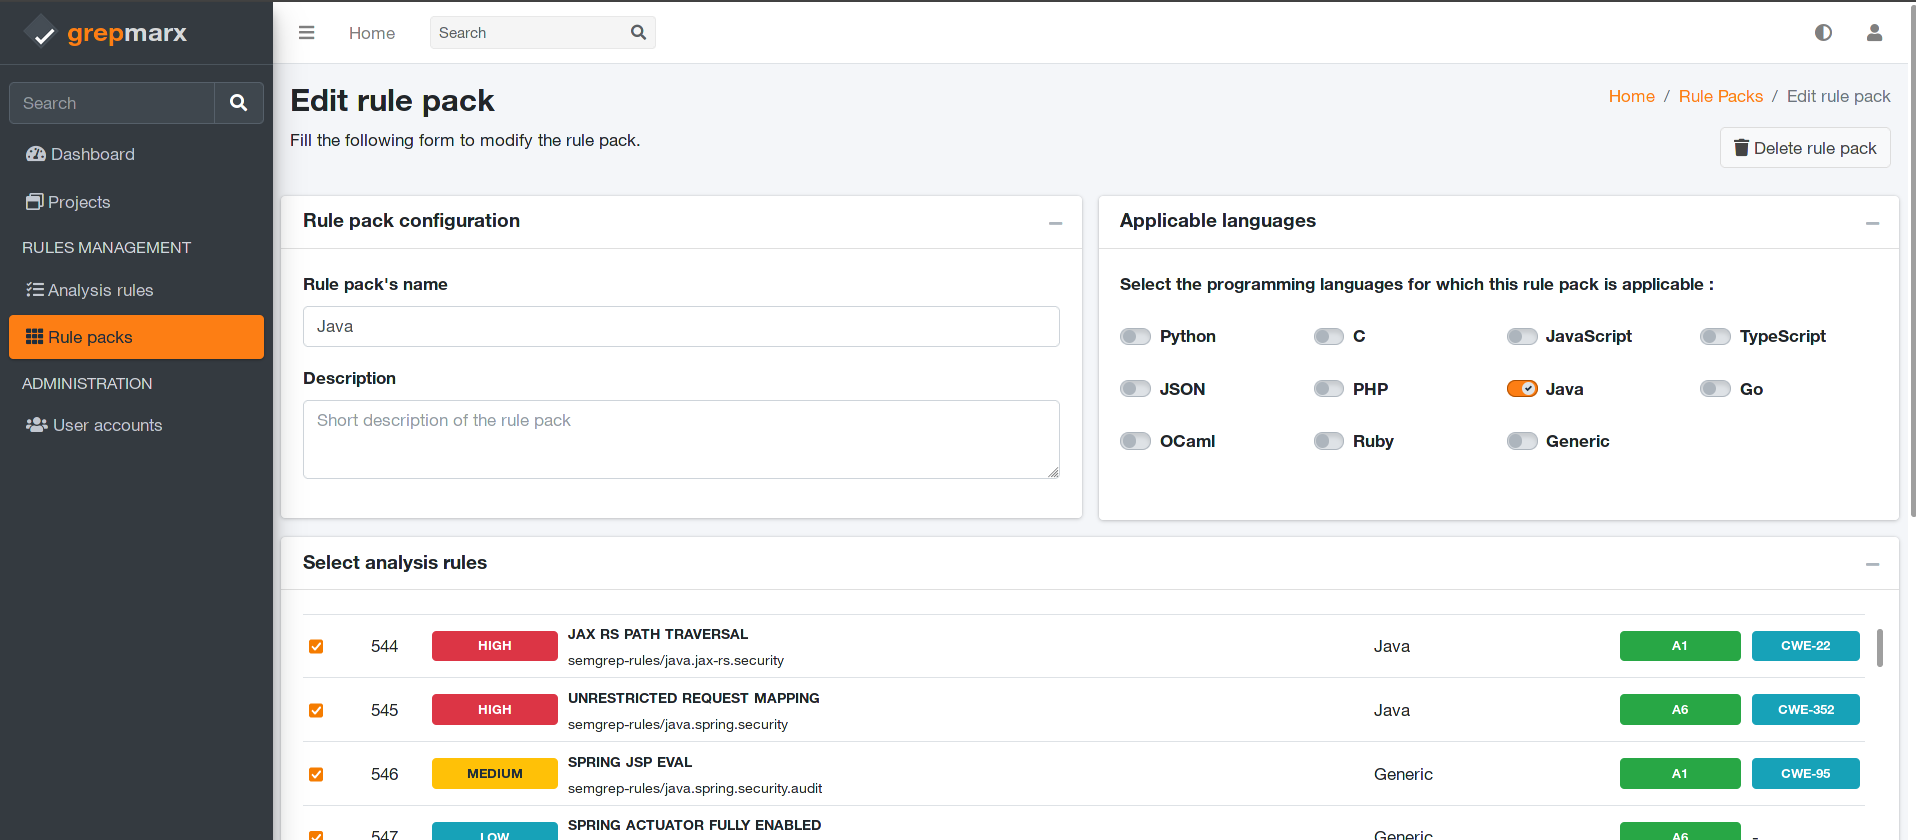
| スキャンのカスタマイズ | 分析ワークベンチ | ルールパックの編集 |
|---|---|---|
 |  |  |
GrepmarxはDockerおよびGunicornで実行するための設定が提供されています。
システムにdocker-composerがインストールされ、dockerデーモンが実行されていることを確認してください。 アプリケーションはDockerコンテナで簡単に実行できます。手順:
コードを取得
$ git clone https://github.com/Orange-Cyberdefense/grepmarx.git
$ cd grepmarx
Dockerでアプリを起動
$ sudo docker-compose pull && sudo docker-compose build && sudo docker-compose up -d
ブラウザでhttp://localhost:5000にアクセスしてください。アプリが起動しているはずです。
Gunicorn 'Green Unicorn' はUNIX用のPython WSGI HTTPサーバーです。必要なCeleryワーカー(セキュリティスキャンのキューイングに使用)とともに起動するためのsupervisor設定ファイルが提供されています。
pipを使用してインストール
$ pip install gunicorn supervisor
gunicornバイナリを使用してアプリを起動
$ supervisord -c supervisord.conf
ブラウザでhttp://localhost:8001にアクセスしてください。アプリが起動しているはずです。
スキャンを実行するには、Administration/Repositoryに少なくとも1つのエントリを手動で追加する必要があります。使用可能なSemgrep/Opengrepルールリポジトリの例をいくつか示します:
https://github.com/opengrep/opengrep-rules: Opengrepルールの標準ライブラリhttps://github.com/patched-codes/semgrep-rules: 寛容なライセンスのSemgrepルール集https://github.com/trailofbits/semgrep-rules: Trail of Bitsが開発したSemgrepルールhttps://github.com/Decurity/semgrep-smart-contracts: スマートコントラクトの脆弱性パターンを探すSemgrepルールhttps://github.com/0xdea/semgrep-rules: 0xdeaによるSemgrepルールhttps://github.com/mindedsecurity/semgrep-rules-android-security: OWASP MASTGから派生したAndroidアプリケーション向けSemgrepルールhttps://github.com/akabe1/akabe1-semgrep-rules: akabe1のカスタムSemgrepルール集https://github.com/s0rcy/semgrep-rules: s0rcyのセキュリティ分析と研究用の個人Semgrepルール集使用するルールリポジトリのLICENSEファイルに同意し、遵守してください!
この段階で、必要なルールパックを作成し、スキャンを起動するだけです。
コードを取得
$ git clone https://github.com/Orange-Cyberdefense/grepmarx.git
$ cd grepmarx
virtualenvモジュールをインストール
$ virtualenv env
$ source env/bin/activate
Pythonモジュールをインストール
$ # SQLite Database (Development)
$ pip3 install -r requirements.txt
$ # OR with PostgreSQL connector (Production)
$ # pip install -r requirements-pgsql.txt
追加要件をインストール
# Dependency scan requirements (cdxgen)
$ sudo apt install -y npm openjdk-17-jdk maven gradle golang composer
$ sudo npm install -g @cyclonedx/cdxgen
# Application Inspector dependencies
$ sudo apt install -y dotnet-runtime-8.0
nodejsのバージョンが20.X以上であることを確認してください。そうでないとcdxgenは失敗します。
セキュリティスキャンをキューイングするにはRedisサーバーが必要です。お好みのディストリビューションのパッケージマネージャで
redisパッケージをインストールし、次を実行:
$ redis-server
FLASK_APP環境変数を設定
$ export FLASK_APP=run.py
$ # Set up the DEBUG environment
$ # export FLASK_ENV=development
Celeryワーカープロセスを起動
同時スキャン数を増やすにはconcurrencyを変更してください
$ celery -A app.celery_worker.celery worker --pool=prefork --loglevel=info --detach --concurrency=1 -Q scans
アプリケーションを起動(開発モード)
$ # --host=0.0.0.0 - expose the app on all network interfaces (default 127.0.0.1)
$ # --port=5000    - specify the app port (default 5000)
$ flask run --host=0.0.0.0 --port=5000
ブラウザでgrepmarxにアクセス: http://127.0.0.1:5000/
Grepmarx - Orange Cyberdefense 提供

