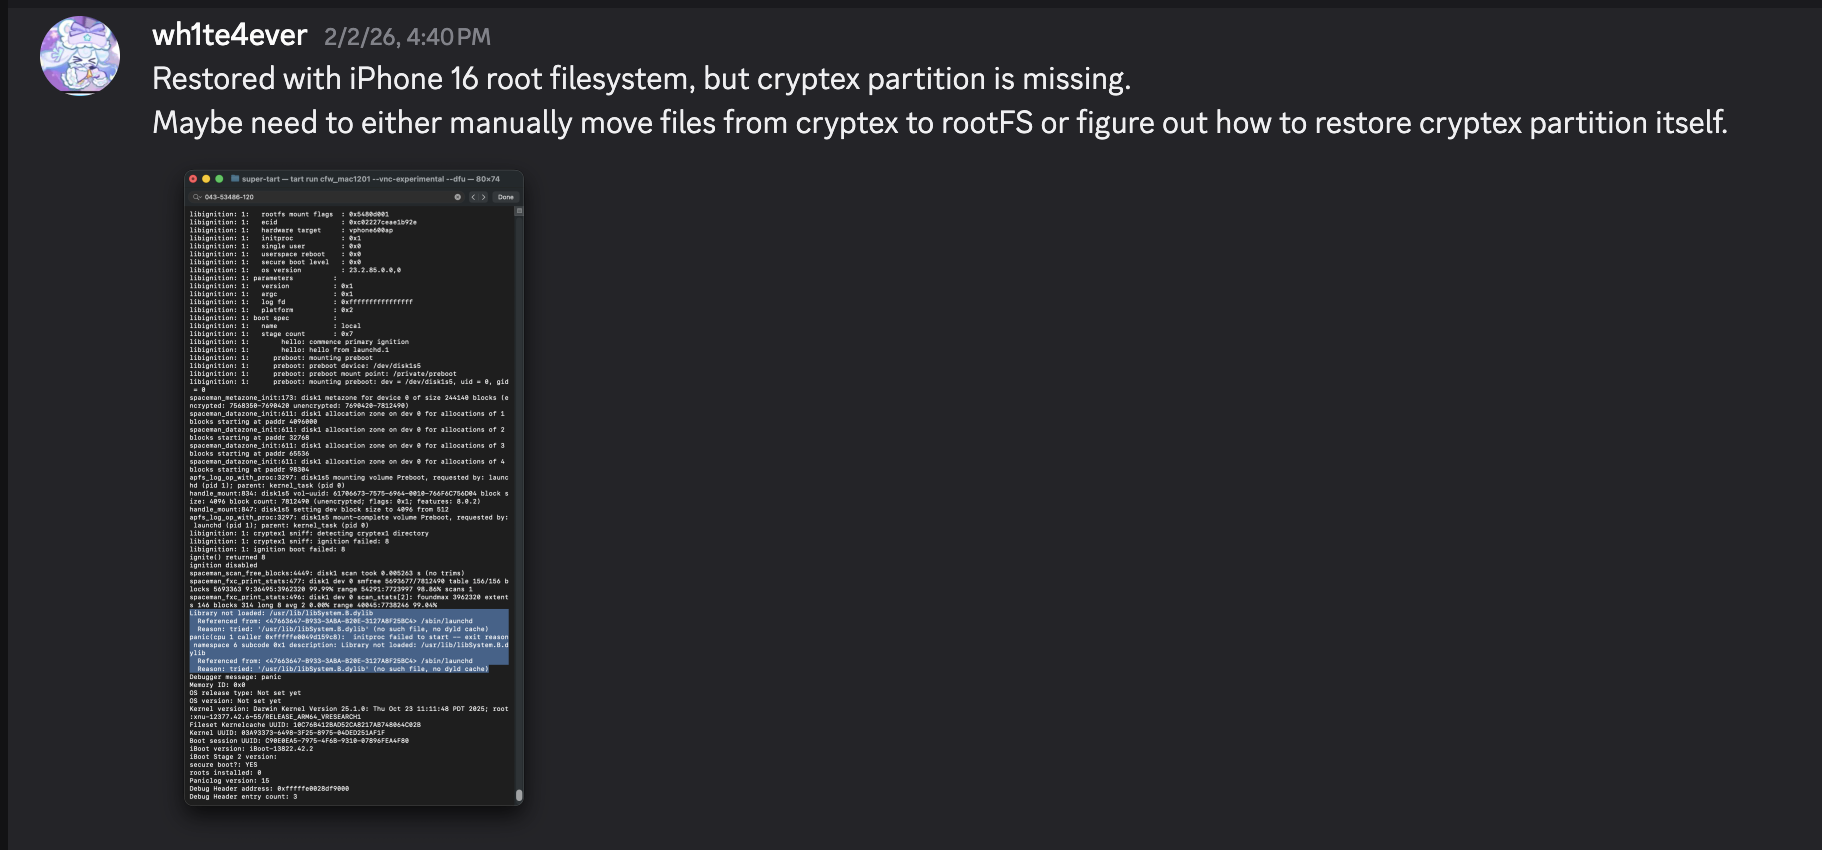
wh1te4ever/super-tart-vphone-writeup
使用 Apple PCC 固件中的 VPHONE600AP 组件构建虚拟 iPhone 的指南,涵盖固件修补、启动链修改及内核调试,用于 iOS 安全研究。

2024 年末左右,Apple 开始推出 Private Cloud Compute,声称将开辟基于云的 AI 隐私新领域。然后,在 2025 年末左右,出现了一些有趣的消息:Apple 在 PCC 固件中新增了 vphone600ap 相关组件,从 cloudOS 26 开始。

来源: https://x.com/matteyeux/status/2006339694783848660/photo/1
“iPhone 研究环境虚拟机”?
这是 Apple 计划在未来为其他安全研究人员构建并分发虚拟 iPhone 环境,还是仅仅是个失误?考虑到 2021 年,在 iOS 15.0 beta 到 15.1 beta3 的 OTA 中曾发现 DEVELOPMENT/KASAN 构建内核,失误的可能性无法排除。当时,该内核持续存在了大约 4 个月,大致从 2021 年 6 月到 10 月。
然后,大约在今年 1 月,一条推文发布,展示了一个利用这些 vphone600ap 相关组件启动的虚拟 iPhone。

来源: https://x.com/_inside/status/2008951845725548783
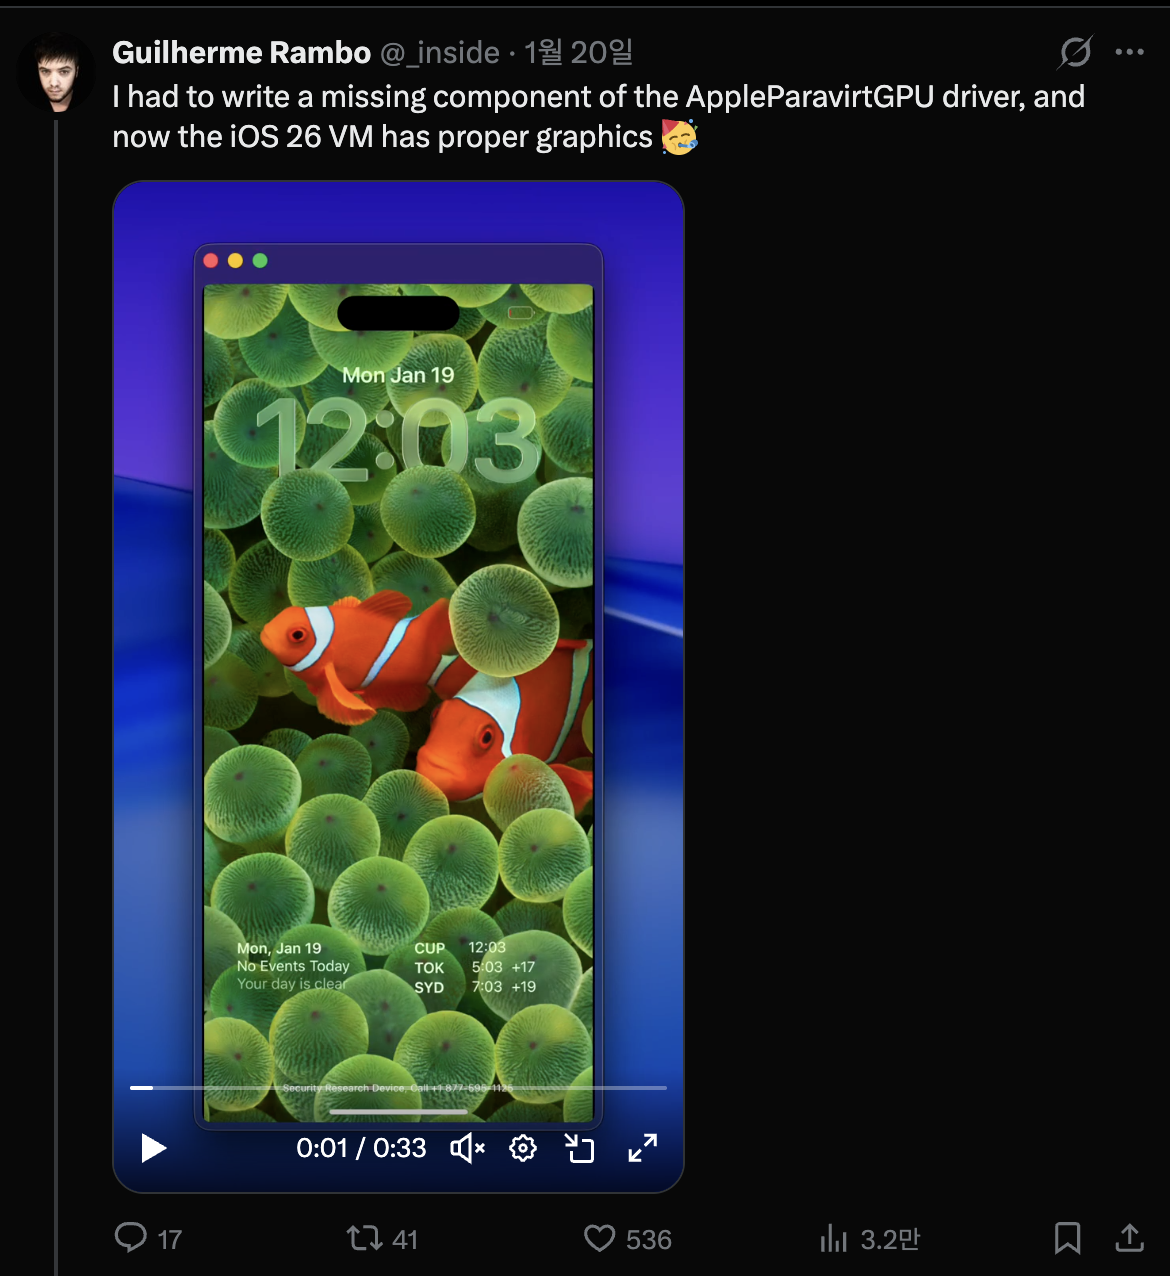
从我所看到的,几乎所有功能都运行得非常优雅。与我之前看到的 QEMUAppleSilicon(Inferno) 项目 相比,它运行得更快速、更流畅。此外,它甚至似乎支持 Metal 加速。最终,我完全被它吸引,于 1 月 31 日开始着手构建我自己的虚拟 iPhone。

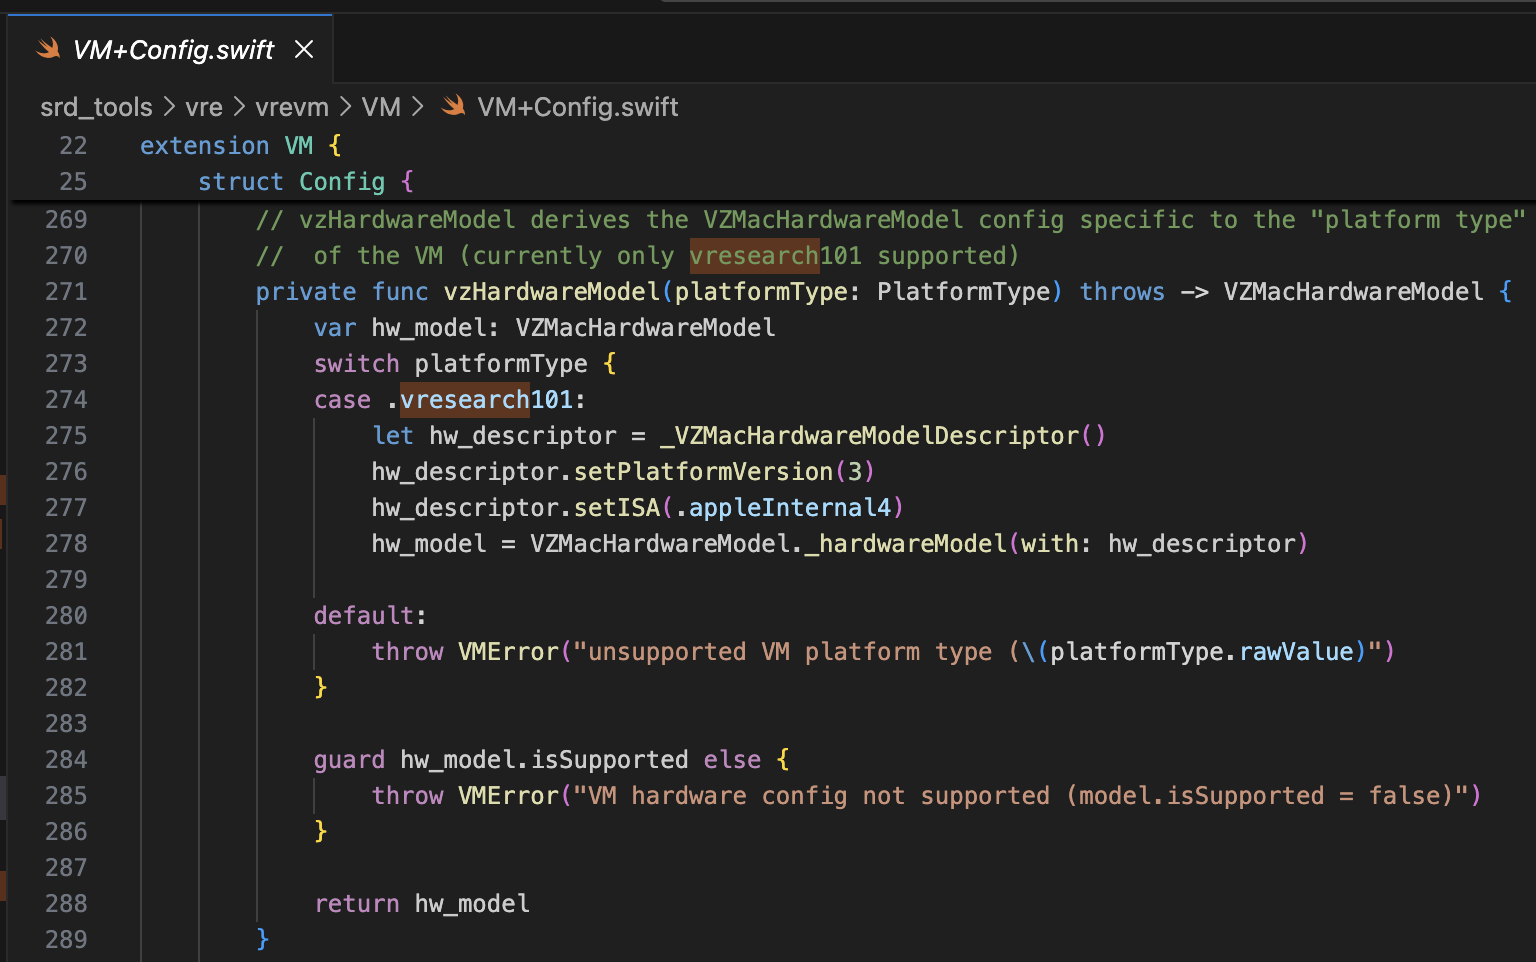
参考项目是 security-pcc。它对应 /System/Library/SecurityResearch/usr/bin/vrevm 二进制文件的源代码。一个有趣的点是,它使用了 Virtualization.framework 提供的私有方法。在用于 PCC 研究的虚拟机中,可以看到在硬件模型初始化过程中明确指定了 ISA 和 PlatformVersion。
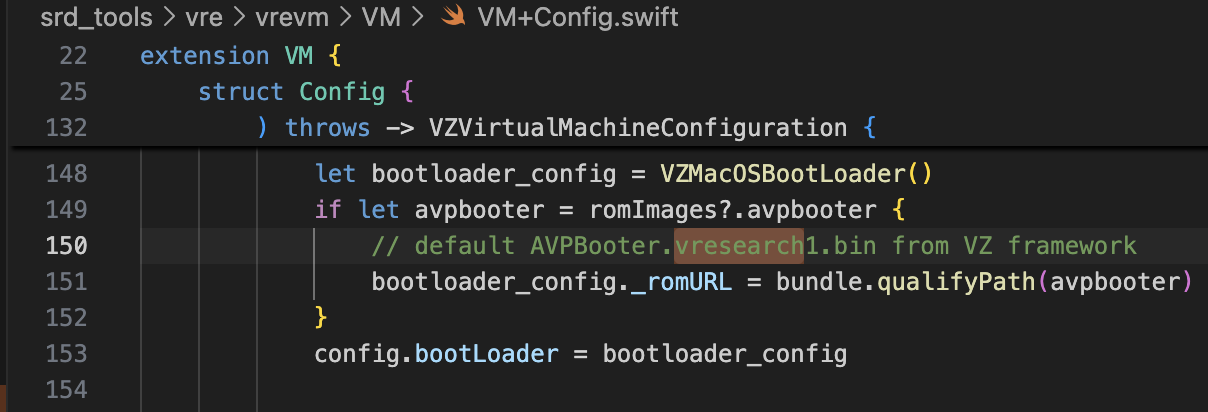
对于 bootrom,使用了 AVPBooter.vresearch1.bin(位于 /System/Library/Frameworks/Virtualization.framework/Resources/AVPBooter.vresearch1.bin)
对于 SEPROM (avpsepbooter),使用了 AVPSEPBooter.vresearch1.bin,它单独加载一个 SEPStorage 文件,其功能类似于 AuxiliaryStorage。 (位于 /System/Library/Frameworks/Virtualization.framework/Versions/A/Resources/AVPSEPBooter.vresearch1.bin)
另一个有趣的点是,如果你查看设置分辨率的代码,它被设置为 1290x2796,对应 iPhone 14 Pro Max、15 Plus、15 Pro Max 和 16 Plus 设备。
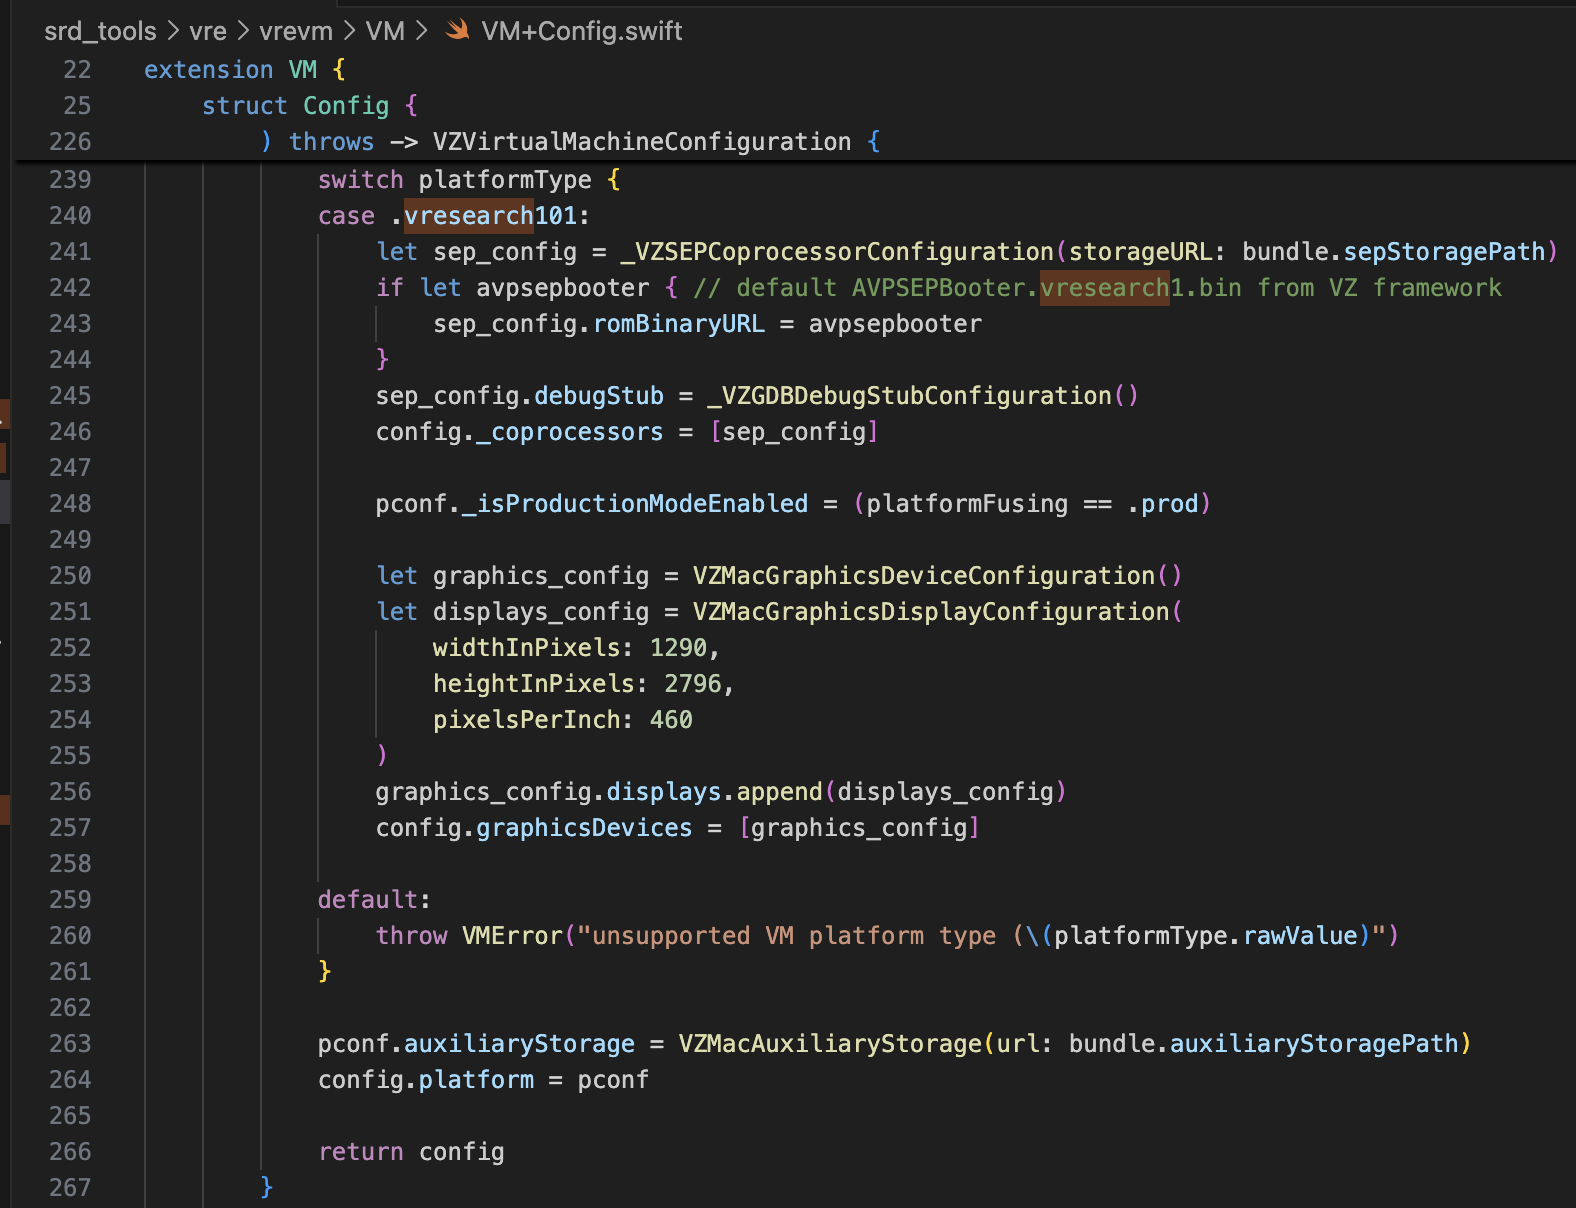
仅凭这些信息,就足以修改 super-tart 来启动虚拟 iPhone。我进行了如下修改。
/Sources/tart/VM.swift```swift ... class VM: NSObject, VZVirtualMachineDelegate, ObservableObject { ... // vzHardwareModel derives the VZMacHardwareModel config specific to the "platform type" // of the VM (currently only vresearch101 supported) static private func vzHardwareModel_VRESEARCH101() throws -> VZMacHardwareModel { var hw_model: VZMacHardwareModel
guard let hw_descriptor = _VZMacHardwareModelDescriptor() else { fatalError("Failed to create hardware descriptor") } hw_descriptor.setPlatformVersion(3) // .appleInternal4 = 3 hw_descriptor.setBoardID(0x90) hw_descriptor.setISA(2) hw_model = VZMacHardwareModel._hardwareModel(withDescriptor: hw_descriptor)
guard hw_model.isSupported else { fatalError("VM hardware config not supported (model.isSupported = false)") }
return hw_model }
static func craftConfiguration( diskURL: URL, nvramURL: URL, romURL: URL, sepromURL: URL? = nil, vmConfig: VMConfig, network: Network = NetworkShared(), additionalStorageDevices: [VZStorageDeviceConfiguration], directorySharingDevices: [VZDirectorySharingDeviceConfiguration], serialPorts: [VZSerialPortConfiguration], suspendable: Bool = false, nested: Bool = false, audio: Bool = true, clipboard: Bool = true, sync: VZDiskImageSynchronizationMode = .full, caching: VZDiskImageCachingMode? = nil ) throws -> VZVirtualMachineConfiguration { let configuration: VZVirtualMachineConfiguration = .init()
// Boot loader let bootloader = try vmConfig.platform.bootLoader(nvramURL: nvramURL) Dynamic(bootloader)._setROMURL(romURL) configuration.bootLoader = bootloader
// SEP ROM let homeURL = FileManager.default.homeDirectoryForCurrentUser var sepstoragePath = homeURL.appendingPathComponent(".tart/vms/vphone/SEPStorage").path let sepstorageURL = URL(fileURLWithPath: sepstoragePath) let sep_config = Dynamic._VZSEPCoprocessorConfiguration(storageURL: sepstorageURL) if let sepromURL { // default AVPSEPBooter.vresearch1.bin from VZ framework sep_config.romBinaryURL = sepromURL } sep_config.debugStub = Dynamic._VZGDBDebugStubConfiguration(port: 8001) configuration._setCoprocessors([sep_config.asObject])
// Some vresearch101 config let pconf = VZMacPlatformConfiguration() pconf.hardwareModel = try vzHardwareModel_VRESEARCH101()
let serial = Dynamic._VZMacSerialNumber.initWithString("AAAAAA1337") let identifier = Dynamic.VZMacMachineIdentifier._machineIdentifierWithECID(0x1111111111111111, serialNumber: serial.asObject) pconf.machineIdentifier = identifier.asObject as! VZMacMachineIdentifier
pconf._setProductionModeEnabled(true) var auxiliaryStoragePath = homeURL.appendingPathComponent(".tart/vms/vphone/nvram.bin").path let auxiliaryStorageURL = URL(fileURLWithPath: auxiliaryStoragePath) pconf.auxiliaryStorage = VZMacAuxiliaryStorage(url: auxiliaryStorageURL)
if #available(macOS 14, *) { let keyboard = VZUSBKeyboardConfiguration() configuration.keyboards = [keyboard] }
if #available(macOS 14, *) { let touch = _VZUSBTouchScreenConfiguration() configuration._setMultiTouchDevices([touch]) } ... configuration.platform = pconf
// Display let graphics_config = VZMacGraphicsDeviceConfiguration() let displays_config = VZMacGraphicsDisplayConfiguration( widthInPixels: 1179, heightInPixels: 2556, pixelsPerInch: 460 ) graphics_config.displays.append(displays_config) configuration.graphicsDevices = [graphics_config] ...
# 修改固件

引用的项目是 [vma2pwn](https://github.com/nick-botticelli/vma2pwn)。特别针对版本 12.0.1,它启动一个 Mac 虚拟机,几乎整个引导链都被修改了。

让我们先看看 [prepare.sh](https://github.com/nick-botticelli/vma2pwn/blob/main/prepare.sh) 脚本。它提取固件组件,比如以 IM4P 格式压缩的引导加载程序和内核,转换为 RAW 格式,并在特定的硬编码地址修补指令/数据。RestoreRamdisk 是恢复固件时使用的根文件系统,AVPBooter 是虚拟机中使用的 BootROM。

总结一下,它提取固件中包含的各个文件,并修补完整性检查以允许恢复自定义固件,或者修改 boot-args 参数以便更容易查看引导相关的日志。

最后,[vma2pwn.sh](https://github.com/nick-botticelli/vma2pwn/blob/main/vma2pwn.sh) 负责恢复自定义固件。它通过事先进入 DFU 模式来完成。这里,虚拟机使用了一种叫做 super-tart 的东西。这是现有 tart 虚拟机的增强版本,具有自定义 bootrom、串口输出、DFU 模式和 GDB 调试等功能。(注意:必须禁用 SIP/AMFI 才能工作。)

我最近在研究 [XNU 内核 1-day 漏洞 (CVE-2021-30937, CVE-2021-30955)](https://github.com/wh1te4ever/xnu_1day_practice) 时觉得它非常有用。它支持实时内核调试,太棒了。

## 构建自定义固件