编写一个 PowerShell 脚本,自动化 Microsoft 365 环境的安全评估,以推进 Microsoft 365 安全领域的发展。
Soteria Inspect 源自 365Inspect 项目,是 Soteria 的 SaaS 解决方案,旨在协助评估 Microsoft 365 租户的安全性,涵盖 Microsoft 365 全套服务中的 200 多个检查点。
Microsoft 365 版 Soteria Inspect 允许客户跟踪每个发现项所影响的对象随时间的变化以及修复工作,现在还包括为 MSP 和上级组织提供的多租户功能,以便随时了解其子租户的情况。
Microsoft 365 版 Soteria Inspect 可直接通过 Soteria 或通过 Azure Marketplace 获取
查看我们所有的 Microsoft 365 版 Soteria Inspect 产品
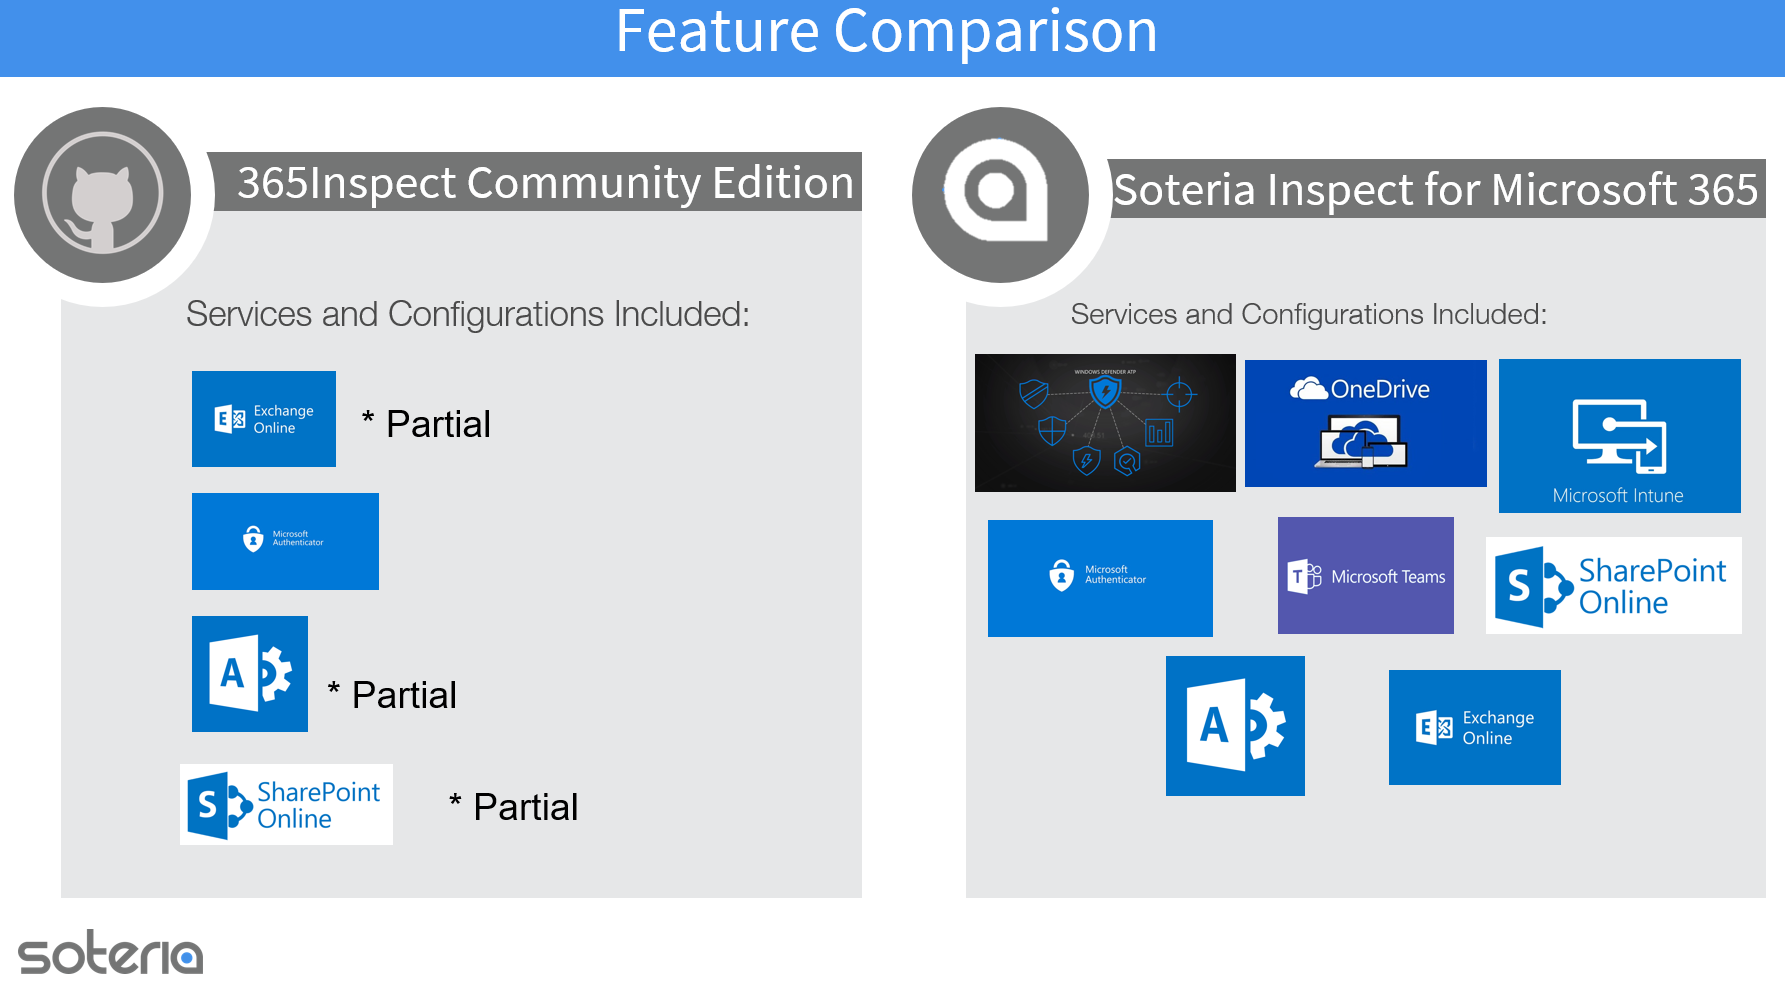
365Inspect 社区版需要用于 Exchange 管理、Microsoft Graph、Microsoft Teams 和 SharePoint 管理的管理 PowerShell 模块。
365Inspect 现已兼容 PowerShell Core (6+),并且由于所需的模块依赖关系,需要 Microsoft Windows 操作系统。
365Inspect.ps1 PowerShell 脚本将验证已安装的模块以及检查器运行所需的最低模块版本。
如果您没有安装这些模块,系统将提示您安装它们,得到您的同意后,脚本将尝试安装。否则,您可以通过在管理 PowerShell 提示符下运行以下命令,或按照下方参考文档中的说明进行安装:
Install-Module -Name ExchangeOnlineManagement -AllowClobber -Force

Install-Module -Name PnP.PowerShell -AllowClobber -Force

Install-Module -Name Microsoft.Graph -AllowClobber -Force

Install-Module -Name MicrosoftTeams -AllowClobber -Force
安装 SharePoint PnP PowerShell 模块
安装完上述模块后,使用浏览器或通过 git clone 从 Github 下载 365Inspect 源码文件夹。
自 2024 年 9 月 9 日起,PnP.PowerShell 要求租户管理员注册自己的应用程序以用于 SharePoint/PnP 服务。
请参阅以下 PnP.PowerShell 文档了解所需步骤。 注册一个 Entra ID 应用程序以用于 PnP PowerShell 确定权限 身份验证
注意:如果您使用的是 PowerShell 5.1,PnP PowerShell 不再兼容,所有 SharePoint 检查器将在运行时被排除。
有一个可运行的命令可以 自动完成此步骤。```powershell Register-PnPEntraIDAppForInteractiveLogin -ApplicationName "PnP Rocks" -Tenant [yourtenant].onmicrosoft.com -Interactive
__请记住所创建应用程序的名称或应用程序/客户端ID。这是现在进行身份验证所必需的,系统会提示你输入AppID!__

# 模块兼容性

目前,Microsoft.Graph 和 Microsoft.Graph.Beta 模块版本 2.23.0 与 ExchangeOnlineManagement 版本 3.5.1 不兼容。
以下版本兼容:
- Microsoft.Graph 版本 2.21.1
- Microsoft.Graph.Beta 版本 2.21.1
- ExchangeOnlineManagement 版本 3.5.0

可以使用以下命令安装兼容版本:```powershell
Install-Module -Name Microsoft.Graph -Scope CurrentUser -RequiredVersion 2.21.1 -AllowClobber -Force
Install-Module -Name Microsoft.Graph.Beta -Scope CurrentUser -RequiredVersion 2.21.1 -AllowClobber -Force
Install-Module -Name ExchangeOnlineManagement -Scope CurrentUser -RequiredVersion 3.5.0 -AllowClobber -Force
由于您将以管理员权限运行 365Inspect,应将其放置在合理的位置,并确保文件夹内容仅对管理员用户可读可写。如果您计划将 365Inspect 安装在频繁执行或用作自动化流程一部分的位置,这一点尤其重要。注意: 365Inspect 无需在管理 PowerShell 窗口中运行即可正常使用。
要运行 365Inspect,请打开 PowerShell 控制台,导航到您下载 365Inspect 的文件夹:
cd 365Inspect
您将通过从 PowerShell 命令提示符执行主脚本文件 365Inspect.ps1 来与 365Inspect 交互。
365Inspect 检查您的 M365 租户所需的全部条件是通过具有适当权限的 M365 账户进行访问,因此大多数命令行参数与正在评估的组织和身份验证方法相关。
执行 365Inspect 的格式如下:
.\365Inspect.ps1 -OutPath <value> -UserPrincipalName [email protected] -Auth <MFA|DEVICE|ALREADY_AUTHED|APP> -pnpPowerShellApplicationId <Your Pnp PowerShell Application/Client ID>
例如,通过浏览器输入凭据并支持 MFA 登录:
.\365Inspect.ps1 -OutPath ..\365_report -UserPrincipalName [email protected] -Auth MFA
要登录到政府或其他国家云部署(中国、德国等),应指定 -Environment 参数,如下所示:
.\365Inspect.ps1 -OutPath ..\365_report -UserPrincipalName [email protected] -Auth MFA -Environment USGovGCCHigh
-Environment 的有效参数包括:
可通过以下参数执行脚本实现应用程序身份验证:
.\365Inspect.ps1 -OutPath ..\365_report -UserPrincipalName [email protected] -Auth APP
要登录到政府或其他国家云部署(中国、德国等),应指定 -Environment 参数,如下所示:
.\365Inspect.ps1 -OutPath ..\365_report -UserPrincipalName [email protected] -Auth APP -Environment USGovGCCHigh
-Environment 的有效参数包括:
注意: 使用应用程序身份验证执行 365Inspect 存在先决条件。前往应用程序身份验证要求
365Inspect 现在支持将报告输出为 HTML(默认值)、CSV 和 XML 格式。
例如,通过调用 -ReportType 参数生成 CSV 报告:
.\365Inspect.ps1 -OutPath ..\365_report -UserPrincipalName [email protected] -Auth MFA -ReportType CSV
365Inspect 可以仅运行指定的检查器模块,或者相反,排除指定的模块。
例如,通过浏览器输入凭据并支持 MFA 登录:
.\365Inspect.ps1 -OutPath ..\365_report -UserPrincipalName [email protected] -Auth MFA -SelectedInspectors inspector1, inspector2
或者
.\365Inspect.ps1 -OutPath ..\365_report -Auth MFA -ExcludedInspectors inspector1, inspector2, inspector3
进一步分解参数:
OutPath 是放置 365Inspect 生成的报告的文件夹路径。
Auth 是一个选择器,应为字面值 "MFA" 或 "ALREADY_AUTHED"。
SelectedInspectors 是您希望与 365Inspect 一起运行的一个或多个检查器的名称。如果选择多个检查器,它们必须用逗号分隔。仅运行指定的检查器。
ExcludedInspectors 是您希望阻止与 365Inspect 一起运行的一个或多个检查器的名称。如果选择多个检查器,它们必须用逗号分隔。将运行所有其他包含的模块。
UserPrincipalName - 评估者的用户主体名称,这有助于减少在受支持的模块中输入凭据的次数。
ReportType - 生成报告的输出格式。当前支持的值包括 HTML(默认)、CSV 和 XML。
Environment - 指定要连接的非标准/消费者 Microsoft 365 租户的 Azure 云实例。
当您使用 -Auth MFA 执行 365Inspect 时,可能会产生多个图形登录提示,您需要依次登录。这是正常行为,因为 Exchange、SharePoint 等具有独立的管理模块,每个模块都需要不同的登录会话。如果您只是按提示次数登录,365Inspect 应开始执行。这不太有趣,我们正在寻找解决方案,但不用说,我们觉得花费时间查看 MFA 代码所得到的结果是值得的。
随着 365Inspect 的执行,它会稳定地打印状态更新,指示正在运行哪个检查任务。
365Inspect 可能需要一些时间执行。这个时间随被测环境的大小和复杂性而变化。例如,某些检查任务涉及扫描所有用户的账户配置。对于拥有 50 个用户的组织,这可能近乎瞬间完成,但对于拥有 10000 个用户的组织,可能需要整整几分钟(!)。
365Inspect 创建 out_path 参数中指定的目录。此目录是整个 365Inspect 检查的结果。它包含四个重要项目: