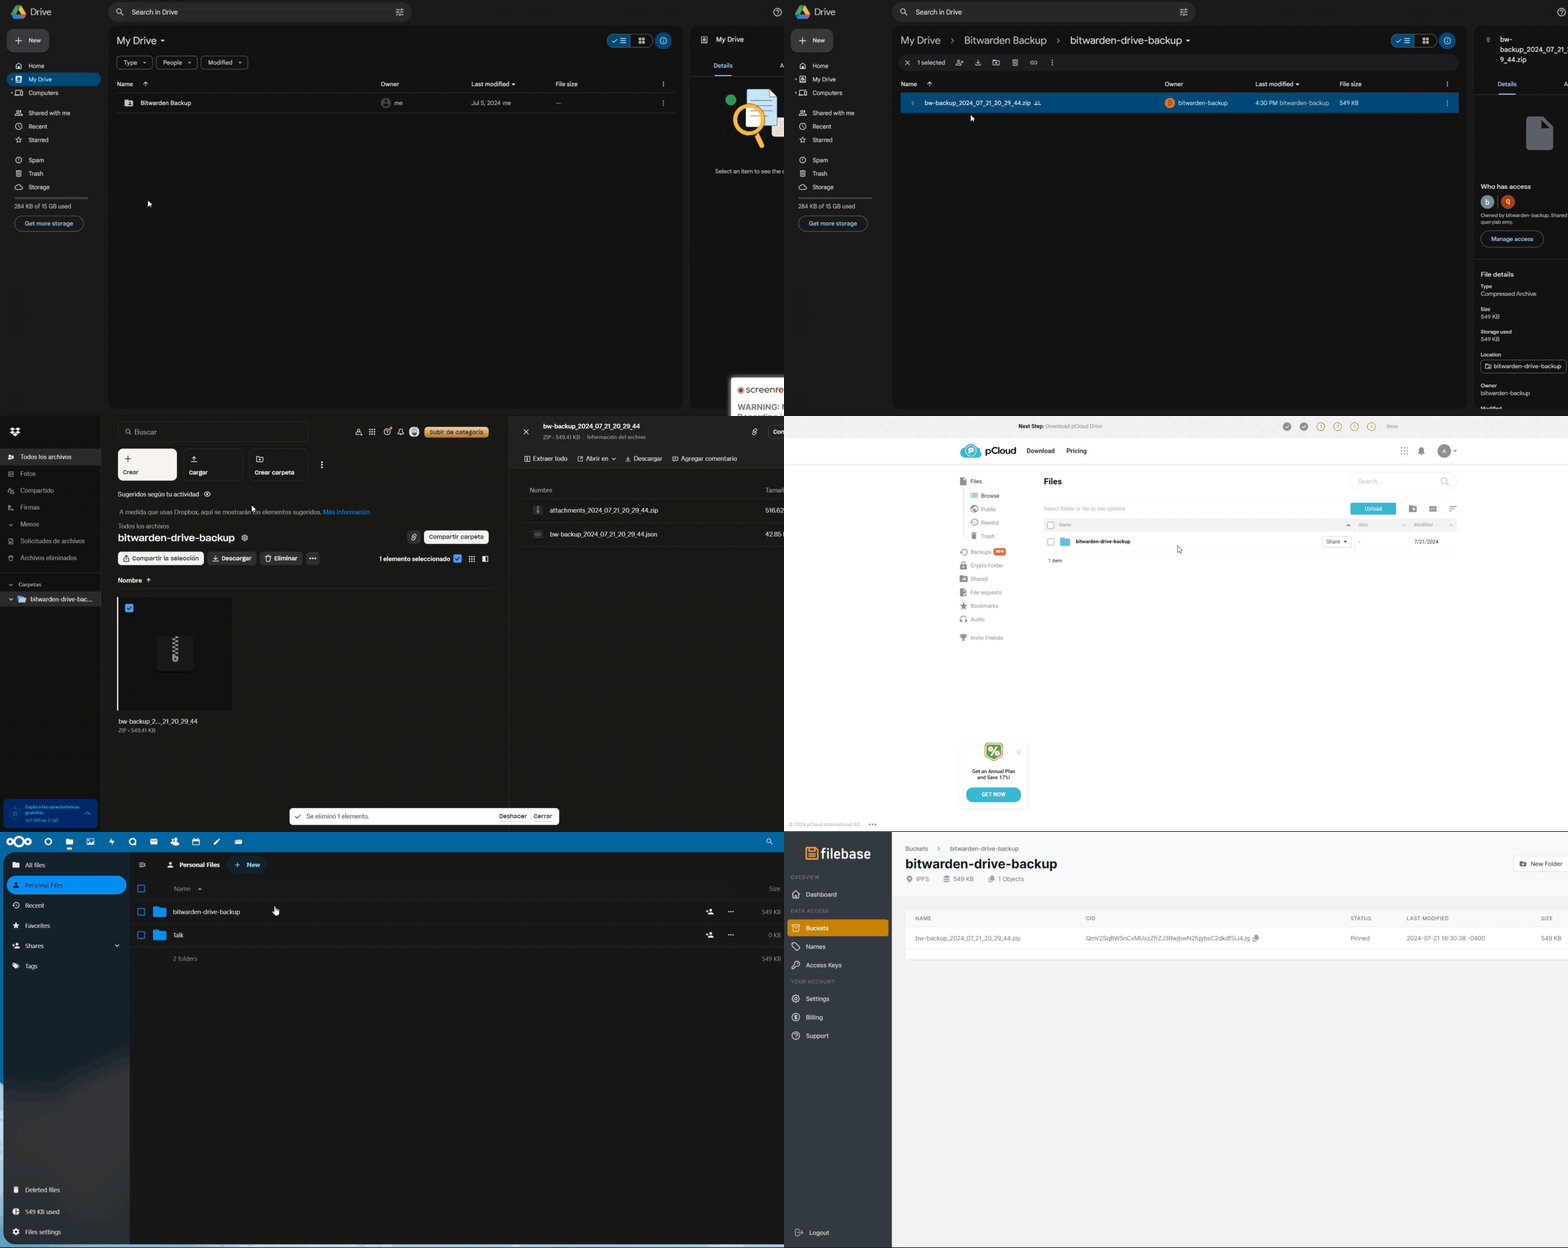
Lazywarden 是一个 Python 自动化工具,用于备份和恢复你的密码库数据,包括 Bitwarden 附件。它允许你将备份上传到多个云存储服务,并在多个平台上接收通知。它还提供 AES 加密备份,并使用 Argon2 进行密钥衍生,确保数据最高安全性。

功能
平台兼容

系统要求操作系统:兼容主流 Linux 发行版
安装 git clone https://github.com/querylab/lazywarden.git
cd lazywarden
.env.sample 示例文件创建 .env 文件,并填写必要变量。#---------------------------------------------------------------------------------------
# These are the 6 variables that are mandatory requirements for Bitwarden Secret Manager
BW_URL=f22bba66-e55d-1111-9a93-abf0dfad069e
BW_USERNAME=5eb0f2bb-1111-4e42-94f8-9333fda803cf
BW_PASSWORD=ba4dc990-1111-4d18-ae6b-0b899d513759
ENCRYPTION_PASSWORD=103c803c-1111-40d4-8578-8b3134c6e93e
ZIP_PASSWORD=2f9fb3a2-96a3-1111-990d-5d6399153e11
ZIP_ATTACHMENT_PASSWORD=b2abc553-1111-4b49-9172-1a94f9072715
#---------------------------------------------------------------------------------------
# TOTP Seed for Aegis,Authy,Ente,GoogleAuth (Optional)
BW_TOTP_SECRET=
# pCloud Credentials (Optional)
PCLOUD_USERNAME=
PCLOUD_PASSWORD=
# Mega Credentials (Optional)
MEGA_EMAIL=
MEGA_PASSWORD=
# Dropbox Credentials (Optional)
DROPBOX_ACCESS_TOKEN=
DROPBOX_REFRESH_TOKEN=
DROPBOX_APP_KEY=
DROPBOX_APP_SECRET=
# Todoist Credentials (Optional)
TODOIST_TOKEN=
# CalDAV Credentials (Optional)
CALDAV_URL=
CALDAV_USERNAME=
CALDAV_PASSWORD=
# Nextcloud Credentials (Optional)
NEXTCLOUD_URL=
NEXTCLOUD_USERNAME=
NEXTCLOUD_PASSWORD=
# Seafile Credentials (Optional)
SEAFILE_SERVER_URL=
SEAFILE_USERNAME=
SEAFILE_PASSWORD=
# Filebase Credentials (Optional)
FILEBASE_ACCESS_KEY=
FILEBASE_SECRET_KEY=
# KeePass Password (Optional)
KEEPASS_PASSWORD=
# Storj Credentials (Optional)
STORJ_ACCESS_KEY=
STORJ_SECRET_KEY=
STORJ_ENDPOINT=
# R2 Credentials (Optional)
R2_ACCESS_KEY_ID=
R2_SECRET_ACCESS_KEY=
R2_ENDPOINT_URL=
# Vikunja Credentials (Optional)
VIKUNJA_API_TOKEN=
VIKUNJA_URL=
# Backblaze B2 Credentials (Optional)
B2_APP_KEY_ID=
B2_APP_KEY=
# Google Drive Settings
GOOGLE_SERVICE_ACCOUNT_FILE=/root/lazywarden/config/bitwarden-drive-backup-google.json
GOOGLE_FOLDER_ID=
# Backup Settings
BACKUP_DIR=/root/lazywarden/backup-drive/
CRON_SCHEDULE="0 0 23 * *"
TIMEZONE=America/New_York
TIMESTAMP=2024_10_31_13_03_29
# API URLs for Bitwarden
API_URL=https://vault.bitwarden.com/api
IDENTITY_URL=https://vault.bitwarden.com/identity
# Organization ID
ORGANIZATION_ID=
# Access Token for Bitwarden Authentication
ACCESS_TOKEN=
# Notifications and Alerts (Optional)
TELEGRAM_TOKEN=
TELEGRAM_CHAT_ID=
DISCORD_WEBHOOK_URL=
SLACK_WEBHOOK_URL=
NTFY_URL=
# SMTP Configuration for Email Notifications (Optional)
SMTP_SERVER=mail.smtp2go.com
SMTP_PORT=8025
SMTP_USERNAME=
SMTP_PASSWORD=
EMAIL_RECIPIENT=
SENDER_EMAIL=
cd lazywarden/scripts
chmod +x setup-ubuntu-env.sh
./setup-ubuntu-env.sh
chmod +x docker-ubuntu.sh
./docker-ubuntu.sh
lazywarden/:cd ..
source venv/bin/activate
bitwarden-cli-install.py 脚本安装 Bitwarden CLI,它将安装所有 CLI 依赖:python3 scripts/bitwarden-cli-install.py
Region/City 替换为所需时区(例如 America/New_York):timedatectl set-timezone Region/City
America/New_York:timedatectl set-timezone America/New_York
app/ 文件夹并执行 main.py:cd app
python3 main.py
main.py 时遇到错误,可能是缺少或依赖过时。推荐运行以下命令安装所有必要依赖: pip install -r requirements.txt
cd lazywarden/scripts
chmod +x setup-debian-env.sh
./setup-debian-env.sh
chmod +x docker-debian.sh
./docker-debian.sh
lazywarden/:cd ..
source venv/bin/activate
bitwarden-cli-install.py 脚本安装 Bitwarden CLI,它将安装所有 CLI 依赖:python3 scripts/bitwarden-cli-install.py
Region/City 替换为所需时区(例如 America/New_York):timedatectl set-timezone Region/City
America/New_York:timedatectl set-timezone America/New_York
app/ 文件夹并执行 main.py:cd app
python3 main.py
main.py 时遇到错误,可能是缺少或依赖过时。推荐运行以下命令安装所有必要依赖: pip install -r requirements.txt
lazywarden/
├── app/ # This directory to contain the main application code
│ ├── backup.py # Backup functions
│ ├── bitwarden_client.py # Client to interact with Bitwarden
│ ├── config.py # General application configurations
│ ├── imports.py # Handles common imports
│ ├── main.py # Main entry point of the application
│ ├── notifications.py # Handles notifications
│ ├── secrets_manager.py # Manages secrets
│ ├── import_to_bitwarden.py # Import your bitwarden vault
│ ├── import_to_keepass.py # Create kdbx database
│ ├── schedule_backup.py # For create Schedule Backup
├── config/ # Directory for configuration files
│ ├── bitwarden-drive-backup-google.json # Configuration for Google Drive
├── scripts/ # Directory for installation and setup scripts
│ ├── bitwarden-cli-install.py # Script to install the Bitwarden CLI
│ ├── docker-debian.sh # Setup script for Debian with Docker
│ ├── docker-ubuntu.sh # Setup script for Ubuntu with Docker
│ ├── setup-debian-env.sh # Environment setup for Debian
│ ├── setup-ubuntu-env.sh # Environment setup for Ubuntu
│ ├── alldecrypt-zip.py # Decrypt all zip files
│ ├── json-only-decrypt.py # Decrypt only json files (optional)
├── backup-drive/
│ ├── (This is where the generated backups will be stored local)
├── .env # File for environment variables
├── Dockerfile # Docker configuration file to create an application image
├── docker-compose.yml # Docker Compose Configuration
├── entrypoint.sh # Entrypoint script for Docker
└── requirements.txt # File that lists the project Python dependencies
Docker 容器将每 24 小时运行一次 main.py 脚本,备份 Bitwarden 并上传到配置的云服务。成功或失败时,会向指定服务发送通知。你可以根据需要修改备份频率,例如每月、每日或每小时。
services:
lazywarden:
container_name: lazywarden
hostname: lazywarden
image: querylab/lazywarden:latest
env_file:
- .env
environment:
UNLOCK_VAULT: "true"
volumes:
- /root/lazywarden/config:/root/lazywarden/config
- /root/lazywarden/backup-drive:/root/lazywarden/backup-drive/
- /root/lazywarden/.env:/app/.env
restart: unless-stopped
docker compose up -d
Dockerfile 设置环境、安装依赖并将必要文件复制到容器中。docker-compose.yml 文件定义了 lazywarden 服务,并设置了环境变量和持久化存储卷。bw logout 命令后再登录新帐户。我创建 Lazywarden 是为了自动进行 Bitwarden 备份,无需手动操作或暴露敏感数据。在尝试了复杂的工具之后,我利用 Bitwarden Secret Manager 安全地管理密钥。Lazywarden 自动备份并上传到多个云服务(Google Drive、Dropbox、pCloud、MEGA、Seafile、Nextcloud、Filebase、Storj、Cloudflare R2、Backblaze B2),并与 Telegram、Discord、Ntfy、Slack、Todoist、Vikunja 和 CalDAV 集成,用于通知和跟踪。其突出功能是能够将加密备份还原回 Bitwarden,使备份管理变得简单、安全且高效。
如果你喜欢这个项目,请考虑给它一个 ⭐