


功能 • 安装 • 使用 • 运行 fingerprintx • 作为库使用 • 为何不用 Nmap? • 说明 • 致谢
fingerprintx 是一款类似于 httpx 的工具,但额外支持对 RDP、SSH、MySQL、PostgreSQL、Kafka 等服务的指纹识别。fingerprintx 可与 Naabu 等端口扫描器配合使用,对端口扫描过程中发现的端口集进行指纹识别。例如,工程师可能希望扫描某个 IP 范围,然后快速识别所有已发现端口上运行的服务。
51 个服务检测插件,支持 TCP 和 UDP 协议:
| 服务 | 传输层 |
|---|---|
| Cassandra | TCP |
| ChromaDB | TCP |
| CouchDB | TCP |
| DB2 | TCP |
| DHCP | UDP |
| Diameter | TCP |
| DNS | TCP/UDP |
| Echo | TCP |
| Elasticsearch | TCP |
| Firebird | TCP |
| FTP | TCP |
| HTTP/HTTPS | TCP |
| IMAP | TCP |
| InfluxDB | TCP |
| IPMI | TCP |
| IPSEC | UDP |
| Java RMI | TCP |
| JDWP | TCP |
| Kafka | TCP |
| LDAP | TCP |
| Linux RPC | TCP |
| Memcached | TCP |
| Milvus | TCP |
| Modbus | TCP |
| MongoDB | TCP |
| MQTT | TCP |
| MSSQL | TCP |
| MySQL | TCP |
| Neo4j | TCP |
| NetBIOS-NS | UDP |
| NTP | UDP |
| OpenVPN | UDP |
| OracleDB | TCP |
| Pinecone | TCP |
| POP3 | TCP |
| PostgreSQL | TCP |
| RDP | TCP |
| Redis | TCP |
| Rsync | TCP |
| RTSP | TCP |
| SMB | TCP |
| SMPP | TCP |
| SMTP | TCP |
| SNMP | UDP |
| SNPP | TCP |
| SSH | TCP |
| STUN | UDP |
| Sybase | TCP |
| Telnet | TCP |
| VNC | TCP |
从 GitHub
go install github.com/praetorian-inc/fingerprintx/cmd/fingerprintx@latest
从源码(go 版本 > 1.18)
$ git clone [email protected]:praetorian-inc/fingerprintx.git
$ cd fingerprintx

# 使用 go 版本 > 1.18
$ go build ./cmd/fingerprintx
$ ./fingerprintx -h
Docker
$ git clone [email protected]:praetorian-inc/fingerprintx.git
$ cd fingerprintx

# 构建
docker build -t fingerprintx .

# 运行
docker run --rm fingerprintx -h
docker run --rm fingerprintx -t praetorian.com:80 --json
fingerprintx -h
使用 -h 选项将显示 fingerprintx 支持的所有标志。
Usage:
  fingerprintx [flags]
目标指定:
	需要主机和端口号,或 IP 和端口号。假设端口已开放。
	格式:HOST:PORT 或 IP:PORT
示例:
	fingerprintx -t praetorian.com:80
	fingerprintx -l input-file.txt
	fingerprintx --json -t praetorian.com:80,127.0.0.1:8000

Flags:
      --csv               以 CSV 格式输出
  -f, --fast              快速模式
  -h, --help              fingerprintx 帮助
      --json              以 JSON 格式输出
  -l, --list string       包含目标的输入文件
  -o, --output string     输出文件
  -t, --targets strings   目标或逗号分隔的目标列表
  -w, --timeout int       超时时间(毫秒)(默认 500)
  -U, --udp               运行 UDP 插件
  -v, --verbose           详细模式
“快速”模式将仅尝试对每个目标端口对应的默认服务进行指纹识别。例如,如果输入为 praetorian.com:8443,则仅运行 https 插件。如果在 praetorian.com:8443 上未运行 https,则不会有任何输出。为什么这样做?这是一种从大量主机列表中快速对大部分服务进行指纹识别的方法(可参考 80/20 法则)。
单个目标:
$ fingerprintx -t 127.0.0.1:8000
http://127.0.0.1:8000
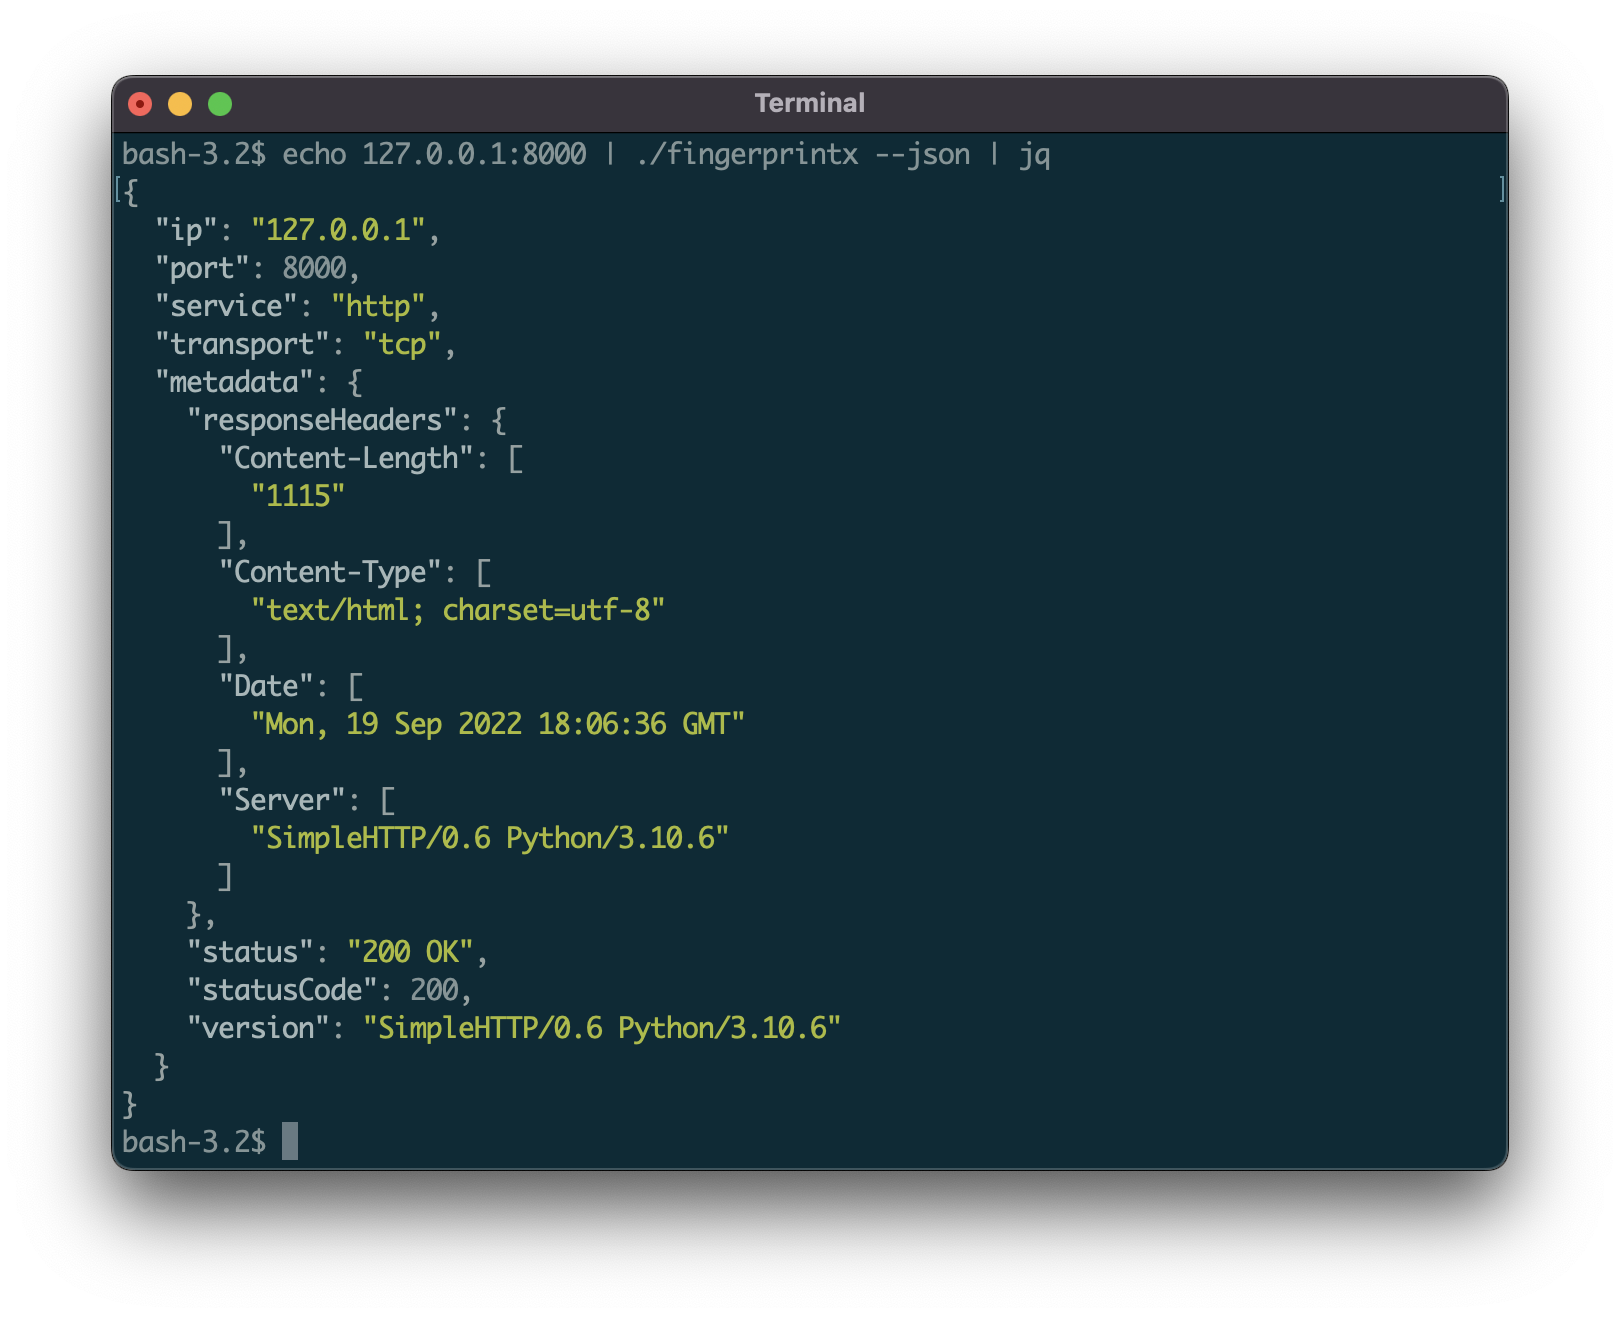
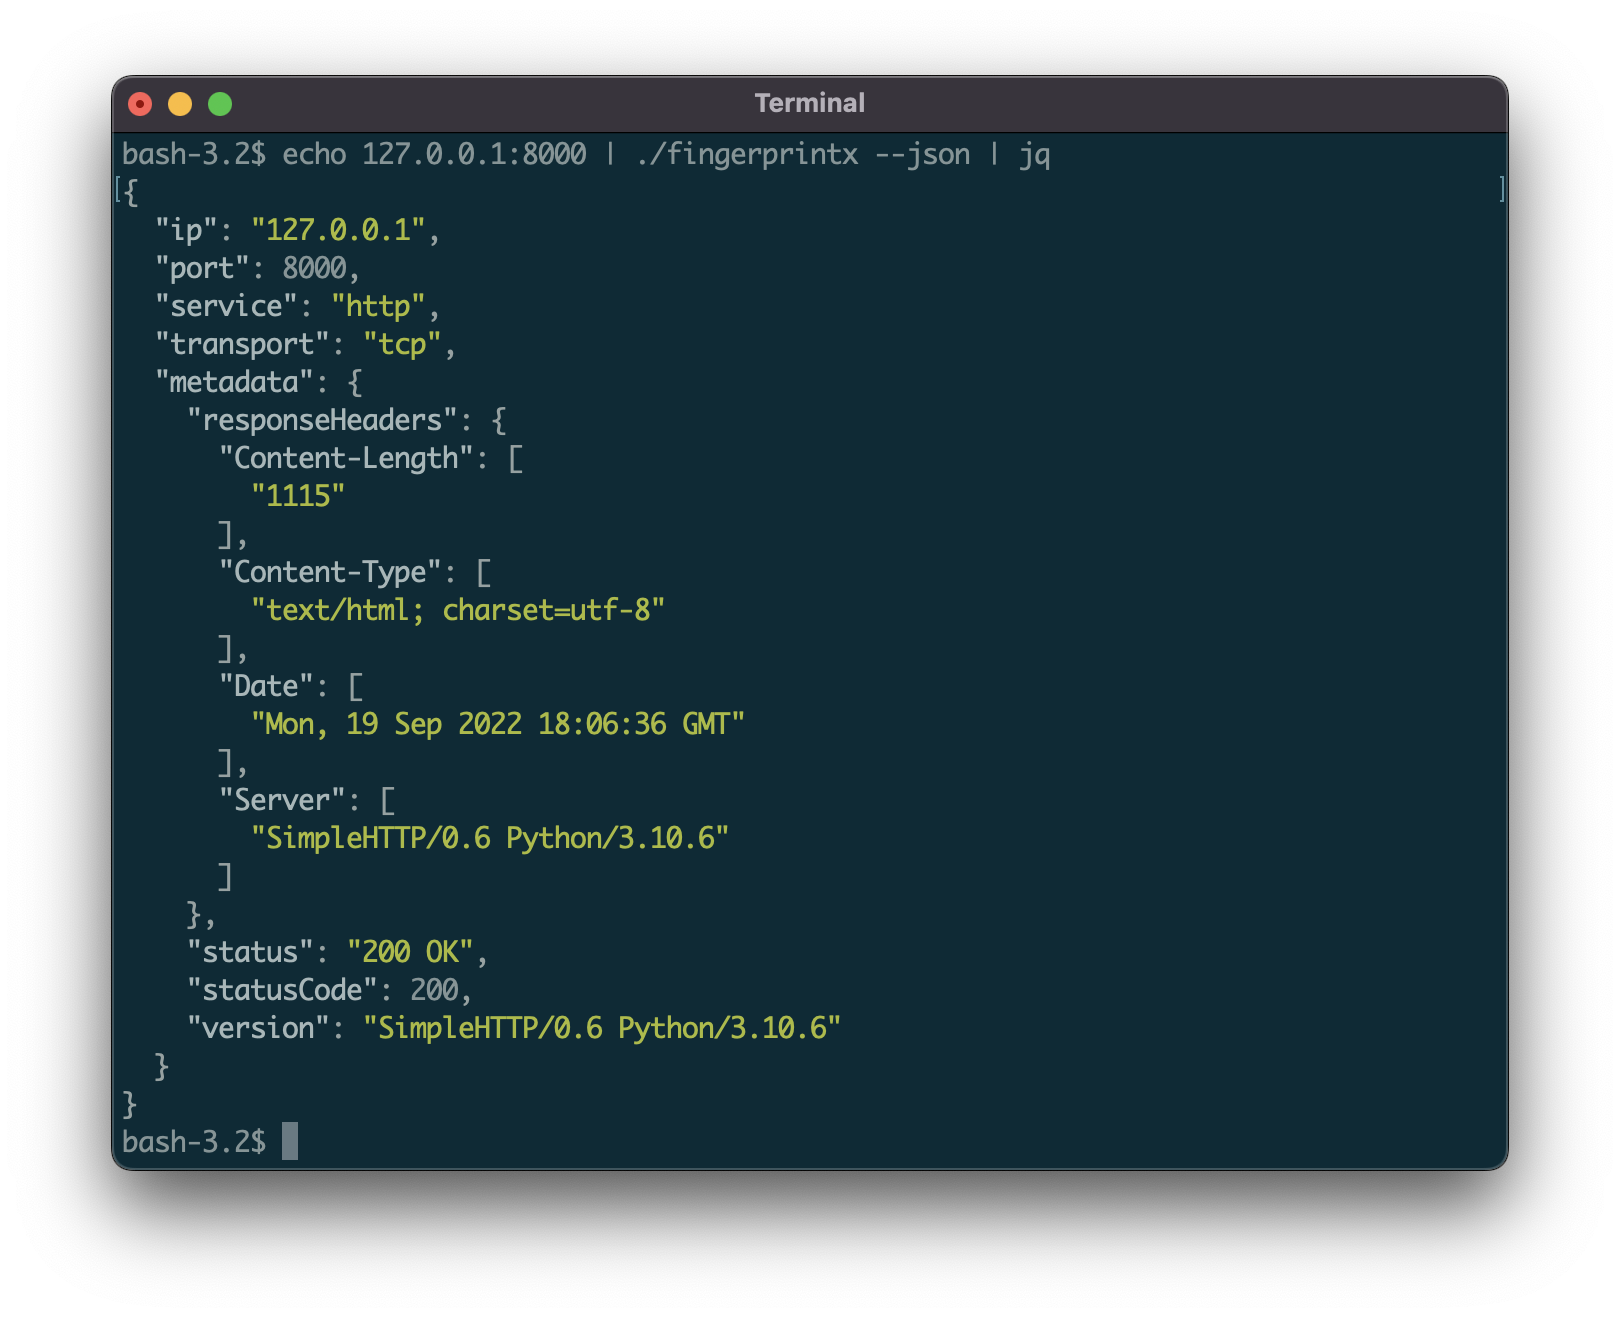
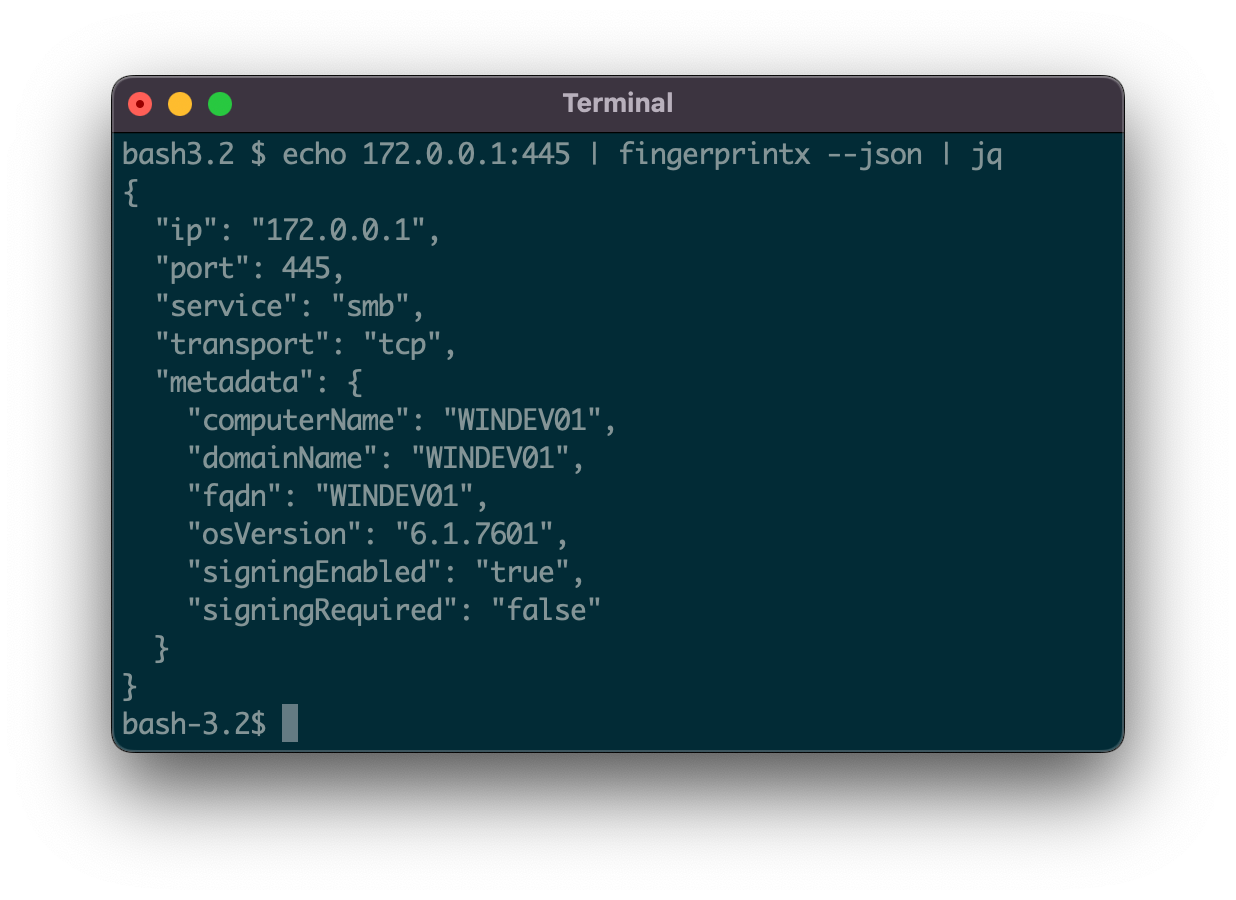
默认输出格式为:SERVICE://HOST:PORT。要获取更详细的服务输出,请使用 --json 标志指定 JSON 格式:
$ fingerprintx -t 127.0.0.1:8000 --json
{"ip":"127.0.0.1","port":8000,"service":"http","transport":"tcp","metadata":{"responseHeaders":{"Content-Length":["1154"],"Content-Type":["text/html; charset=utf-8"],"Date":["Mon, 19 Sep 2022 18:23:18 GMT"],"Server":["SimpleHTTP/0.6 Python/3.10.6"]},"status":"200 OK","statusCode":200,"version":"SimpleHTTP/0.6 Python/3.10.6"}}
从其他程序(例如 naabu)管道输入:
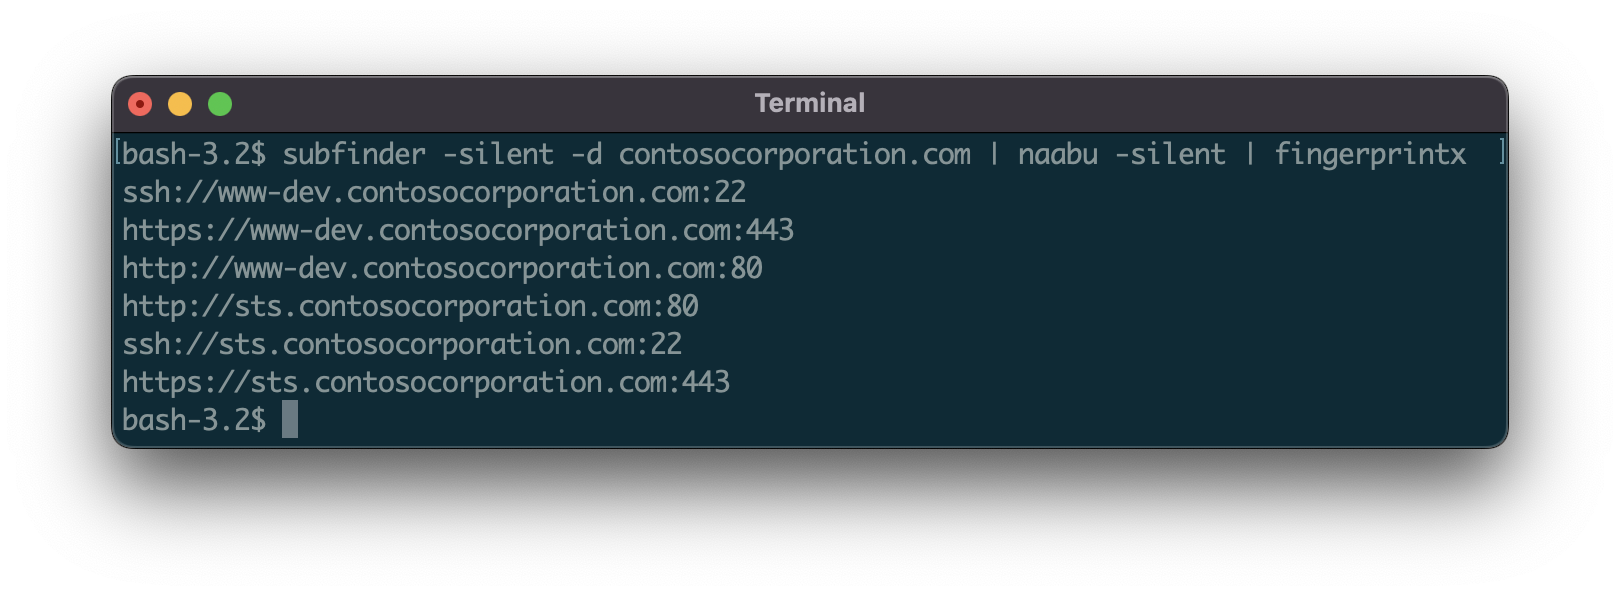
$ naabu 127.0.0.1 -silent 2>/dev/null | fingerprintx
http://127.0.0.1:8000
ftp://127.0.0.1:21
使用输入文件运行:
$ cat input.txt | fingerprintx
http://praetorian.com:80
telnet://telehack.com:23

# 或者使用
$ fingerprintx -l input.txt
http://praetorian.com:80
telnet://telehack.com:23
输出更多元数据:
$ cat input.txt | fingerprintx --json
{"host":"praetorian.com","ip":"146.148.61.165","port":80,"service":"http","transport":"tcp","metadata":{"responseHeaders":{"Connection":["keep-alive"],"Content-Type":["text/html"],"Date":["Mon, 19 Sep 2022 18:37:55 GMT"],"Etag":["W/\"5e3e263f-1703\""],"Keep-Alive":["timeout=20"],"Server":["nginx"],"Vary":["Accept-Encoding"]},"status":"404 Not Found","statusCode":404,"version":"nginx"}}
{"host":"telehack.com","ip":"64.13.139.230","port":23,"service":"telnet","transport":"tcp","metadata":{"serverData":"fffb03"}}
fingerprintx 可以导入到你的项目中,扫描开放端口上的服务。相关示例代码见 此处(examples 目录中的 scan.go)。使用 go build scan.go 构建。另一个在导入 fingerprintx 到你自己项目时可能有用的参考文件是命令行运行器。
Nmap 是网络扫描的标准工具。为什么使用 fingerprintx 而不是 nmap?主要有两个原因:
fingerprintx 更聪明,而不是更费力:针对运行在端口 8080 的服务器,第一个运行的插件是 http 插件。这种默认服务方法在最佳情况下能大幅缩短扫描时间。大多数情况下运行在端口 80、443、22 的服务分别是 http、https 和 ssh——因此 fingerprintx 会首先检查这些。fingerprintx 支持通过 --json 标志输出 JSON 格式。Nmap 支持多种输出选项(normal、xml、grep),但通常难以解析和编写相应脚本。fingerprintx 支持 JSON 输出,便于在处理流水线中与其他工具集成。third_party 文件夹导入了 Go 加密库?
ssh 指纹模块在握手过程中收集元数据时会识别服务器支持的各种加密选项。这需要使用一些未导出的函数,因此 Go 加密库被包含在这里,并附带一个 export.go 文件。target:port 都是开放的。如果没有端口开放,则不会有输出,因为目标上没有服务在运行。zgrab2 的命令行用法(和使用场景)与 fingerprintx 略有不同。对于 zgrab2,必须预先指定协议:echo praetorian.com | zgrab2 http -p 8000,这要求你已经知道主机上运行的是什么服务。而 fingerprintx 则不需要:echo praetorian.com:8000 | fingerprintx。“应用层”协议扫描方法非常相似。fingerprintx 是许多人的劳动成果,包括我们杰出的 2022 届实习生。以下是至今的贡献者列表: