Gotator 是一个通过排列生成 DNS 词表的工具。
如果你想在本地进行修改并编译,请按照以下步骤操作:
> git clone https://github.com/Josue87/gotator.git
> cd gotator
> go build
如果你只关心使用该程序:
> go install github.com/Josue87/gotator@latest
🐳 Docker 选项:
> git clone https://github.com/Josue87/gotator.git
> cd gotator
> docker build -t gotator .
# 使用
> docker run gotator -sub subdomains.txt  [...]
注意 如果你使用的是 1.16 或更高版本并且遇到错误,请运行以下命令:
> go env -w GO111MODULE="auto"
要升级版本,请在安装命令中添加 -u 参数。
Gotator 具有以下排列特性:
example.com、example.com.mx 等)。-numbers 3],结果将在 7 到 13 之间。-numbers 3],我们将看到 dev0、dev1、dev2、dev3 和 dev4(避免负数)。test10-demo2,numbers 标志设置为 1 [-numbers 1],结果中我们将看到 test11-demo2.example.com、test9-demo2.example.com、test10-demo3.example.com 或 test10-demo1.example.com。(每次只更改一个数字)。example.com 上的 test 单词,我们将得到 test.example.com。example.com 上的 dev 和 demo,除了 demo.example.com 和 dev.example.com 之外,我们还会得到 dev.demo.example.com 或 demo-dev.example.com。深度级别 3 是这个例子的扩展。-mindup 标志可以控制和减少重复(由于生成的行数很多,目标是尽可能减少几乎不可能存在的域):
test.example.com,下一个排列依然是 test,则忽略。testing.example.com,并且出现了 test,匹配 test 时会与 . 和 - 结合,避免 testtesting.example.com100.example.com,并且它得到 90 进行排列,则忽略该排列,因为它已经具有数字排列功能。test100.example.com,并且它得到 test 进行排列,我们会移除数字,然后 test==test,因此忽略该排列,因为它已经非常相似。adv 标志:
demo210.example.com,我们获取值 demo210 并将其添加到排列列表中。如果我们有 test-dev.domain.com,则向排列添加 test-dev、test 和 dev(仅当它们不在列表中时)。demo-test,它会将 demo-test、demo 和 test 添加到列表中。tech.example.com,排列是 test,我们还会交换排列 "-" 和 "" 的位置,得到诸如 techtest.example.com 和 tech-test.example.com 的结果(参见示例 1)。dev.tech.example.com,则会添加为目标 tech.example.com 和 example.com [-md]。1rer, 2, 2tty, admin, api, app, bbs, blog, cdn, cloud, cuali, demo, dev, dev2, email, exchange, forum, ftp, gov, govyty, gw, host, m, mail, mail2, mx1, mysql, news, ns, ns1, owa, portal, pre, pro, prod, prueba, qa, remote, secure, server, shop, smtp, store, support, test, test, tty, vpn, vps, web, ww1, ww42, www, www2。可用于启动工具的标志:
| 标志 | 类型 | 必须 | 描述 | 示例 |
|---|---|---|---|---|
| sub | string | 是 | 要交换的域列表。 | -sub subdomains.txt |
| perm | string | 否 | 排列列表。 | -perm permutations.txt |
| depth | uint | 否 | 配置深度(1 到 3 之间) - 默认 1。 | -depth 2 |
| numbers | uint | 否 | 配置对排列中找到的数字进行迭代的次数(向上和向下)。默认 0 跳过!此选项会影响性能,请使用较小的数字 | -numbers 10 |
| prefixes | bool | 否 | 将 gotator 默认前缀添加到排列。如果未配置,默认使用 perm。如果同时指定了 perm 和此标志,则合并排列。 | -prefixes |
| md | bool | 否 | 从 'sub' 列表中找到的子域中提取'先前'域和子域。 | -md |
| adv | bool | 否 | 高级选项。生成包含子域和带有 - 的词的排列。并将排列词放在后面(depth 1)。 | -adv |
| mindup | bool | 否 | 设置此标志以最小化重复。(对于繁重的工作负载,建议激活此标志)。 | -mindup |
| fast | bool | 否 | 不检查根域(注意你的范围) | -fast |
| silent | bool | 否 | 不显示 Gotator 横幅。 | -silent |
| t | uint | 否 | 最大 Go 协程数(默认 100)。注意:数据通过控制台输出,线程可能会增加处理时间 | -t 200 |
| version | bool | 否 | 显示 Gotator 版本 | -version |
gotator -sub domains.txt -perm permutations.txt -depth 2 -numbers 5 > output.txt
要过滤结果并删除可能的重复项:
gotator -sub domains.txt -perm permutations.txt -depth 3 -numbers 10 -md | uniq > output2.txt
如果要对它们进行排序,请将前一个命令中的 uniq 改为 sort -u。(由于时间原因不推荐)
注意:如果你在本地编译,不要忘记在二进制文件前加上 ./!
注意:示例可能对应于早期版本(其中未使用 -mindup 和 adv)。
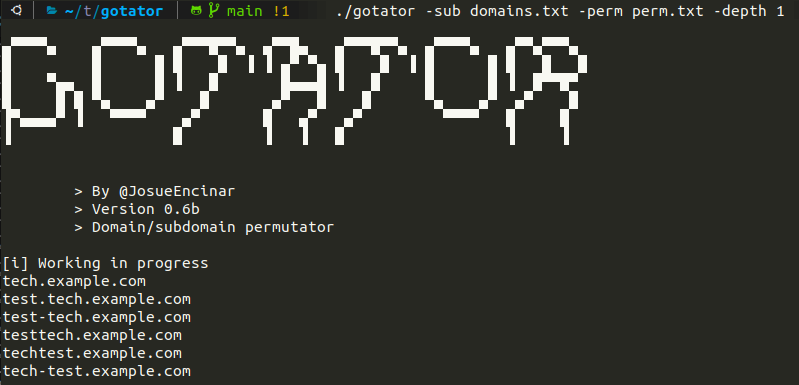
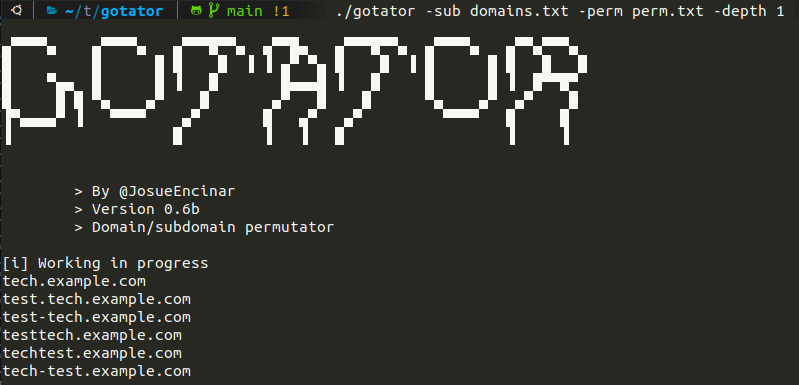
我们有以下列表:

在第一个例子中,我们在指定的子域上进行变异。
在下面的例子中,我们指示 Gotator 使用 -md 从子域中提取可能的域:
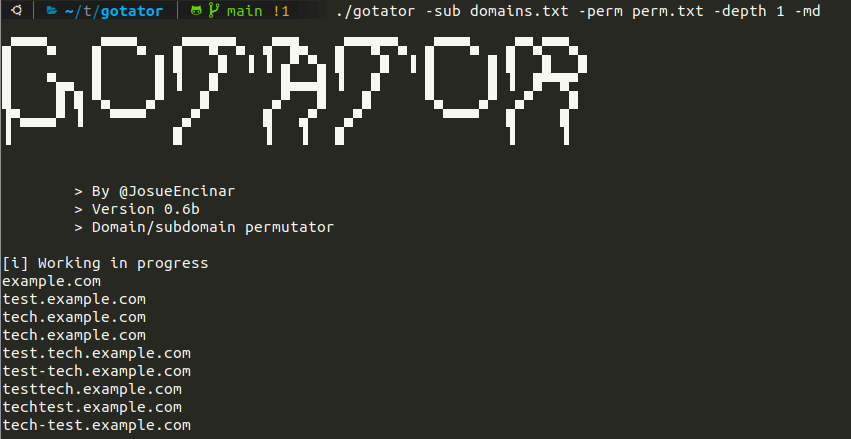
可以看到 example.com 被考虑在内。现在是一个包含 test100demo 的排列列表的例子,我们使用参数 -numbers 3:
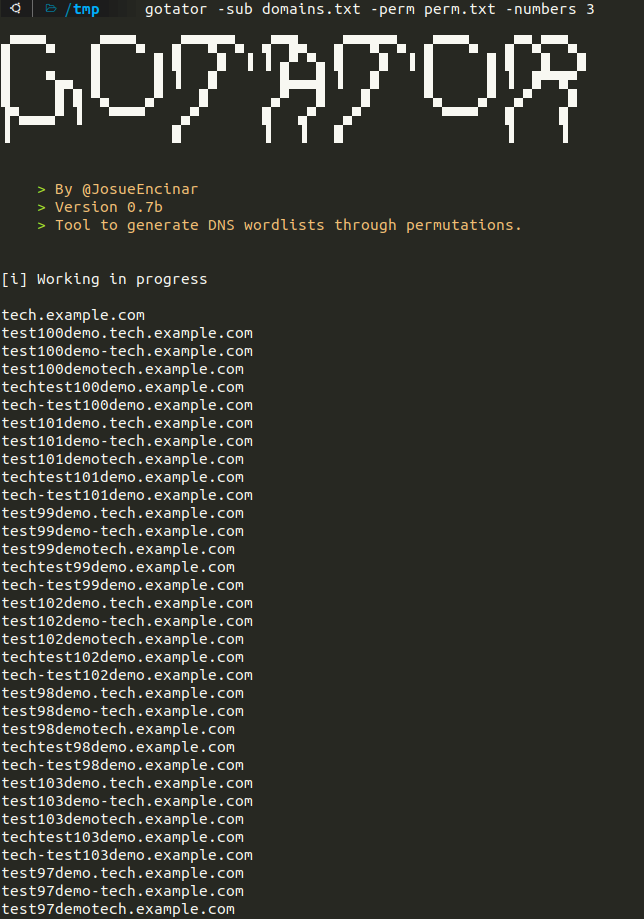
可以看到更大的变异深度,还可以指定 prefixes 参数(它会添加一个小的变异列表)。
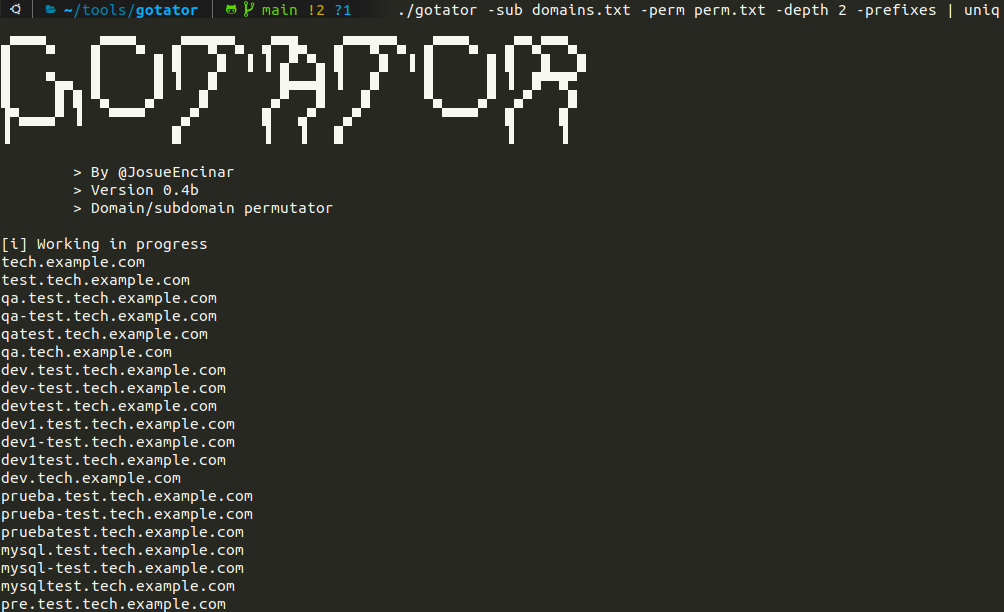
最后一个例子只显示了部分输出。
最后,一个使用静默模式和不同深度并将输出重定向到文件的例子。
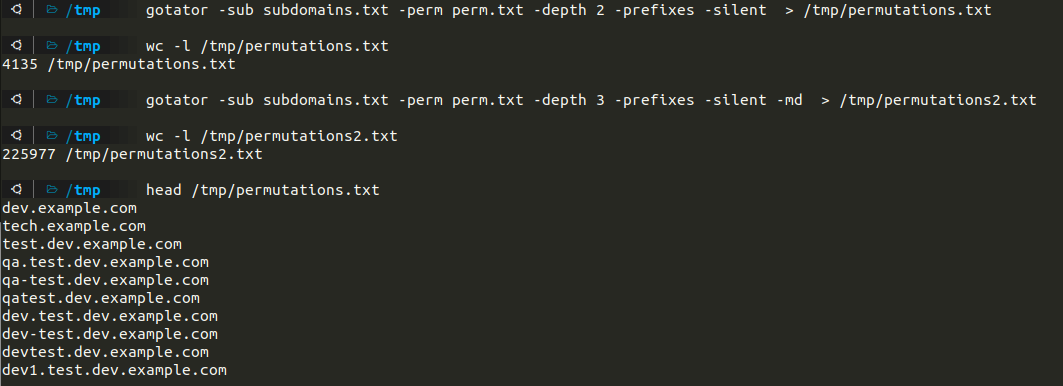
此工具可能生成巨大的文件和一些重复项,我们建议使用 uniq 或 sort -u 过滤输出,并注意 depth 标志,因为输出的大小(很容易生成超过 10 GB 的文件)。请记住,通过管道输出到其他工具需要该工具一次性处理整个输出(sort、uniq)。
# Filter output by size
gotator -sub subs.txt -perm perm.txt -depth 2 -numbers 5 -md | head -c 1G > output1G.txt

# Filter output by lines
gotator -sub subs.txt -perm perm.txt -depth 3 -mindup -numbers 20 | head -n 100000 > output100Klines.txt

# Sort unique lines
gotator -sub subs.txt -perm perm.txt -depth 2 -mindup -numbers 10 -prefixes | sort -u > outputSortUnique.txt

# Unique lines (only removes duplicate lines that follow each other)
gotator -sub subs.txt -perm perm.txt -depth 3 -mindup | uniq > outputUnique.txt

# Unique lines
gotator -sub subs.txt -perm perm.txt -depth 3 -mindup -adv | anew > outputAnew.txt

# Sort unique with limit size
gotator -sub subs.txt -perm perm.txt -prefixes -adv | head -c 1G | sort -u > output1GSortedUnique.txt
注意:示例中使用了 sort -u,这会减慢结果生成速度。没有必要对结果进行排序,建议使用 anew。
注意:此工具生成大量输出信息,建议使用 mindup 标志以减少行数。