最新应用 tshark-opensearch 现已可用。
您可以在 https://github.com/h21-lab/apps-collection-info 仓库中找到它。 👉 获取访问权限
该项目构建了一台可用于分析 tshark -T ek (ndjson) 输出的虚拟机。 该虚拟设备使用 vagrant 构建,构建的 Debian 系统预装了 ELK 栈并已配置完成。
VM 启动后,流程很简单:
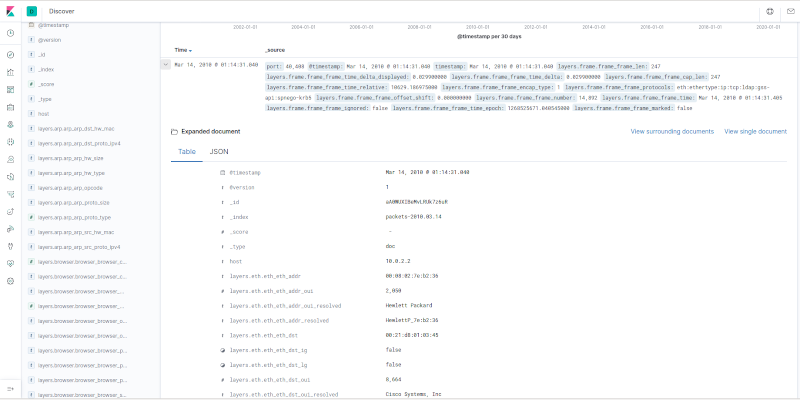
tshark -T ek 输出 / ndjson)通过 TCP/17570 发送到 VMhttp://127.0.0.1:15601/app/kibana#/dashboards 访问git clone https://github.com/H21lab/tsharkVM.git
sudo apt update
sudo apt install tshark virtualbox vagrant
vagrant plugin install vagrant-disksize
vagrant plugin install vagrant-scp
bash ./build.sh
# 将你的 pcap 文件复制到 ./Trace 目录

# 上传 pcap 文件(保留文件名)
bash upload_pcaps_with_filenames.sh

# 或者使用 vagrant scp 将 ndjson 文件复制到 /home/vagrant/input

# 或者上传 pcap 文件(不保留文件名)
bash upload_pcaps.sh

# 或者直接通过 tshark 向 127.0.0.1 17570/tcp 发送
tshark -r trace.pcapng -x -T ek > /dev/tcp/localhost/17570
firefox http://127.0.0.1:15601/app/kibana#/dashboards
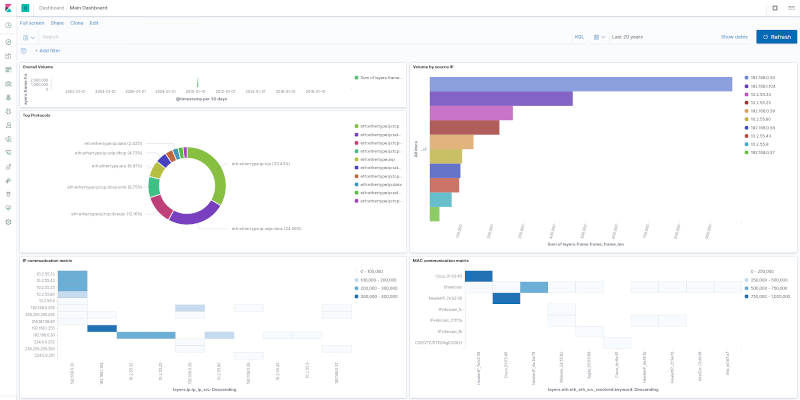
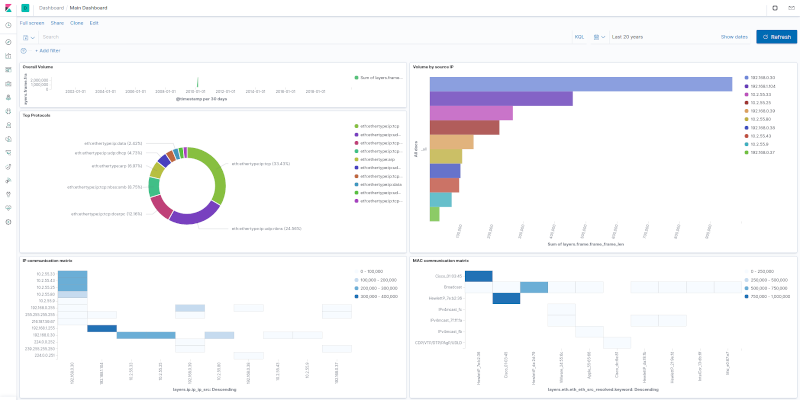
打开主仪表板,将时间窗口调大(例如最近 100 年),即可看到示例 pcap 数据。
cd ./VM
vagrant ssh
cd ./VM
vagrant destroy default
cd ./VM
vagrant up
cd ./VM
vagrant halt
cd ./VM
vagrant ssh
sudo systemctl status kibana.service
sudo systemctl status elasticsearch.service
sudo systemctl status logstash.service
项目中包含了一个简单的 Elasticsearch 映射模板,该模板针对 frame,eth,ip,udp,tcp,dhcp 协议生成。
为了高效处理其他协议,可能需要按照以下方式更新映射模板:
# 1. 通过选择所需协议创建自定义映射
tshark -G elastic-mapping --elastic-mapping-filter frame,eth,ip,udp,tcp,dns > ./Kibana/custom_tshark_mapping.json

# 2. 对映射进行去重和后处理,以适配当前 Elasticsearch 版本
ruby ./Public/process_tshark_mapping_json.rb

# 3. 将文件上传到 vagrant VM
cd VM
vagrant upload ../Kibana/custom_tshark_mapping_deduplicated.json /home/vagrant/tsharkVM/Kibana/custom_tshark_mapping_deduplicated.json
cd ..

# 4. 连接 VM 并将模板上传到 Elasticsearch
cd VM
vagrant ssh
cd tsharkVM/Kibana
curl -X PUT "localhost:9200/_index_template/packets_template" -H 'Content-Type: application/json' -d@custom_tshark_mapping_deduplicated.json
另一种方法是使用动态映射。请参见模板 ./Kibana/template_tshark_mapping_dynamic.json。并根据映射需求及使用的 pcap 文件,考虑将 numeric_detection 参数设置为 true 或 false。按照上述类似方式将模板上传到 Elasticsearch。
tshark -G elastic-mapping --elastic-mapping-filter 生成的映射可能已过时,未能正确跟随 Elasticsearch 的变化,且输出可能存在重复。需要手动配置和后处理映射模板。
程序按“原样”分发,希望它有用,但不提供任何担保。
本项目提供的源代码默认采用 Apache License v2.0。
simple-NIDS 采用 AGPLv3(自由开源 GNU Affero GPL v3.0)许可证。
此外,请分别参考所安装软件的各自许可证和使用条款(参见 Wireshark、Elastic 及其他软件的许可证)。
特别感谢为 Wireshark 开发提供帮助或以其他方式为这项工作做出贡献的人士:
./Traces 子文件夹中的示例 pcap 文件下载自 https://wiki.wireshark.org/SampleCaptures
由 Martin Kacer 创建
版权所有 2021 H21 lab,保留所有权利,https://www.h21lab.com