SecGen 创建易受攻击的虚拟机、实验室环境和黑客挑战,以便学生可以学习安全渗透测试技术。
像 Metasploitable2 这样的靶机总是相同的,这个项目使用 Vagrant、Puppet 和 Ruby 来创建随机易受攻击的虚拟机,这些虚拟机可用于学习或托管 CTF 活动。
最新版本可在以下地址获取:http://github.com/cliffe/SecGen/
如需托管解决方案,请访问:https://hacktivity.co.uk/
计算机安全学生受益于参与黑客挑战。实践性的实验室工作和预配置的黑客挑战在安全教育中很常见,也是安全意识爱好者的一种消遣方式。竞争性黑客挑战,如夺旗 (CTF) 竞赛,已成为行业会议的主要内容,并且是大型在线社区的焦点。虚拟机 (VM) 提供了一种共享黑客目标的有效方式,并且可以设计用来测试攻击者的技能。诸如 Vulnhub 之类的网站托管预配置的黑客挑战虚拟机,是那些学习和提升计算机安全技能的人的宝贵资源。然而,开发这些黑客挑战非常耗时,并且一旦创建,本质上是静态的。也就是说,一旦挑战被“解决”,学生就没有剩余的挑战了,并且如果挑战是为竞赛或评估而创建的,则无法重复使用而不冒抄袭和串通的风险。
安全场景生成器 (SecGen) 生成随机化的易受攻击系统。虚拟机基于场景规范创建,该规范描述了要创建的虚拟机的约束和属性。例如,一个场景可以指定创建一个具有远程可利用漏洞的系统,该漏洞会导致用户级入侵,以及一个本地可利用的缺陷,该缺陷会导致 root 级入侵。这将要求攻击者发现并利用两个随机选择的漏洞才能获得对系统的 root 访问权限。或者,定义的场景可以更具体,指定某种类型的服务(如 FTP 或 SMB),甚至确切的漏洞(按 CVE)。
SecGen 是一个 Ruby 应用程序,使用 XML 配置语言。它读取其配置,包括可用的漏洞、服务、网络、用户和内容,读取请求场景的定义,应用随机化场景的逻辑,并利用 Puppet 和 Vagrant 来配置所需的虚拟机。
SecGen 是自由软件:您可以根据自由软件基金会发布的 GNU 通用公共许可证(许可证第 3 版,或(根据您的选择)任何更高版本)的条款重新分发和/或修改它。
SecGen 包含模块,这些模块安装各种软件包。每个 SecGen 模块可能包含或远程获取软件,并且每个模块在其附带的 secgen_metadata.xml 文件中定义自己的许可证。
SecGen 在 Ubuntu Linux 上开发和测试。理论上,如果您安装了所有必需的软件,SecGen 应该在 Mac 或 Windows 上运行。
您需要安装以下内容:
该项目已适配 Ubuntu (20.04) 版本,因为 (16.04) 将于 2021 年 4 月停止支持,不过它仍然可以在该版本上运行,但不能保证支持您的开发环境所需的安全更新。
使用以下命令确保 Ubuntu 已更新:```bash sudo apt update sudo apt upgrade
安装一个较新版本的vagrant:```bash
wget https://releases.hashicorp.com/vagrant/2.2.9/vagrant_2.2.9_x86_64.deb
sudo apt install ./vagrant_2.2.9_x86_64.deb
安装其他必需包:```bash sudo apt-get install ruby-dev zlib1g-dev liblzma-dev build-essential patch virtualbox ruby-bundler imagemagick libmagickwand-dev exiftool libpq-dev libcurl4-openssl-dev libxml2-dev graphviz graphviz-dev libpcap0.8-dev git
使用以下命令克隆 SecGen 仓库。默认路径为 /home/username/SecGen,请根据需要更改:```bash
git clone https://github.com/cliffe/SecGen.git
使用以下命令安装 gems:```bash #Step In to the file directory
cd /home/username/SecGen
bundle update --bundler
更新 gems:```bash
bundle update
安装所有必需的软件包:```bash
wget https://releases.hashicorp.com/vagrant/1.9.8/vagrant_1.9.8_x86_64.deb sudo apt install ./vagrant_1.9.8_x86_64.deb
sudo apt-get install ruby-dev zlib1g-dev liblzma-dev build-essential patch virtualbox ruby-bundler imagemagick libmagickwand-dev exiftool libpq-dev libcurl4-openssl-dev libxml2-dev graphviz graphviz-dev libpcap0.8-dev git
将 SecGen 复制到您选择的目录中,例如 */home/user/bin/SecGen*

然后安装 gems:```bash
cd /home/user/bin/SecGen
bundle install
要使用 Windows 基础盒子,您需要安装 Packer。使用以下命令:```bash curl -SL https://releases.hashicorp.com/packer/1.3.2/packer_1.3.2_linux_amd64.zip -o packer_1.3.2_linux_amd64.zip unzip packer_1.3.2_linux_amd64.zip sudo mv packer /usr/local/ sudo bash -c 'echo "export PATH="$PATH:/usr/local/"" >> /etc/environment' sudo vagrant plugin install winrm sudo vagrant plugin install winrm-fs
## 用法
基本用法:```bash
ruby secgen.rb run
这将使用默认场景随机生成VM(虚拟机)。
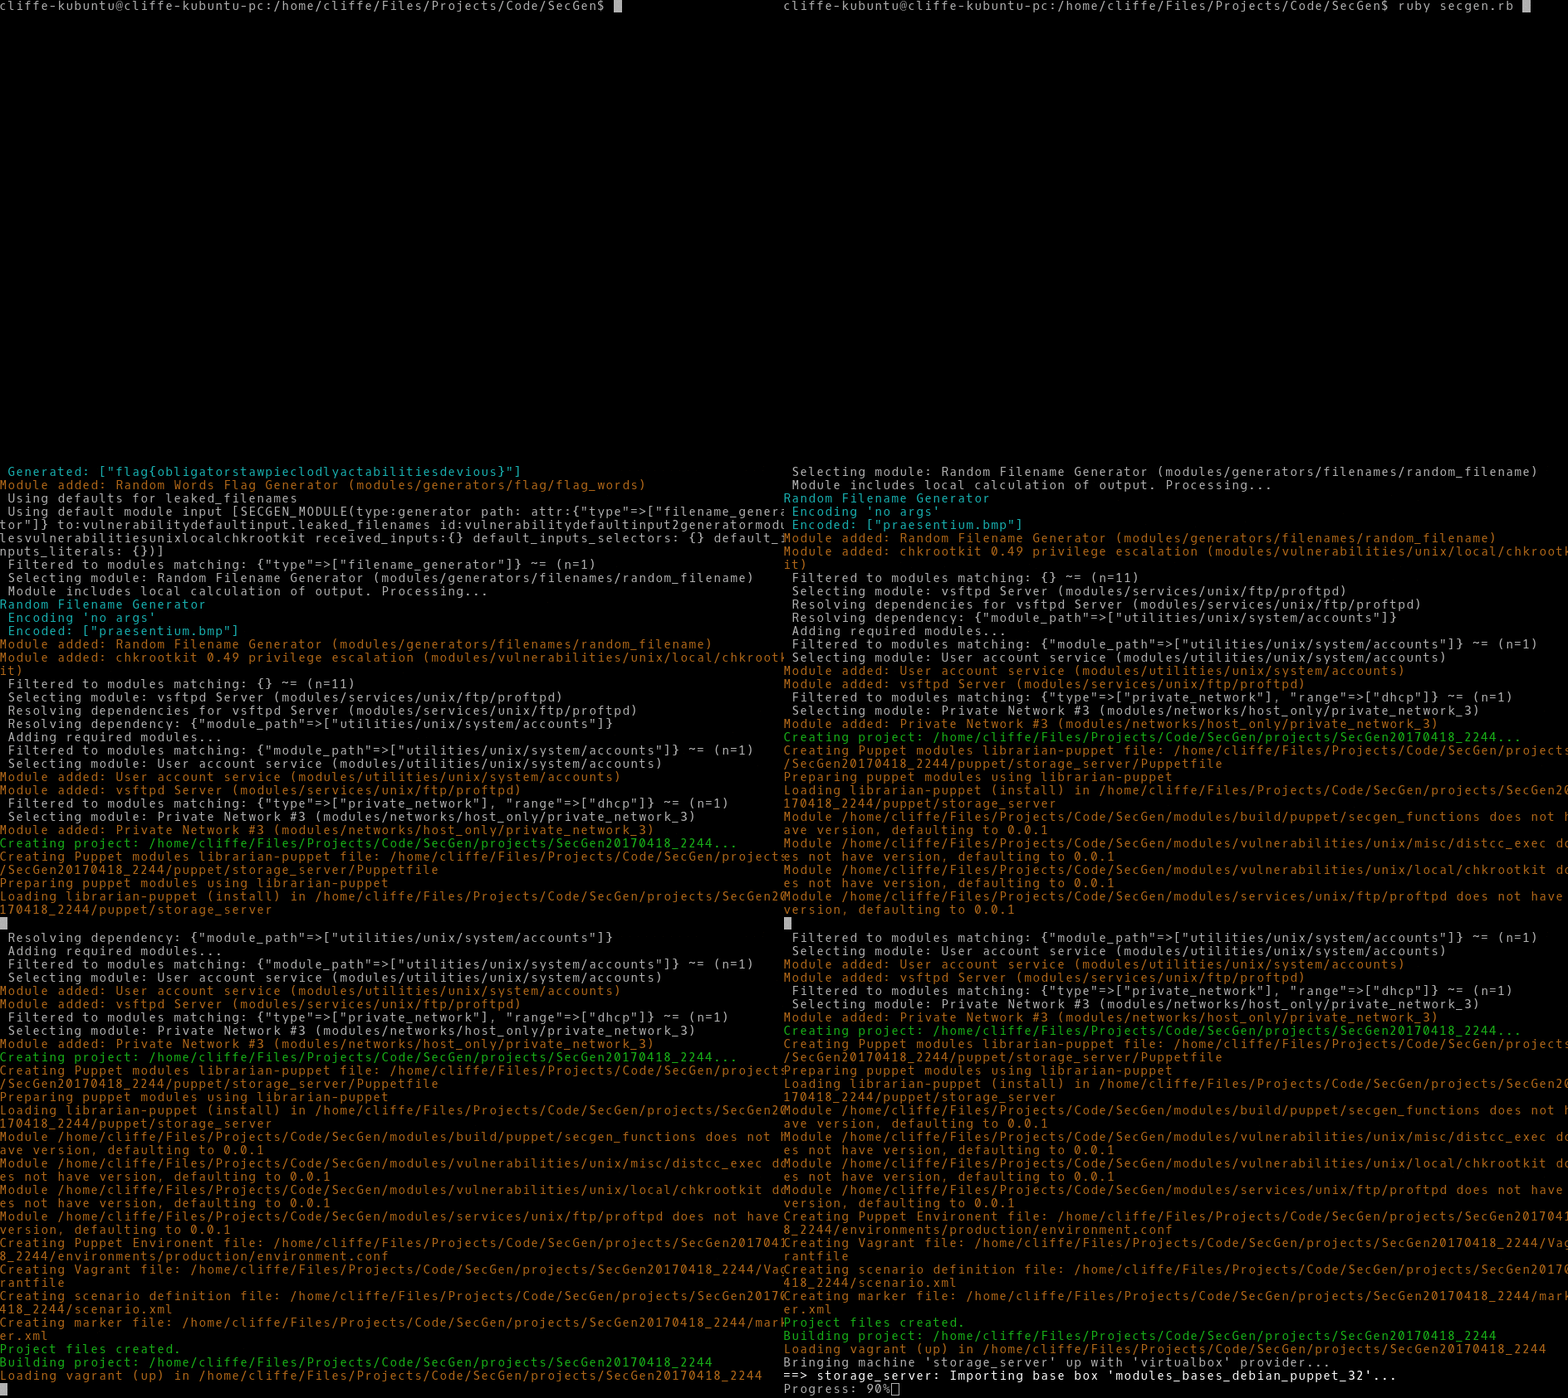
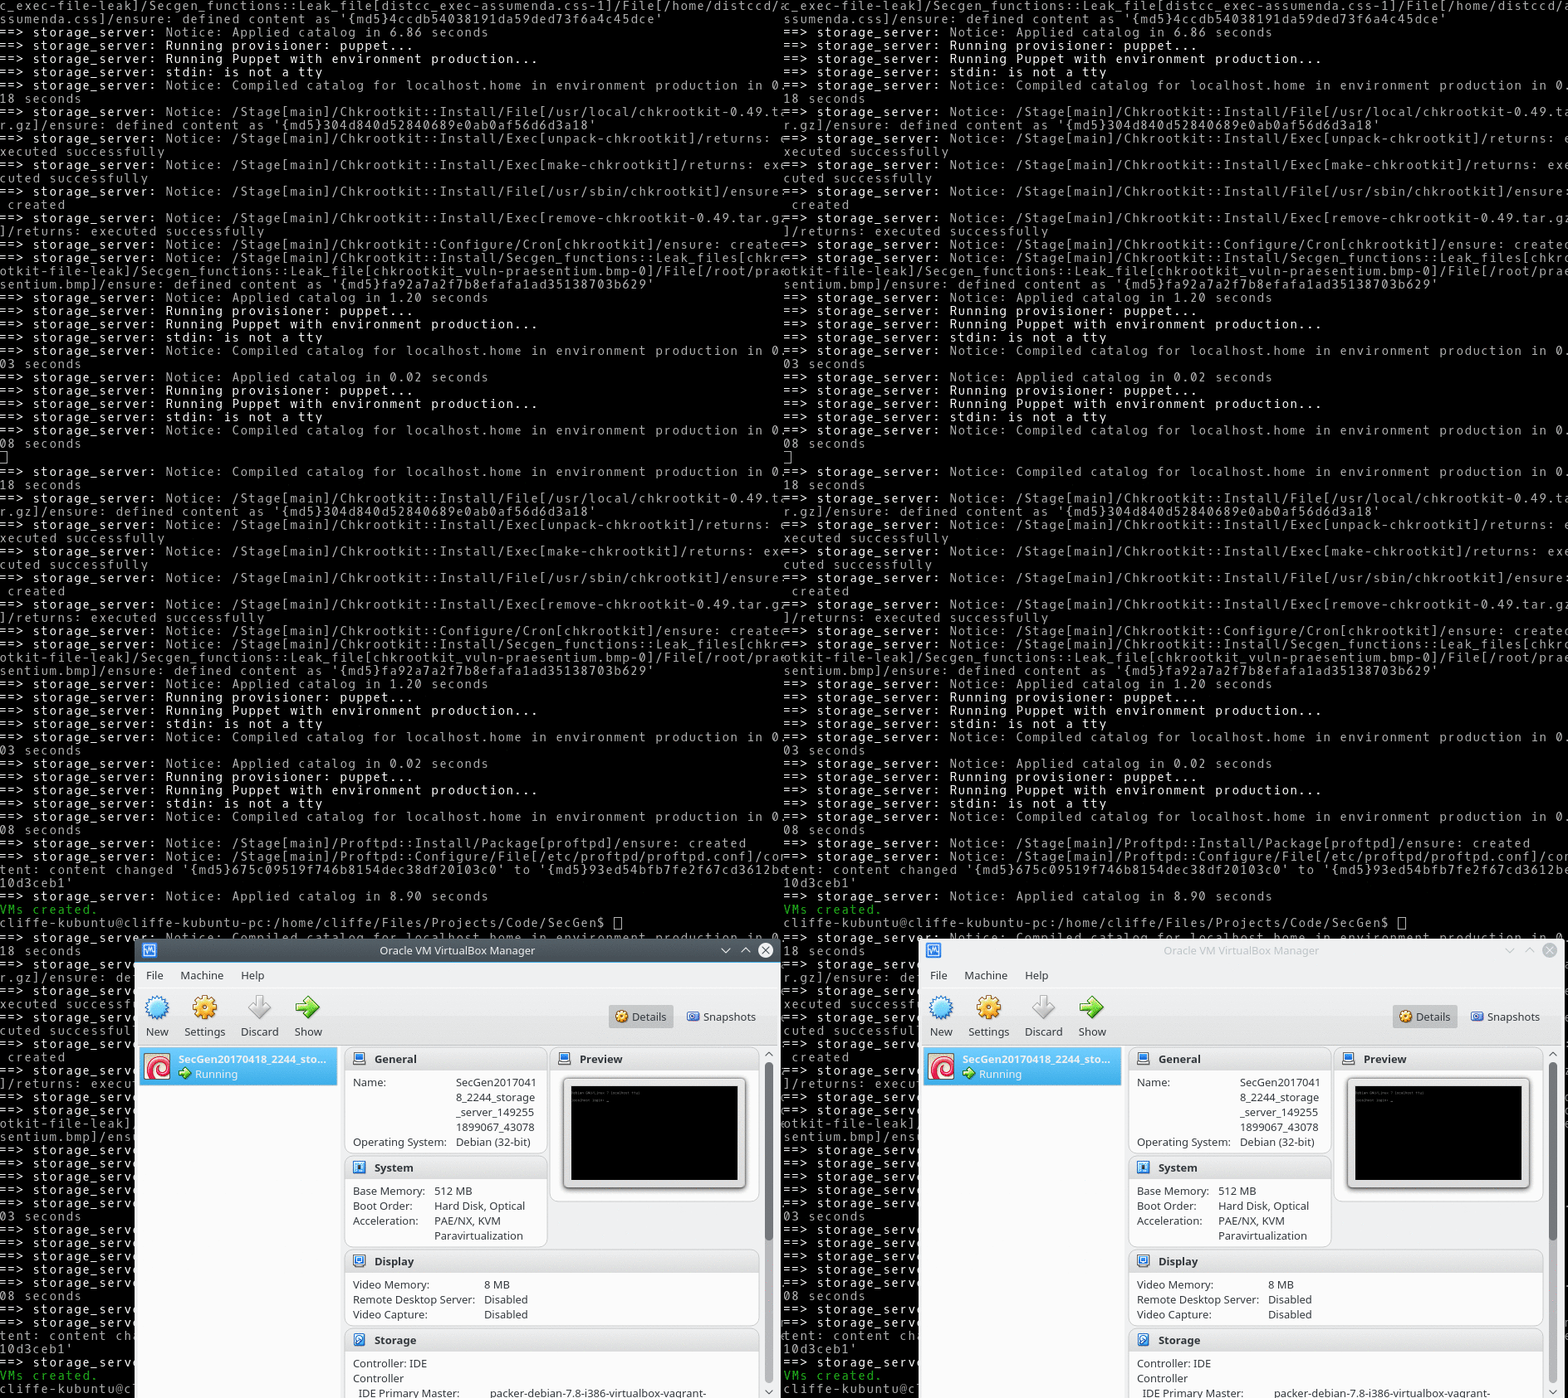
SecGen 接受参数来改变其行为方式,目前实现的参数有:```bash ruby secgen.rb [--options] OPTIONS: --scenario [xml file], -s [xml file]: Set the scenario to use (defaults to /home/secgen/SecGen/scenarios/default_scenario.xml) --project [output dir], -p [output dir]: Directory for the generated project (output will default to /home/secgen/SecGen/projects/SecGen20200313_094915) --shutdown: Shutdown VMs after provisioning (vagrant halt) --network-ranges: Override network ranges within the scenario, use a comma-separated list --forensic-image-type [image type]: Forensic image format of generated image (raw, ewf) --read-options [conf path]: Reads options stored in file as arguments (see example.conf) --memory-per-vm: Allocate generated VMs memory in MB (e.g. --memory-per-vm 1024) --total-memory: Allocate total VM memory for the scenario, split evenly across all VMs. --cpu-cores: Number of virtual CPUs for generated VMs --help, -h: Shows this usage information --system, -y [system_name]: Only build this system_name from the scenario --snapshot: Creates a snapshot of VMs once built --no-tests: Prevent post-provisioning tests from running.
  VIRTUALBOX OPTIONS:
  --gui-output, -g: Show the running VM (not headless)
  --nopae: Disable PAE support
  --hwvirtex: Enable HW virtex support
  --vtxvpid: Enable VTX support
  --max-cpu-usage [1-100]: Controls how much cpu time a virtual CPU can use
    (e.g. 50 implies a single virtual CPU can use up to 50% of a single host CPU)

  OVIRT OPTIONS:
  --ovirtuser [ovirt_username]
  --ovirtpass [ovirt_password]
  --ovirt-url [ovirt_api_url]
  --ovirtauthz [ovirt authz]
  --ovirt-cluster [ovirt_cluster]
  --ovirt-network [ovirt_network_name]
  --ovirt-affinity-group [ovirt_affinity_group_name]

  ESXI OPTIONS:
  --esxiuser [esxi_username]
  --esxipass [esxi_password]
  --esxi-hostname [esxi_api_url]
          (ESXi hostname/IP)
  --esxi-datastore [esxi_datastore]
  --esxi-disktype [esxi_disktype]: 'thin', 'thick', or 'eagerzeroedthick'
          (If unspecified, it will be set to 'thin')
  --esxi-network [esxi_network_name]
          (If its not specified, the default is to use the first found)
  --esxi-guest-nictype [esxi_nictype]: 'e1000', 'e1000e', 'vmxnet', 'vmxnet2', 'vmxnet3', 'Vlance', or 'Flexible'
          (RISKY - Can cause VM to not respond)
  --esxi-no-hostname
          (Setting the hostname on some boxes can cause vagrant up to fail if the network configuration was not previously cleaned up.)

  PROXMOX OPTIONS:
  --proxmoxuser [username]
  --proxmoxpass [password]
  --proxmox-url [api_url]
  --proxmox-node [node]
  --proxmox-network [proxmox network name]
  --proxmox-vlan [vlan number]

  COMMANDS:
  run, r: Builds project and then builds the VMs
  build-project, p: Builds project (vagrant and puppet config), but does not build VMs
  build-vms, v: Builds VMs from a previously generated project
          (use in combination with --project [dir])
  ovirt-post-build: only performs the ovirt actions that normally follow a successful vm build
          (snapshots and networking)
  create-forensic-image: Builds forensic images from a previously generated project
          (can be used in combination with --project [dir])
  list-scenarios: Lists all scenarios that can be used with the --scenario option
  list-projects: Lists all projects that can be used with the --project option
  delete-all-projects: Deletes all current projects in the projects directory
## Troubleshooting: 更新基础虚拟机
如果 SecGen 在安装软件包时遇到错误,则我们在 Vagrant cloud 上发布的模板虚拟机(基础虚拟机)可能需要更新(尤其是 Kali,它是滚动发行版)。在构建了一些虚拟机后,浏览您的主目录 `.vagrant.d/boxes/`,在这里您可以手动启动用作模板的虚拟机,并应用软件更新:`sudo apt-get update; sudo apt-get upgrade`。然后关闭虚拟机,再次尝试 SecGen。

对于 Proxmox,请使用此 Vagrant 插件:https://github.com/cliffe/vagrant-proxmox/,并对 Vagrant 进行此修复:https://github.com/hashicorp/vagrant/pull/12463/files。