
已更新Sep 2, 2026
netsentryx — 已更新!
一个事件驱动的网络监控平台,通过PyTorch自编码器执行实时数据包捕获(Npcap)、低延迟流量分析和无监督威胁检测,并由异步多通道告警引擎提供支持。
NetSentryx PRO 🛡️
AI 驱动的高性能实时网络可观测性与威胁检测引擎





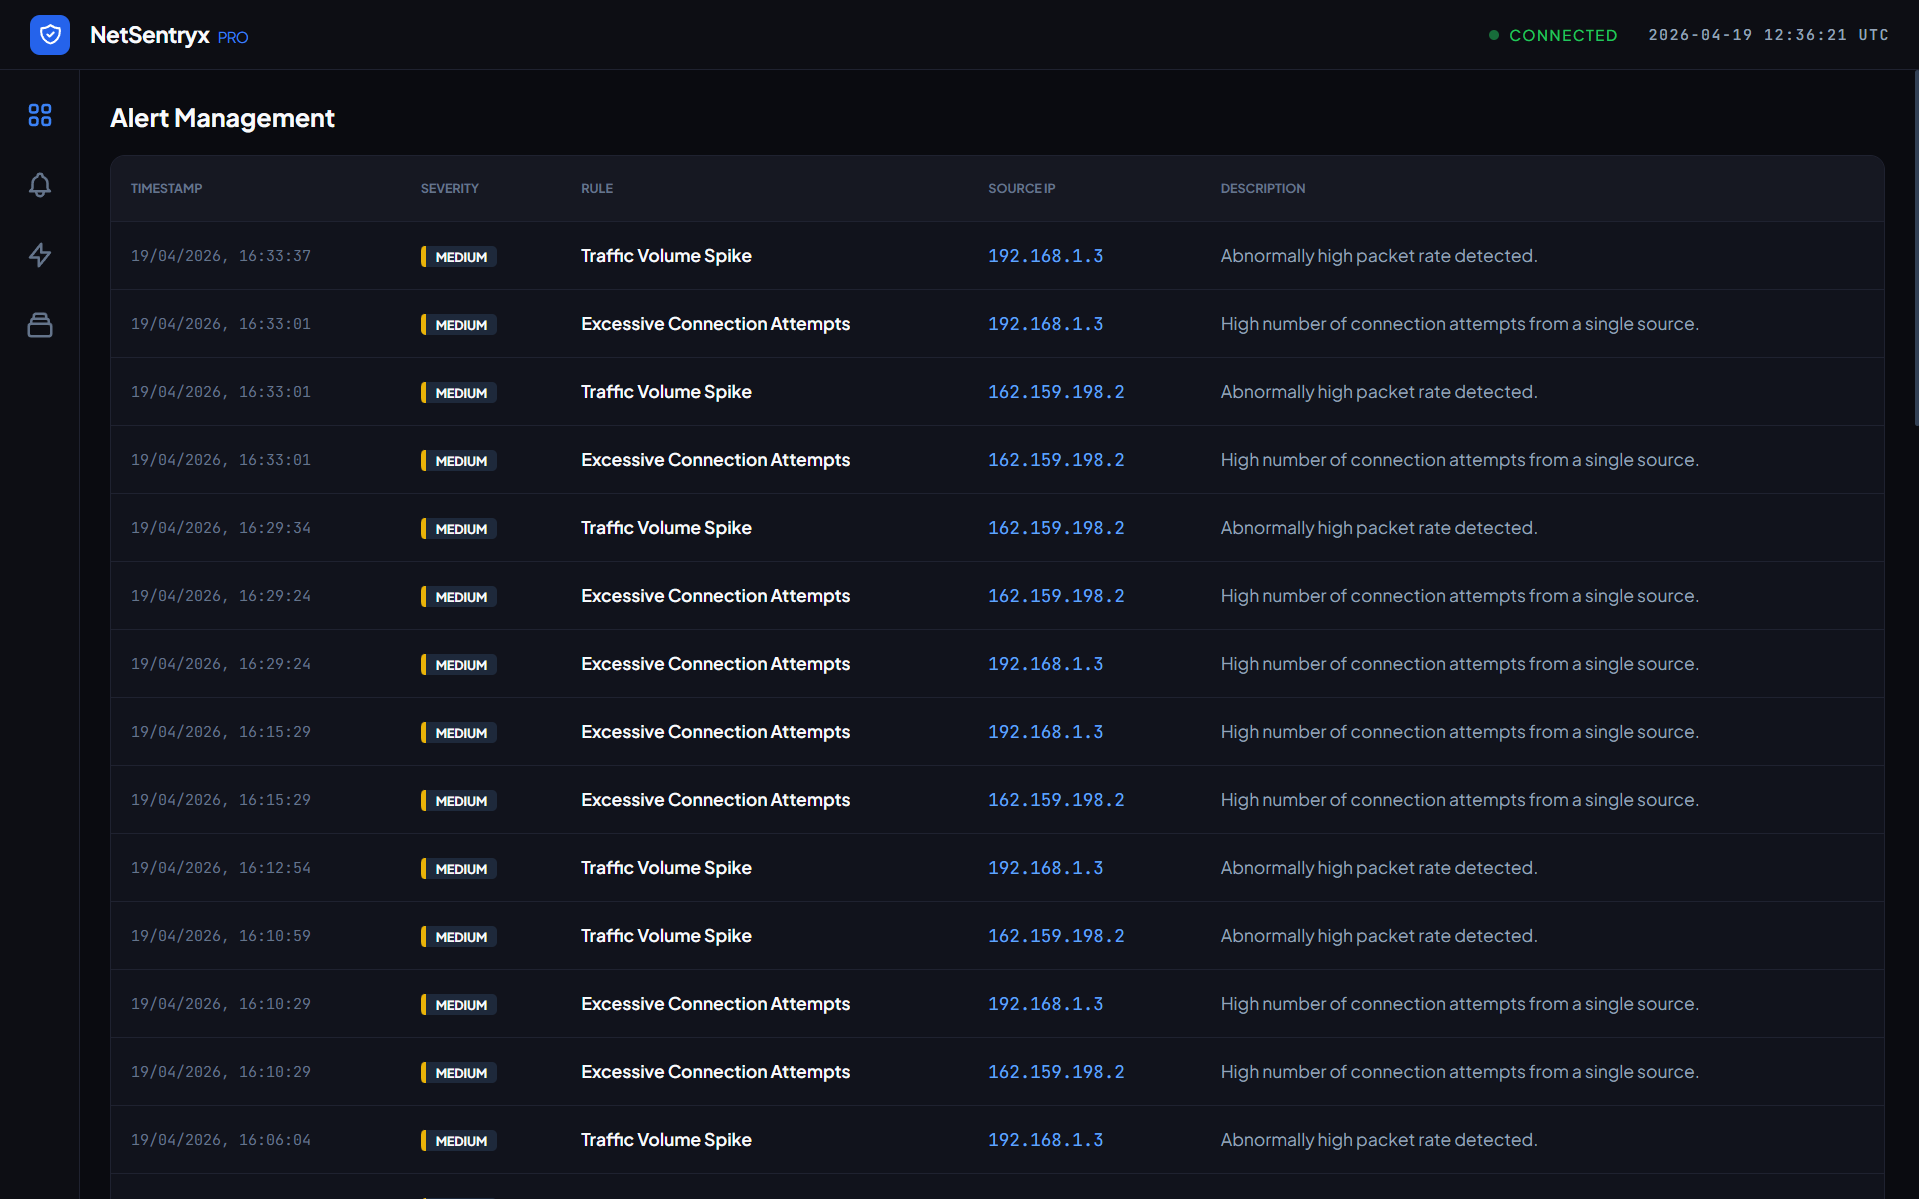
NetSentryx PRO 是一个下一代、事件驱动的网络监控与威胁情报平台。它结合了基于规则的签名与 PyTorch 深度自编码器,提供低于 10ms 的数据包和 netflow 异常检测、自动化多渠道告警(Slack、Discord、Email)以及交互式实时 SOC 仪表板。
🏗️ 系统架构
以下流程图展示了数据摄取、实时深度学习推理、告警流水线和 WebSocket 可视化层:
flowchart TD
    subgraph Capture & Ingestion
        A[Network Interface / Packet Simulator] -->|Raw Traffic Events| B(Lightweight Event Bus)
        B -->|Packet Stream| C[Flow Aggregation Engine]
    end

    subgraph Deep Learning Inference
        C -->|Aggregated Telemetry Vectors| D[PyTorch TrafficAutoencoder]
        D -->|MSE Reconstruction Loss| E{Threshold Evaluation}
    end

    subgraph Alert Dispatch
        E -->|No Anomaly| F[Status: Optimal]
        E -->|Anomaly Detected| G[FastAPI BackgroundTasks]
        G -->|Save Event| H[(SQLite Datastore)]
        G -->|Broadcast WebSocket| I[HTML Live Dashboard]
        G -->|Dispatch Webhooks| J[Slack / Discord / Custom Webhook]
        G -->|Dispatch SMTP| K[Email Alerting]
    end

    style D fill:#EE4C2C,stroke:#fff,stroke-width:2px,color:#fff
    style I fill:#005571,stroke:#fff,stroke-width:2px,color:#fff
    style G fill:#00bf8f,stroke:#fff,stroke-width:2px,color:#fff
🚀 核心特性
- ⚡ 实时流量摄取: 以极低延迟即时将数据包帧聚合为丰富的 netflow 摘要。
- 🧠 PyTorch 深度自编码器异常检测: 利用轻量级 PyTorch 神经网络(
TrafficAutoencoder),基于多变量特征重构误差检测复杂的零日漏洞利用、扫描或 DDoS 攻击。 - 📈 零手动训练启动: 在服务器启动期间自动进行合成拟合和统计阈值校准(
Mean + 3 * Std),开箱即用。 - ⏱️ 低于 10ms 的推理延迟: 优化的推理流水线确保对高吞吐量数据包流进行实时评估。
- 📣 多渠道告警分发: 使用 FastAPI 的
BackgroundTasks异步将详细的入侵告警推送到 Slack webhooks、Discord webhooks、自定义 HTTP API 和 SMTP 邮件。 - 📊 交互式 SOC 仪表板: 由 Tailwind CSS、Chart.js 和 WebSockets 驱动的优雅深色模式仪表板,用于实时可视化吞吐量指标和实时威胁源。
📁 项目结构
NetSentryx/
├── config/
│   ├── config.yaml          # System, dashboard, and alerting channel configurations
│   └── rules.yaml           # Threat detection thresholds and rule properties
├── src/
│   ├── alerts/
│   │   ├── ml_detection.py  # PyTorch TrafficAutoencoder & feature scaling
│   │   ├── manager.py       # Async alert dispatcher (Discord, Slack, Email)
│   │   └── detection.py     # Rule-based packet signature detection engine
│   ├── core/
│   │   ├── config_loader.py # Configuration loader utilities
│   │   ├── logger.py        # Database-integrated system logger
│   │   └── time_utils.py    # Timezone-aware timestamp utilities
│   ├── dashboard/
│   │   ├── templates/
│   │   │   └── index.html   # Live HTML5 Dashboard template
│   │   └── server.py        # FastAPI API Router and WebSocket broadcast controller
│   ├── database/
│   │   ├── manager.py       # SQLite connection & database actions
│   │   └── models.py        # SQLAlchemy schema definitions (Alerts, Logs, Flows)
│   ├── flows/
│   │   ├── capture.py       # Scapy packet sniffer thread
│   │   └── processor.py     # Flow aggregation and metric extractor
│   └── main.py              # Application entrypoint
└── main.py                  # Root script runner
🛠️ 快速开始与设置指南
1. 先决条件
确保已安装 Python 3.10+。如果需要捕获实时网络接口:
- Windows: 安装 Npcap(选择“Install Npcap in WinPcap API-compatible Mode”)。
- Linux: 通过
sudo apt-get install libpcap-dev安装libpcap-dev。
2. 安装
克隆仓库并安装依赖(强烈建议使用 uv 以加快安装速度):
# Clone the repository
git clone https://github.com/yourusername/netsentryx.git
cd netsentryx

# Create virtual environment
python -m venv .venv
source .venv/bin/activate  # On Windows: .venv\Scripts\activate

# Install requirements
pip install -r requirements.txt
3. 环境设置(.env)
在项目根目录创建 .env 文件以配置通知凭据:
# Discord Configuration
DISCORD_ENABLED=true
DISCORD_WEBHOOK_URL="https://discord.com/api/webhooks/your-webhook-id/your-webhook-token"

# Slack Configuration
SLACK_ENABLED=true
SLACK_WEBHOOK_URL="https://hooks.slack.com/services/YOUR_WORKSPACE_ID/YOUR_CHANNEL_ID/YOUR_SECRET_TOKEN"

# SMTP Email Configuration
SMTP_ENABLED=true
SMTP_SERVER="smtp.gmail.com"
SMTP_PORT=587
SMTP_USERNAME="[email protected]"
SMTP_PASSWORD="your-app-password"
SMTP_FROM_EMAIL="[email protected]"
SMTP_TO_EMAIL="[email protected]"
4. 运行平台
🧪 模拟模式(包含合成流量模拟器)
python main.py --simulate
🌐 实时嗅探模式(需要管理员/sudo 权限)
python main.py
打开浏览器并访问 http://localhost:8000 查看实时仪表板。
📖 API 文档
遥测与推理端点
- URL:
/api/v1/telemetry/analyze - 方法:
POST - Content-Type:
application/json
请求负载
{
  "packet_count": 550,
  "byte_count": 850000,
  "flow_duration": 4.5,
  "syn_flag_ratio": 0.85,
  "port_entropy": 3.2,
  "byte_rate": 188888.8,
  "source_ip": "192.168.1.120",
  "dest_ip": "10.0.0.5",
  "protocol": "TCP"
}
响应(正常流量)
{
  "status": "NORMAL",
  "threat_level": "low",
  "anomaly_score": 0.3083,
  "threshold": 2.1319
}
响应(异常流量)
{
  "status": "ANOMALOUS",
  "threat_level": "critical",
  "anomaly_score": 117999.03,
  "threshold": 2.1319,
  "alert": {
    "id": 12,
    "timestamp": "2026-08-05T14:13:31.373Z",
    "rule_id": "ml_autoencoder_anomaly",
    "rule_name": "ML Autoencoder Anomaly",
    "source_ip": "192.168.1.120",
    "severity": "critical",
    "description": "Deep autoencoder reconstruction error exceeded anomaly threshold (score: 117999.0300, threshold: 2.1320).",
    "metrics": { ... }
  }
}
历史查询
| 端点 | 方法 | 描述 | 示例响应 |
|---|---|---|---|
/api/alerts | GET | 获取数据库中保存的近期威胁告警 | [{"id": 1, "rule_name": "Port Scanning", ...}] |
/api/flows | GET | 获取近期网络流遥测日志 | [{"source_ip": "192.168.1.10", "packet_count": 45, ...}] |
/api/logs | GET | 获取后端系统审计日志 | [{"level": "INFO", "message": "ML engine trained...", ...}] |
🛡️ 许可证
本项目采用 MIT 许可证 - 详情请参阅 LICENSE 文件。