 orange-cyberdefense/grepmarx
AppSec 애호가를 위한 소스 코드 정적 분석 플랫폼.


Grepmarx는 크고 알 수 없는 코드베이스에서 취약점을 신속하게 이해, 분석 및 식별할 수 있는 단일 플랫폼을 제공하는 웹 애플리케이션입니다.
SAST (정적 분석 보안 테스트) 기능:
SCA (소프트웨어 구성 분석) 기능:
추가
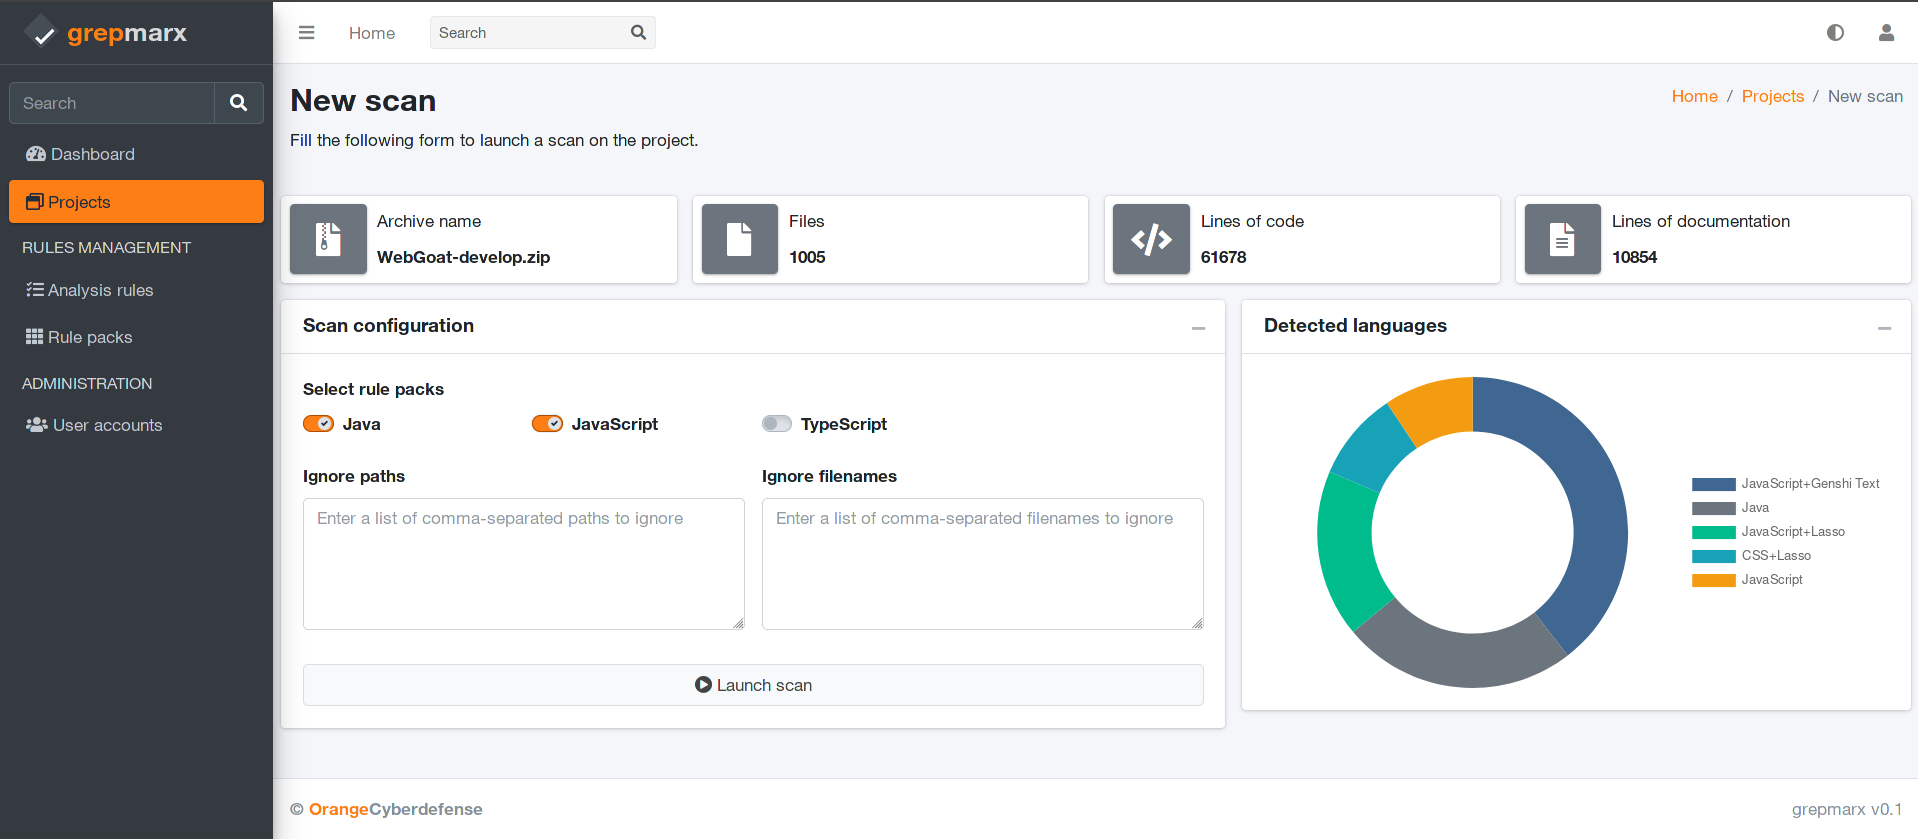
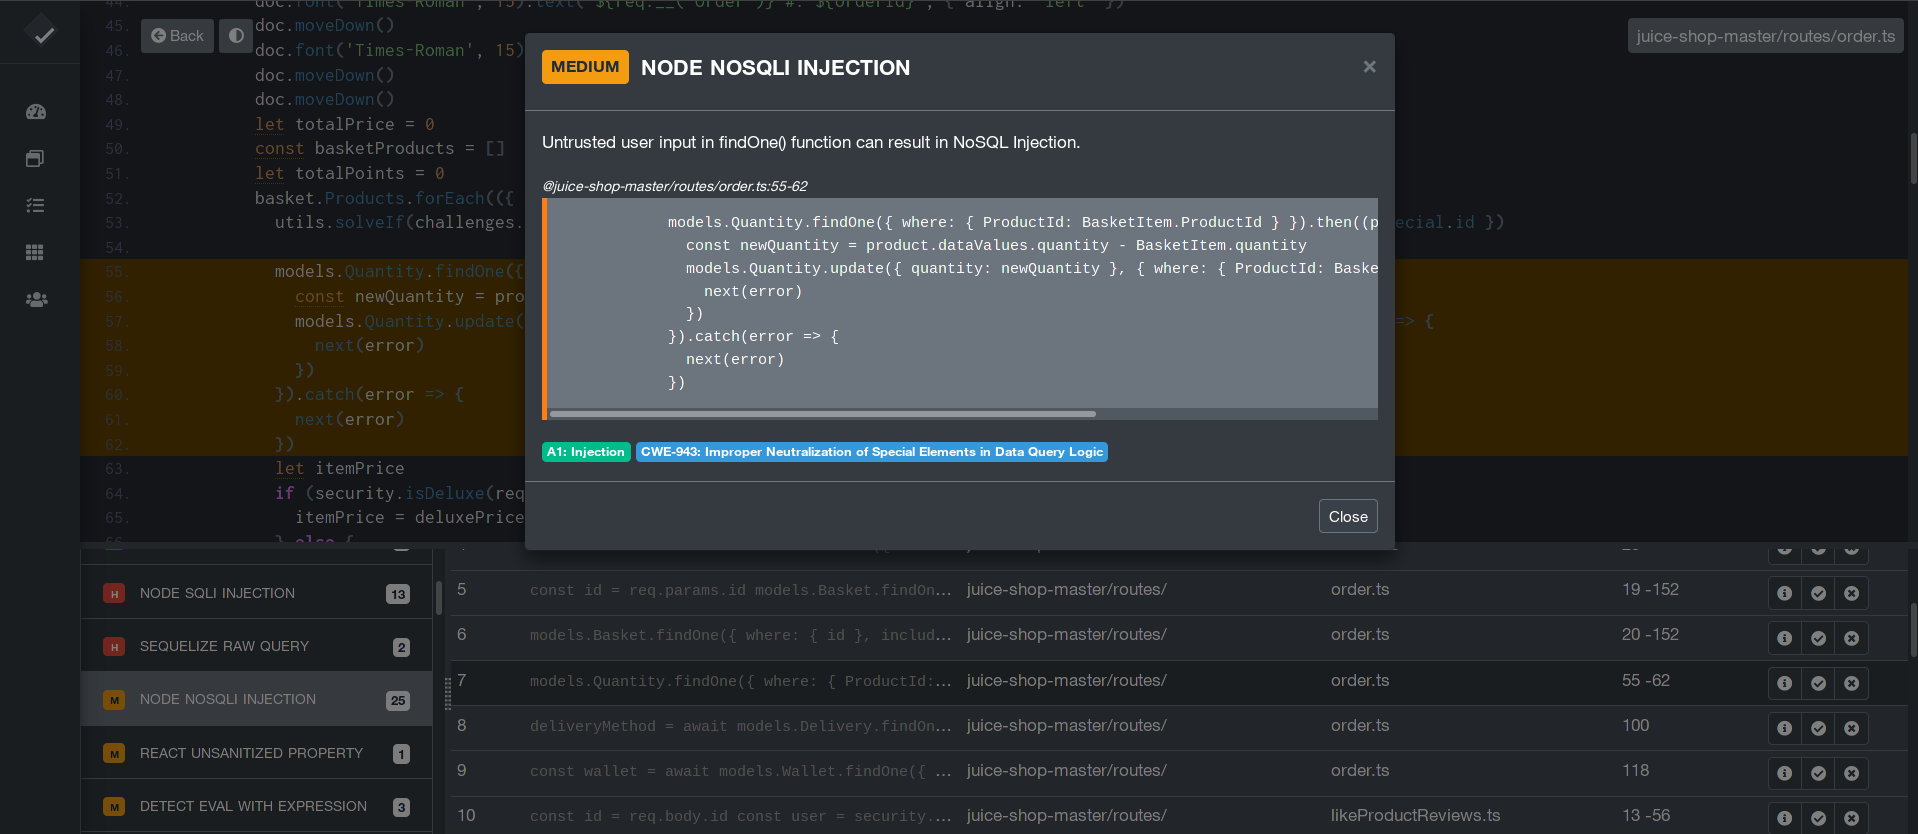
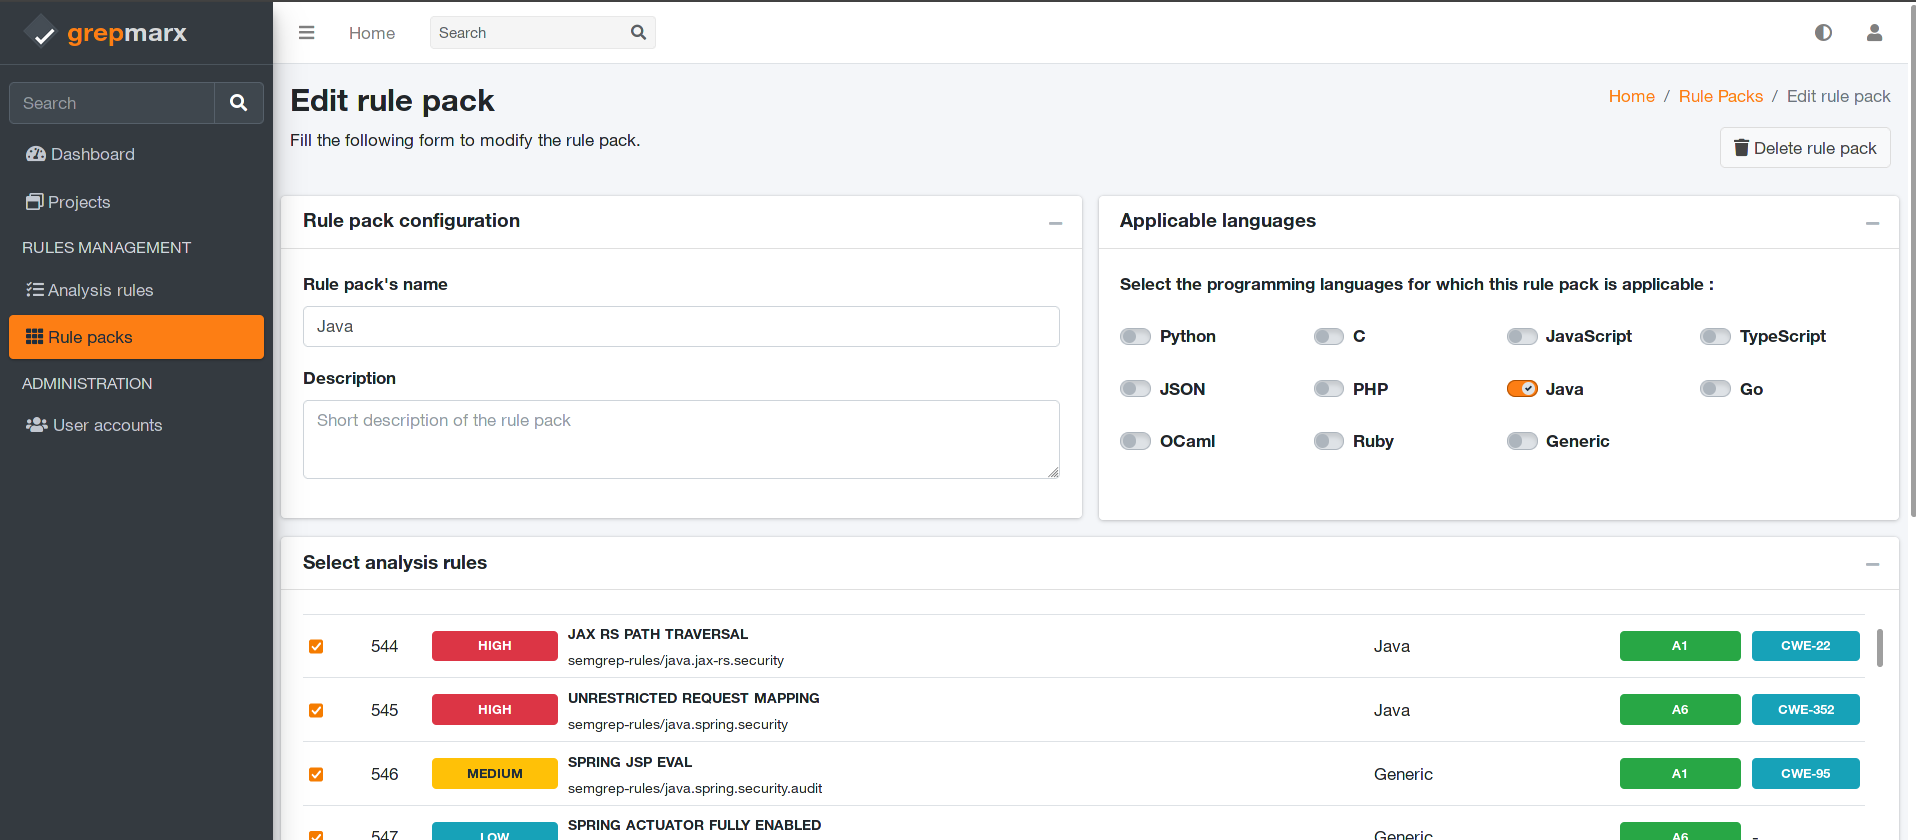
| 스캔 사용자 지정 | 분석 작업대 | 규칙 팩 편집 |
|---|---|---|
 |  |  |
Grepmarx는 Docker 및 Gunicorn에서 실행할 수 있는 구성과 함께 제공됩니다.
시스템에 docker-compose가 설치되어 있고 docker 데몬이 실행 중인지 확인하십시오. 그러면 애플리케이션을 Docker 컨테이너에서 쉽게 실행할 수 있습니다. 단계:
코드 가져오기
$ git clone https://github.com/Orange-Cyberdefense/grepmarx.git
$ cd grepmarx
Docker에서 앱 시작
$ sudo docker-compose pull && sudo docker-compose build && sudo docker-compose up -d
브라우저에서 http://localhost:5000에 접속하십시오. 앱이 실행 중일 것입니다.
Gunicorn 'Green Unicorn'은 UNIX용 Python WSGI HTTP 서버입니다. 보안 스캔 대기열에 사용되는 필수 Celery 워커와 함께 시작하기 위한 supervisor 구성 파일이 제공됩니다.
pip를 사용하여 설치
$ pip install gunicorn supervisor
gunicorn 바이너리를 사용하여 앱 시작
$ supervisord -c supervisord.conf
브라우저에서 http://localhost:8001에 접속하십시오. 앱이 실행 중일 것입니다.
스캔을 실행하려면 Administration/Repository에 최소 하나의 항목을 수동으로 추가해야 합니다. 사용할 수 있는 Semgrep/Opengrep 규칙 저장소의 몇 가지 예는 다음과 같습니다:
https://github.com/opengrep/opengrep-rules: Opengrep 규칙의 표준 라이브러리https://github.com/patched-codes/semgrep-rules: 허용 라이선스가 적용된 Semgrep 규칙 모음https://github.com/trailofbits/semgrep-rules: Trail of Bits에서 개발한 Semgrep 규칙https://github.com/Decurity/semgrep-smart-contracts: 스마트 계약의 취약점 패턴을 찾는 Semgrep 규칙https://github.com/0xdea/semgrep-rules: 0xdea의 Semgrep 규칙https://github.com/mindedsecurity/semgrep-rules-android-security: Android 애플리케이션을 위한 OWASP MASTG에서 파생된 Semgrep 규칙https://github.com/akabe1/akabe1-semgrep-rules: akabe1의 사용자 정의 Semgrep 규칙 모음https://github.com/s0rcy/semgrep-rules: 보안 분석 및 연구를 위한 s0rcy의 개인 Semgrep 규칙 모음사용하는 규칙 저장소의 LICENSE 파일에 동의하고 준수하는지 확인하십시오!
이 시점에서 해야 할 일은 필요에 따라 규칙 팩을 만든 다음 스캔을 시작하는 것입니다.
코드 가져오기
$ git clone https://github.com/Orange-Cyberdefense/grepmarx.git
$ cd grepmarx
virtualenv 모듈 설치
$ virtualenv env
$ source env/bin/activate
Python 모듈 설치
$ # SQLite Database (Development)
$ pip3 install -r requirements.txt
$ # OR with PostgreSQL connector (Production)
$ # pip install -r requirements-pgsql.txt
추가 요구 사항 설치
# Dependency scan requirements (cdxgen)
$ sudo apt install -y npm openjdk-17-jdk maven gradle golang composer
$ sudo npm install -g @cyclonedx/cdxgen
# Application Inspector dependencies
$ sudo apt install -y dotnet-runtime-8.0
nodejs 버전이 20.X 이상인지 확인하십시오. 그렇지 않으면 cdxgen이 실패합니다.
보안 스캔을 큐에 넣으려면 Redis 서버가 필요합니다. 선호하는 배포판 패키지 관리자로
redis패키지를 설치한 다음:
$ redis-server
FLASK_APP 환경 변수 설정
$ export FLASK_APP=run.py
$ # Set up the DEBUG environment
$ # export FLASK_ENV=development
celery 워커 프로세스 시작
동시 스캔 수를 늘리려면 동시성을 변경하십시오
$ celery -A app.celery_worker.celery worker --pool=prefork --loglevel=info --detach --concurrency=1 -Q scans
애플리케이션 시작 (개발 모드)
$ # --host=0.0.0.0 - expose the app on all network interfaces (default 127.0.0.1)
$ # --port=5000    - specify the app port (default 5000)
$ flask run --host=0.0.0.0 --port=5000
브라우저에서 grepmarx 접속: http://127.0.0.1:5000/
Grepmarx - Orange Cyberdefense 제공.
