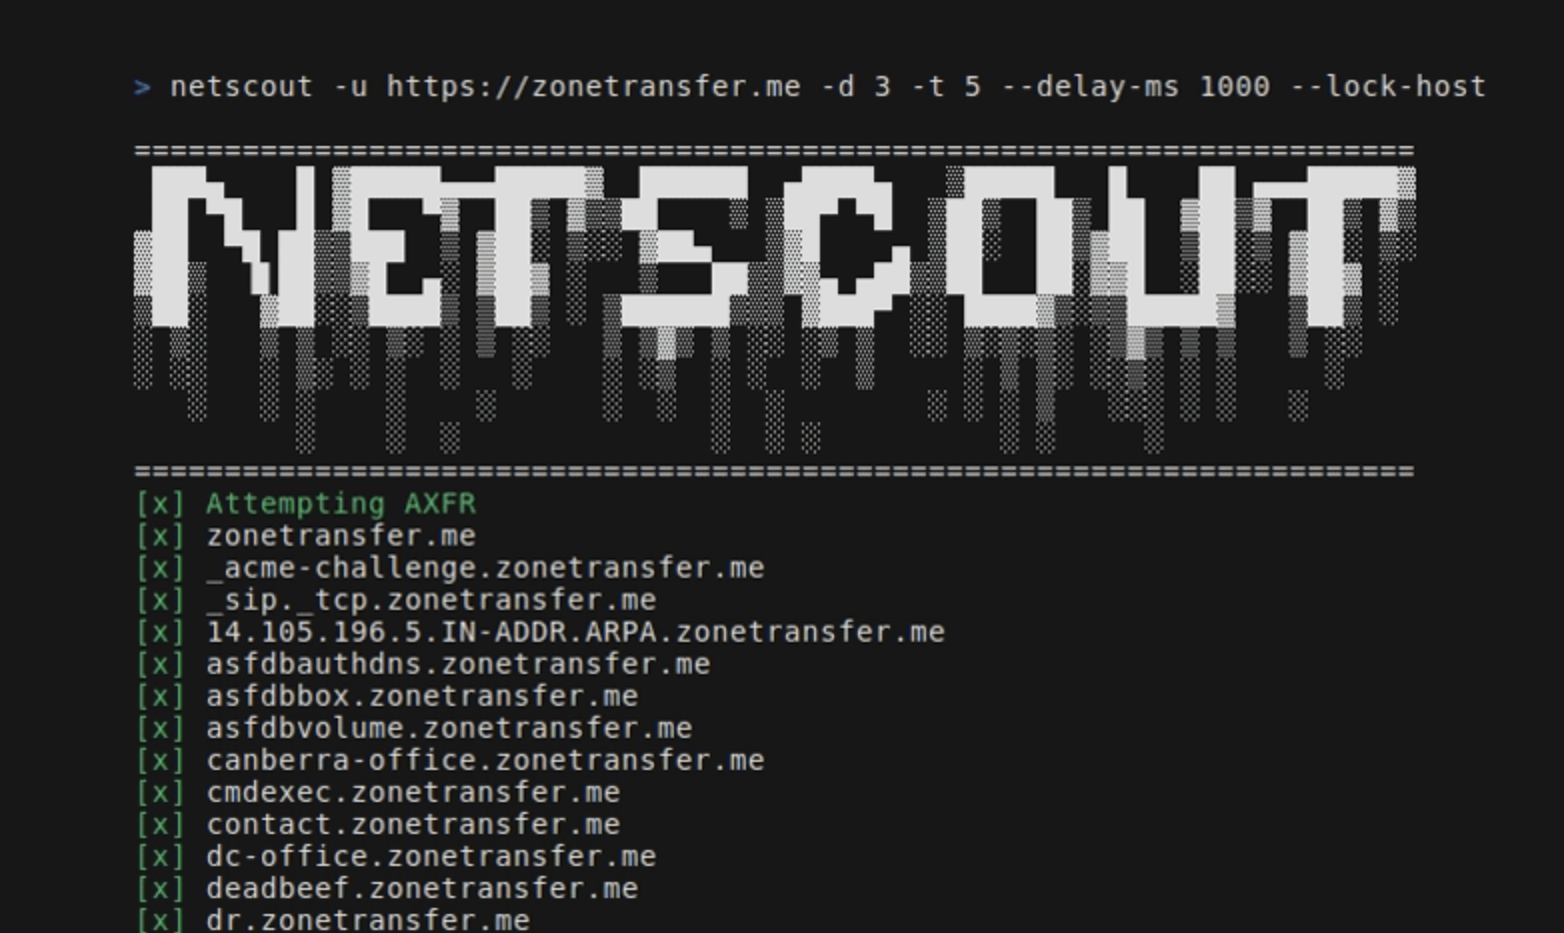
 caio-ishikawa/netscout
주어진 시드 URL에 대해 도메인, 하위 도메인, 디렉터리, 엔드포인트 및 파일을 찾는 OSINT 도구입니다.

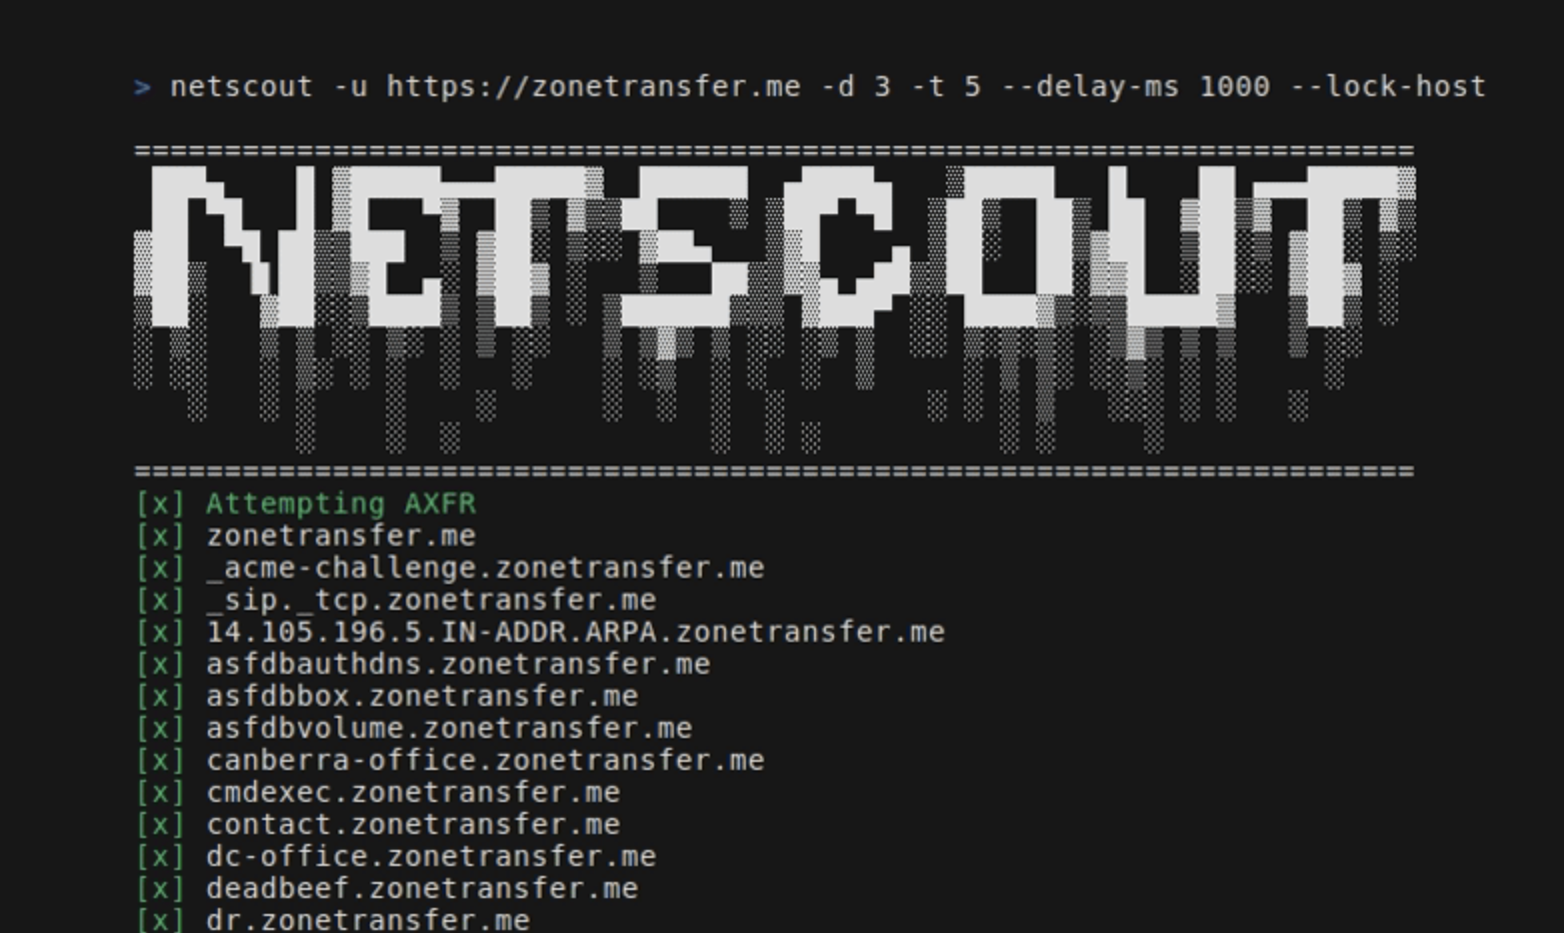
NetScout는 주어진 시드 URL에 대한 도메인, 서브도메인, 디렉터리, 엔드포인트 및 파일을 찾는 OSINT 도구입니다. 다음 구성 요소로 이루어져 있습니다:
go install github.com/caio-ishikawa/netscout@latest 실행make install 실행NetScout는 BinaryEdge와 SerpAPI라는 두 개의 외부 API를 사용합니다. BinaryEdge는 시드 URL에 등록된 서브도메인의 과거 데이터를 조회하는 데 사용되며, SERP API는 시드 URL에 대한 특정 파일 유형의 Google 검색 결과를 수집하는 데 사용됩니다.
NetScout는 API 키가 환경 변수로 설정되어 있을 것으로 기대합니다:
export BINARYEDGE_API_KEY="<key>"export SERP_API_KEY="<key>"사용법:
=======================================================================
 ███▄    █ ▓█████▄▄▄█████▓  ██████  ▄████▄   ▒█████   █    ██ ▄▄▄█████▓
 ██ ▀█   █ ▓█   ▀▓  ██▒ ▓▒▒██    ▒ ▒██▀ ▀█  ▒██▒  ██▒ ██  ▓██▒▓  ██▒ ▓▒
▓██  ▀█ ██▒▒███  ▒ ▓██░ ▒░░ ▓██▄   ▒▓█    ▄ ▒██░  ██▒▓██  ▒██░▒ ▓██░ ▒░
▓██▒  ▐▌██▒▒▓█  ▄░ ▓██▓ ░   ▒   ██▒▒▓▓▄ ▄██▒▒██   ██░▓▓█  ░██░░ ▓██▓ ░
▒██░   ▓██░░▒████▒ ▒██▒ ░ ▒██████▒▒▒ ▓███▀ ░░ ████▓▒░▒▒█████▓   ▒██▒ ░
░ ▒░   ▒ ▒ ░░ ▒░ ░ ▒ ░░   ▒ ▒▓▒ ▒ ░░ ░▒ ▒  ░░ ▒░▒░▒░ ░▒▓▒ ▒ ▒   ▒ ░░
░ ░░   ░ ▒░ ░ ░  ░   ░    ░ ░▒  ░ ░  ░  ▒     ░ ▒ ▒░ ░░▒░ ░ ░     ░
   ░   ░ ░    ░    ░      ░  ░  ░  ░        ░ ░ ░ ▒   ░░░ ░ ░   ░
         ░    ░  ░              ░  ░ ░          ░ ░     ░
=======================================================================
Usage:
  -u string
        A string representing the URL
  -d int
        An integer representing the depth of the crawl
  -t int
        An integer representing the amount of threads to use for the scans (default 5)
  -delay-ms int
        An integer representing the delay between requests in miliseconds
  -lock-host
        A boolean - if set, it will only save URLs with the same host as the seed
  -o string
        A string representing the name of the output file
  -h string
        A comma-separated key-value string representing request headers
  -c string
        A comma-separated key-value string representing the cookies
  -v
        A boolean - if set, it will display all found URLs


  -skip-axfr
        A bool - if set, it will skip the DNS zone transfer attempt
  -skip-binaryedge
        A bool - if set, it will skip BinaryEdge subdomain scan
  -skip-google-dork
        A bool - if set, it will skip the Google filetype scan
  -headless
        A bool - if set, all requests in the crawler will be made through a headless Chrome browser (requires Google Chrome)
  -deep
        A bool - if set, the shortened URL scan will be performed (can take several minutes)
시드 URL, 깊이 및 출력 파일을 설정합니다:
netscout -u https://crawler-test -d 2 -o netscout.txt
BinaryEdge 및 Google dork를 건너뜁니다:
netscout -u https://crawler-test.com -d 2 --skip-binaryedge --skip-google-dork -o netscout.txt
스레드 수를 5로 설정하고, 요청 지연을 1000ms로 설정하며, 모든 요청이 헤드리스 Chrome 브라우저를 통해 이루어지도록 강제합니다.
netscout -u https://crawler-test.com -d 2 -t 5 --delay-ms 1000 --headless -o netscout.txt
깊이를 2로 설정하고 쿠키 및 헤더 값을 추가합니다
netscout -u https://crawler-test.com --deep -d 2 -t 5 -h "key=test,key_two=test_2" -c "key=test,key_two=test_2"
단축 URL 스캔을 활성화하고 크롤러 깊이를 2로, 스레드를 5로 설정합니다
netscout -u https://crawler-test.com --deep -d 2 -t 5
PR을 제출하기 전에 프로젝트가 성공적으로 빌드되고 모든 기존 테스트가 통과하는지 확인하세요. 자세한 내용은 테스트를 참조하세요.
이 프로젝트에 기여해 주셔서 감사합니다!
테스트는 테스트 대상 파일과 같은 디렉터리에 있으며, 크롤러 테스트는 DVWA(Damn Vulnerable Web App)가 포트 80을 노출한 상태로 로컬에서 실행 중이어야 합니다. 테스트를 실행하기 전에 테스트 파일이 설정되어 있어야 합니다.
테스트에 필요한 모든 설정은 Makefile에서 처리됩니다:
make test-container-pull 실행make testfiles-setup 실행make test-container-run 실행make test 실행make testfiles-teardown 실행