
Skip to content
KitploitKITPLOIT
StrumentiExploitsBlog
Log in
Invia
StrumentiExploitsBlog
Invia

Strumenti di Hacking, PenTest e Cybersecurity per il tuo Arsenale di Sicurezza!

Kitploit è una directory di strumenti di hacking, cybersecurity e pentesting. Scopri gli ultimi aggiornamenti dei progetti per trovare vulnerabilità, analizzare sistemi, automatizzare i test e rafforzare la tua sicurezza.

··Feed·Contatto·Privacy·© 2026 Kitploit

Directory degli strumenti

Categorie

Vedi tutte le categorie
Loading categories
cyberbro — A simple application that extracts your IoCs from garbage input and checks their reputation using multiple CTI services. | Kitploit
Strumenti/GitHubGitHub/stanfrbd/cyberbro
Defensive ToolsIndicator of Compromise (IOC) ManagementOSINT (Open Source Intelligence)Threat Feeds & AggregatorsVulnerability AnalysisHash AnalysisForensicsInformation GatheringThreat IntelligenceLearning & EducationIncident ResponseDNS Analysis
677712711h 37m faRevisionato da Kitploit

Più Popolari

Vedi tutti →

Scopri gli strumenti più utilizzati dalla nostra community.

Esplora tutti gli strumenti

Sfoglia la nostra collezione di strumenti

Vedi tutti gli strumenti →
GitHubstanfrbd/cyberbro

cyberbro

A simple application that extracts your IoCs from garbage input and checks their reputation using multiple CTI services.

Vedi RepositorySito web
Condividi
Contenuto non disponibile nella lingua richiesta. Visualizzazione della versione inglese.

Cyberbro


A simple application that extracts your IoCs from garbage input and checks their reputation using multiple services.
🌐 demo.cyberbro.net



GitHub stars Follow on X/Twitter Mastodon GitHub issues License build and test badge pre-commit validation badge Python


About

Inspired by Cybergordon and IntelOwl.

This project aims to provide a simple and efficient way to check the reputation of your observables using multiple services, without having to deploy a complex solution. Read the docs at https://docs.cyberbro.net/

[!TIP] To build custom reports, use Cyberbro with your favorite LLM (Claude, OpenAI gpt-5...) via MCP (Model Context Protocol)
Checkout Cyberbro MCP for more information.
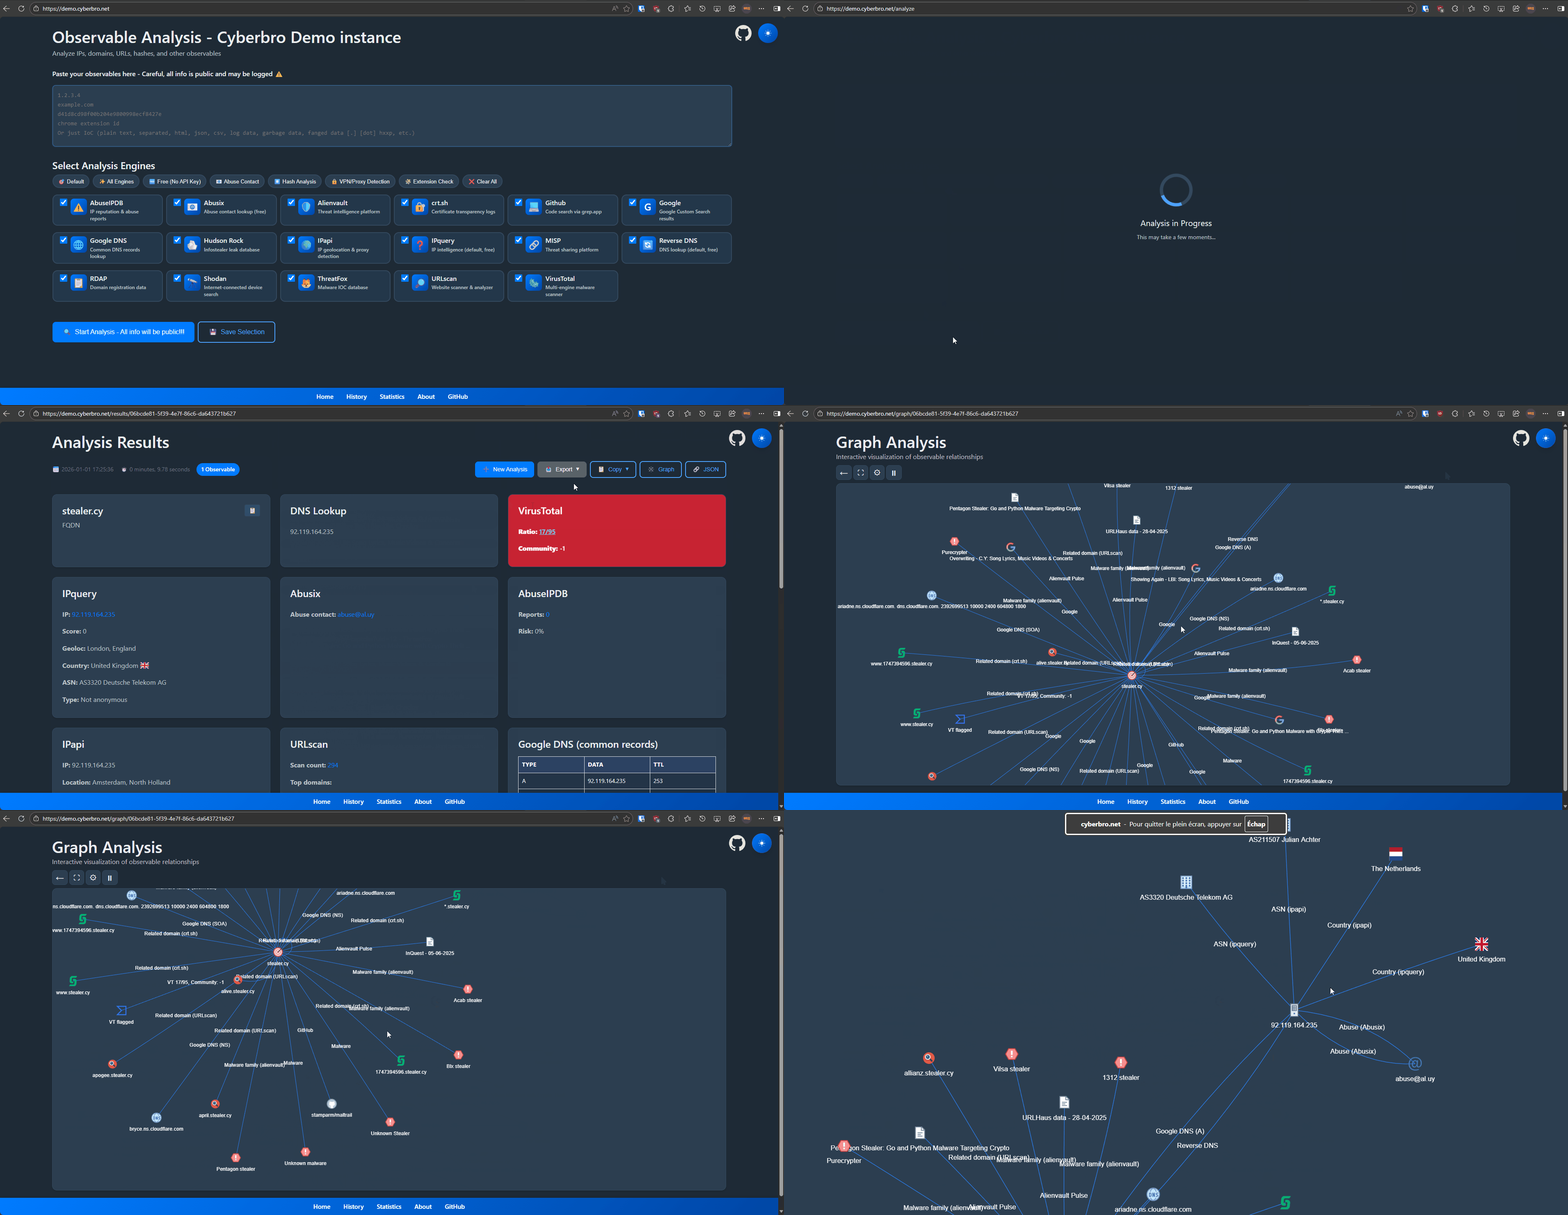
Demo

graph_demo

Features

  • Easy Input: Paste raw logs or IoCs-automatic parsing and extraction.
  • Multi-Service Checks: Reputation lookup for IPs, hashes, domains, URLs, and Chrome extension IDs across many threat intel services.
  • Comprehensive Reports: Advanced search, filtering, and export to CSV/Excel.
  • Fast Processing: Multithreaded for speed.
  • Automated Pivoting: Discover related domains, URLs, and IPs via reverse DNS and RDAP / Whois.
  • Accurate Domain & Abuse Info: RDAP / Whois and abuse contact lookups.
  • Integrations: Microsoft Defender for Endpoint, CrowdStrike, OpenCTI, Grep.App, Hudson Rock, and more.
  • Proxy & Storage: Proxy support and results stored in SQLite.
  • History & Graphs: Analysis history and experimental graph view.
  • Cache: Caching for faster repeat lookups (enabled at multi-engines level, not each engine).

What Makes Cyberbro Unique

  • Beginner-Friendly: Accessible for all skill levels.
  • Chrome Extension ID Lookup: Get extension names and CTI data from IDs.
  • Lightweight Deployment: Simple setup and use.
  • Advanced TLD Extraction: Accurate root domain detection for better lookups.
  • Pragmatic Data Gathering: Uses GitHub and Google to find overlooked IoCs.
  • CTI Report Integration: Fetches IoC-related reports from IoC.One.
  • EDR Integration: Checks observables against your own security tools (MDE, CrowdStrike).

Getting Started - TL;DR

[!TIP] If you are lazy, you need Docker.
Do a git clone ; copy .env.sample to .env ; docker compose up then go to localhost:5000. Yep, that's it!

Getting Started

  • To get started, clone the repository
git clone https://github.com/stanfrbd/cyberbro
cd cyberbro

Edit the config file (mandatory)

cp .env.sample .env

[!NOTE] Don't have API keys? No problem, just copy .env.sample to .env and leave optional values empty. Be careful if a proxy is used.
You will be able to use all free engines!

  • Fill values (including proxy if needed) in the .env file.

[!WARNING] .env contains sensitive secrets and must never be committed. For production/team deployments, use SOPS, Vault, or an equivalent secret manager workflow.

ABUSEIPDB=token_here
ALIENVAULT=token_here
CRIMINALIP_API_KEY=token_here
CROWDSTRIKE_CLIENT_ID=client_id_here
CROWDSTRIKE_CLIENT_SECRET=client_secret_here
DFIR_IRIS_API_KEY=token_here
DFIR_IRIS_URL=https://dfir-iris.local
DFIR_IRIS_SEARCH_NOTES=false
GOOGLE_CSE_CX=cx_here
GOOGLE_CSE_KEY=key_here
GOOGLE_CSE_URL=https://www.googleapis.com/customsearch/v1
GOOGLE_SAFE_BROWSING=token_here
HISTER_TOKEN=token_here
HISTER_BASE_URL=https://hister.example.com
IPAPI=token_here
IPINFO=token_here
MDE_CLIENT_ID=client_id_here
MDE_CLIENT_SECRET=client_secret_here
MDE_TENANT_ID=tenant_here
MISP_API_KEY=token_here
MISP_URL=https://misp.local
MISP_FEEDBACK_SERVER_URL=https://misp-feedback.local
MISP_FEEDBACK_TOKEN=token_here
OPENCTI_API_KEY=token_here
OPENCTI_URL=https://demo.opencti.io
PROXY_URL=
RANSOMWARE_LIVE_API_KEY=token_here
RL_ANALYZE_API_KEY=token_here
RL_ANALYZE_URL=https://spectra_analyse_url_here
ROSTI_API_KEY=token_here
SHODAN=token_here
SPUR_US=token_here
THREATFOX=token_here
VIRUSTOTAL=token_here
WEBSCOUT=token_here

[!IMPORTANT] Starting with version v0.13.0, Cyberbro no longer supports secrets.json and the /config page. Cf. discussion 165.
If you already have a legacy secrets.json, convert it to .env with: python3 scripts/secrets_json_to_env.py

See Advanced options for deployment in the docs.

Launch the app

Lazy and easy - use docker

[!WARNING] Make sure you install the compose plugin as docker compose and not docker-compose. In Docker, the app binds to 0.0.0.0 inside the container even if your local .env sets FLASK_HOST=127.0.0.1.

docker compose up # use -d to run in background and use --build to rebuild the image
  • Go to http://127.0.0.1:5000 and Enjoy.

Don't forget to edit .env before building the image.

See Advanced options for deployment in the docs to get all Docker deployment options.

The old way

  • Clone the repository and install the requirements.

You might want to create a venv before installing the dependencies.

pip install -r requirements.txt
  • Run the app with gunicorn (clean mode).
gunicorn -c prod/gunicorn.conf.py app:app
  • Run the app with in development mode.
python3 app.py

Screenshots

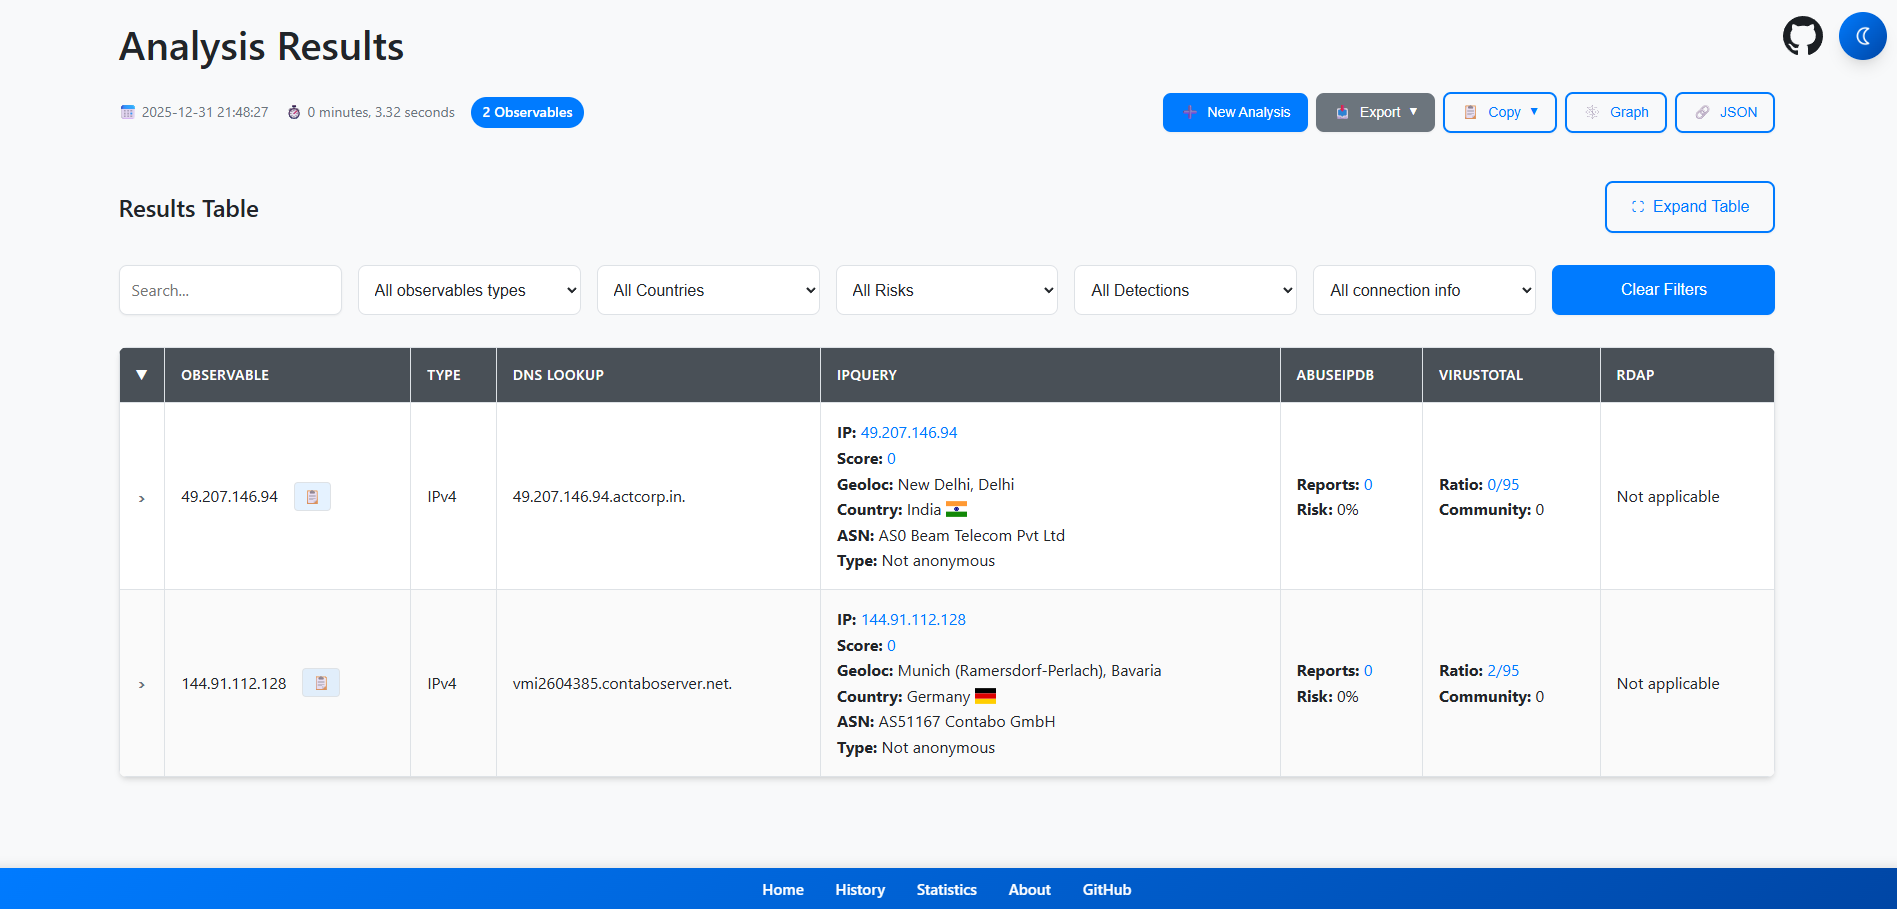
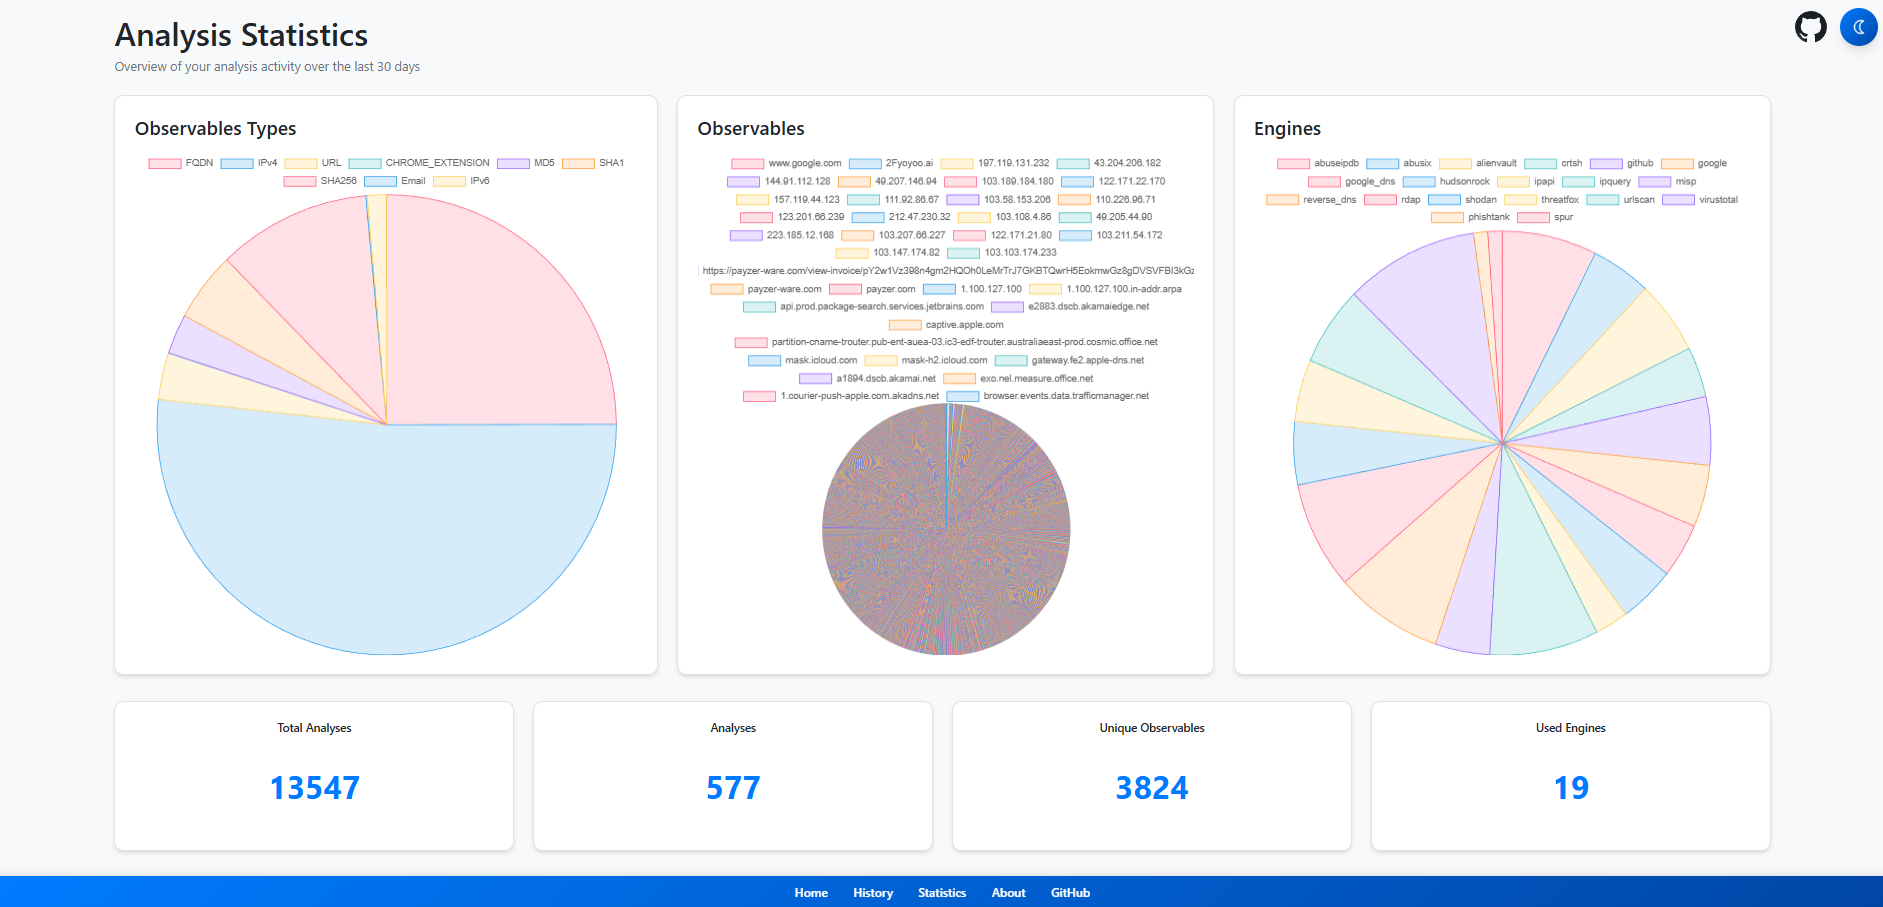
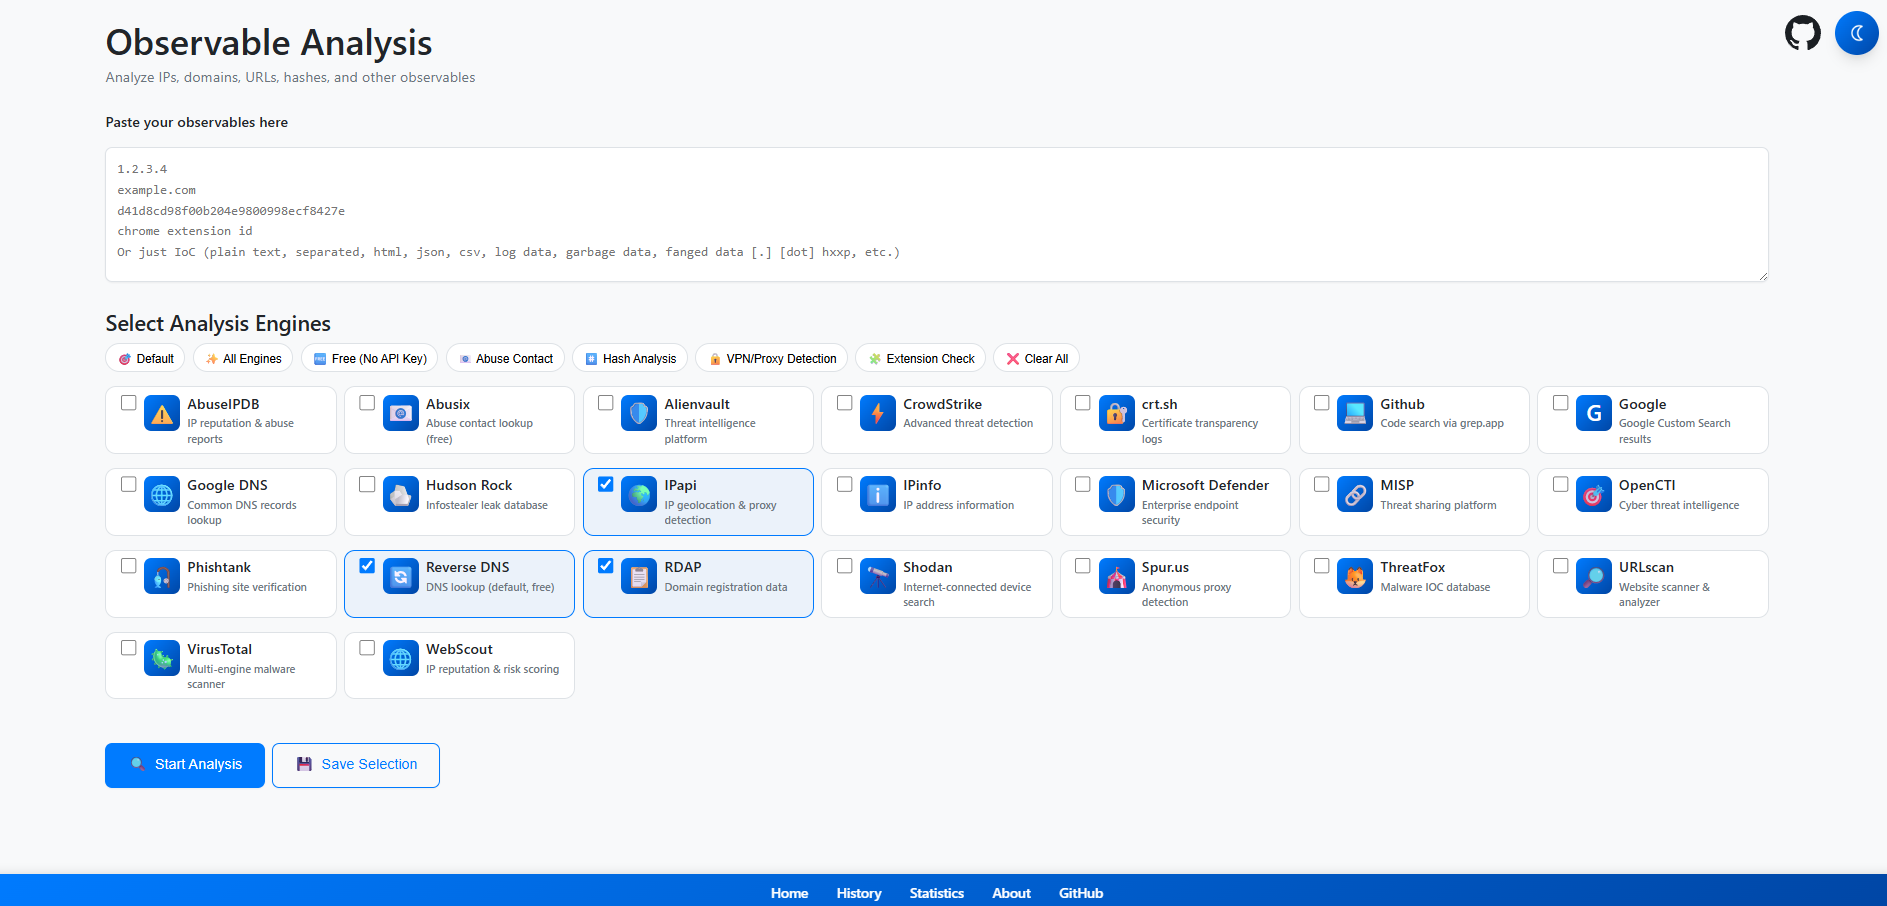
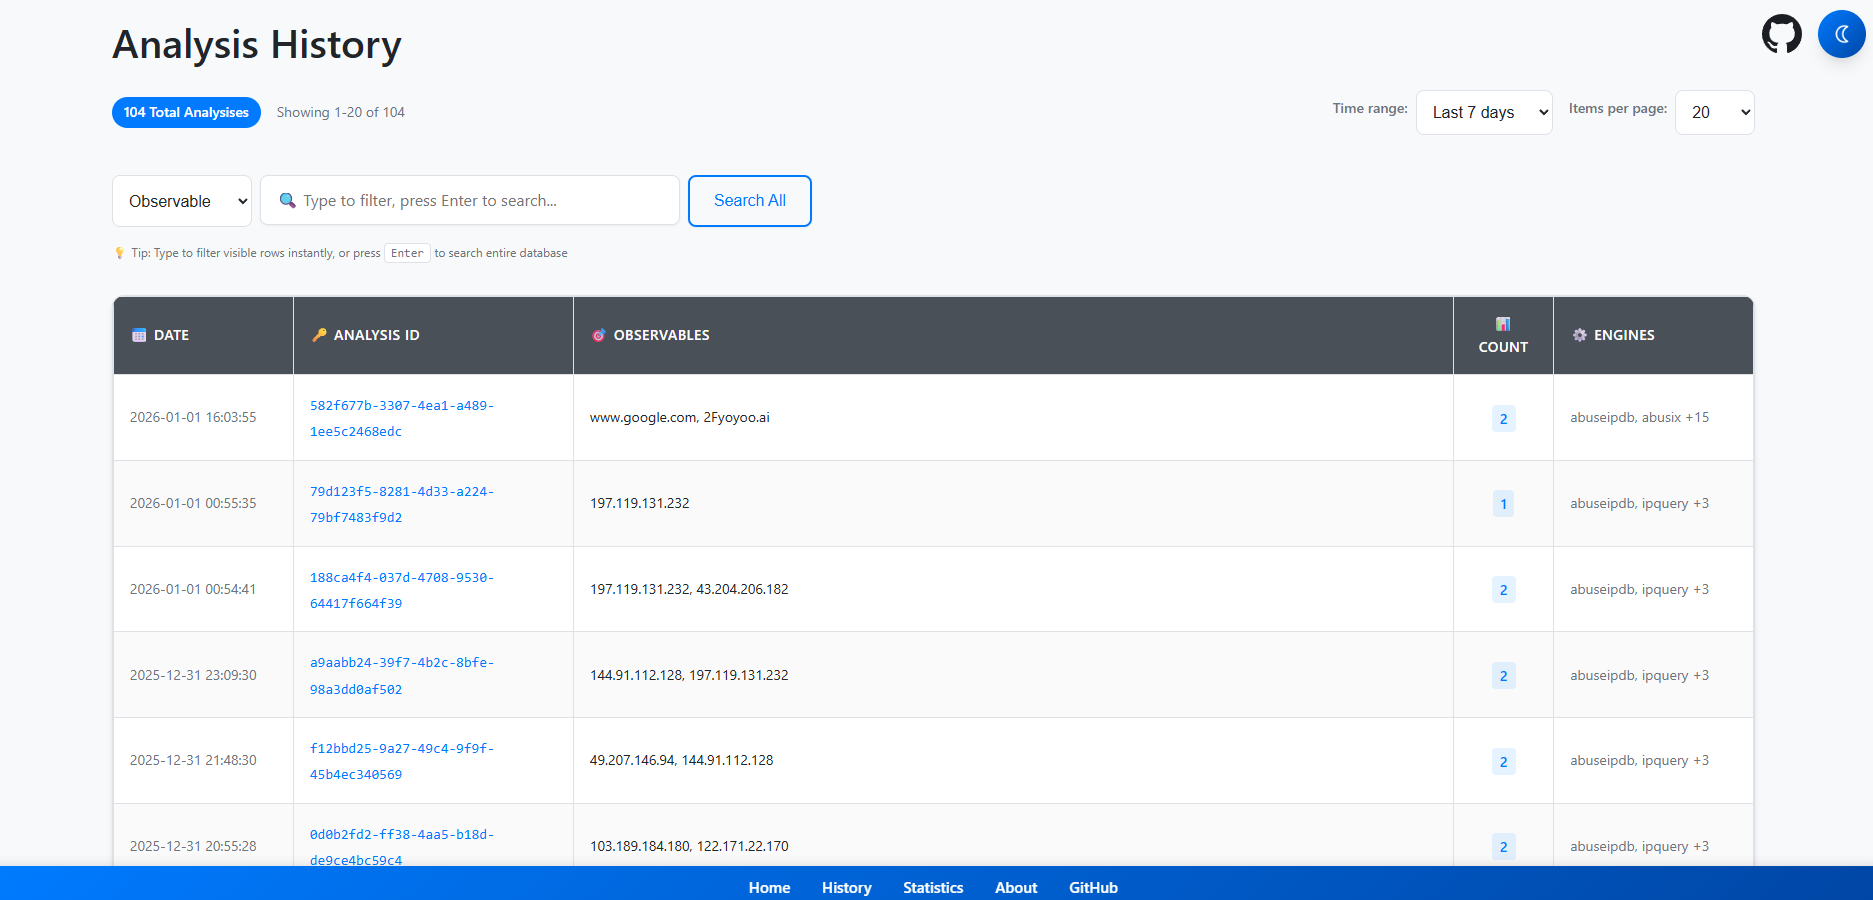
See all screenshots image image image
Scarica lo strumento