controlplaneio/kubesec
Kubernetes संसाधनों के लिए सुरक्षा जोखिम विश्लेषण
[![Testing Workflow][testing_workflow_badge]][testing_workflow_badge] [![Security Analysis Workflow][security_workflow_badge]][security_workflow_badge] [![Release Workflow][release_workflow_badge]][release_workflow_badge]
[![Go Report Card][goreportcard_badge]][goreportcard] [![PkgGoDev][go_dev_badge]][go_dev]
अधिक उदाहरणों के लिए Kubesec.io देखें, जो ControlPlane की होस्टेड API का उपयोग v2.kubesec.io/scan पर करता है।
स्कैन करने के लिए एक Kubernetes संसाधन फ़ाइल (जैसे, kubesec-test.yaml) बनाएँ। त्वरित परीक्षण के लिए, आप निम्न Pod मैनिफेस्ट सहेज सकते हैं:
$ cat <<EOF > kubesec-test.yaml
apiVersion: v1
kind: Pod
metadata:
  name: kubesec-demo
spec:
  containers:
  - name: kubesec-demo
    image: gcr.io/google-samples/node-hello:1.0
    securityContext:
      readOnlyRootFilesystem: true
EOF
अपनी मैनिफेस्ट फ़ाइल पर स्कैन निष्पादित करें:
# Using the local binary
kubesec scan kubesec-test.yaml

# Or using Docker
docker run -i kubesec/kubesec:v2 scan /dev/stdin < kubesec-test.yaml

# Using the local binary with a human-readable table output format
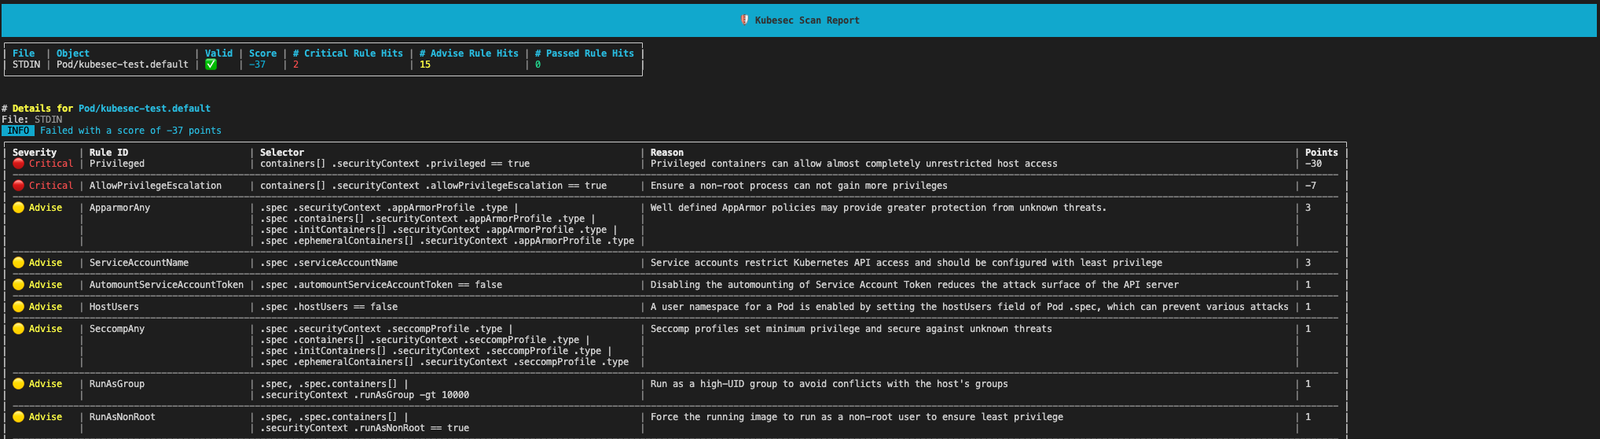
kubesec scan kubesec-test.yaml --format table
[!TIP] डिफ़ॉल्ट JSON प्रारूप के बजाय मानव-पठनीय तालिका में परिणाम देखने के लिए,
--format tableफ़्लैग का उपयोग करें
kubesec आपके संसाधन का सुरक्षा स्कोर और विस्तृत विश्लेषण आउटपुट करेगा।
Kubesec निम्न रूप में उपलब्ध है:
docker.io/kubesec/kubesec:v2 परया GitHub से नवीनतम कमिट को निम्न के साथ इंस्टॉल करें:
$ go install github.com/controlplaneio/kubesec/v2@latest
$ GO111MODULE="on" go get github.com/controlplaneio/kubesec/v2
स्थानीय फ़ाइलों या मानक इनपुट से Kubernetes संसाधनों को स्कैन करें।
Kubesec एक ही इनपुट फ़ाइल में कई YAML दस्तावेज़ों को स्कैन कर सकता है, या एक साथ कई फ़ाइलों से दस्तावेज़ों को स्कैन कर सकता है, जब तक कि वे --- द्वारा अलग किए गए कई दस्तावेज़ों के रूप में सही ढंग से स्वरूपित हों।
# Scan a specific local YAML file
kubesec scan ./deployment.yaml

# Scan from standard input (JSON or YAML)
cat file.json | kubesec scan -

# Scan a rendered Helm chart
helm template -f values.yaml ./chart | kubesec scan /dev/stdin

# Scan multiple YAML documents separated by '---'
{ cat test/asset/multi.yml; echo "---"; cat test/asset/critical.yml; } | kubesec scan -
आप आधिकारिक Docker इमेज का उपयोग करके समान स्कैनिंग कमांड चला सकते हैं:
# Scan a file via Docker using standard input
docker run -i kubesec/kubesec:v2 scan /dev/stdin < kubesec-test.yaml
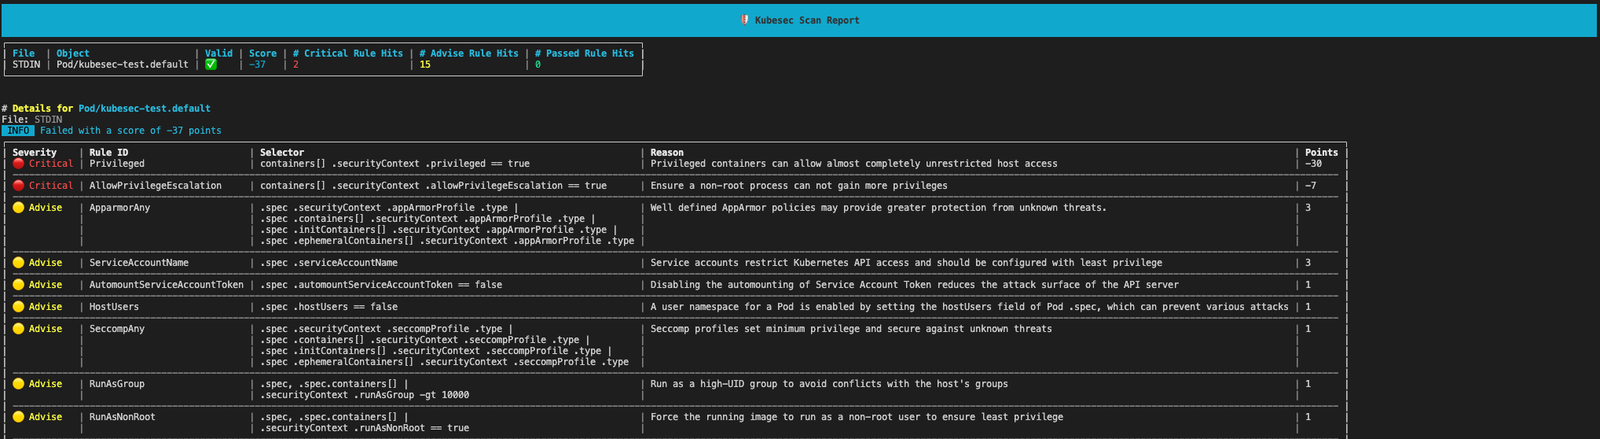
Kubesec तीन अलग-अलग आउटपुट प्रारूपों का समर्थन करता है, जिन्हें --format / -f फ़्लैग द्वारा निर्दिष्ट किया जाता है: json (डिफ़ॉल्ट), table, और template, और एक ही इनपुट फ़ाइल में कई YAML दस्तावेज़ों को स्कैन कर सकता है।
# JSON array output (default behaviour)
kubesec scan ./deployment.yaml --format json

# Human-readable table output
kubesec scan ./deployment.yaml --format table

# Use a custom template for the output
kubesec scan ./deployment.yaml --format template --template report-template.tmpl
# One rule
kubesec scan --rules CapSysAdmin kubesec-test.yaml

# Multiple rules
kubesec scan --rules RunAsNonRoot,SeccompAny,ApparmorAny kubesec-test.yaml
[
  {
    "object": "Pod/security-context-demo.default",
    "valid": true,
    "message": "Failed with a score of -30 points",
    "score": -30,
    "scoring": {
      "critical": [
        {
          "selector": "containers[] .securityContext .capabilities .add == SYS_ADMIN",
          "reason": "CAP_SYS_ADMIN is the most privileged capability and should always be avoided",
          "points": -30
        }
      ],
      "advise": [
        {
          "selector": "containers[] .securityContext .runAsNonRoot == true",
          "reason": "Force the running image to run as a non-root user to ensure least privilege",
          "points": 1
        },
        {
          // ...
        }
      ]
    }
  }
]
# Print all scanning rules with their associated point scores
kubesec print-rules

# Print all scanning rules with their associated point scores as a table
kubesec print-rules --format table
[
  {
    "id": "AllowPrivilegeEscalation",
    "selector": "containers[] .securityContext .allowPrivilegeEscalation == true",
    "reason": "Ensure a non-root process can not gain more privileges",
    "kinds": [
      "Pod",
      "Deployment",
      "StatefulSet",
      "DaemonSet"
    ],
    "points": -7,
    "advise": 0
  },
...
]
Kubesec स्कैन करने के लिए मैनिफेस्ट को मान्य करने हेतु kubeconform का उपयोग करता है (@yannh का धन्यवाद)। इसका तात्पर्य है कि विभिन्न स्कीमा स्थान निर्दिष्ट करना kubeconform README में वर्णित नियमों का पालन करता है।
# Usees the latest schema from upstream
# Schema will be fetched from: https://raw.githubusercontent.com/yannh/kubernetes-json-schema/master/master-standalone-strict/pod-v1.json
kubesec scan ./pod.yaml

# Use a specific schema version from upstream (format x.y.z with no v prefix)
# Schema will be fetched from: https://raw.githubusercontent.com/yannh/kubernetes-json-schema/master/v1.25.3-standalone-strict/pod-v1.json
kubesec scan ./pod.yaml --kubernetes-version 1.25.3

# Use a specific schema version in an airgapped environment over HTTP
# Schema will be fetched from: `https://host.server/v<version>-standalone-strict/pod-v1.json`
kubesec scan ./deployment.yaml --kubernetes-version <version> --schema-location https://host.server