 yosyshq/nextpnr
nextpnr portable FPGA place and route tool

nextpnr aims to be a vendor neutral, timing driven, FOSS FPGA place and route tool.
Currently nextpnr supports:
A brief (academic) paper describing the Yosys+nextpnr flow can be found on arXiv.
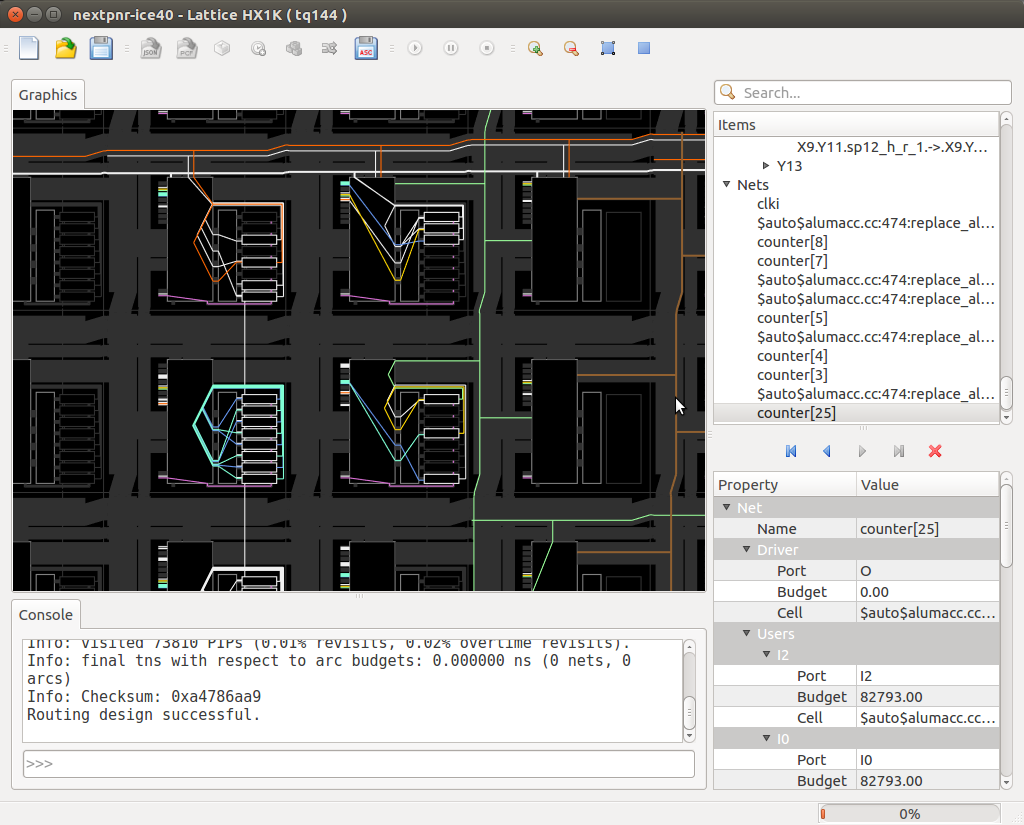
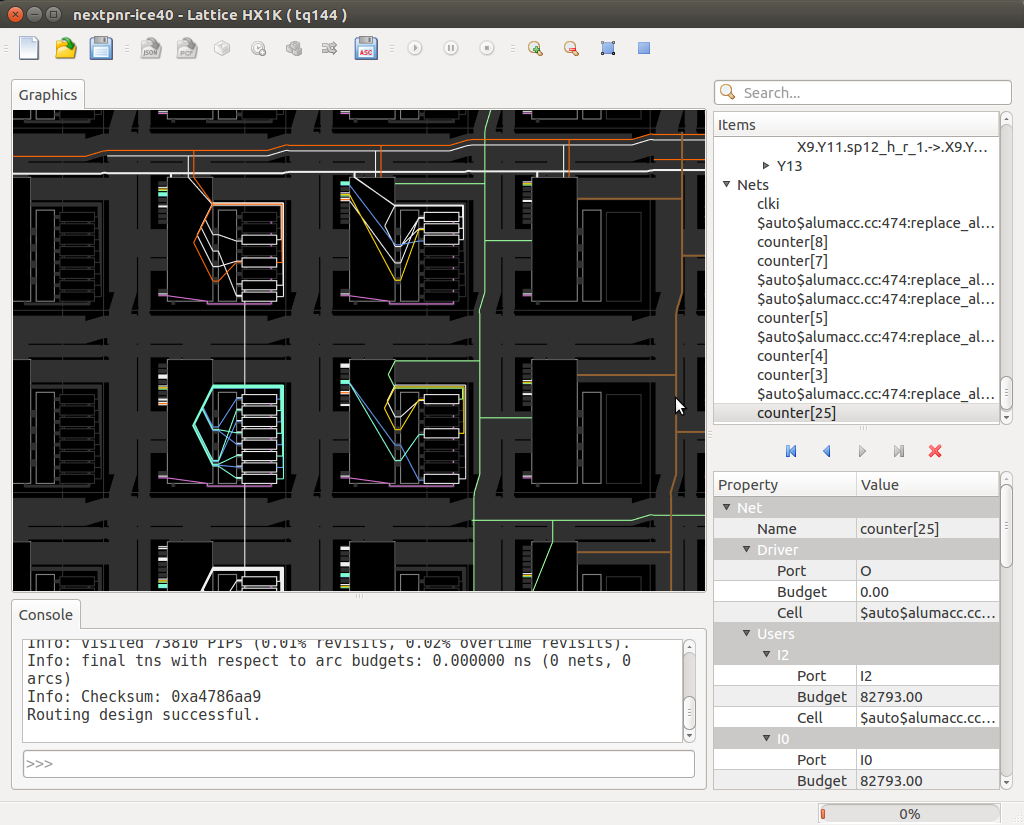
Here is a screenshot of nextpnr for iCE40. Build instructions and getting started notes can be found below.
See also:
The following packages need to be installed for building nextpnr, independent of the selected architecture:
clang-format required for development)python3-dev for Ubuntu)
nextpnr-himbaechellibboost-dev libboost-filesystem-dev libboost-thread-dev libboost-program-options-dev libboost-iostreams-dev libboost-dev or libboost-all-dev for Ubuntu)libeigen3-dev for Ubuntu)vcpkg install boost-filesystem boost-program-options boost-thread eigen3vcpkg install boost-filesystem:x64-windows boost-program-options:x64-windows boost-thread:x64-windows eigen3:x64-windows-static to each of the package names. For example, change eigen3:x64-windows to eigen3:x64-windows-staticpython36.zip within the embeddable zip file to a new directory called "Lib".brew install cmake python boost eigenFirst of all, run:
git submodule update --init --recursive
For iCE40 support, install Project IceStorm to /usr/local or another location, which should be passed as -DICESTORM_INSTALL_PREFIX=/usr to CMake. Then build and install nextpnr-ice40 using the following commands:
mkdir -p build && cd build
cmake .. -DARCH=ice40
make -j$(nproc)
sudo make install
On Windows, you may specify paths explicitly:
cmake . -B build -DARCH=ice40 -DICESTORM_INSTALL_PREFIX=C:/ProgramData/icestorm -DCMAKE_TOOLCHAIN_FILE=C:/vcpkg/scripts/buildsystems/vcpkg.cmake -DVCPKG_TARGET_TRIPLET=x64-windows -G "Visual Studio 15 2017 Win64" -DPython3_EXECUTABLE=C:/Python364/python.exe -DPython3_LIBRARY=C:/vcpkg/packages/python3_x64-windows/lib/python36.lib -DPython3_INCLUDE_DIR=C:/vcpkg/packages/python3_x64-windows/include/python3.6
cmake --build build --config Release
To build a static release, change the target triplet from x64-windows to x64-windows-static and add -DBUILD_STATIC=ON.
A simple example that runs on the iCEstick dev board can be found in ice40/examples/blinky/blinky.*.
Usage example:
cd ice40/examples/blinky
yosys -p 'synth_ice40 -top blinky -json blinky.json' blinky.v               # synthesize into blinky.json
nextpnr-ice40 --hx1k --json blinky.json --pcf blinky.pcf --asc blinky.asc   # run place and route
icepack blinky.asc blinky.bin                                               # generate binary bitstream file
iceprog blinky.bin                                                          # upload design to iCEstick
Running nextpnr in GUI mode (see below for instructions on building nextpnr with GUI support):
nextpnr-ice40 --json blinky.json --pcf blinky.pcf --asc blinky.asc --gui
(Use the toolbar buttons or the Python command console to perform actions such as pack, place, route, and write output files.)
For ECP5 support, install Project Trellis to /usr/local or another location, which should be passed as -DTRELLIS_INSTALL_PREFIX=/usr/local to CMake. Then build and install nextpnr-ecp5 using the following commands:
mkdir -p build && cd build
cmake .. -DARCH=ecp5 -DTRELLIS_INSTALL_PREFIX=/usr/local
make -j$(nproc)
sudo make install
For Nexus support, install Project Oxide to $HOME/.cargo or another location, which should be passed as -DOXIDE_INSTALL_PREFIX=$HOME/.cargo to CMake. Then build and install nextpnr-nexus using the following commands:
mkdir -p build && cd build
cmake .. -DARCH=nexus -DOXIDE_INSTALL_PREFIX=$HOME/.cargo
make -j$(nproc)
sudo make install
For Cyclone V support, clone Mistral to $HOME/mistral or another location and pass this path as -DMISTRAL_ROOT=$HOME/mistral to CMake. Then build and install nextpnr-mistral using the following commands:
mkdir -p build && cd build
cmake .. -DARCH=mistral -DMISTRAL_ROOT=$HOME/mistral
make -j$(nproc)
sudo make install
Cyclone V support is currently experimental and has limited testing. The backend is undergoing active API refactoring, and its structure, build requirements, and integration points may change between versions.
The generic target allows running placement and routing for arbitrary custom architectures.
mkdir -p build && cd build
cmake .. -DARCH=generic
make -j$(nproc)
sudo make install
An example of how to use the generic flow is in generic/examples. See also the Generic Architecture docs.
The himbaechel target allows running placement and routing for larger architectures that share a common structure.
For Gowin support, install Project Apicula
mkdir -p build && cd build
cmake .. -DARCH="himbaechel" -DHIMBAECHEL_UARCH="gowin"
make -j$(nproc)
sudo make install
