 xenokovah/inteltxe-poc
Intel Management Engine JTAG Proof of Concept - 2022 Instructions

All information is provided for educational purposes only. Follow these instructions at your own risk. Neither the authors nor their employer are responsible for any direct or consequential damage or loss arising from any person or organization acting or failing to act on the basis of information contained in this page.
Introduction
Required Software
Generating the Payload
Generating the Unlock Token
Preparing the SPI Flash Image
Integrating Files Into the Firmware Image
Disabling OEM Signing
Building the Firmware Image
BringUP Main CPU
Writing the Image to SPI Flash
Preparing the USB Debug Cable
Patching OpenIPC Configuration Files
Decrypting OpenIPC Configuration Files
Adding LMT Core to the Configuration
Setting the IPC_PATH Environment Variable
Performing an Initial Check of JTAG Operability
Show CPU ME Thread
Halting Cores
ME Debugging: Quick Start
Reading Arbitrary Memory
Reading ROM
Why TXE?
Tested Platforms List
Authors
License
Vulnerability INTEL-SA-00086 allows to activate JTAG for Intel Management Engine core. We developed our [JTAG PoC][8] for the Gigabyte Brix GP-BPCE-3350C platform. Although we recommend that would-be researchers use the same platform, other manufacturers' platforms with the Intel Apollo Lake chipset should support the PoC as well (for TXE version 3.0.1.1107).
Because the Gigabyte Brix GP-BPCE-3350C is no longer widely commercially available, these instructions have been updated to instead target the AAEON UP Squared SKU UPS-APLX7-A20-0864 (Intel Atom® x7-E3950). If you purchase this board, make sure to also get the power supply, serial adapter, and any USB-to-serial adapter. Additionally, the UP Squared only needs a basic USB debug cable to perform DCI debugging. The USB debug cable should be connected to the port where the yellow USB cable is shown here.
Vulnerability INTEL-SA-00086 involves a buffer overflow when handling a file stored on MFS (the [internal ME file system][6]). The full file path is /home/bup/ct. You will need to integrate a vulnerability-exploiting version of this file into the ME firmware by using Intel Flash Image Tool (FIT), one of the Intel System Tools provided by Intel to OEMs of hardware based on Intel PCH chipsets.
The Intel ME (TXE, SPS) System Tools utilities are not intended for end users—so you cannot find them on the official Intel website. However, some OEMs publish them as part of software updates together with device drivers. So, for integrating our PoC you need "CSTXE System Tools v3", which can be found here.
You need to install Intel System Studio for performing JTAG debugging. In our original experiments, we used Intel System Studio 2018. These instructions have been updated for Intel System Studio 2020 which can be obtained from here.
The PoC targets Intel TXE firmware version 3.0.1.1107. The "CSTXE 3.0" image repository at Win-Raid forums contains the necessary TXE firmware version.
All our scripts are written on Python. We recommend using Python 2.7 Also the scripts require pycrypto packet. To install pycrypto, run the following command:
pip install pycrypto
While the purpose of this guide is to enable JTAG debugging in the ME via an exploit, it is a good practice to first sanity check and make sure you can perform normal JTAG debugging of the UP Squared board via DCI. AAEON no longer ships their BIOSes with DCI enabled, as they stated on their forums that this led to instability. (And older versions of the BIOS before v5.0 that had DCI enabled will no longer work with newer hardware, due to a DRAM vendor hardware change.) Therefore, to enable DCI JTAG on the UP Squared, you must perform 3 steps:
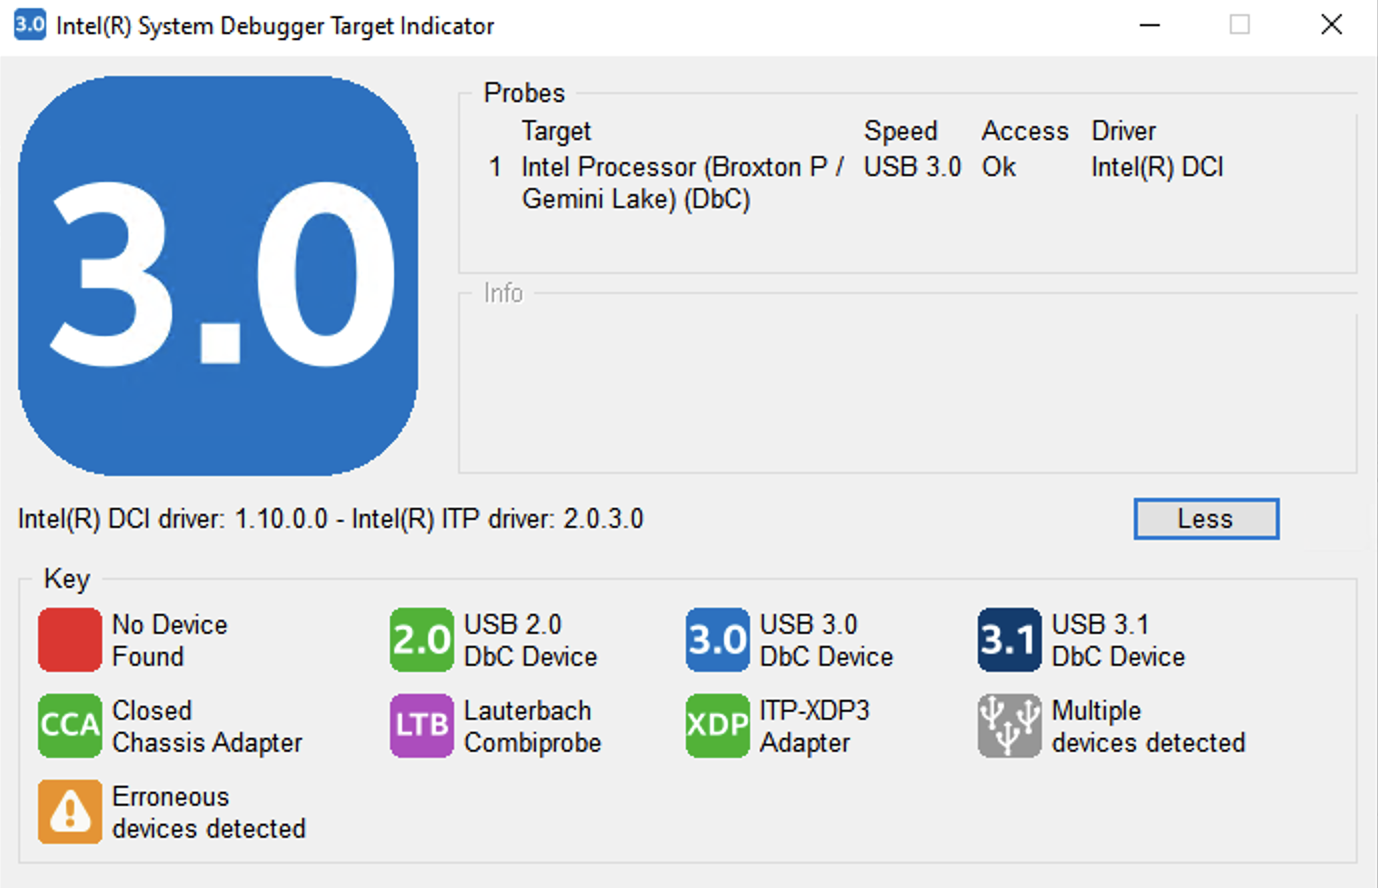
You can then launch ":\Program Files (x86)\IntelSWTools\sw_dev_tools\system_debugger_2020\system_debug_legacy\xdb.bat", connect to the target, and break into it, and single step to confirm you have baseline debugging capabilities.
(You can also follow the blog series by Alan Sguigna here on how to build the Debug-build of the open source code for this platform, which will be DCI-debuggable from the reset vector. However, note that due to a hardware change for DRAM, this built-from-source code will no longer fully boot on new hardware - it will instead hang at boot time as noted here. Intel TianoCore maintainers have refused to fix this.)
Run the script me_exp_bxtp.py:
me_exp_bxtp.py -f <file_name>
The script generates the necessary data and exports it to the specified file (indicate either the full file path or, within the current directory, simply a name, ct.bin by default). This file will be used later by FIT.
