 therealdreg/hcon2026hwctf
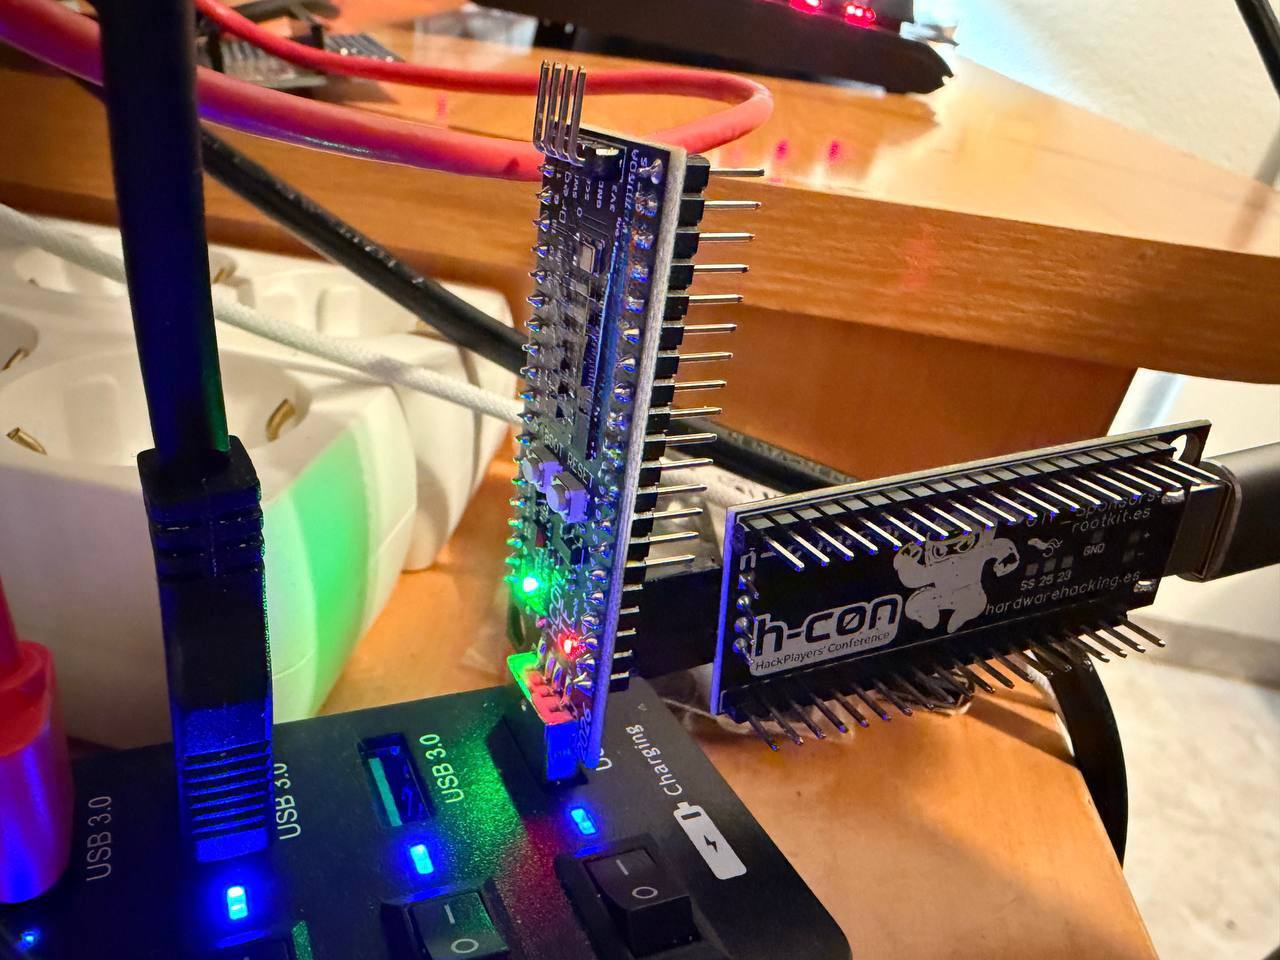
Hardware Hacking CTF hcon2026hwctf - RISCV Hazard3 (@Wren6991) Exploiting by @b1n4ri0 @antoniovazquezblanco & @therealdreg

If you’re into hardware CTFs, here’s the first public challenge from HC0N CTF 2026 featuring RISC-V RP2350 exploitation challenges (low level)
We’ve tried to make the challenge not too elitist or difficult, so that the hundreds of conference participants have a chance to solve the challenges. I hope we’ve managed to achieve that.
If you want to run the CTF at home, grab a Raspberry Pi Pico 2, flash this firmware, and don’t read the write-ups! -> ctf.uf2
Note for anyone using a board(RP2350/RP2354...) different from the CTF one:
The CTF PCB has an SMD LED on GPIO 25, you must have an LED on that GPIO

When you finish this CTF, if you liked it, here’s another similar one with different challenges: https://github.com/therealdreg/ctfhardwarehackingcon2026
WARNING: The following write-ups contain spoilers for the challenges. If you want to solve them on your own, we recommend not reading them until you have completed the CTF.
First Winner: @mrexodia (Duncan Ogilvie) writeups/first_winner.md
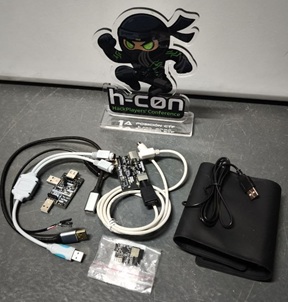
Prize: okhi hardware keylogger USB/PS2 kit + CWP (Certified WifiChallenge Professional) https://github.com/therealdreg/okhi
Second Winner: @M3RINOOOOO (Cristobal Merino Saez) writeups/second_winner.md
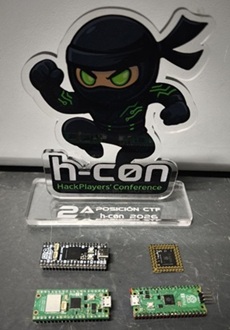
Prize: Pimoroni PGA2350, PICO2 WH, Pimoroni PICO PLUS 2W, PICO2 H, CWP (Certified WifiChallenge Professional)
Third Winner: @p4bl0vx (Pablo Moya Lopez) writeups/third_winner.md
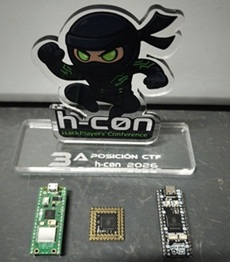
Prize: Pimoroni PGA2350, PICO2 WH, Pimoroni PICO PLUS 2W, CWP (Certified WifiChallenge Professional).
Here we’ll provide you with some help to make the Hardware Hacking CTF at HCON 2026 easier.
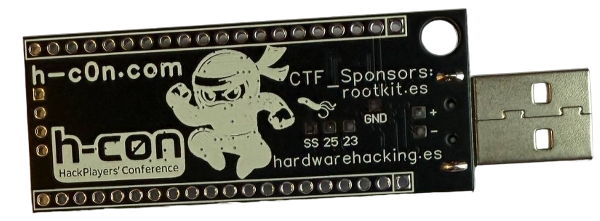
Linux host should be your first option ;-), debugging works better.
TeraTerm: Setup -> Terminal -> Transmit: CR+LF & [x] Local echo
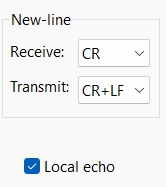
Others:
cutecom:
sudo apt-get update
sudo apt-get install cutecom
One of the challenges requires hardware debugging. If you’re doing the challenge from home (without a teammate who has another board), then to solve that challenge you’ll also need to buy these two items. (If you don’t buy them, no worries—but you won’t be able to solve that specific challenge.)
The tools included in this repository were developed by @b1n4ri0 for the community and specifically for the 2026 HCON Hardware Hacking Challenge.
RISCV Hazard3 is a 3-stage RV32IMACZb* processor with debug support. It is used in the RP2350 microcontroller found on the HCON2026HWCTF board.
Dumping firmware from RP2350 devices with picotool is a straightforward process. In this section, you will learn how to do it effectively.
Note: picotool interacts with RP2350 (and RP2040) devices only when they are in BOOTSEL mode or if the running firmware includes USB stdio support from the Pico SDK.
Install the necessary build tools and libraries via your favourite package manager.
sudo apt-get update
sudo apt install build-essential pkg-config libusb-1.0-0-dev cmake -y
Create a dedicated directory to keep your tools organized. This ensures the paths used in later steps are correct.
cd $HOME
mkdir rptools
cd rptools
Clone picotool and pico-sdk projects, we need both the tool itself and the SDK. Note that picotool requires pico-sdk to compile correctly.
git clone https://github.com/raspberrypi/picotool.git
git clone https://github.com/raspberrypi/pico-sdk.git
cd picotool
Create the build directory and run CMake.
Important: We must use the -DPICO_SDK_PATH flag to tell CMake exactly where we downloaded the SDK in the previous step or we can set the PICO_SDK_PATH in the enviroment.
mkdir build
cd build
cmake -DPICO_SDK_PATH=$HOME/rptools/pico-sdk ..
sudo make install
By default, accessing USB devices requires root privileges. Copy the udev rule file to allow running picotool without using sudo.
sudo cp ../udev/60-picotool.rules /etc/udev/rules.d/
Reload the udev rules (or unplug and replug your device) and check the version running picotool version to ensure everything is working:
$ ./picotool version
picotool v2.2.0-a4 (Linux, GNU-15.2.0, Release)
If you prefer to skip the build process, you can download the precompiled binary from the official repository.
gunzip picotool-2.2.0-a4-x86_64-lin.tar.gz
tar -xf picotool-2.2.0-a4-x86_64-lin.tar
cd picotool
Running picotool version should work as expected:
$ ./picotool version
picotool v2.2.0-a4 (Linux, GNU-11.4.0, Release)
To perform operations like dumping firmware, picotool requires the device to be in BOOTSEL mode. However, picotool can also interact with the device if the currently running firmware includes USB stdio support from the Pico SDK.
Below, I will mention several ways to activate this mode. Choose the one that seems most appropriate for your case or simply the one that works for you.
If your board is not in BOOTSEL mode, but contains the USB stdio support**,** you will see an output like this when trying to execute picotool commands:
$ ./picotool info
No accessible RP-series devices in BOOTSEL mode were found.

but:

RP2350 device at bus 1, address 23 appears to have a USB serial connection, so consider -f (or -F) to force reboot in order to run the command.
This is the standard hardware method used:
BOOTSEL or BOOT button.BOOTSEL button.Alternative (if you don’t want to unplug the board):
BOOTSEL button.RESET or RST button.BOOTSEL.You should now be able to execute picotool commands:
$ ./picotool info
Program Information
 name:          hello_usb
 features:      USB stdin / stdout
 binary start:  0x10000000
 binary end:    0x10011d50
 target chip:   RP2350
 image type:    RISC-V
