Z2A-BlackLotus Challenge stage 2 bootkit-rootkit analysis

BlackLotus stage 2 bootkit-rootkit analysis
Before we dive into this divine shit(belive me this is some divine shit as nobody can do this withouth GOD's Will(at least that's my opinion on this)) ,here's the hash for the bootkit file

Frist things first this is how a healthy system looks like
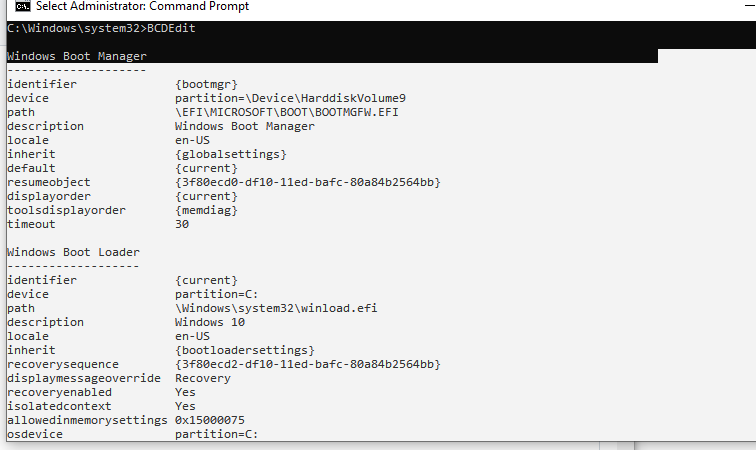
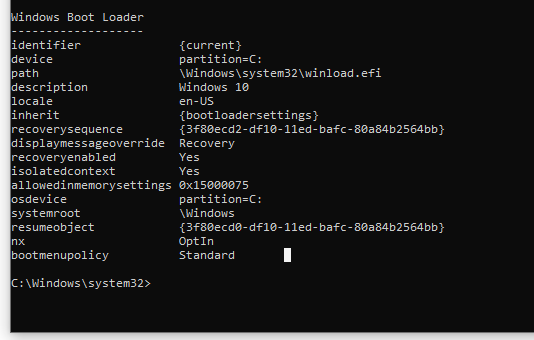
C:\Windows\system32>BCDEdit

Windows Boot Manager
--------------------
identifier              {bootmgr}
device                  partition=\Device\HarddiskVolume9
path                    \EFI\MICROSOFT\BOOT\BOOTMGFW.EFI
description             Windows Boot Manager
locale                  en-US
inherit                 {globalsettings}
default                 {current}
resumeobject            {3f80ecd0-df10-11ed-bafc-80a84b2564bb}
displayorder            {current}
toolsdisplayorder       {memdiag}
timeout                 30

Windows Boot Loader
-------------------
identifier              {current}
device                  partition=C:
path                    \Windows\system32\winload.efi
description             Windows 10
locale                  en-US
inherit                 {bootloadersettings}
recoverysequence        {3f80ecd2-df10-11ed-bafc-80a84b2564bb}
displaymessageoverride  Recovery
recoveryenabled         Yes
isolatedcontext         Yes
allowedinmemorysettings 0x15000075
osdevice                partition=C:
systemroot              \Windows
resumeobject            {3f80ecd0-df10-11ed-bafc-80a84b2564bb}
nx                      OptIn
bootmenupolicy          Standard
Now on my analysis i never managed to infect my machine such i will use the example from the already referenced asian's researcher blog post which this is how it's supposed to look an infected one
    // Windows Boot Manager
    // --------------------
    // identifier              {9dea862c-5cdd-4e70-acc1-f32b344d4795}
    // description             Windows Boot Manager
    // locale                  en-US
    // inherit                 {7ea2e1ac-2e61-4728-aaa3-896d9d0a9f0e}
    // bootdebug               Yes
    // displayorder            {57e1b615-0355-11ec-abb0-005056c00008}
    // timeout                 30

    // Windows Boot Loader
    // -------------------
    // identifier              {57e1b615-0355-11ec-abb0-005056c00008}
    // device                  boot
    // path                    \system32\hvloader.efi
    // description             Hoy la disco se flota
    // locale                  en-US
    // inherit                 {6efb52bf-1766-41db-a6b3-0ee5eff72bd7}
    // truncatememory          0x10000000
    // avoidlowmemory          0x1000
    // nointegritychecks       Yes
    // testsigning             Yes
    // isolatedcontext         Yes
    // osdevice                boot
    // systemroot              \
    // ems                     Yes
=============================================================================
=============================================================================
Before we get started how does one setup the environment for the analysis of an efi module anyway ? Well courtesy goes to @MaverickMusic__ , during a disscussion with him he handed me this( https://zhuanlan-zhihu-com.translate.goog/p/343293521?_x_tr_sl=auto&_x_tr_tl=en&_x_tr_hl=en-GB ). Now i didn't completly follow the stepts there so here's what exactly i did in order to have the environment up and running :
-First i installed edk2(https://github.com/tianocore/tianocore.github.io/wiki/Windows-systems)
-Second i have configured my ovmf as debug not realease(this will help us later). Here is the command build -a X64 -t VS2019 -b DEBUG -p OvmfPkg/OvmfPkgX64.dsc
-Third i had to configure my windbg. How tf did i do this ? I downloaded everything from this link(git clone https://github.com/microsoft/WinDbg-Samples). Than i compiled ExdiGdbSrv.sln. Thank i followed everything from this link(https://learn.microsoft.com/en-us/windows-hardware/drivers/debugger/setting-up-qemu-kernel-mode-debugging-using-exdi), from whevere it said Use regsvr32 to register the DLL in an Administrator command prompt. till PS>.\Start-ExdiDebugger.ps1 -ExdiTarget "QEMU" -GdbPort 1234 -Architecture x64 -ExdiDropPath "C:\path\to\built\exdi\files". Confusing i know but please wait patiencly as i will defently make a video where i will explain every step! Cool so now that we have a setup environment for debugging how tf do we debug the code ? So we start qemu in my case i did it by executing qemu-system-x86_64.exe -L . -bios OVMF.fd -hdd dos.img -debugcon file:debug.log -global isa-debugcon.iobase=0x402 . Once i ran qemu commmand i instantly went and selected compat_monitor0 from view menu of qemu. It should look like that when you do that.
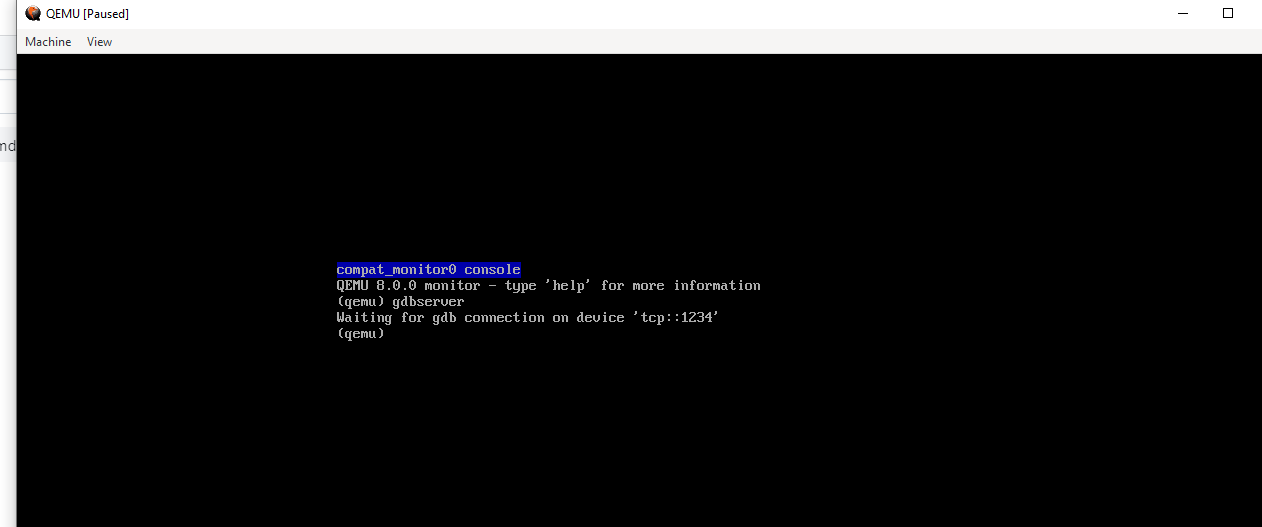
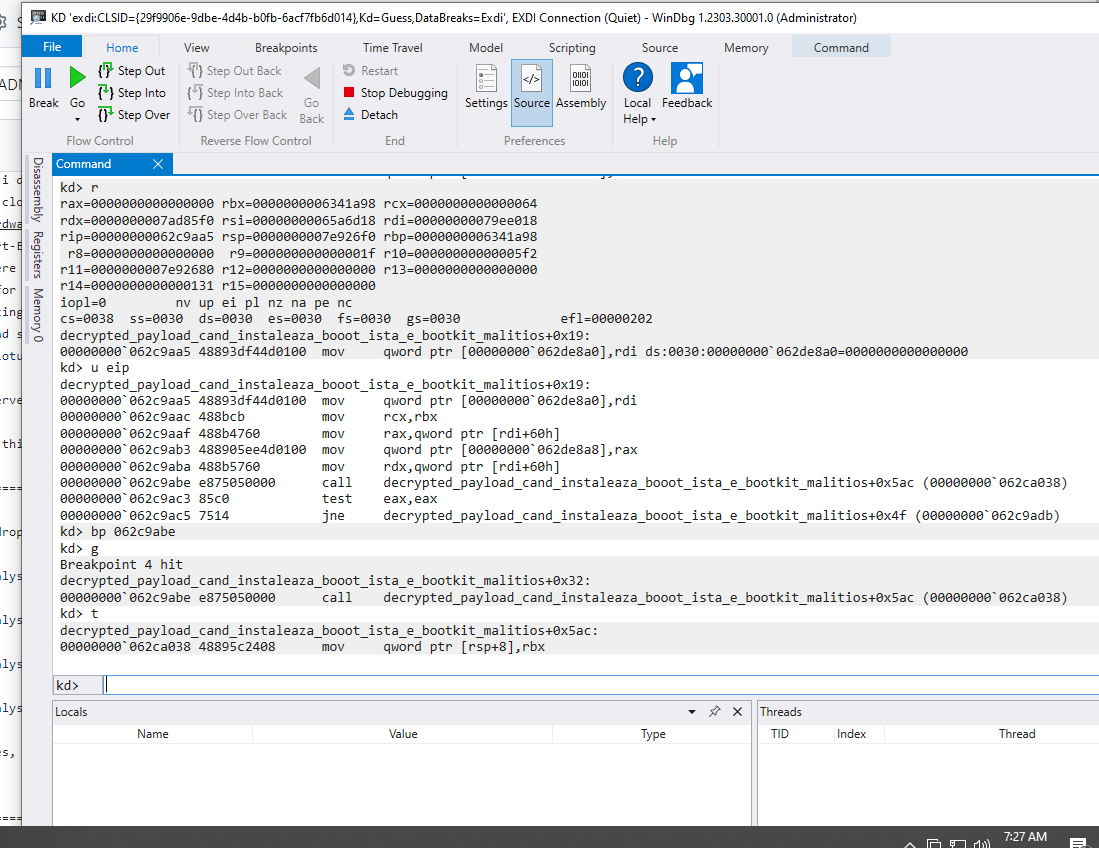
also after selecting this you should input gdbserver to start a remeote instance of gdb debuggin to which we will attach with windbg using this command .\Start-ExdiDebugger.ps1 -ExdiTarget "QEMU" -GdbPort 1234 -Architecture x64 Cool so once we connect to it will look like this
So how do we set up a breakpoint in order to debug the bootkit? Well that's we we compiled the ovmf image as debug rather than release. If you specifically start qemu with that command you'll have qemu run and debug messages will be logged in a file called debug.log , which looks like this
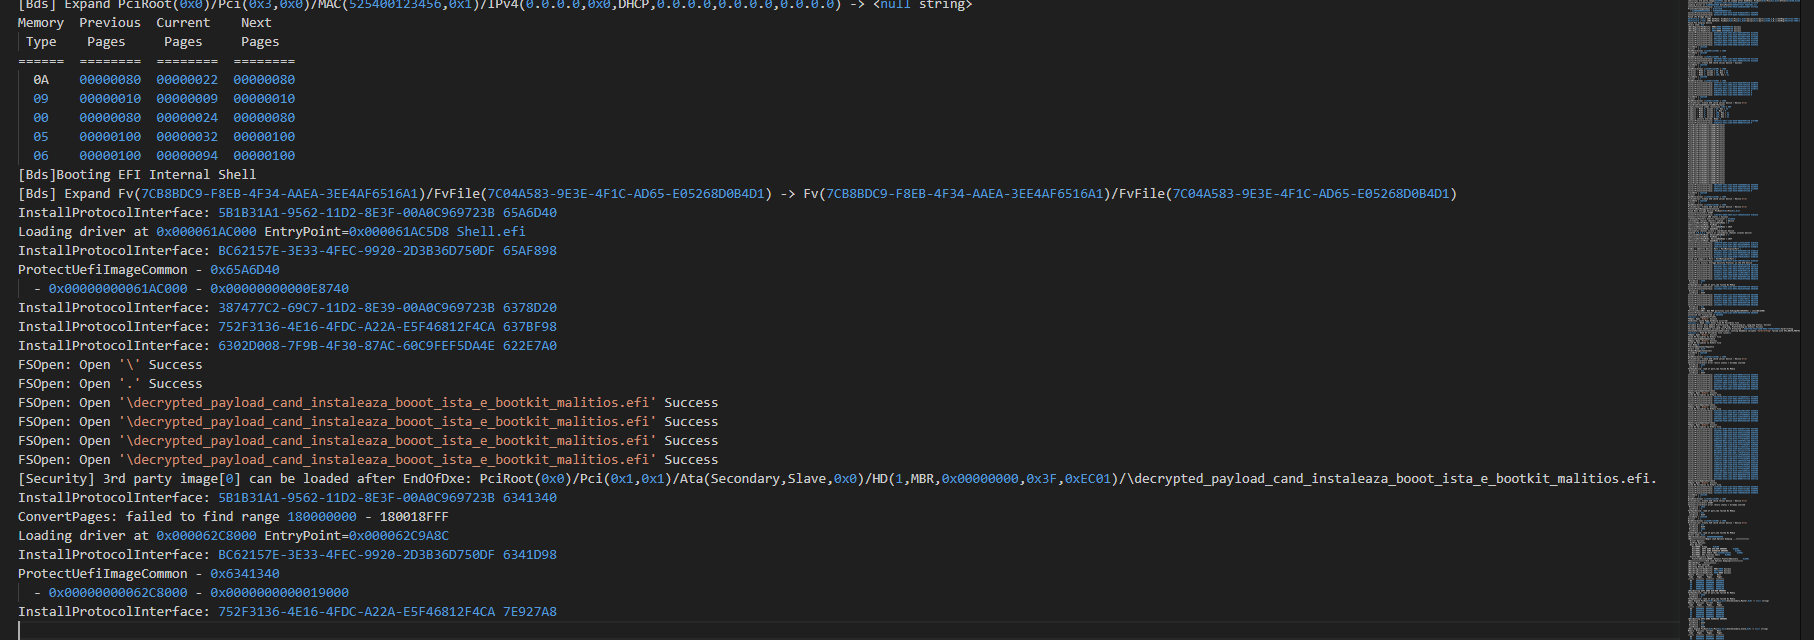
So cool now to make sense of this output, for our case the only relevant line is EntryPoint=0x000062C9A8C which is like the preffered loaded address whenever we run the bootkit. Specifically for the bootkit it varies between 0x62C4A8C or 0x62C9A8C. Now we can rebase the program in ida and do our normal work :) . Enojoy the rest of the blog!
=============================================================================
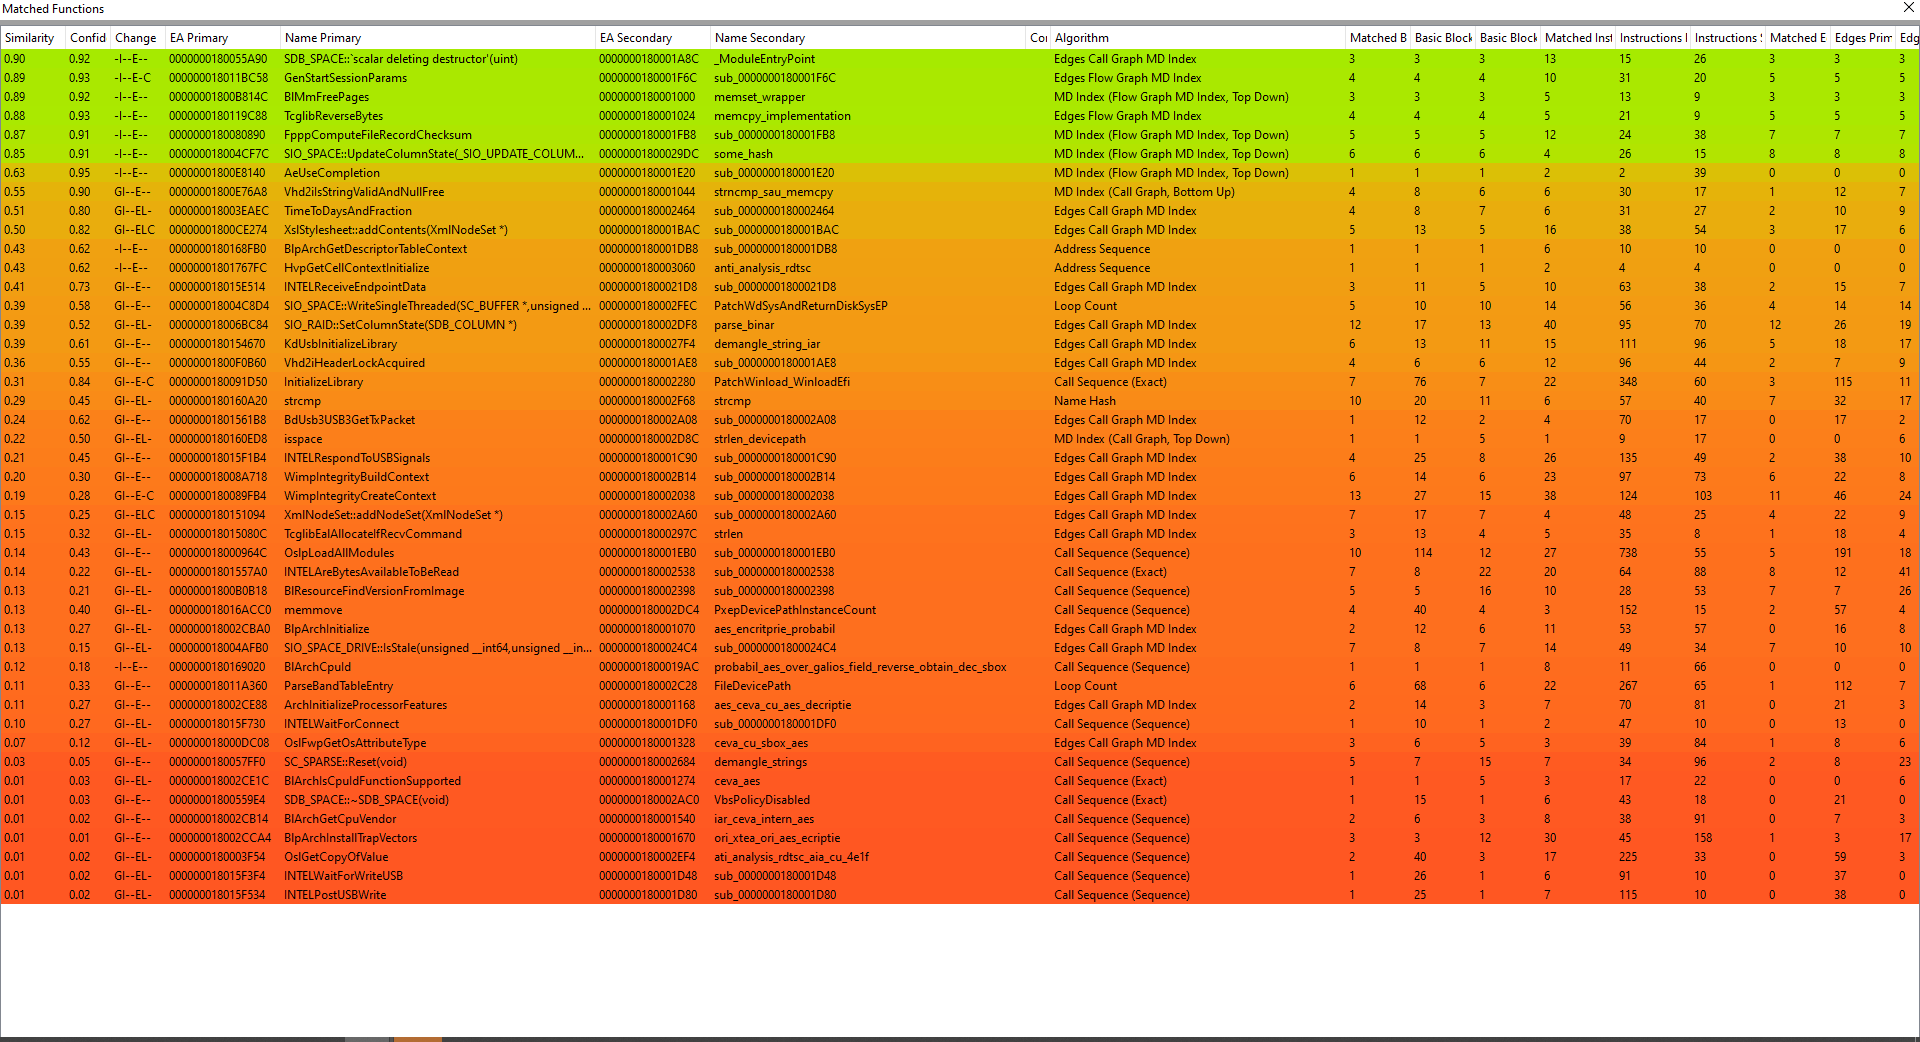
Bindiffing the original winload.efi with the one dropped by the blacklotus