 proxymanapp/tcpviewer
The best-in-class macOS app to See every packet clearly on your Mac. Alternative to Wireshark

# TCP Viewer <p align="center"> <img src="https://raw.githubusercontent.com/proxymanapp/tcpviewer/main/README.assets/hero.png" alt="TCP Viewer. A simpler Wireshark alternative for Mac developers." width="900"> </p> <p align="center"> A simple, native packet viewer for Mac. </p> <p align="center"> <a href="https://tcpviewer.proxyman.com">Website</a> · <a href="https://api-tcpviewer.proxyman.com/api/releases/download/tcpviewer.dmg">Download</a> · <a href="https://tcpviewer.proxyman.com/docs/">Docs</a> · <a href="https://github.com/ProxymanApp/TCPViewer/releases">Releases</a> </p> TCP Viewer captures and reads network packets on macOS. It uses system `libpcap` for capture and Wireshark libraries for deep packet details. ## Features - Native macOS app, built with AppKit - Built on top of Wireshark Lib, alternative to Wireshark - Capture live traffic. - Group packets by app, domain, or IP address. - Filter TCP, UDP, DNS, HTTP, TLS, WebSocket, and more. - Read protocol fields and raw bytes. - Open PCAP and PCAPNG files. - Follow TCP and UDP streams. - Export packets as PCAP or PCAPNG. - Ask an AI agent about your capture with TCP Viewer MCP. - Automate capture, tabs, split panes, filters, statistics, TCP/UDP follow, and packet diff with [`tcpviewer-cli`](https://github.com/proxymanapp/tcpviewer/blob/main/CLI.md) or [MCP](https://github.com/proxymanapp/tcpviewer/blob/main/MCP.md). - Review the full source code. ### Easy packet capture - Pick a network interface. - Start or stop with one click. - Keep busy captures easy to read. [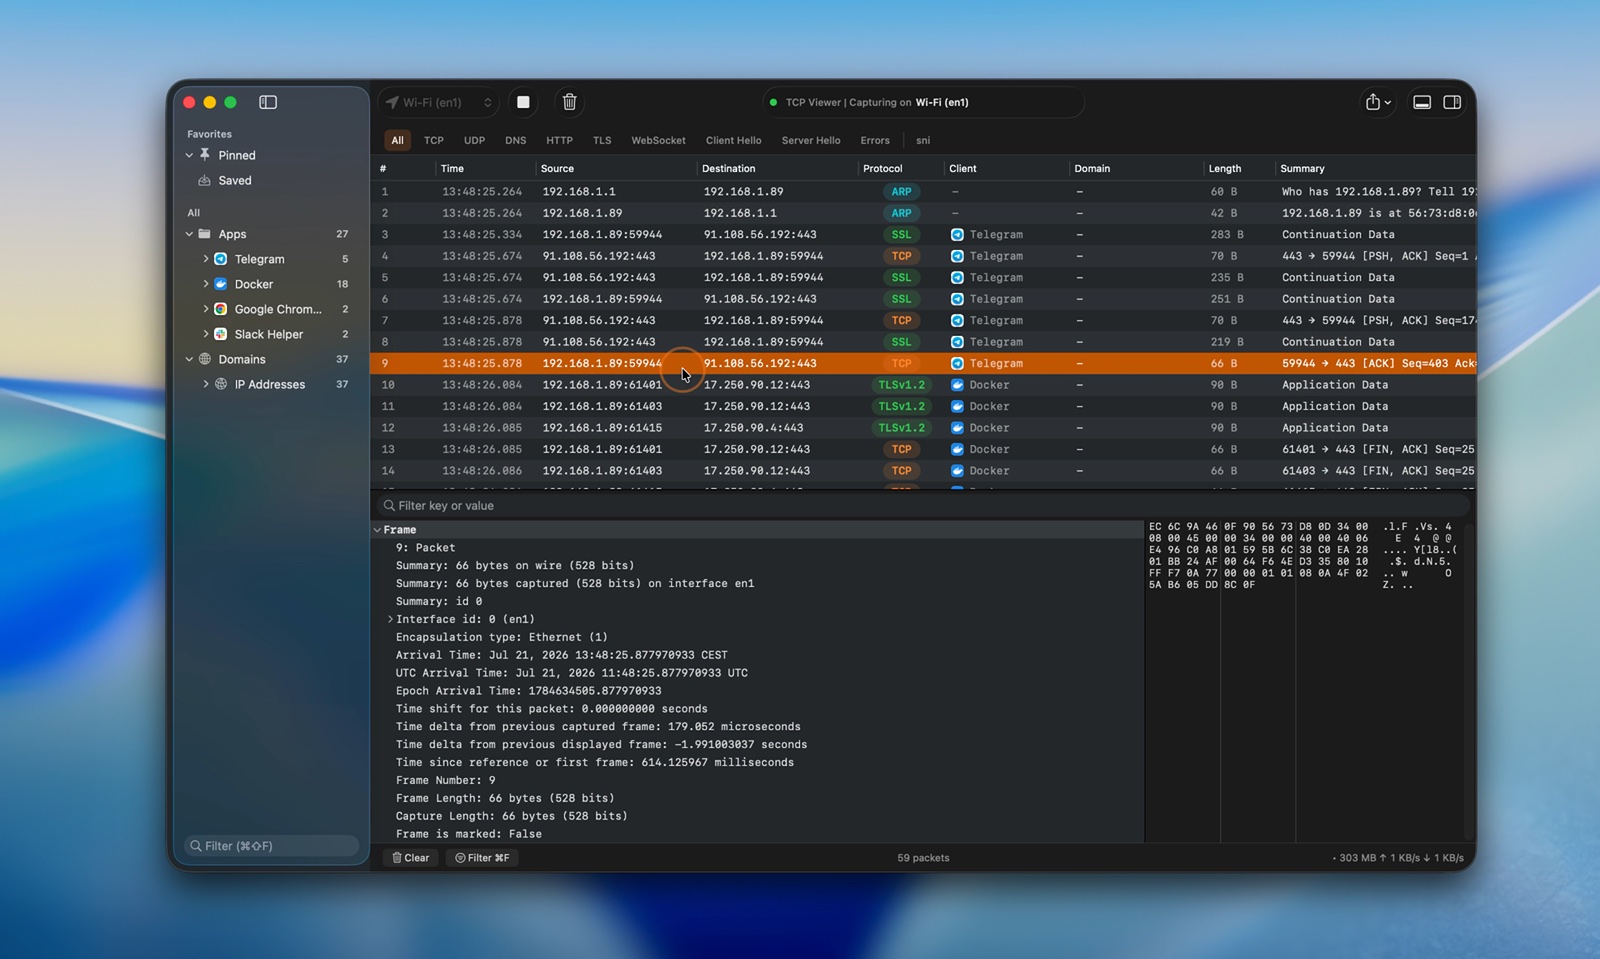](https://tcpviewer.proxyman.com/demo/main-demo.mp4) [Watch the live capture video](https://tcpviewer.proxyman.com/demo/main-demo.mp4) ### TCP Viewer MCP - Connect TCP Viewer to Codex or another MCP client. - Check the capture status. - List network interfaces. - Find packets with a simple prompt. - Available with TCP Viewer PRO. <p align="center"> <img src="https://raw.githubusercontent.com/proxymanapp/tcpviewer/main/README.assets/tcp-viewer-mcp.jpg" alt="Codex asking TCP Viewer MCP about capture status, interfaces, and packets" width="760"> </p> ### Open capture files - Drag in a PCAP or PCAPNG file. - Preview packets right away. - Use the same view as a live capture. [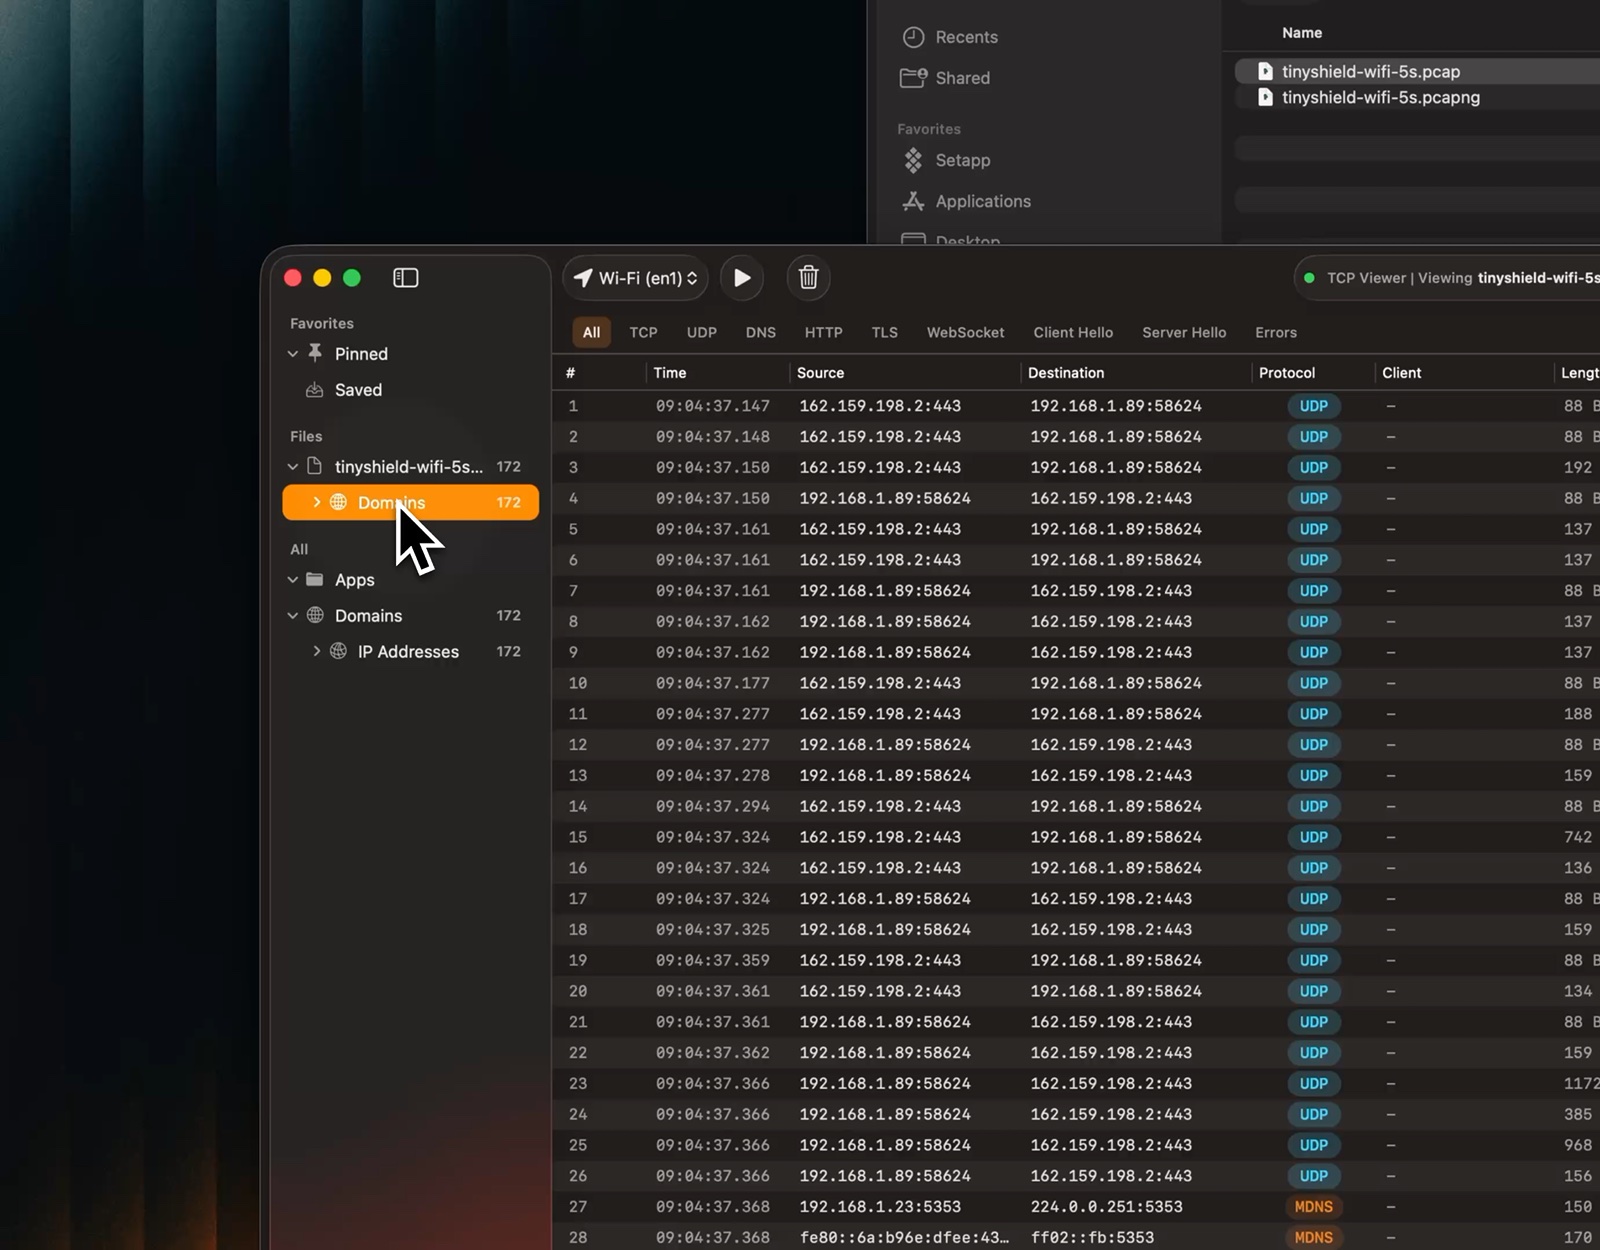](https://tcpviewer.proxyman.com/demo/open-pcap.mp4) [Watch the file preview video](https://tcpviewer.proxyman.com/demo/open-pcap.mp4) ### Follow TCP and UDP Streams - Rebuild a TCP conversation or view UDP datagrams in capture order. - Open a stream from the packet menu or the Tools menu. - Show both directions together. - Show only client or server data. - Switch between text and hex. - Search the stream. - Jump back to the source packet. [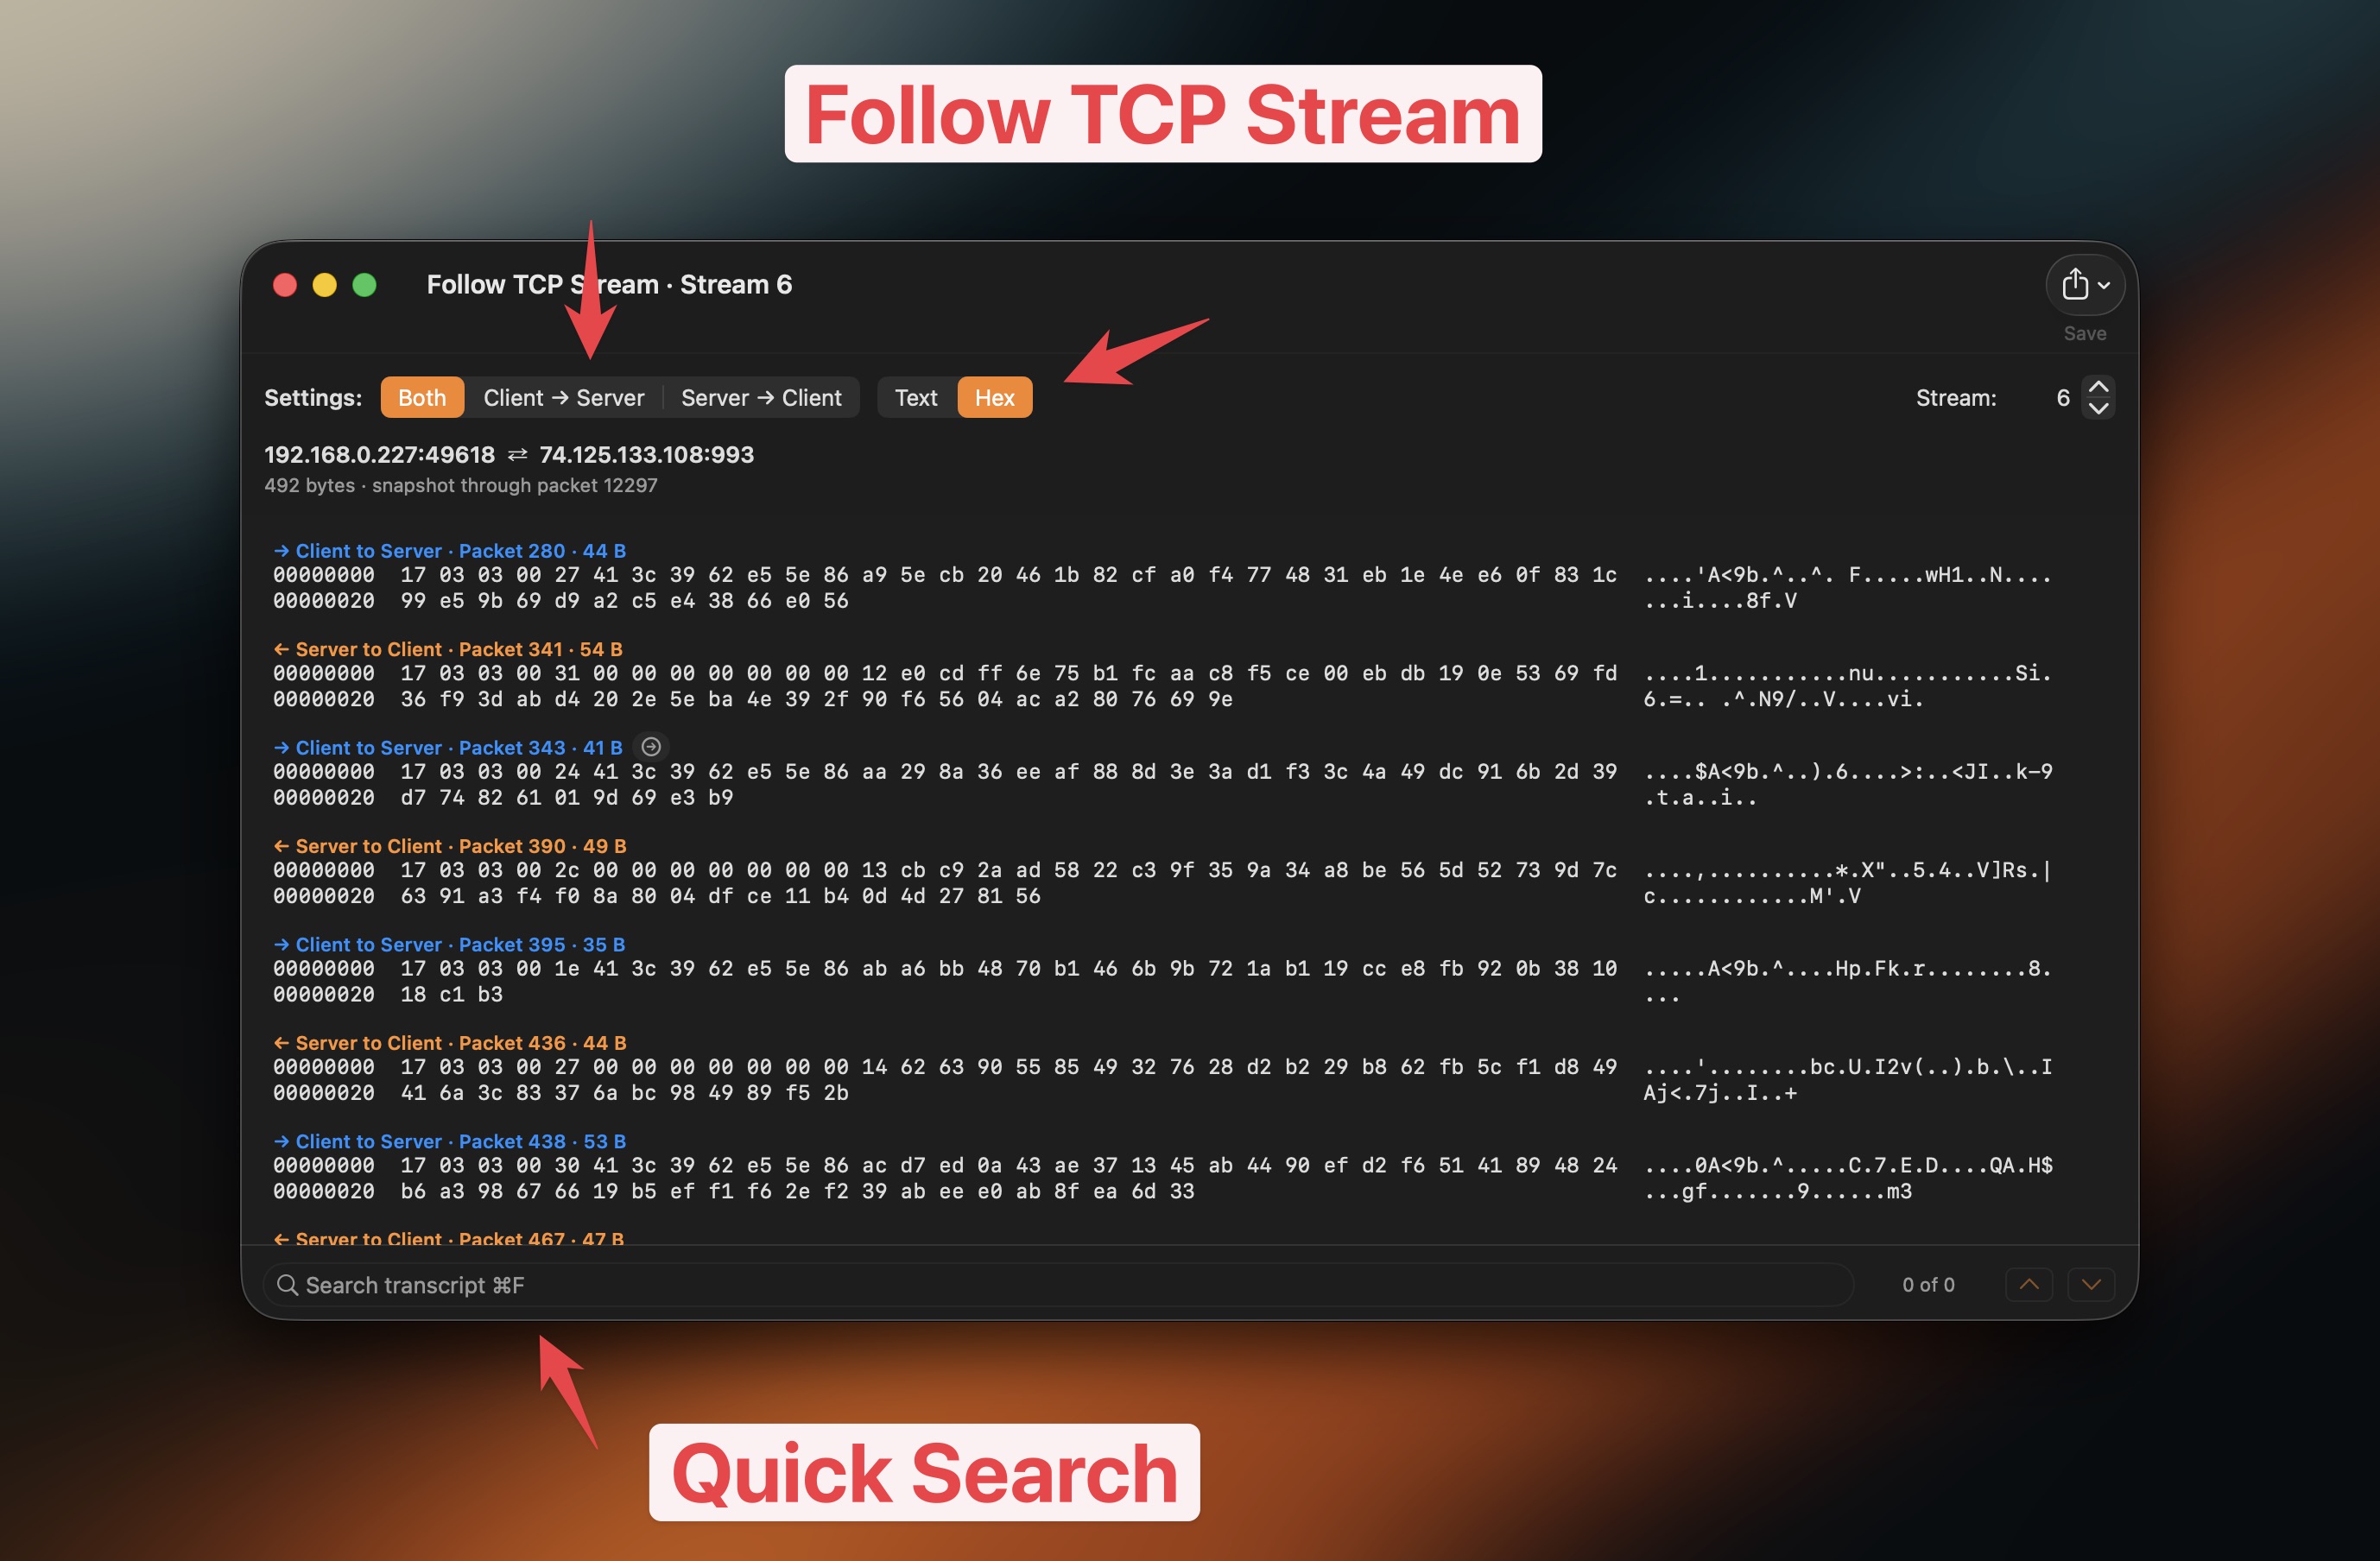](https://tcpviewer.proxyman.com/demo/follow-tcp.mp4) [Watch the Follow TCP Stream video](https://tcpviewer.proxyman.com/demo/follow-tcp.mp4) ### Group traffic - Group packets by app. - Group packets by domain. - Group packets by IP address. - Jump to the traffic you need. [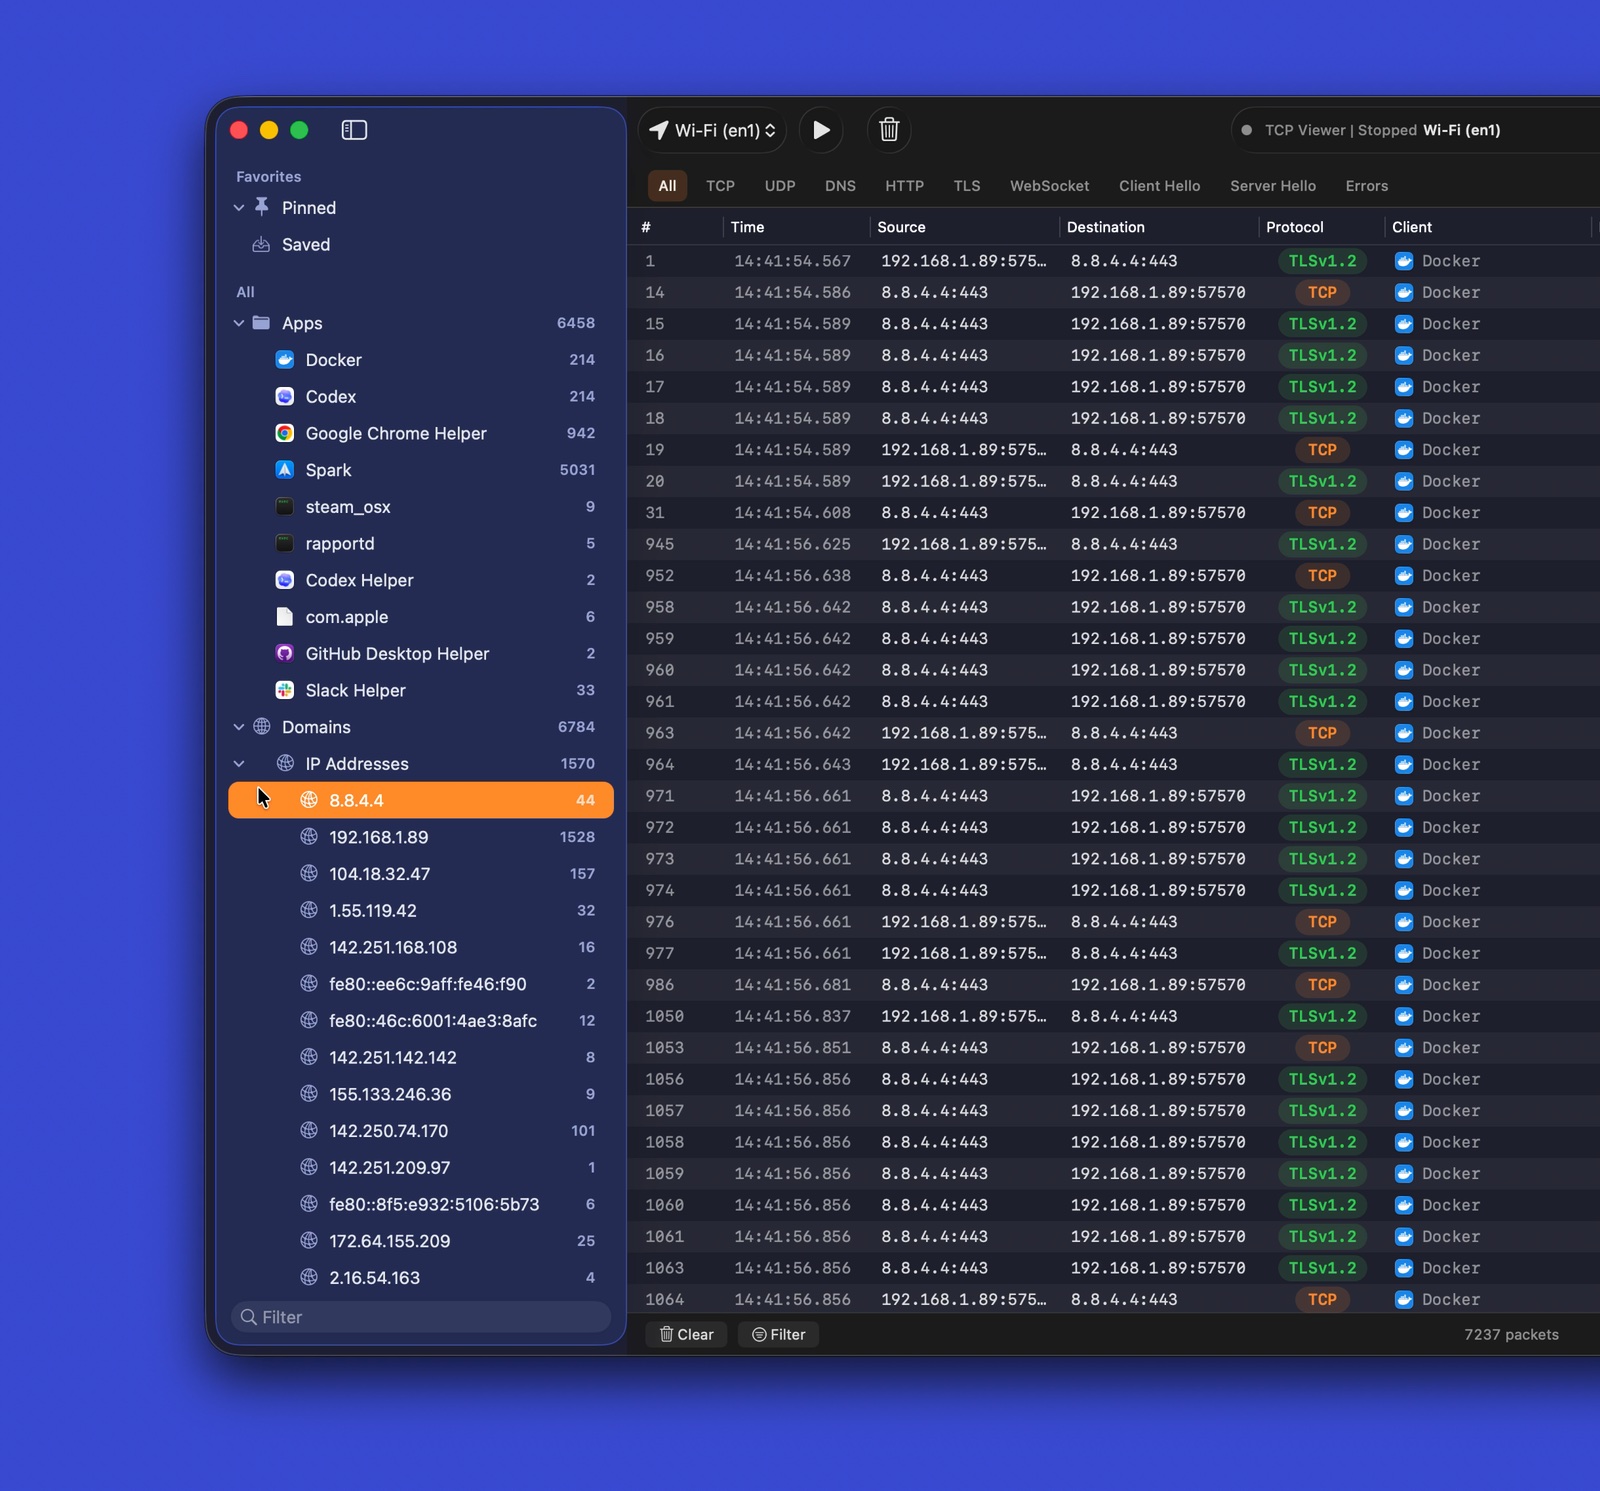](https://tcpviewer.proxyman.com/demo/group-by-app-domains.mp4) [Watch the grouped traffic video](https://tcpviewer.proxyman.com/demo/group-by-app-domains.mp4) ### Protocol filters - Use quick filters for common protocols. - Combine filters with text search. - Focus on useful packets fast. [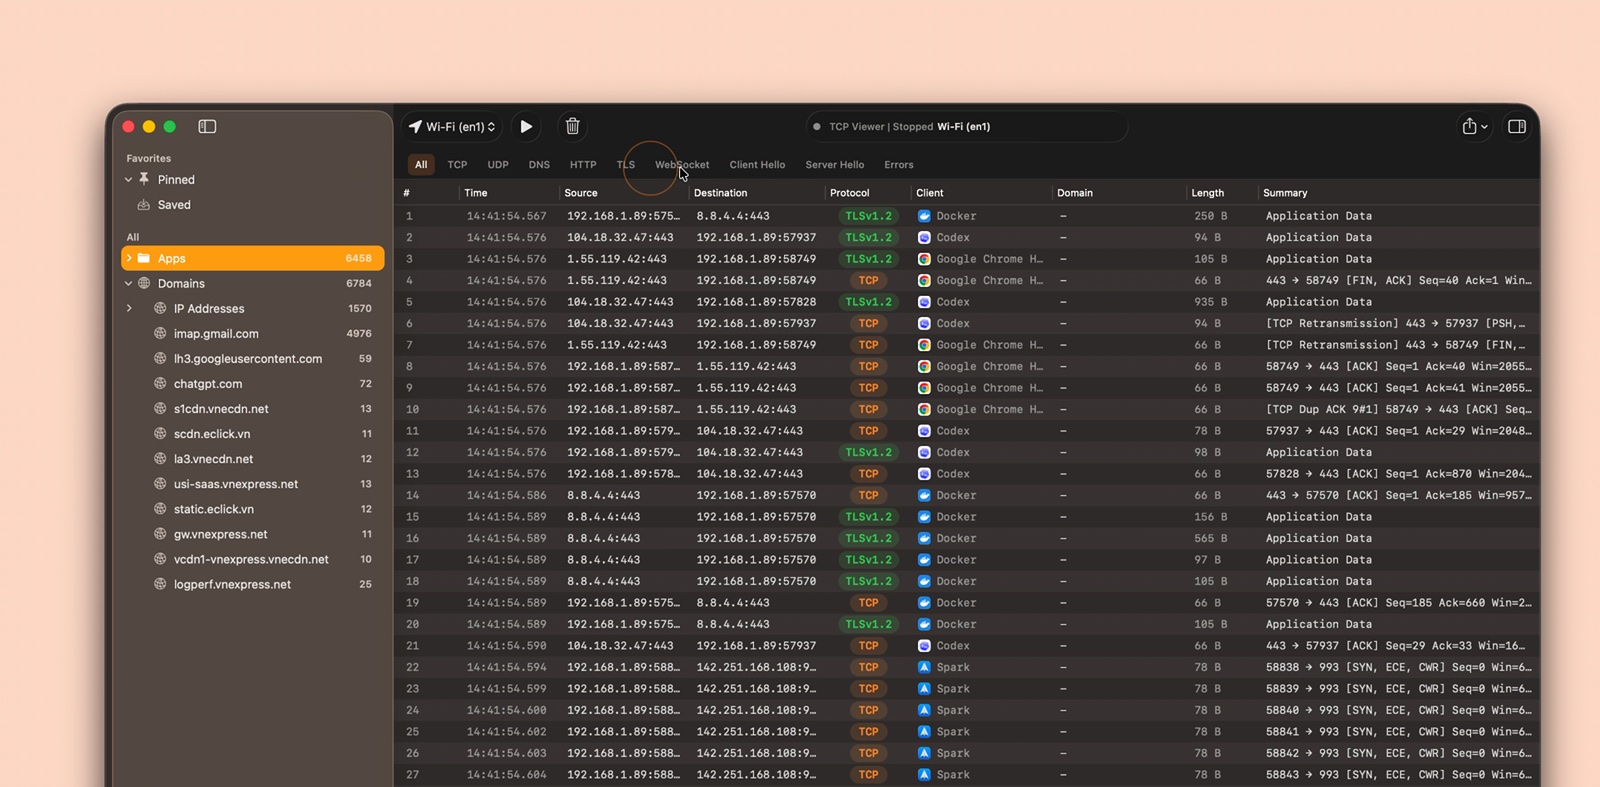](https://tcpviewer.proxyman.com/demo/advanced-filter.mp4) [Watch the protocol filter video](https://tcpviewer.proxyman.com/demo/advanced-filter.mp4) ### Export captures - Export all, filtered, or selected packets. - Save as PCAP or PCAPNG. - Open the result in other packet tools. <p align="center"> <img src="https://raw.githubusercontent.com/proxymanapp/tcpviewer/main/README.assets/export-captures.png" alt="Export selected packets as PCAP or PCAPNG" width="620"> </p> ### Packet details - Read Wireshark-grade protocol trees. - Inspect field names and values. - Match fields to raw bytes. - Search packet details. [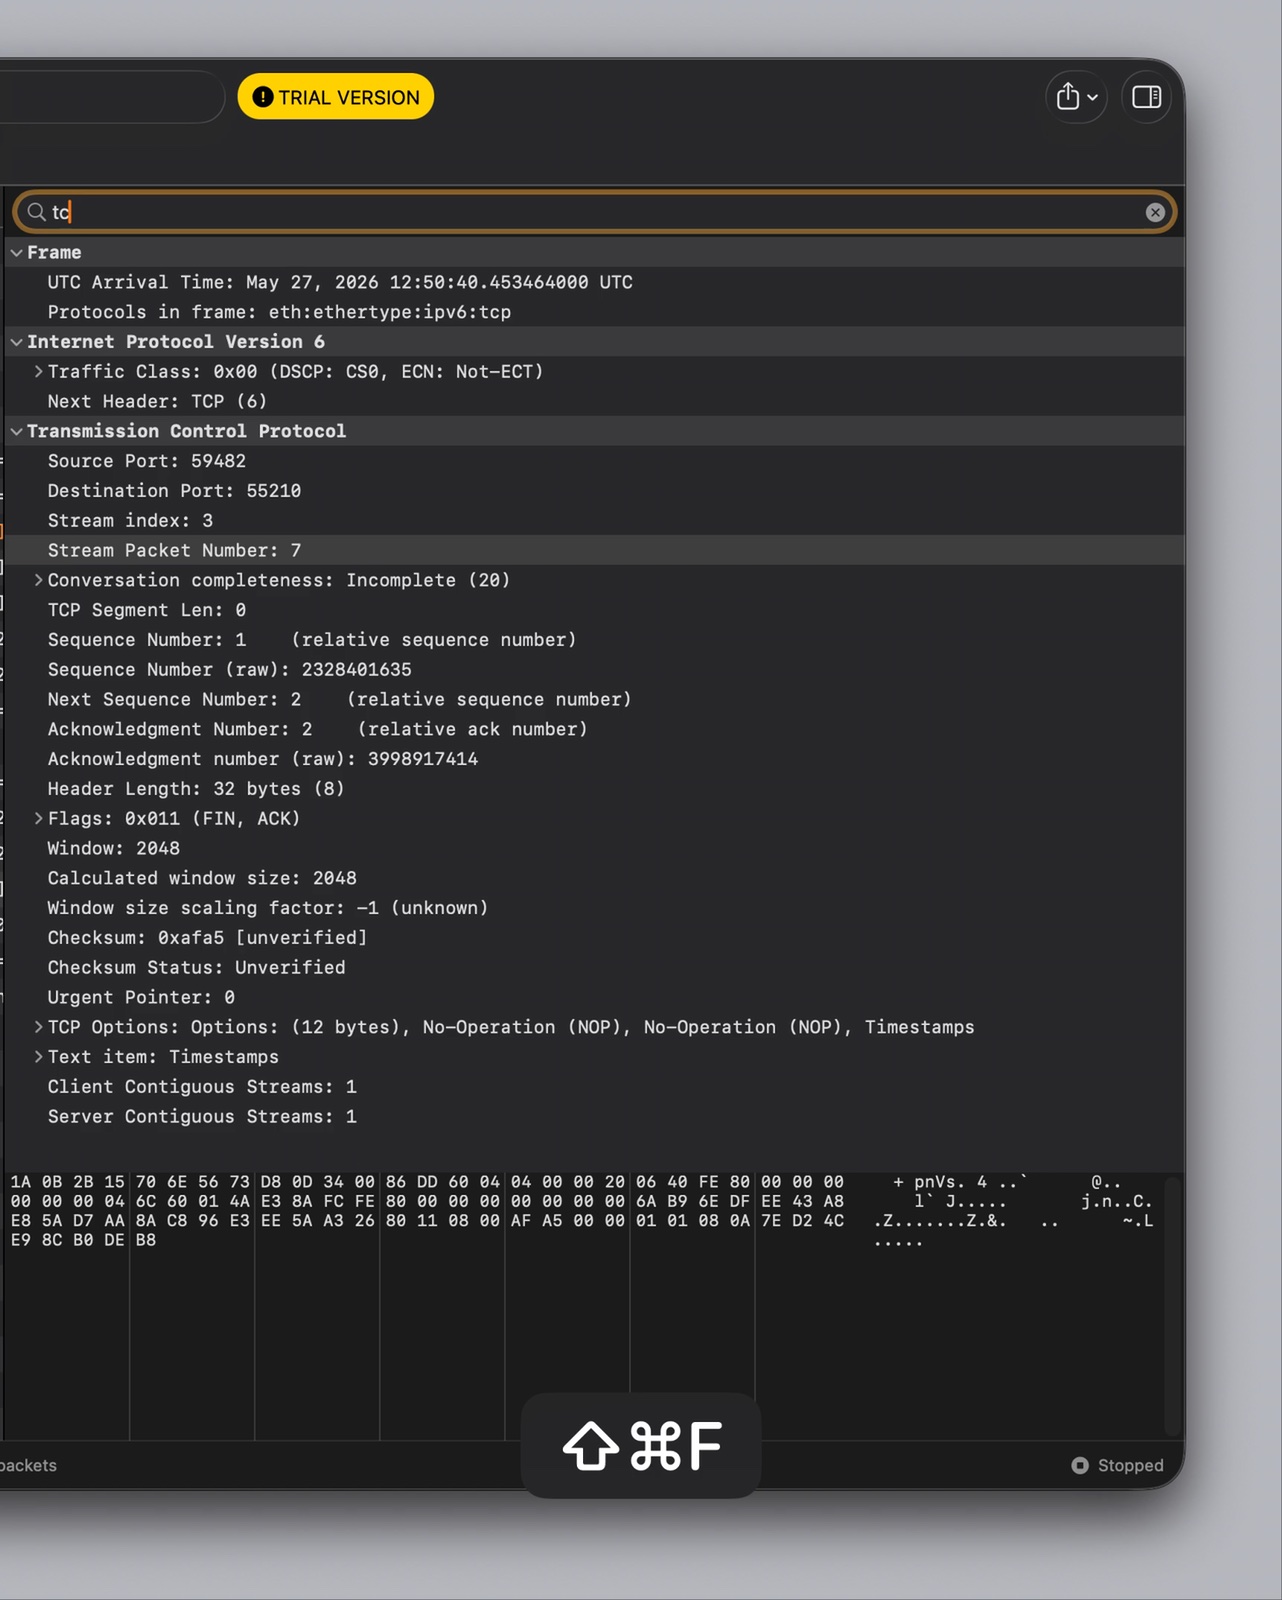](https://tcpviewer.proxyman.com/demo/detail-packet.mp4) [Watch the packet details video](https://tcpviewer.proxyman.com/demo/detail-packet.mp4) ## Open source - Licensed under GPL-2.0-or-later. - Review the capture pipeline. - Review packet decoding. - Review the native macOS interface. - Report issues or send a pull request. 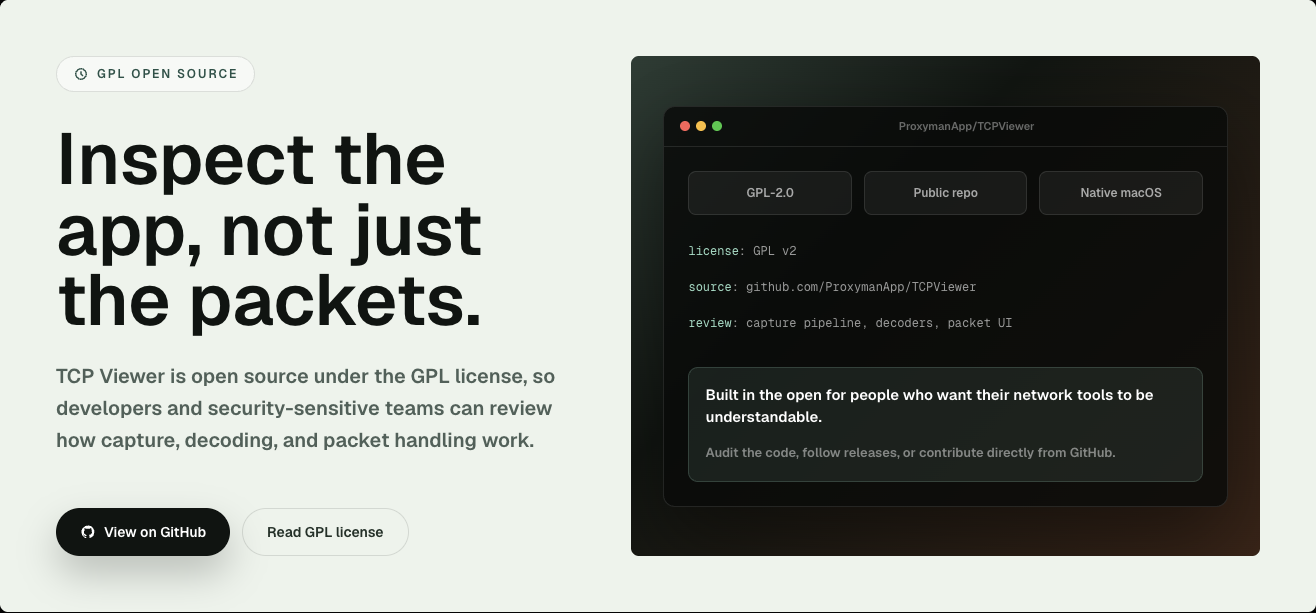 ## Built by the Proxyman Team - Made by the team behind [Proxyman](https://proxyman.com) and [Tiny Shield](https://tinyshield.proxyman.com/). - Built for macOS. - Focused on privacy and clear network debugging. 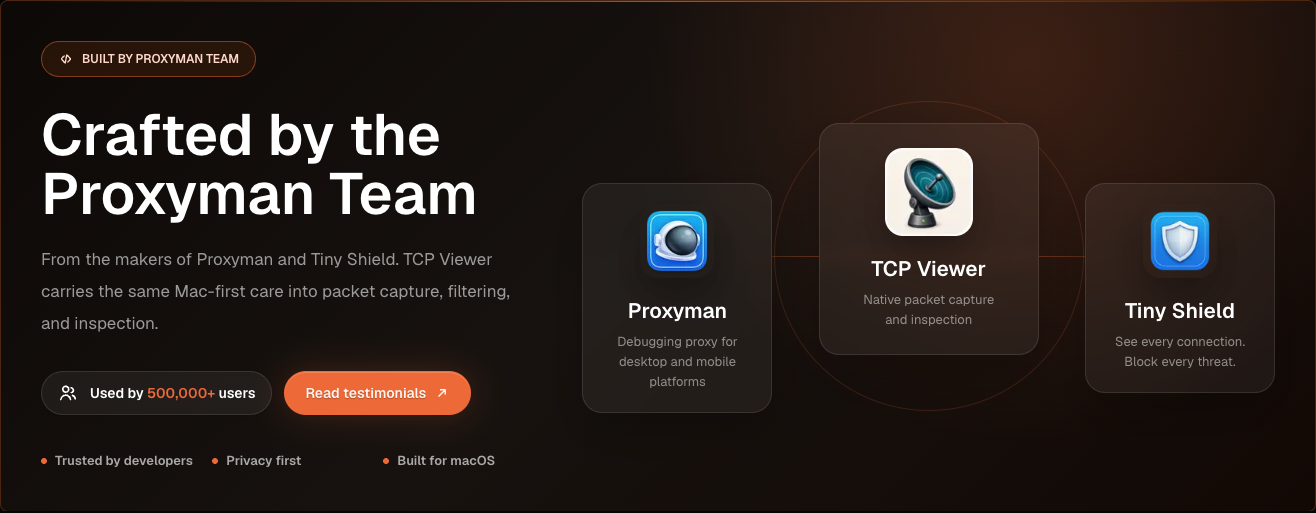 ## Requirements To run TCP Viewer: - Apple Silicon Mac. - macOS 15 or later. To build TCP Viewer: - Xcode 16 or later. - Git. - CMake, Ninja, Meson, pkg-config, and autotools. ```bash brew install cmake ninja meson pkg-config autoconf automake libtool ``` ## Setup Clone with submodules. Then bootstrap the pinned Wireshark dependency. ```bash git clone --recurse-submodules <repo-url> cd TCPViewer cp Config/TCPViewer.local.xcconfig.example Config/TCPViewer.local.xcconfig ./scripts/bootstrap-wireshark.sh ``` Already cloned without submodules? ```bash git submodule update --init --recursive ./scripts/bootstrap-wireshark.sh ``` The bootstrap scripts: - Run `scripts/bootstrap-wireshark-deps.sh` first. - Build Wireshark's runtime libraries from source. - Write them to `Vendor/.install/wireshark-deps`. - Use macOS 15 as the deployment target. - Use Homebrew only for build tools. - Never copy Homebrew bottle dylibs into a release. Keep local signing, appcast, Sparkle, Sentry, and release values out of Git. Use `Config/TCPViewer.local.xcconfig`, `.env`, environment variables, or Keychain-backed tools. ## Run In Xcode: 1. Open `TCPViewer.xcodeproj`. 2. Select the `TCPViewer` scheme. 3. Choose `My Mac`. 4. Press Run. Command-line build: ```bash xcodebuild -project TCPViewer.xcodeproj -scheme TCPViewer build ``` If Xcode asks for signing, select a development team for `TCPViewer` and `PcapPlusPlusCore`. ## Test ```bash xcodebuild test \ -project TCPViewer.xcodeproj \ -scheme TCPViewer \ -destination 'platform=macOS' ``` ## Release The release script can: - Build and notarize the app. - Sign the Sparkle update. - Upload files to Cloudflare R2. - Publish the release to the backend. First-time setup: ```bash npm install bundle install gh auth login ``` Create a local `.env` from `.env.example`. Add the required release values. Never commit real secrets. Use `#` for comments in `.env`. `sentry-cli` does not accept `//` comments. For a production release, add a matching entry to `ReleaseNote.json`. Then run: ```bash npm run release ``` Choose `beta` or `production` when asked. Production releases also: - Create the Sparkle appcast. - Push the `v<version>` tag. - Publish the GitHub release. To create only the Homebrew Cask pull request for the latest public production release, run `make build` and choose `Homebrew Cask PR from latest release`. You can also run the direct command: ```bash npm run release:homebrew ``` This verifies the public DMG against the GitHub release asset, pushes a branch to `ProxymanApp/homebrew-cask`, and opens the contribution pull request in `Homebrew/homebrew-cask`. Artifacts are written to: ```bash ~/Desktop/tcpviewer-production/ ``` ## License TCP Viewer is licensed under GPL-2.0-or-later. This matches its use of Wireshark libraries. - See `COPYING` for the full GPL text. - See `THIRD_PARTY_NOTICES.md` for third-party notices. - See `SOURCE_CODE_OFFER.md` for binary release source terms. ## Acknowledgements - [Wireshark](https://www.wireshark.org/) provides packet dissection. - [HexFiend](https://github.com/HexFiend/HexFiend) provides the embedded hex viewer. Wireshark is a trademark of the Wireshark Foundation. TCP Viewer is not affiliated with or endorsed by the Wireshark Foundation.
