 markoglasgow/gemma_crackme_tutorial
Step-by-step tutorial on using Google's Gemma 4 E4B local AI model to reverse engineer a Windows crackme with Ghidra, including setup for local inference and automated function/variable renaming.

I was playing around with the new Gemma E4B open weights local model which Google released, and to my surprise I was seeing a great deal of success in using it for local offline reverse engineering scenarios. I wanted to write this tutorial to spread the word that local AI is now good enough for many basic reversing tasks, and that things will probably rapidly improve from here on out.
One of the most tedious parts of reversing a new binary is at the very beginning, when you have no insights into what the important functions and variables are. There are many tricks which reversers use to get started, including looking at string references, binary diffing, or matching similar functions.
AI is very good at helping out here, and I've personally had great success in using the OpenAI API to mark up a binary or clean up decompiler output. However, there are several disadvantages to using these APIs:
Cost - Decompilation and disassembly generate tons of tokens. The APIs charge $ per token, so larger binaries can take quite a bit of $$$ to analyze. If you're dealing with a large target with many binaries which update each week, these costs can add up quickly, and are prohibitive for hobbyist reverse engineers.
Privacy - When you're using a remote API, the host of the AI has insight into what you're doing. This is a non-starter in some professional scenarios.
Control - When you rely on a remote API, you have no control over what models are being served to you, or what the quality of the models is. If you rely on them for mission critical stuff, this can be a problem when they become slow or go down when you need them, or when their output quality degrades to the point that they're useless.
Running your own local AI models addresses some of these pain points:
Cost - It can be much cheaper to run a local model than rely on a hosted service. While your local model is probably smaller and slower than from a good provider, if it's good enough and runs in a reasonable amount of time, it can make sense to save on money by running your own model, especially if you're crunching large amounts of data for simple tasks.
Privacy - When you run the model locally, there are no network calls happening, and you're in complete control of your privacy. No one can see what you're using the model for on your own machine.
Control - The beauty of an open weights model is that no one can take it away from you. OpenAI or Anthropic might one day make their SotA models unavailable, either through price increases or by explicitly removing their APIs. But with an open weights model, you're in control of your destiny, for better or worse.
Local AI models have their downsides though:
Size - The larger your model, the more intelligent it is. However, most large models cannot fit onto consumer hardware. Because of that, if you're running a local model, chances are you're running a model that's 10x-100x smaller than a SotA (State-of-the-Art) model. This decrease in size directly leads to a decrease in intelligence in the model, making them unsuitable for many tasks which people take for granted in SotA models like ChatGPT/Codex or Claude.
Speed - Local models will probably run slower on your machine than when using an AI API. Again, this is due to the limitations of consumer hardware, and some of the tricks which API providers can do which are generally not available to you.
Configuration - Running local models is like trying to run Linux on a refurbished laptop vs walking into the Apple store and buying a clean new Macbook Air. The Codex and Claude Code experience is the Apple store experience of AI. The local AI model experience is the guy with a fedora in his garage banging on a janky computer trying to make it work. At a minimum, you have to worry about the following things:
It's not an easy journey, and many people give up and assume local AI models are not up to the task, because they never found the right combination of hardware/model/settings/prompting/harness to make them work for their task. While in many cases they're right, I hope this tutorial at least shines a light on how far local models have come, how they can help with reverse engineering, and inspires people to give local AI a shot.
(archive password is crackmes.one). I've hosted an alternative link here in the repo in case the original link goes down.
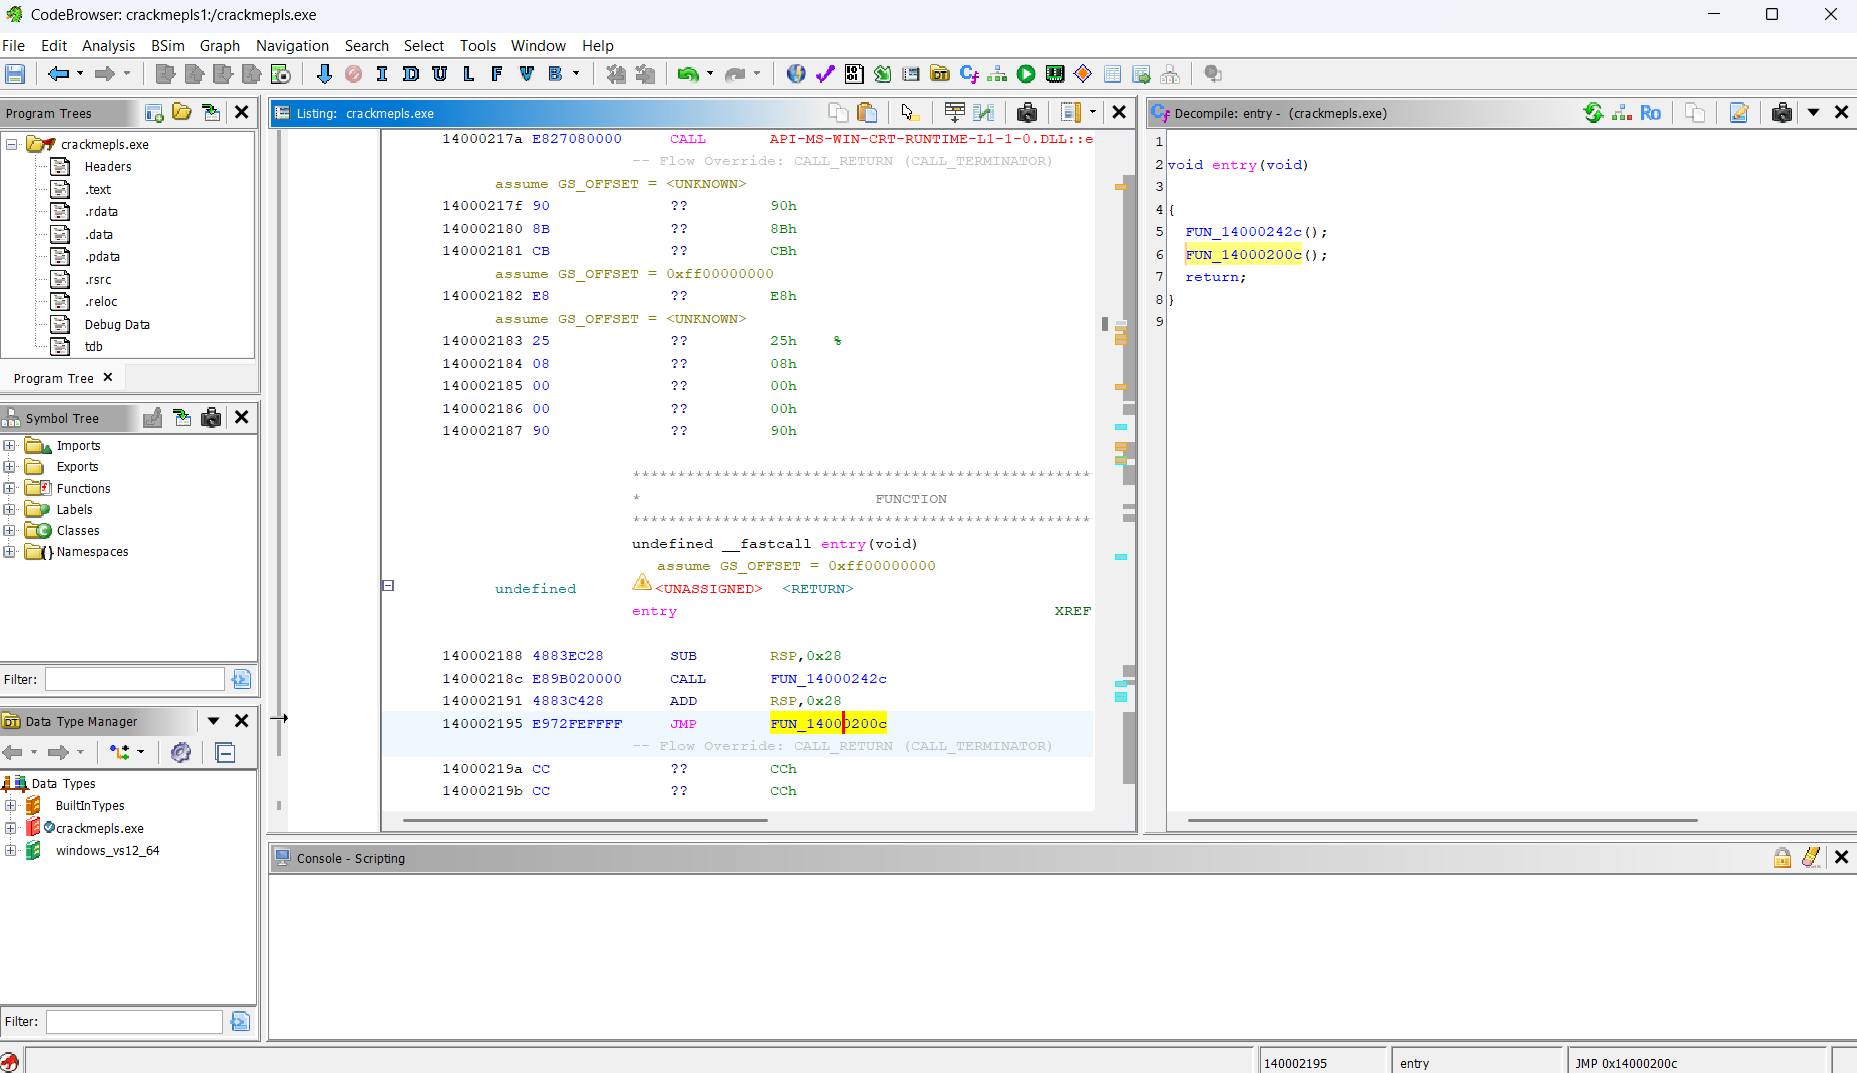
Ghidra 12.04 is used for disassembly and decompilation. You'll need to install OpenJDK 21 to use it: https://github.com/nationalsecurityagency/ghidra
While working on this tutorial I vibe-coded with Claude Code a Ghidra plugin to rename functions and variables with AI. You can download the plugin from here: https://github.com/markoglasgow/Ghidra_FastAIRenamer_Plugin
To install it, simply move the zip file ghidra_12.0.4_PUBLIC_20260427_FastAIRenamerPlugin.zip to ${GHIDRA_HOME}\Extensions\Ghidra, then run Ghidra by running ${GHIDRA_HOME}\ghidraRun.bat. To activate the plugin, in the initial Ghidra screen on the top menu select File -> Install Extensions, then in the plugin browser check the checkbox next to FastAIRenamerPlugin, then click Ok. Ghidra will prompt you to restart itself, so do that right away.
To configure the plugin, next time Ghidra starts, on the top menu go to Tools -> Run Tool -> CodeBrowser. Ghidra will say "New Extensions detected. Would you like to configure them?". Click yes, then again check the checkbox next to FastAIRenamerPlugin, then click Ok. When the CodeBrowser opens, in the top menu click Window -> Fast AI Renamer, then click the Config button. Here you will be able to configure your AI model. Close the plugin window and the empty CodeBrowser window once done.
Note: if you have any problems loading the plugin, you might need to enable Developer mode in Ghidra (File -> Configure -> checkbox next to Developer)
Note: you can always check if the plugin is loaded by going to the CodeBrowser, clicking File -> Configure -> Ghidra Core -> click the blue configure button -> filter by "FastAIRenamer" -> make sure the checkbox next to its name is checked.
