 invictus-ir/alfa
Automated forensic analysis tool for Google Workspace audit logs. Acquires all log types, maps events to MITRE ATT&CK Cloud Framework, and identifies kill chains via statistical scoring.

Copyright (c) 2026 Invictus Incident Response
Original authors Greg Charitonos & BertJanCyber maintained by Invictus Incident Response
A note on supported operating systems, ALFA is tested on several Linux distributions (Debian and Ubuntu).
While it might be possible to use it on Windows or macOS, results can vary, so proceed at your own risk.
sudo pip install -e . or sudo pip3 install -e .Install Python 3.9 using pyenv
ALFA works best with Python 3.9. You can use pyenv to manage and install this version.
pyenv yet, you can do so using Homebrew:
brew install pyenv
pyenv in your shell by adding the following to your shell configuration file (e.g., ~/.zshrc or ~/.bashrc):
export PYENV_ROOT="$HOME/.pyenv"
export PATH="$PYENV_ROOT/bin:$PATH"
eval "$(pyenv init --path)"
source ~/.zshrc # or source ~/.bashrc
pyenv:
pyenv install 3.9
pyenv global 3.9
pyenv shell 3.9
(Optional) Create a Virtual Environment It’s a good practice to run projects in a virtual environment to keep dependencies isolated. Using the 3.9 version of Python you just set, create a virtual environment:
python -m venv alfa
source alfa/bin/activate
Install ALFA
Inside the folder where the ALFA project is located, install it using pip:
pip install -e .
If you’re not using a virtual environment, you may need sudo:
sudo pip install -e .
Verify Installation
After installation, you can verify that ALFA is installed by attempting to run its command-line tool alfa.
NOTE: For retrieving credentials.json, please see CREDENTIALS.md
alfa init projectname this command will create a new directory to store your configuration and data. E.g. alfa init project_xALFA has 3 options as explained below:
alfa acquirealfa acquire -hYou can do all kinds of filtering to limit the data you are acquiring some examples below:
alfa acquire --logtype=adminalfa acquire -d /tmp/project_secretalfa acquire --user=insert_usernamealfa acquire --start-time=2022-07-10T10:00:00Z --end-time=2022-07-11T14:26:01Z the timeformat is (RFC3339)Now you know how to acquire data time for some fancy stuff to unleash the power of ALFA.
The analyze function automatically analysis all audit log data for a given Google Workspace to identify suspicious activity.
Categorization Each individual event is categorized based on a mapping that is made alfa/config/event_to_mitre.yml. If an event matches that lists it is mapped to a technique that is part of the MITRE ATT&CK Cloud Framework (https://attack.mitre.org/matrices/enterprise/cloud/).
Scoring Next ALFA will analyze all mapped events in chronological order to try to identify kill chains or logical attack paths. E.G. An event that is mapped to the Persistence phase followed by an event that is mapped to the Credential Access phase will result in a higher score.
Result Ultimately ALFA will give the analyst a list of identified 'subchains' that can be further analyzed.
alfa analyze which will automatically identify (or not if none were found). It will also drop you in a shell where you can perform follow up activities.A.aoi(export='activities.json') to export all identified subchains to a file, that you can then use for further analysis.Use A = Alfa.load([logname]) to load and analyse logs from local storage Use A = Alfa.load('all') to load all logs. Alfa filters benign activities out, by default. To load all activities and events, unfiltered, use Alfa.load([logname], filter=False).
It is possible to edit the config/event_to_mitre.yml file directly, but ill-advised. The layout of this file is unintuitive. Instead, consider making amendments to utils/mappings.yml. Then repopulate config/event_to_mitre.yml by running utils/event_mitre_remap.py
The kill chain discovery function utilizes hard-coded constants. These can be found in the config/config.yml. Forensic analysts are advised to review the values and make amendments for their workspace as necessary. These constants are responsible for both the kill chain statistic (kcs) and kill chain discovery (subchains).
Want to know more about the statistics and algorithm used for ALFA, we wrote a blog post about it here(https://medium.com/@invictus-ir/automated-forensic-analysis-of-google-workspace-859ed50c5c92)
You have to add a credentials.json file to the project folder in the 'config' subdirectory. Instructions in the 'CREDENTIALS.md' file.
This means that port 8089 is already in use by another application, this could happen if you have a webserver running on this port and also Splunk uses port 8089 by default. Solution is to (temporarily) stop that port from being used as it's required for the authentication flow that the port is available.
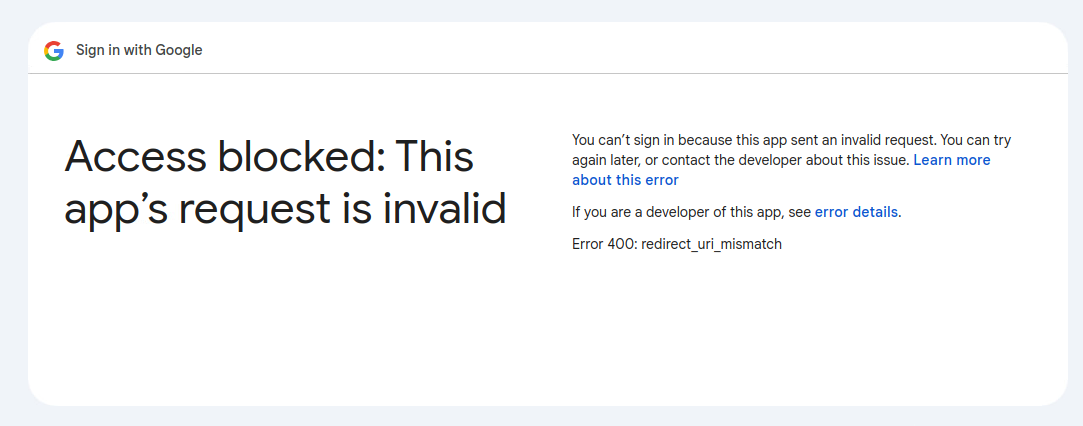
Sometimes the authorization info needs to be updated the easiest way to do this is removing the 'token.json' from the project_name/config folder. And then rerunning the command. If that still gives issues then remove token.json and credentials.json and reregister the OAuth application as described in
CREDENTIALS.MD
