cyberbro v0.14.2
A simple application that extracts your IoCs from garbage input and checks their reputation using multiple CTI services.
Cyberbro

A simple application that extracts your IoCs from garbage input and checks their reputation using multiple services.
🌐 demo.cyberbro.net






About
Inspired by Cybergordon and IntelOwl.
This project aims to provide a simple and efficient way to check the reputation of your observables using multiple services, without having to deploy a complex solution. Read the docs at https://docs.cyberbro.net/
[!TIP] To build custom reports, use Cyberbro with your favorite LLM (Claude, OpenAI gpt-5...) via MCP (Model Context Protocol)
Checkout Cyberbro MCP for more information.
Demo
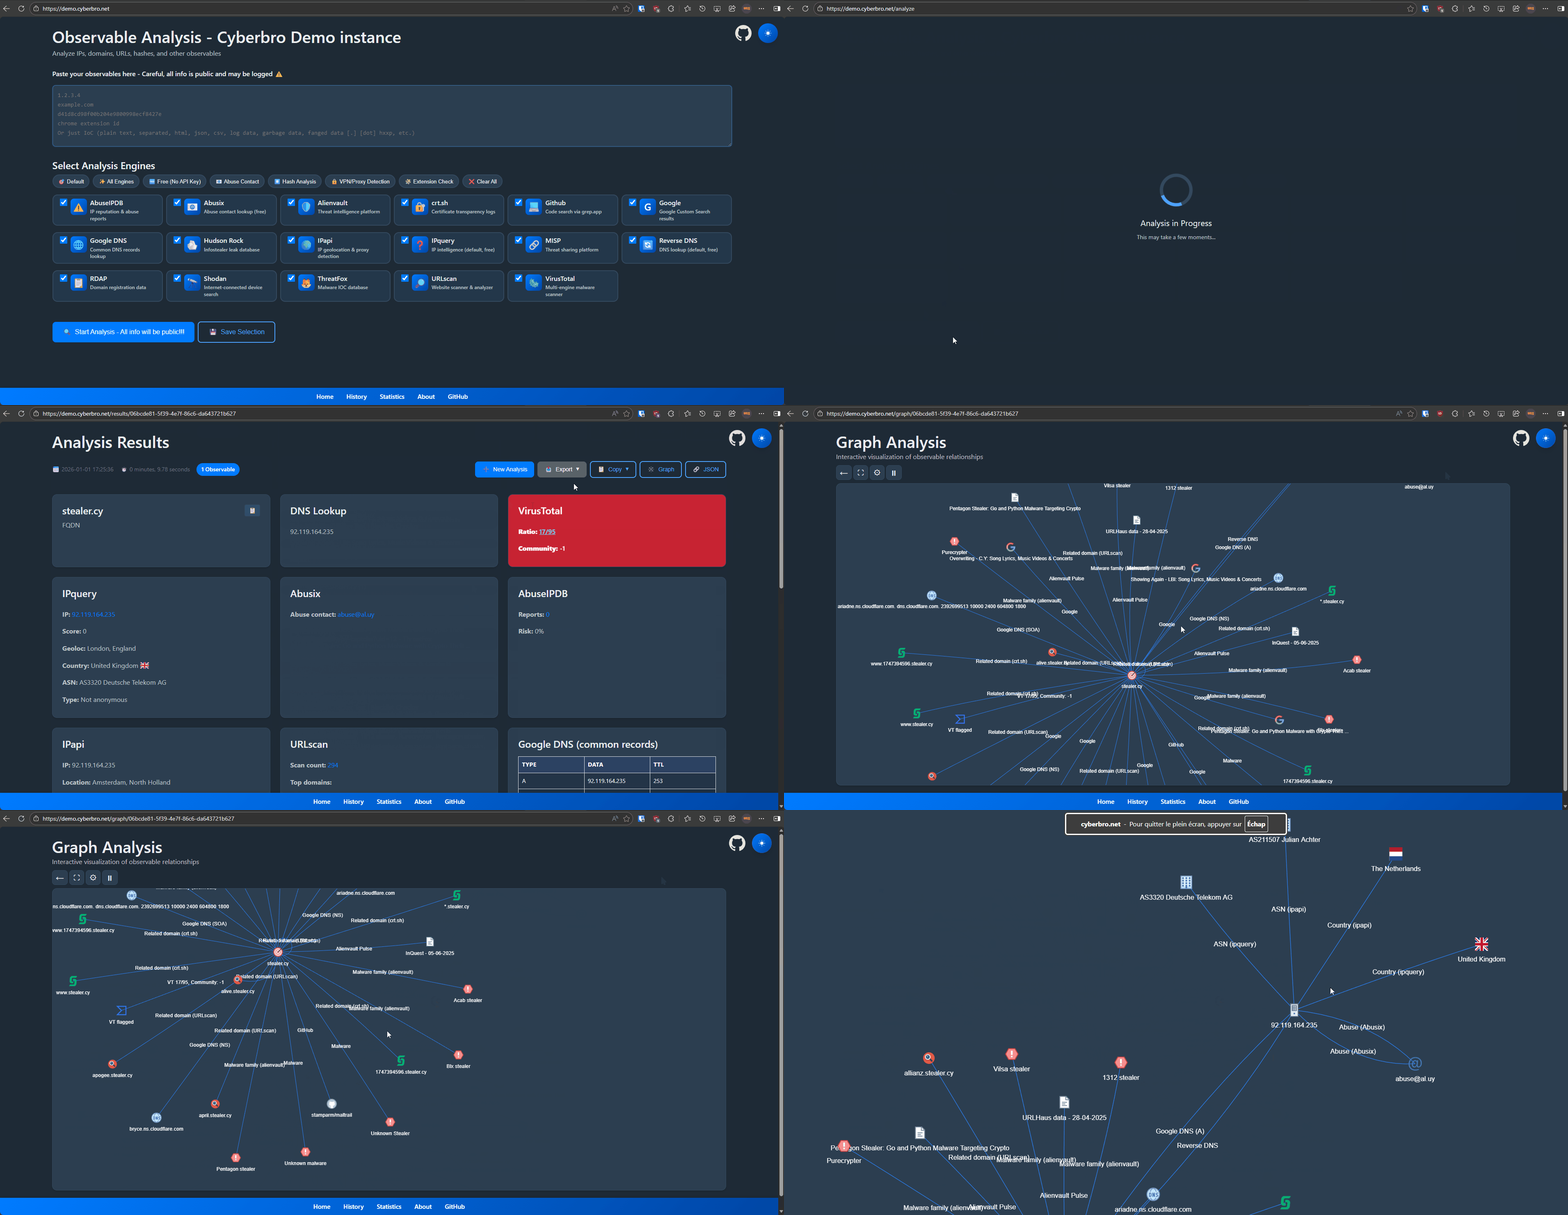
Features
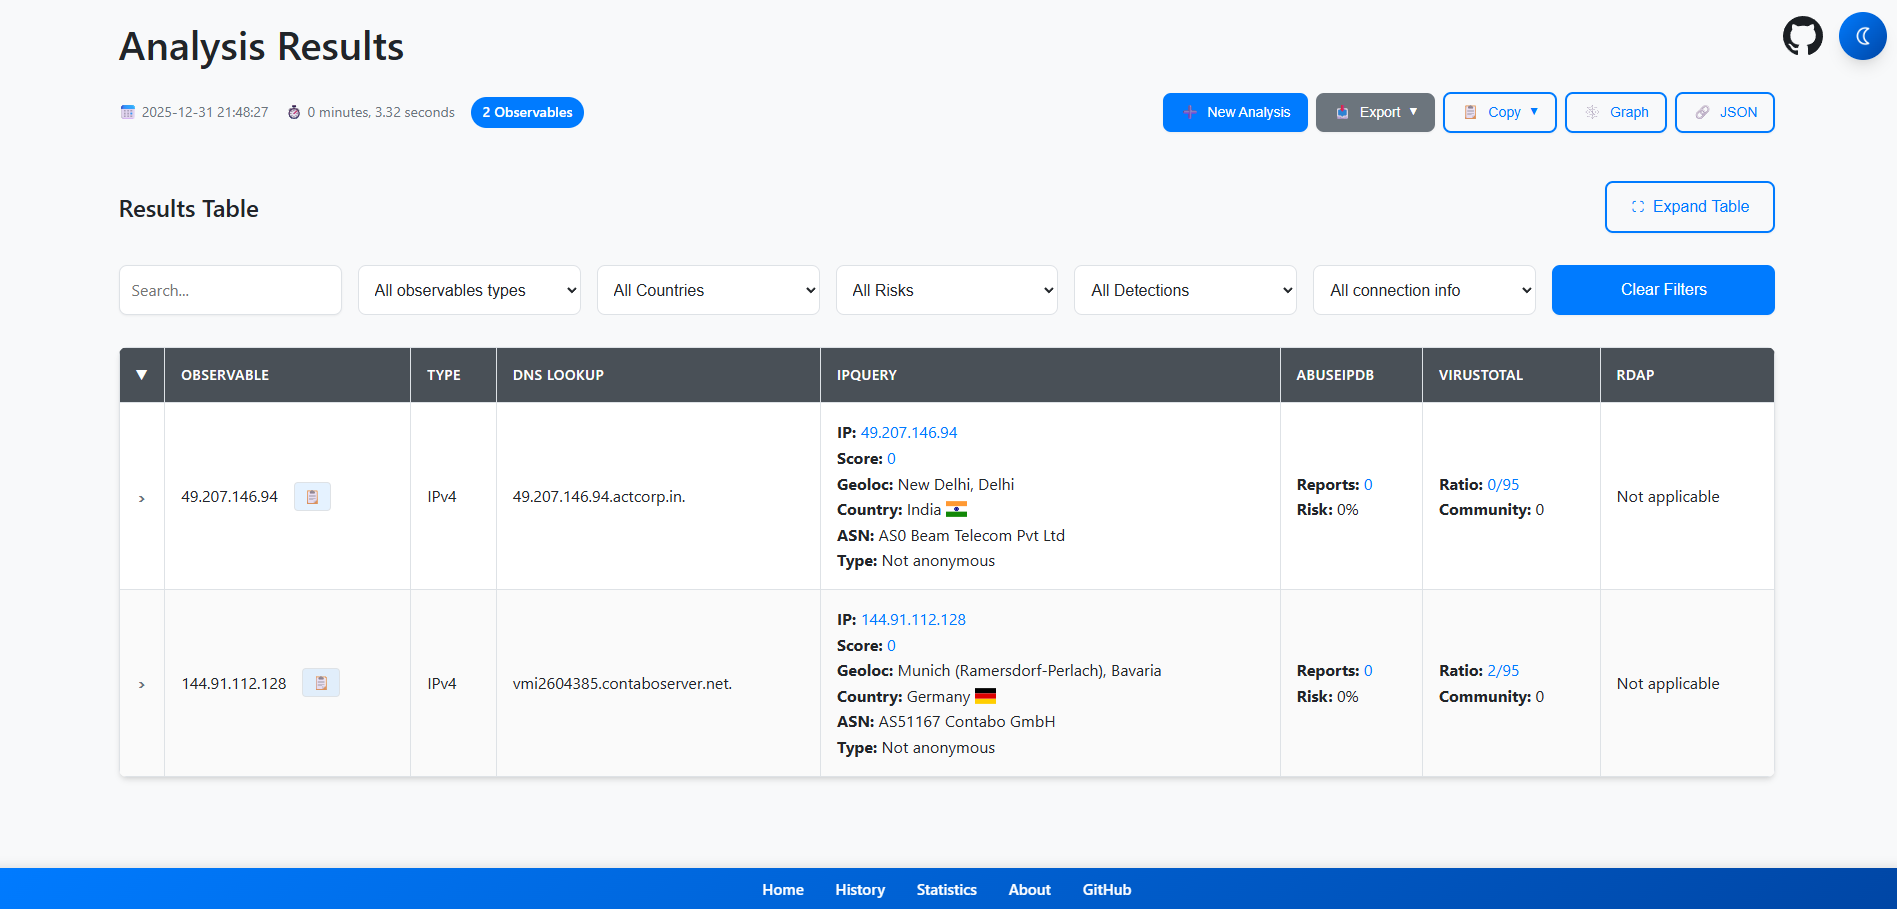
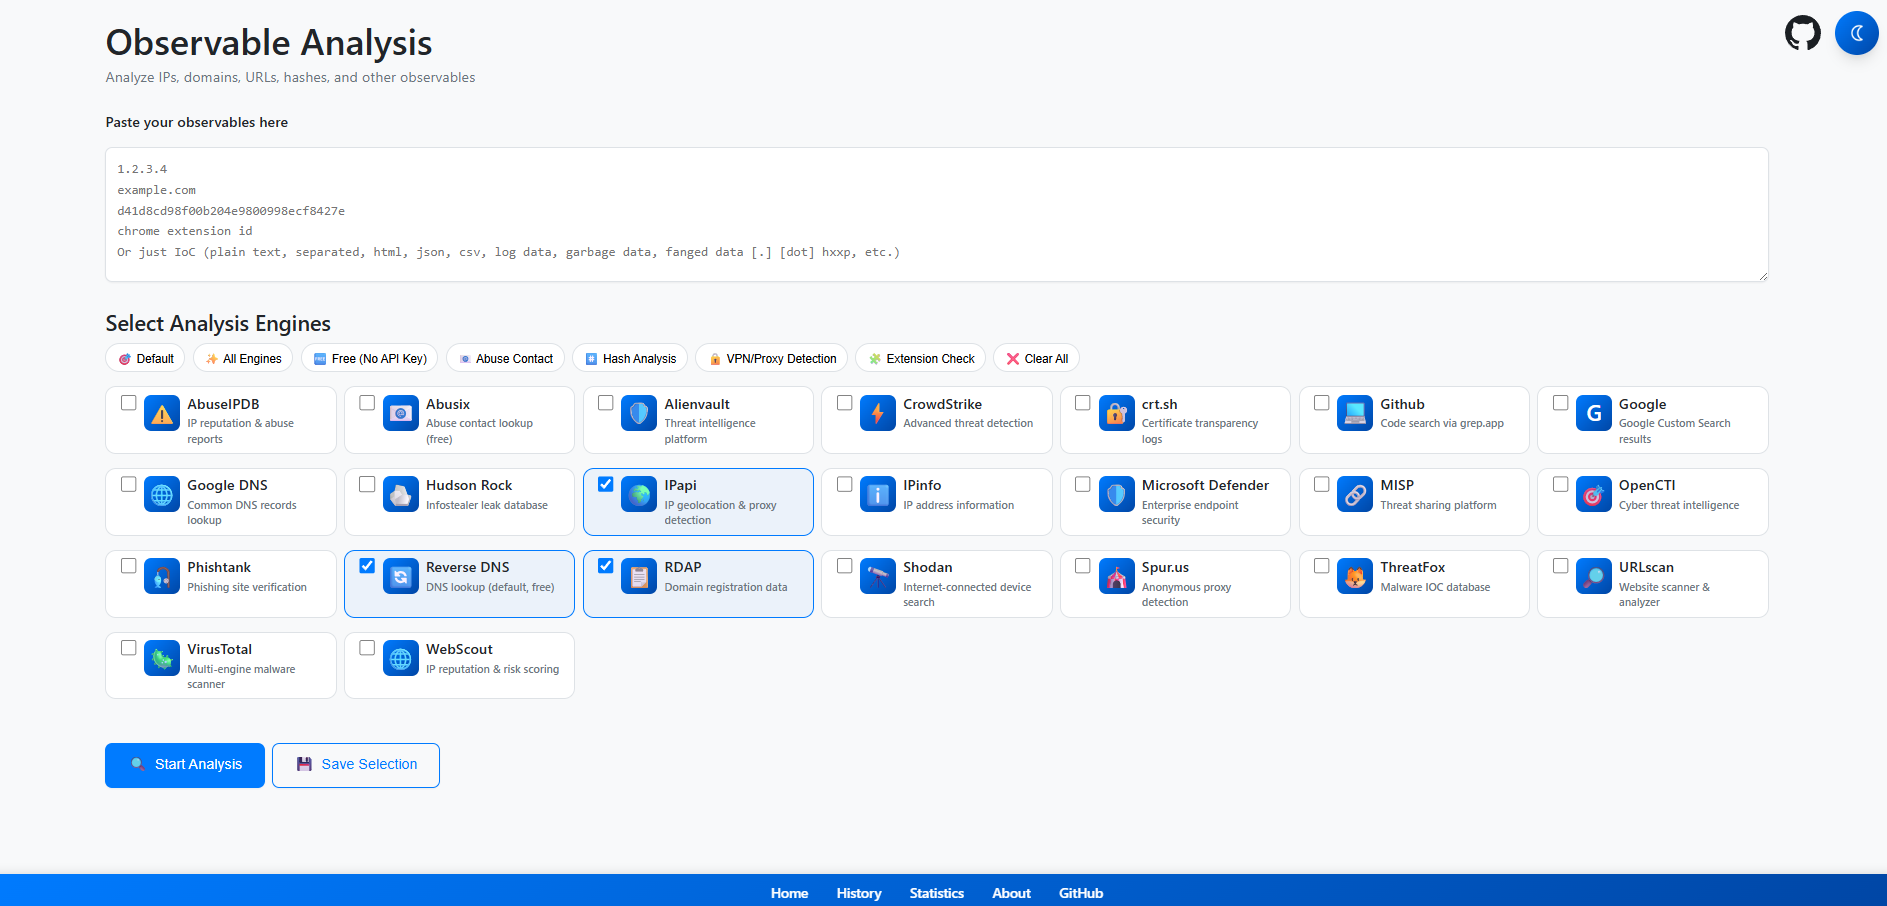
- Easy Input: Paste raw logs or IoCs-automatic parsing and extraction.
- Multi-Service Checks: Reputation lookup for IPs, hashes, domains, URLs, and Chrome extension IDs across many threat intel services.
- Comprehensive Reports: Advanced search, filtering, and export to CSV/Excel.
- Fast Processing: Multithreaded for speed.
- Automated Pivoting: Discover related domains, URLs, and IPs via reverse DNS and RDAP / Whois.
- Accurate Domain & Abuse Info: RDAP / Whois and abuse contact lookups.
- Integrations: Microsoft Defender for Endpoint, CrowdStrike, OpenCTI, Grep.App, Hudson Rock, and more.
- Proxy & Storage: Proxy support and results stored in SQLite.
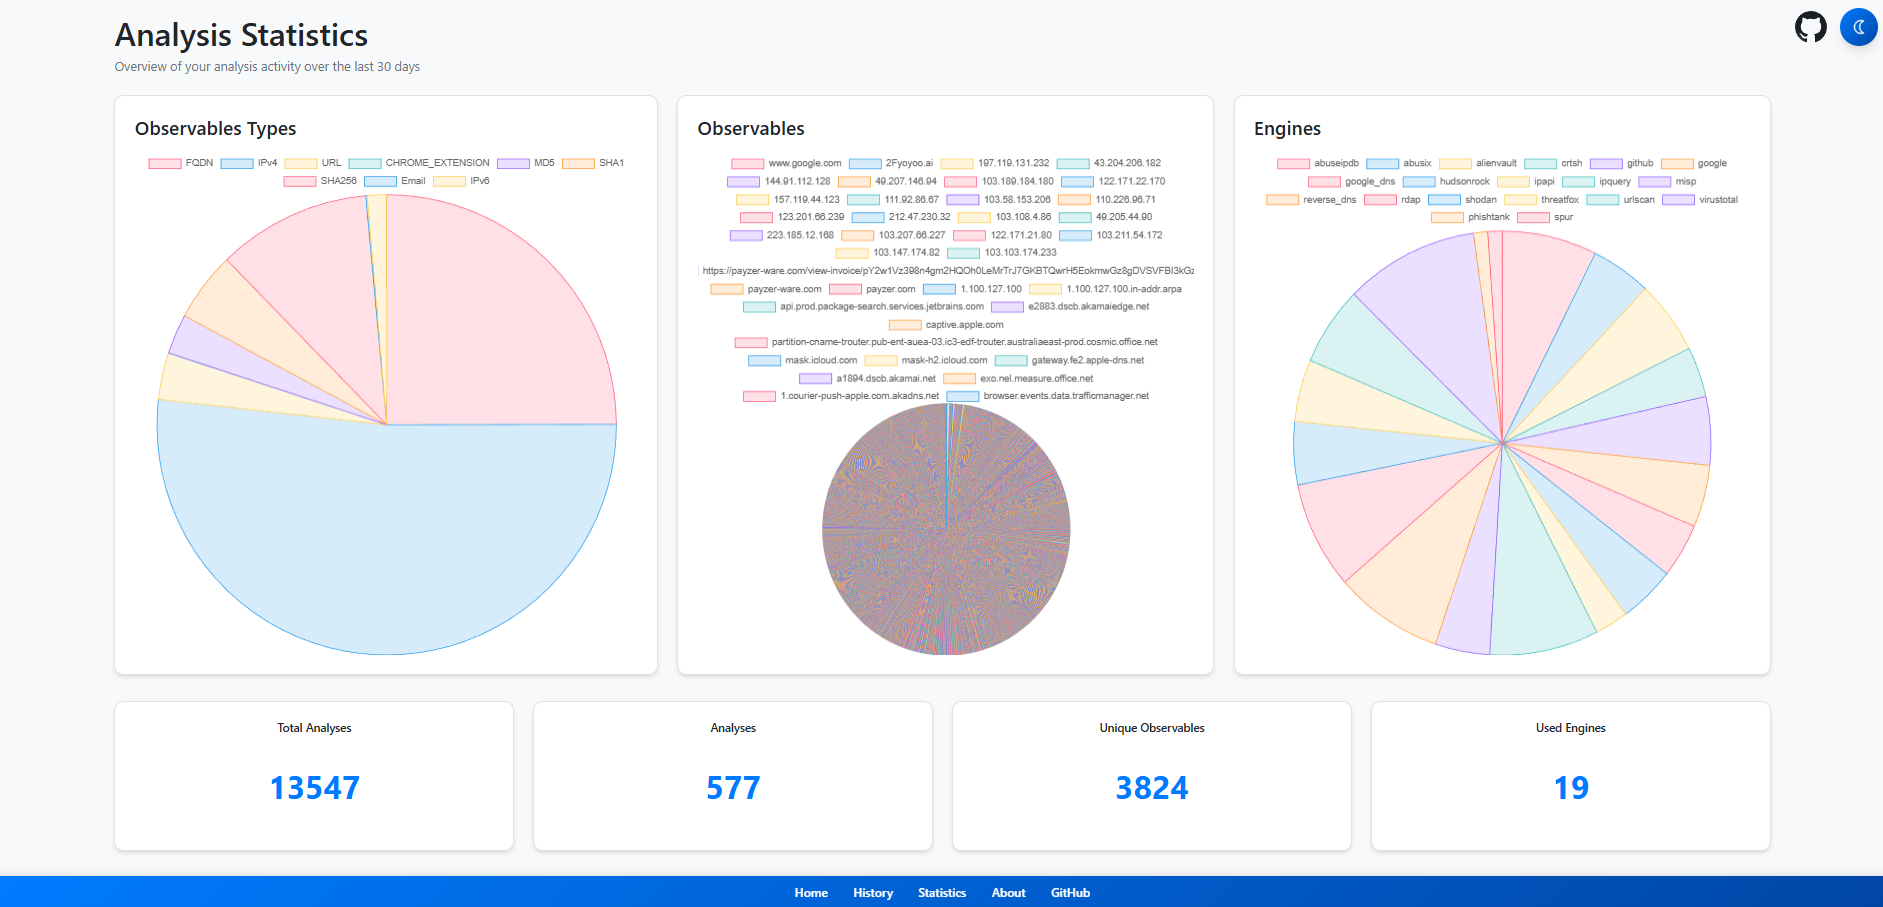
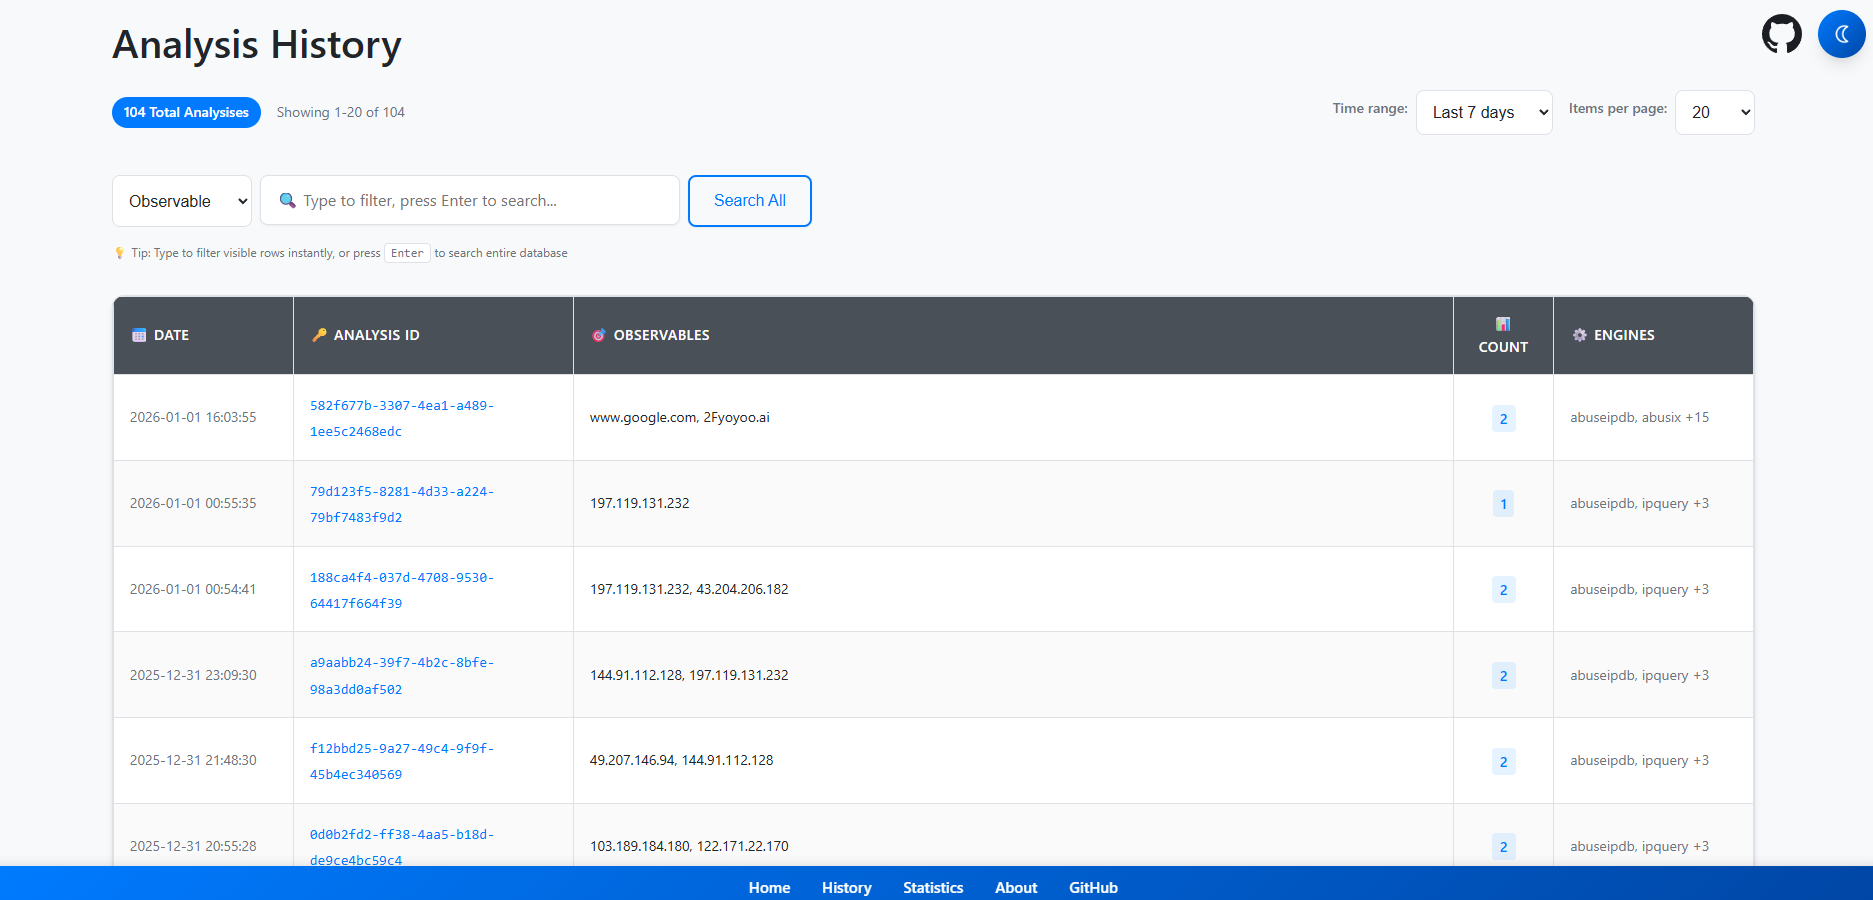
- History & Graphs: Analysis history and experimental graph view.
- Cache: Caching for faster repeat lookups (enabled at multi-engines level, not each engine).
What Makes Cyberbro Unique
- Beginner-Friendly: Accessible for all skill levels.
- Chrome Extension ID Lookup: Get extension names and CTI data from IDs.
- Lightweight Deployment: Simple setup and use.
- Advanced TLD Extraction: Accurate root domain detection for better lookups.
- Pragmatic Data Gathering: Uses GitHub and Google to find overlooked IoCs.
- CTI Report Integration: Fetches IoC-related reports from IoC.One.
- EDR Integration: Checks observables against your own security tools (MDE, CrowdStrike).
Getting Started - TL;DR
[!TIP] If you are lazy, you need Docker.
Do agit clone; copy.env.sampleto.env;docker compose upthen go tolocalhost:5000. Yep, that's it!
Getting Started
- To get started, clone the repository
git clone https://github.com/stanfrbd/cyberbro
cd cyberbro
Edit the config file (mandatory)
cp .env.sample .env
[!NOTE] Don't have API keys? No problem, just copy
.env.sampleto.envand leave optional values empty. Be careful if a proxy is used.
You will be able to use all free engines!
- Fill values (including proxy if needed) in the
.envfile.
[!WARNING]
.envcontains sensitive secrets and must never be committed. For production/team deployments, use SOPS, Vault, or an equivalent secret manager workflow.
ABUSEIPDB=token_here
ALIENVAULT=token_here
CRIMINALIP_API_KEY=token_here
CROWDSTRIKE_CLIENT_ID=client_id_here
CROWDSTRIKE_CLIENT_SECRET=client_secret_here
DFIR_IRIS_API_KEY=token_here
DFIR_IRIS_URL=https://dfir-iris.local
DFIR_IRIS_SEARCH_NOTES=false
GOOGLE_CSE_CX=cx_here
GOOGLE_CSE_KEY=key_here
GOOGLE_CSE_URL=https://www.googleapis.com/customsearch/v1
GOOGLE_SAFE_BROWSING=token_here
HISTER_TOKEN=token_here
HISTER_BASE_URL=https://hister.example.com
IPAPI=token_here
IPINFO=token_here
MDE_CLIENT_ID=client_id_here
MDE_CLIENT_SECRET=client_secret_here
MDE_TENANT_ID=tenant_here
MISP_API_KEY=token_here
MISP_URL=https://misp.local
MISP_FEEDBACK_SERVER_URL=https://misp-feedback.local
MISP_FEEDBACK_TOKEN=token_here
OPENCTI_API_KEY=token_here
OPENCTI_URL=https://demo.opencti.io
PROXY_URL=
RANSOMWARE_LIVE_API_KEY=token_here
RL_ANALYZE_API_KEY=token_here
RL_ANALYZE_URL=https://spectra_analyse_url_here
ROSTI_API_KEY=token_here
SHODAN=token_here
SPUR_US=token_here
THREATFOX=token_here
VIRUSTOTAL=token_here
WEBSCOUT=token_here
[!IMPORTANT] Starting with version
v0.13.0, Cyberbro no longer supportssecrets.jsonand the/configpage. Cf. discussion 165.
If you already have a legacysecrets.json, convert it to.envwith:python3 scripts/secrets_json_to_env.py
See Advanced options for deployment in the docs.
Launch the app
Lazy and easy - use docker
[!WARNING] Make sure you install the
composeplugin asdocker composeand notdocker-compose. In Docker, the app binds to0.0.0.0inside the container even if your local.envsetsFLASK_HOST=127.0.0.1.
docker compose up # use -d to run in background and use --build to rebuild the image
- Go to http://127.0.0.1:5000 and Enjoy.
Don't forget to edit
.envbefore building the image.
See Advanced options for deployment in the docs to get all Docker deployment options.
The old way
- Clone the repository and install the requirements.
You might want to create a venv before installing the dependencies.
pip install -r requirements.txt
- Run the app with
gunicorn(clean mode).
gunicorn -c prod/gunicorn.conf.py app:app
- Run the app with in development mode.
python3 app.py
Screenshots
See all screenshots