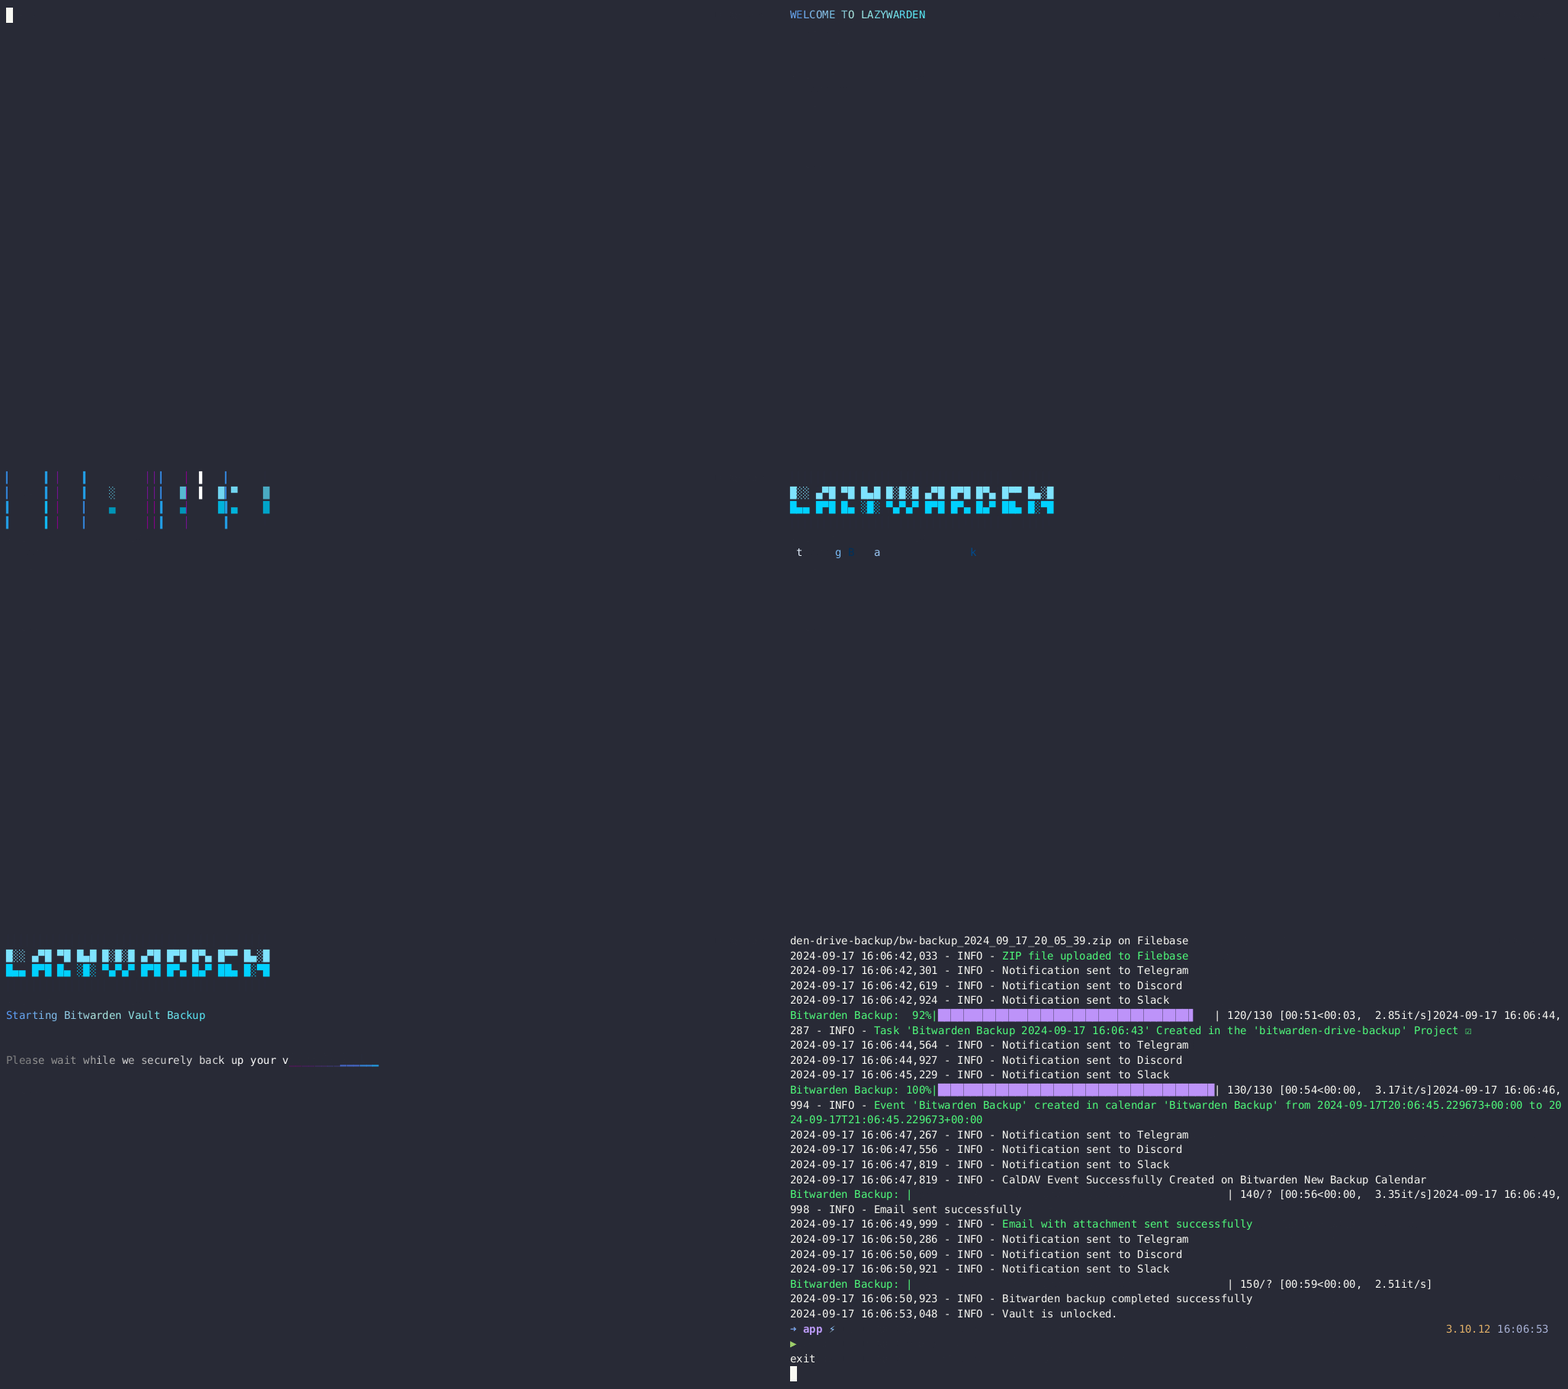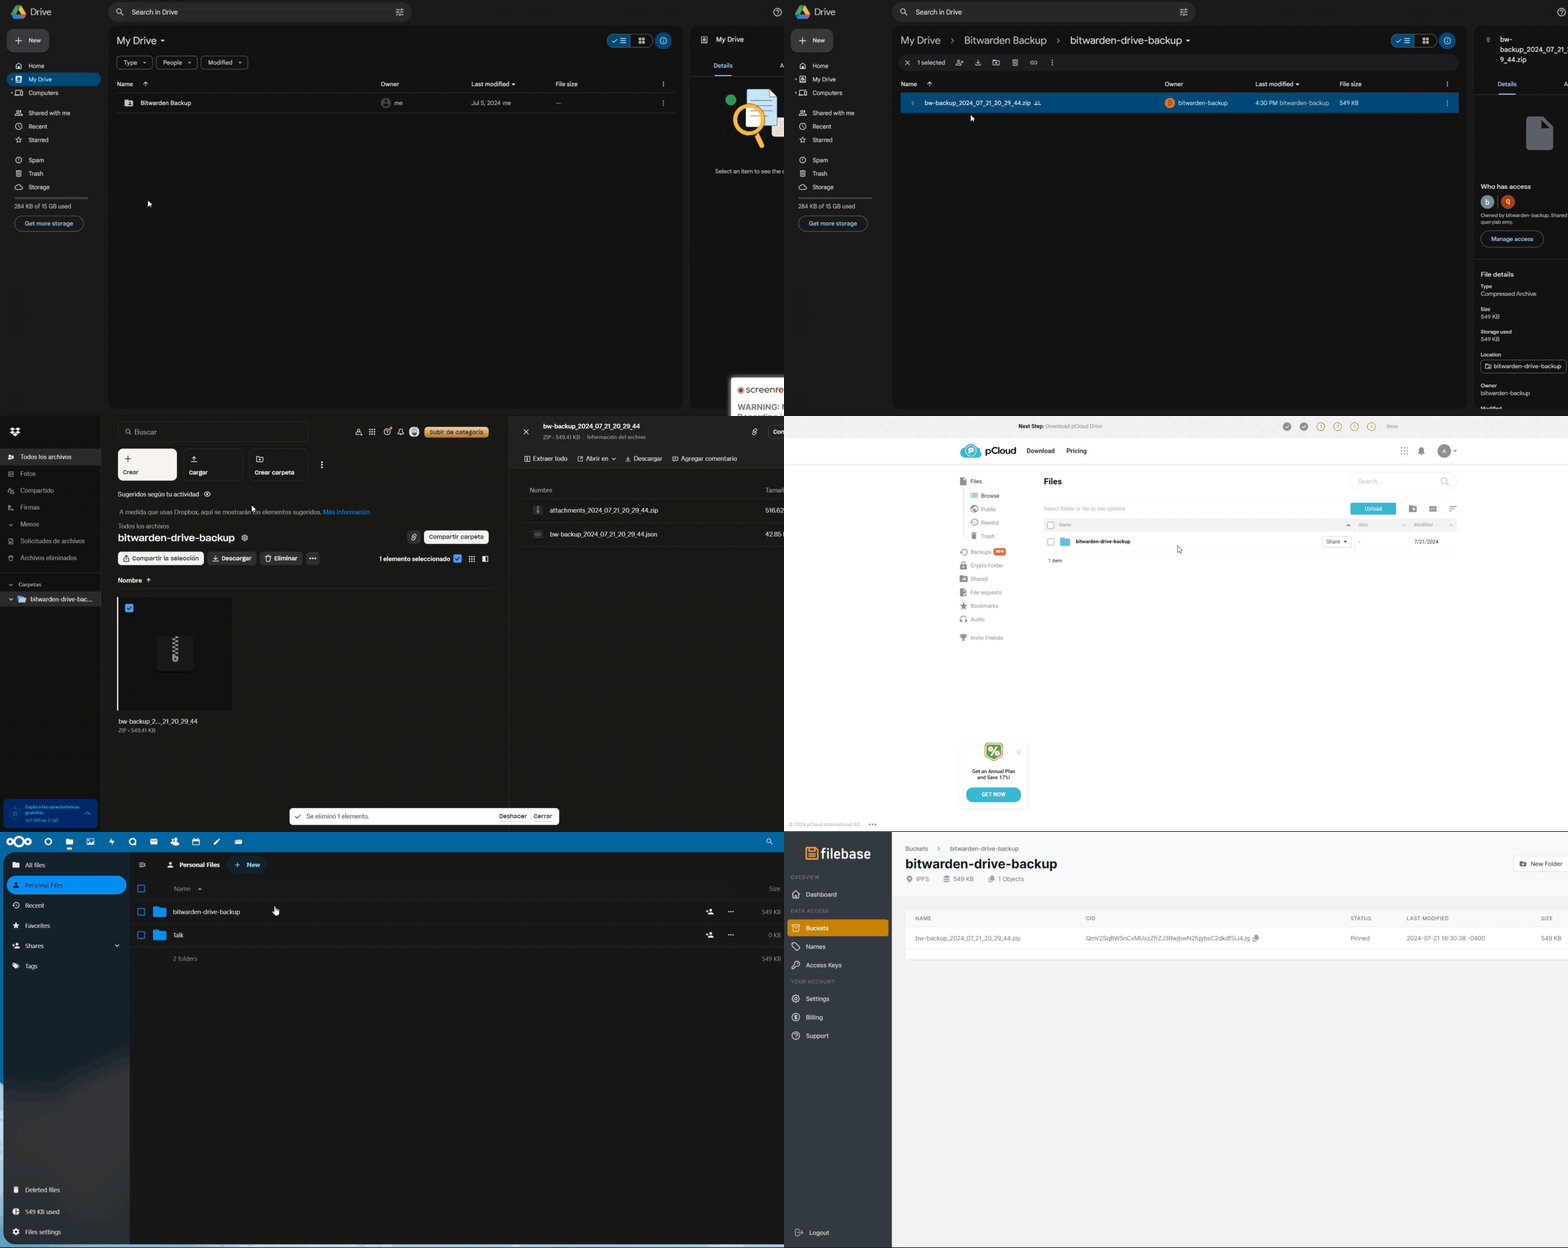

自動化されたBitwardenボールトバックアップツール。AES-256暗号、Argon2鍵導出、マルチクラウドアップロード対応、およびDiscord、Telegram、Slack経由のリアルタイム通知を備えています。
Lazywardenは、Bitwardenの添付ファイルを含むボールトのバックアップと復元を行うPython自動化ツールです。バックアップを複数のクラウドストレージサービスにアップロードし、複数のプラットフォームで通知を受け取ることができます。また、AES暗号化バックアップとArgon2による鍵導出を採用し、データの最大限のセキュリティを実現します。

機能
対応プラットフォーム

システム要件 オペレーティングシステム: 主要なLinuxディストリビューションに対応

インストール git clone https://github.com/querylab/lazywarden.git
cd lazywarden
.env.sampleファイルを基に.envファイルを作成し、必要な変数を記入してください。#---------------------------------------------------------------------------------------
# These are the 6 variables that are mandatory requirements for Bitwarden Secret Manager
BW_URL=f22bba66-e55d-1111-9a93-abf0dfad069e
BW_USERNAME=5eb0f2bb-1111-4e42-94f8-9333fda803cf
BW_PASSWORD=ba4dc990-1111-4d18-ae6b-0b899d513759
ENCRYPTION_PASSWORD=103c803c-1111-40d4-8578-8b3134c6e93e
ZIP_PASSWORD=2f9fb3a2-96a3-1111-990d-5d6399153e11
ZIP_ATTACHMENT_PASSWORD=b2abc553-1111-4b49-9172-1a94f9072715
#---------------------------------------------------------------------------------------
# TOTP Seed for Aegis,Authy,Ente,GoogleAuth (Optional)
BW_TOTP_SECRET=
# pCloud Credentials (Optional)
PCLOUD_USERNAME=
PCLOUD_PASSWORD=
# Mega Credentials (Optional)
MEGA_EMAIL=
MEGA_PASSWORD=
# Dropbox Credentials (Optional)
DROPBOX_ACCESS_TOKEN=
DROPBOX_REFRESH_TOKEN=
DROPBOX_APP_KEY=
DROPBOX_APP_SECRET=
# Todoist Credentials (Optional)
TODOIST_TOKEN=
# CalDAV Credentials (Optional)
CALDAV_URL=
CALDAV_USERNAME=
CALDAV_PASSWORD=
# Nextcloud Credentials (Optional)
NEXTCLOUD_URL=
NEXTCLOUD_USERNAME=
NEXTCLOUD_PASSWORD=
# Seafile Credentials (Optional)
SEAFILE_SERVER_URL=
SEAFILE_USERNAME=
SEAFILE_PASSWORD=
# Filebase Credentials (Optional)
FILEBASE_ACCESS_KEY=
FILEBASE_SECRET_KEY=
# KeePass Password (Optional)
KEEPASS_PASSWORD=
# Storj Credentials (Optional)
STORJ_ACCESS_KEY=
STORJ_SECRET_KEY=
STORJ_ENDPOINT=
# R2 Credentials (Optional)
R2_ACCESS_KEY_ID=
R2_SECRET_ACCESS_KEY=
R2_ENDPOINT_URL=
# Vikunja Credentials (Optional)
VIKUNJA_API_TOKEN=
VIKUNJA_URL=
# Backblaze B2 Credentials (Optional)
B2_APP_KEY_ID=
B2_APP_KEY=
# Google Drive Settings
GOOGLE_SERVICE_ACCOUNT_FILE=/root/lazywarden/config/bitwarden-drive-backup-google.json
GOOGLE_FOLDER_ID=
# Backup Settings
BACKUP_DIR=/root/lazywarden/backup-drive/
CRON_SCHEDULE="0 0 23 * *"
TIMEZONE=America/New_York
TIMESTAMP=2024_10_31_13_03_29
# API URLs for Bitwarden
API_URL=https://vault.bitwarden.com/api
IDENTITY_URL=https://vault.bitwarden.com/identity
# Organization ID
ORGANIZATION_ID=
# Access Token for Bitwarden Authentication
ACCESS_TOKEN=
# Notifications and Alerts (Optional)
TELEGRAM_TOKEN=
TELEGRAM_CHAT_ID=
DISCORD_WEBHOOK_URL=
SLACK_WEBHOOK_URL=
NTFY_URL=
# SMTP Configuration for Email Notifications (Optional)
SMTP_SERVER=mail.smtp2go.com
SMTP_PORT=8025
SMTP_USERNAME=
SMTP_PASSWORD=
EMAIL_RECIPIENT=
SENDER_EMAIL=
cd lazywarden/scripts
chmod +x setup-ubuntu-env.sh
./setup-ubuntu-env.sh
chmod +x docker-ubuntu.sh
./docker-ubuntu.sh
lazywarden/にいることを確認してください。cd ..
source venv/bin/activate
bitwarden-cli-install.pyスクリプトを使ってBitwarden CLIをインストールします。このスクリプトが全てのCLI依存関係をインストールします。python3 scripts/bitwarden-cli-install.py
Region/Cityを希望のタイムゾーン(例:America/New_York)に置き換えてください。timedatectl set-timezone Region/City
America/New_Yorkに設定するには、次のように実行します。timedatectl set-timezone America/New_York
app/フォルダに移動し、main.pyを実行します。cd app
python3 main.py
main.pyの実行中にエラーが発生した場合、ライブラリの不足や古いバージョンが原因の可能性があります。これを修正するには、以下のコマンドを実行して必要な依存関係を全てインストールすることをお勧めします。 pip install -r requirements.txt
cd lazywarden/scripts
chmod +x setup-debian-env.sh
./setup-debian-env.sh
chmod +x docker-debian.sh
./docker-debian.sh
lazywarden/にいることを確認してください。cd ..
source venv/bin/activate
bitwarden-cli-install.pyスクリプトを使ってBitwarden CLIをインストールします。このスクリプトが全てのCLI依存関係をインストールします。python3 scripts/bitwarden-cli-install.py
Region/Cityを希望のタイムゾーン(例:America/New_York)に置き換えてください。timedatectl set-timezone Region/City
America/New_Yorkに設定するには、次のように実行します。timedatectl set-timezone America/New_York
app/フォルダに移動し、main.pyを実行します。cd app
python3 main.py
main.pyの実行中にエラーが発生した場合、ライブラリの不足や古いバージョンが原因の可能性があります。これを修正するには、以下のコマンドを実行して必要な依存関係を全てインストールすることをお勧めします。 pip install -r requirements.txt
lazywarden/
├── app/ # This directory to contain the main application code
│ ├── backup.py # Backup functions
│ ├── bitwarden_client.py # Client to interact with Bitwarden
│ ├── config.py # General application configurations
│ ├── imports.py # Handles common imports
│ ├── main.py # Main entry point of the application
│ ├── notifications.py # Handles notifications
│ ├── secrets_manager.py # Manages secrets
│ ├── import_to_bitwarden.py # Import your bitwarden vault
│ ├── import_to_keepass.py # Create kdbx database
│ ├── schedule_backup.py # For create Schedule Backup
├── config/ # Directory for configuration files
│ ├── bitwarden-drive-backup-google.json # Configuration for Google Drive
├── scripts/ # Directory for installation and setup scripts
│ ├── bitwarden-cli-install.py # Script to install the Bitwarden CLI
│ ├── docker-debian.sh # Setup script for Debian with Docker
│ ├── docker-ubuntu.sh # Setup script for Ubuntu with Docker
│ ├── setup-debian-env.sh # Environment setup for Debian
│ ├── setup-ubuntu-env.sh # Environment setup for Ubuntu
│ ├── alldecrypt-zip.py # Decrypt all zip files
│ ├── json-only-decrypt.py # Decrypt only json files (optional)
├── backup-drive/
│ ├── (This is where the generated backups will be stored local)
├── .env # File for environment variables
├── Dockerfile # Docker configuration file to create an application image
├── docker-compose.yml # Docker Compose Configuration
├── entrypoint.sh # Entrypoint script for Docker
└── requirements.txt # File that lists the project Python dependencies
Dockerコンテナは24時間ごとにmain.pyスクリプトを実行してBitwardenをバックアップし、設定されたクラウドサービスにアップロードします。成功または失敗時に指定されたサービスに通知が送信されます。バックアップ頻度は、月次、日次、時間単位など、必要に応じて変更できます。
services:
lazywarden:
container_name: lazywarden
hostname: lazywarden
image: querylab/lazywarden:latest
env_file:
- .env
environment:
UNLOCK_VAULT: "true"
volumes:
- /root/lazywarden/config:/root/lazywarden/config
- /root/lazywarden/backup-drive:/root/lazywarden/backup-drive/
- /root/lazywarden/.env:/app/.env
restart: unless-stopped
docker compose up -d
Dockerfileは環境をセットアップし、依存関係をインストールし、必要なファイルをコンテナにコピーします。docker-compose.ymlファイルはlazywardenサービスを定義し、永続ストレージのための環境変数とボリュームを設定します。bw logoutコマンドを実行してください。Lazywardenは、手動での作業や機密データの露出なしにBitwardenバックアップを自動化するために作成しました。複雑なツールに苦労した後、Bitwarden Secret Managerを活用してシークレットを安全に管理しています。Lazywardenはバックアップを自動化し、複数のクラウドサービス(Google Drive、Dropbox、pCloud、MEGA、Seafile、Nextcloud、Filebase、Storj、Cloudflare R2、Backblaze B2)にアップロードし、Telegram、Discord、Ntfy、Slack、Todoist、Vikunja、CalDAVと統合して通知と追跡を行います。特筆すべき機能は、暗号化されたバックアップをBitwardenに復元できることで、バックアップ管理をシンプル、安全、効率的にします。
このプロジェクトが気に入ったら、⭐を付けてください。