 projectdiscovery/tlsx
TLS आधारित डेटा संग्रह पर केंद्रित तेज़ और कॉन्फ़िगर करने योग्य TLS ग्रैबर।

<h1 align="center">
<img src="https://assets.kitploit.com/production/public/readmes/41152/5378854a9ce1d6b8be992803fef258be9a652c389d699c22f4636b6db34acdf6.png" width="200px">
<br>
</h1>
<p align="center">
<a href="https://opensource.org/licenses/MIT"><img src="https://img.shields.io/badge/license-MIT-_red.svg"></a>
<a href="https://goreportcard.com/badge/github.com/projectdiscovery/tlsx"><img src="https://goreportcard.com/badge/github.com/projectdiscovery/tlsx"></a>
<a href="https://pkg.go.dev/github.com/projectdiscovery/tlsx/pkg/tlsx"><img src="https://img.shields.io/badge/go-reference-blue"></a>
<a href="https://github.com/projectdiscovery/tlsx/releases"><img src="https://img.shields.io/github/release/projectdiscovery/tlsx"></a>
<a href="https://twitter.com/pdiscoveryio"><img src="https://img.shields.io/twitter/follow/pdiscoveryio.svg?logo=twitter"></a>
<a href="https://discord.gg/projectdiscovery"><img src="https://img.shields.io/discord/695645237418131507.svg?logo=discord"></a>
</p>
<p align="center">
<a href="#features">विशेषताएँ</a> •
<a href="#installation">स्थापना</a> •
<a href="#usage">उपयोग</a> •
<a href="#running-tlsx">tlsx चलाना</a> •
<a href="https://discord.gg/projectdiscovery">Discord से जुड़ें</a>
</p>
TLS-आधारित **डेटा संग्रह और विश्लेषण** पर केंद्रित एक तेज़ और कॉन्फ़िगर करने योग्य TLS ग्रैबर।
# विशेषताएँ
- तेज़ और पूरी तरह से कॉन्फ़िगर करने योग्य TLS कनेक्शन
- एकाधिक **TLS कनेक्शन के लिए मोड**
- एकाधिक **TLS प्रोब**
- पुराने TLS संस्करण के लिए **स्वचालित TLS फ़ॉलबैक**
- **प्री हैंडशेक** TLS कनेक्शन (शीघ्र समाप्ति)
- अनुकूलन योग्य **Cipher / SNI / TLS** चयन
- **JARM/JA3** TLS फ़िंगरप्रिंट
- **TLS गलत कॉन्फ़िगरेशन**
- **ASN,CIDR,IP,HOST,** और **URL** इनपुट
- STD **IN/OUT** और **TXT/JSON** आउटपुट
## स्थापना
tlsx को सफलतापूर्वक स्थापित करने के लिए **Go 1.24** की आवश्यकता होती है। स्थापित करने के लिए, नीचे दिया गया कमांड चलाएँ या [रिलीज़ पेज](https://github.com/projectdiscovery/tlsx/releases) से प्री-कंपाइल बाइनरी डाउनलोड करें।```console
go install github.com/projectdiscovery/tlsx/cmd/tlsx@latest
```
## उपयोग```console
tlsx -h
```
यह टूल के लिए सहायता प्रदर्शित करेगा। यहाँ वे सभी स्विच हैं जिन्हें यह समर्थन करता है।```console
TLSX is a tls data gathering and analysis toolkit.
Usage:
tlsx [flags]
Flags:
INPUT:
-u, -host string[] target host to scan (-u INPUT1,INPUT2)
-l, -list string target list to scan (-l INPUT_FILE)
-p, -port string[] target port to connect (default 443)
SCAN-MODE:
-sm, -scan-mode string tls connection mode to use (ctls, ztls, openssl, auto) (default "auto")
-ps, -pre-handshake enable pre-handshake tls connection (early termination) using ztls
-sa, -scan-all-ips scan all ips for a host (default false)
-iv, -ip-version string[] ip version to use (4, 6) (default 4)
PROBES:
-san display subject alternative names
-cn display subject common names
-so display subject organization name
-tv, -tls-version display used tls version
-cipher display used cipher
-hash string display certificate fingerprint hashes (md5,sha1,sha256)
-jarm display jarm fingerprint hash
-ja3 display ja3 fingerprint hash (using ztls)
-wc, -wildcard-cert display host with wildcard ssl certificate
-tps, -probe-status display tls probe status
-ve, -version-enum enumerate and display supported tls versions
-ce, -cipher-enum enumerate and display supported cipher
-ct, -cipher-type value ciphers types to enumerate. possible values: all/secure/insecure/weak (comma-separated) (default all)
-ch, -client-hello include client hello in json output (ztls mode only)
-sh, -server-hello include server hello in json output (ztls mode only)
-se, -serial display certificate serial number
MISCONFIGURATIONS:
-ex, -expired display host with host expired certificate
-ss, -self-signed display host with self-signed certificate
-mm, -mismatched display host with mismatched certificate
-re, -revoked display host with revoked certificate
-un, -untrusted display host with untrusted certificate
CONFIGURATIONS:
-config string path to the tlsx configuration file
-r, -resolvers string[] list of resolvers to use
-cc, -cacert string client certificate authority file
-ci, -cipher-input string[] ciphers to use with tls connection
-sni string[] tls sni hostname to use
-rs, -random-sni use random sni when empty
-rps, -rev-ptr-sni perform reverse PTR to retrieve SNI from IP
-min-version string minimum tls version to accept (ssl30,tls10,tls11,tls12,tls13)
-max-version string maximum tls version to accept (ssl30,tls10,tls11,tls12,tls13)
-cert, -certificate include certificates in json output (PEM format)
-tc, -tls-chain include certificates chain in json output
-vc, -verify-cert enable verification of server certificate
-ob, -openssl-binary string OpenSSL Binary Path
-hf, -hardfail strategy to use if encountered errors while checking revocation status
-proxy string socks5 proxy to use for tlsx
OPTIMIZATIONS:
-c, -concurrency int number of concurrent threads to process (default 300)
-cec, -cipher-concurrency int cipher enum concurrency for each target (default 10)
-timeout int tls connection timeout in seconds (default 5)
-retry int number of retries to perform for failures (default 3)
-delay string duration to wait between each connection per thread (eg: 200ms, 1s)
UPDATE:
-up, -update update tlsx to latest version
-duc, -disable-update-check disable automatic tlsx update check
OUTPUT:
-o, -output string file to write output to
-j, -json display output in jsonline format
-dns display unique hostname from SSL certificate response
-ro, -resp-only display tls response only
-silent display silent output
-nc, -no-color disable colors in cli output
-v, -verbose display verbose output
-version display project version
PDCP:
-pd, -dashboard upload or view output in the PDCP UI dashboard
-pdu, -dashboard-upload string upload tlsx output file (JSONL format) to the PDCP UI dashboard
-auth string PDCP API key for authentication
-tid, -team-id string upload asset results to a specified team ID
-aid, -asset-id string upload new assets to an existing asset ID
-aname, -asset-name string asset group name
DEBUG:
-health-check, -hc run diagnostic check up
```
## tlsx को लाइब्रेरी के रूप में उपयोग करना
tlsx को लाइब्रेरी के रूप में उपयोग करने के उदाहरण [examples](https://github.com/projectdiscovery/tlsx/blob/main/examples) फ़ोल्डर में दिए गए हैं।
## tlsx चलाना
### tlsx के लिए इनपुट
**tlsx** को TLS कनेक्शन बनाने के लिए **ip** की आवश्यकता होती है और यह नीचे सूचीबद्ध कई प्रारूपों को स्वीकार करता है:```bash
AS1449 # ASN input
173.0.84.0/24 # CIDR input
93.184.216.34 # IP input
example.com # DNS input
example.com:443 # DNS input with port
https://example.com:443 # URL input port
```
इनपुट होस्ट को `-host / -u` फ़्लैग का उपयोग करके प्रदान किया जा सकता है, तथा एकाधिक मानों को कॉमा-सेपरेटेड इनपुट का उपयोग करके प्रदान किया जा सकता है। इसी प्रकार, **फ़ाइल** इनपुट को `-list / -l` फ़्लैग का उपयोग करके समर्थित किया जाता है।
कॉमा-सेपरेटेड होस्ट इनपुट का उदाहरण:```console
$ tlsx -u 93.184.216.34,example.com,example.com:443,https://example.com:443 -silent
```
फ़ाइल-आधारित होस्ट इनपुट का उदाहरण:```console
$ tlsx -list host_list.txt
```
**पोर्ट इनपुट:**
**tlsx** डिफ़ॉल्ट रूप से पोर्ट **443** पर कनेक्ट होता है, जिसे `-port / -p` फ्लैग का उपयोग करके अनुकूलित किया जा सकता है। कनेक्ट करने के लिए पोर्ट की सूची वाली अल्पविराम से अलग की गई इनपुट या नई लाइन द्वारा सीमांकित फ़ाइल का उपयोग करके एक या कई पोर्ट निर्दिष्ट किए जा सकते हैं।
अल्पविराम से अलग किए गए पोर्ट इनपुट का उदाहरण:```
$ tlsx -u hackerone.com -p 443,8443
```
फ़ाइल-आधारित पोर्ट इनपुट का उदाहरण:```
$ tlsx -u hackerone.com -p port_list.txt
```
**नोट:**
> जब इनपुट होस्ट में पोर्ट शामिल हो, उदाहरण के लिए, `8.8.8.8:443` या `hackerone.com:8443`, होस्ट के साथ निर्दिष्ट पोर्ट, डिफ़ॉल्ट पोर्ट या `-port / -p` फ़्लैग का उपयोग करके दिए गए पोर्ट के बजाय TLS कनेक्शन बनाने के लिए उपयोग किया जाएगा।
### TLS Probe (डिफ़ॉल्ट रन)
यह दिए गए CIDR रेंज के विरुद्ध टूल चलाएगा और उन होस्ट्स को लौटाएगा जो पोर्ट 443 पर TLS कनेक्शन स्वीकार करते हैं।```console
$ echo 173.0.84.0/24 | tlsx
_____ _ _____ __
|_ _| | / __\ \/ /
| | | |__\__ \> <
|_| |____|___/_/\_\ v0.0.1
projectdiscovery.io
[WRN] Use with caution. You are responsible for your actions.
[WRN] Developers assume no liability and are not responsible for any misuse or damage.
173.0.84.69:443
173.0.84.67:443
173.0.84.68:443
173.0.84.66:443
173.0.84.76:443
173.0.84.70:443
173.0.84.72:443
```
### SAN/CN जांच
TLS प्रमाणपत्र में **subject alternative name** और **common name** फ़ील्ड के अंतर्गत DNS नाम होते हैं जिन्हें `-san`, `-cn` फ़्लैग का उपयोग करके निकाला जा सकता है।```console
$ echo 173.0.84.0/24 | tlsx -san -cn -silent
173.0.84.104:443 [uptycspay.paypal.com]
173.0.84.104:443 [api-3t.paypal.com]
173.0.84.104:443 [api-m.paypal.com]
173.0.84.104:443 [payflowpro.paypal.com]
173.0.84.104:443 [pointofsale-s.paypal.com]
173.0.84.104:443 [svcs.paypal.com]
173.0.84.104:443 [uptycsven.paypal.com]
173.0.84.104:443 [api-aa.paypal.com]
173.0.84.104:443 [pilot-payflowpro.paypal.com]
173.0.84.104:443 [pointofsale.paypal.com]
173.0.84.104:443 [uptycshon.paypal.com]
173.0.84.104:443 [api.paypal.com]
173.0.84.104:443 [adjvendor.paypal.com]
173.0.84.104:443 [zootapi.paypal.com]
173.0.84.104:443 [api-aa-3t.paypal.com]
173.0.84.104:443 [uptycsize.paypal.com]
```
स्वचालन में आसानी के लिए, वैकल्पिक रूप से `-resp-only` फ्लैग का उपयोग CLI आउटपुट में केवल DNS नाम सूचीबद्ध करने के लिए किया जा सकता है।```console
$ echo 173.0.84.0/24 | tlsx -san -cn -silent -resp-only
api-aa-3t.paypal.com
pilot-payflowpro.paypal.com
pointofsale-s.paypal.com
uptycshon.paypal.com
a.paypal.com
adjvendor.paypal.com
zootapi.paypal.com
api-aa.paypal.com
payflowpro.paypal.com
pointofsale.paypal.com
uptycspay.paypal.com
api-3t.paypal.com
uptycsize.paypal.com
api.paypal.com
api-m.paypal.com
svcs.paypal.com
uptycsven.paypal.com
uptycsven.paypal.com
a.paypal.com
api.paypal.com
pointofsale-s.paypal.com
pilot-payflowpro.paypal.com
```
**सबडोमेन** TLS प्रमाणपत्रों से प्राप्त किए जा सकते हैं और आगे के निरीक्षण के लिए अन्य PD टूल्स में पाइप किए जा सकते हैं, यहाँ tls सबडोमेन को **[dnsx](https://github.com/projectdiscovery/dnsx)** में पाइप करके पैसिव सबडोमेन को फ़िल्टर करने और **[httpx](https://github.com/projectdiscovery/httpx)** में पास करके सक्रिय वेब सेवाओं को चलाने वाले होस्ट्स को सूचीबद्ध करने का एक उदाहरण दिया गया है।```console
$ echo 173.0.84.0/24 | tlsx -san -cn -silent -resp-only | dnsx -silent | httpx
__ __ __ _ __
/ /_ / /_/ /_____ | |/ /
/ __ \/ __/ __/ __ \| /
/ / / / /_/ /_/ /_/ / |
/_/ /_/\__/\__/ .___/_/|_|
/_/ v1.2.2
projectdiscovery.io
Use with caution. You are responsible for your actions.
Developers assume no liability and are not responsible for any misuse or damage.
https://api-m.paypal.com
https://uptycsize.paypal.com
https://api.paypal.com
https://uptycspay.paypal.com
https://svcs.paypal.com
https://adjvendor.paypal.com
https://uptycshap.paypal.com
https://uptycshon.paypal.com
https://pilot-payflowpro.paypal.com
https://slc-a-origin-pointofsale.paypal.com
https://uptycsven.paypal.com
https://api-aa.paypal.com
https://api-aa-3t.paypal.com
https://uptycsbrt.paypal.com
https://payflowpro.paypal.com
http://pointofsale-s.paypal.com
http://slc-b-origin-pointofsale.paypal.com
http://api-3t.paypal.com
http://zootapi.paypal.com
http://pointofsale.paypal.com
```
### TLS / सिफर जांच```console
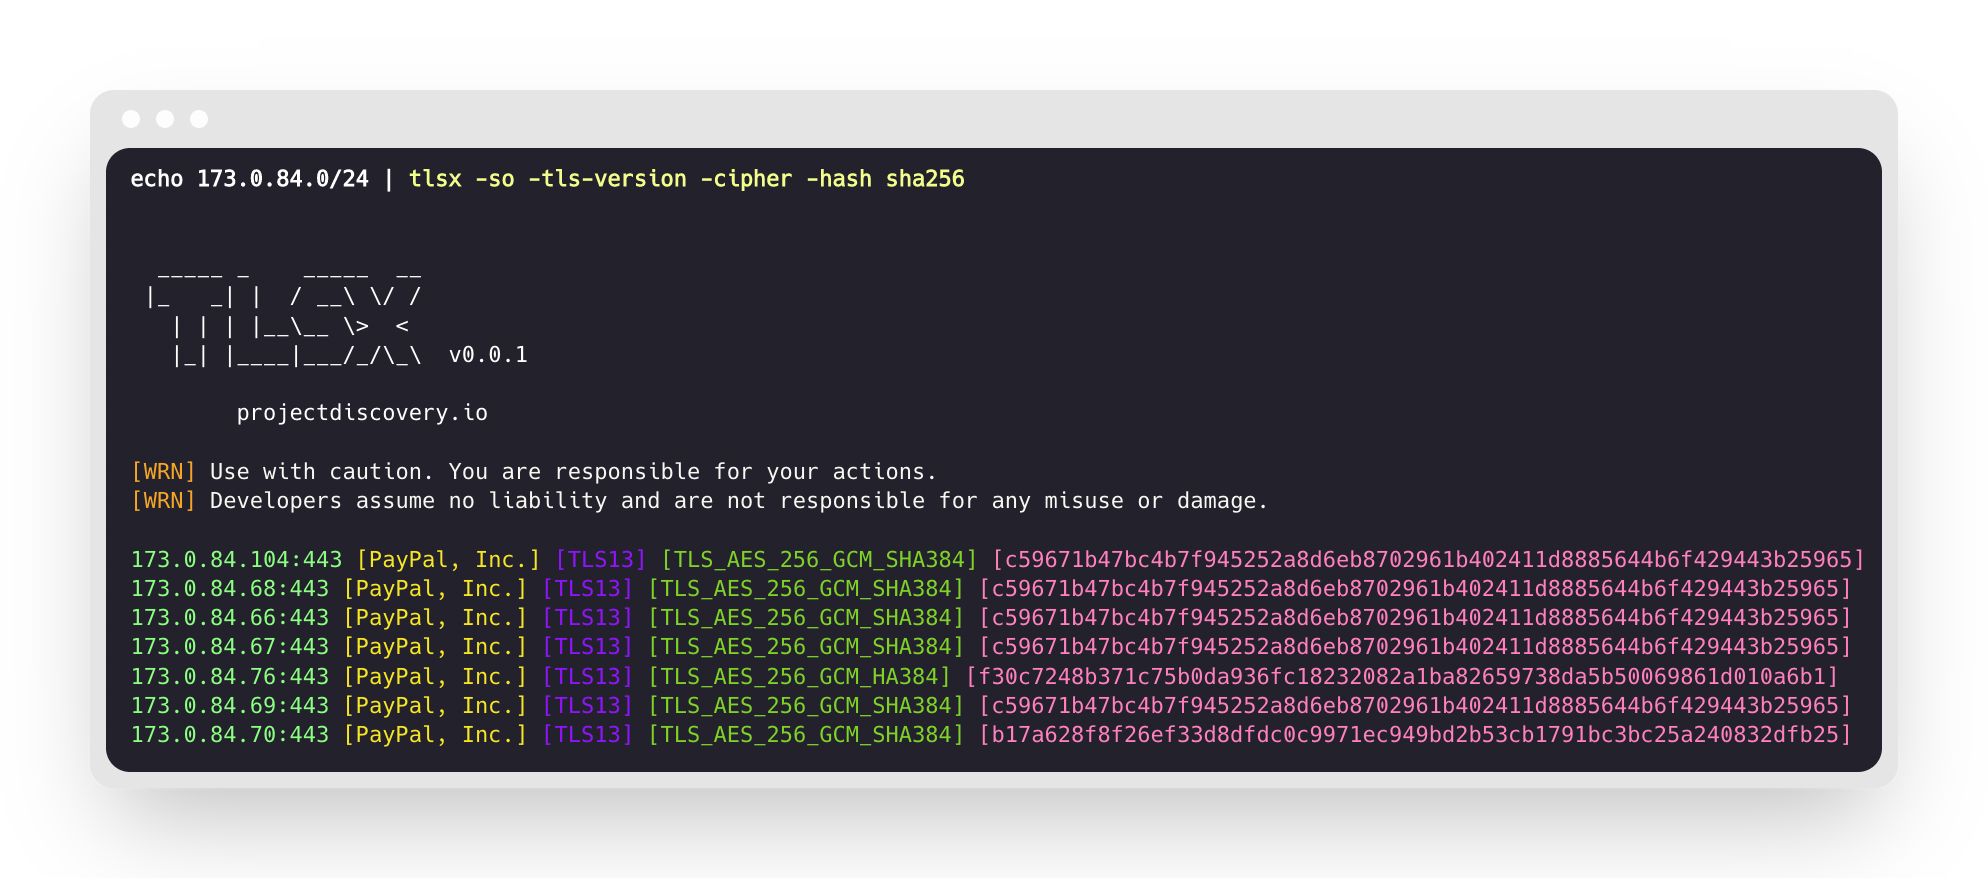
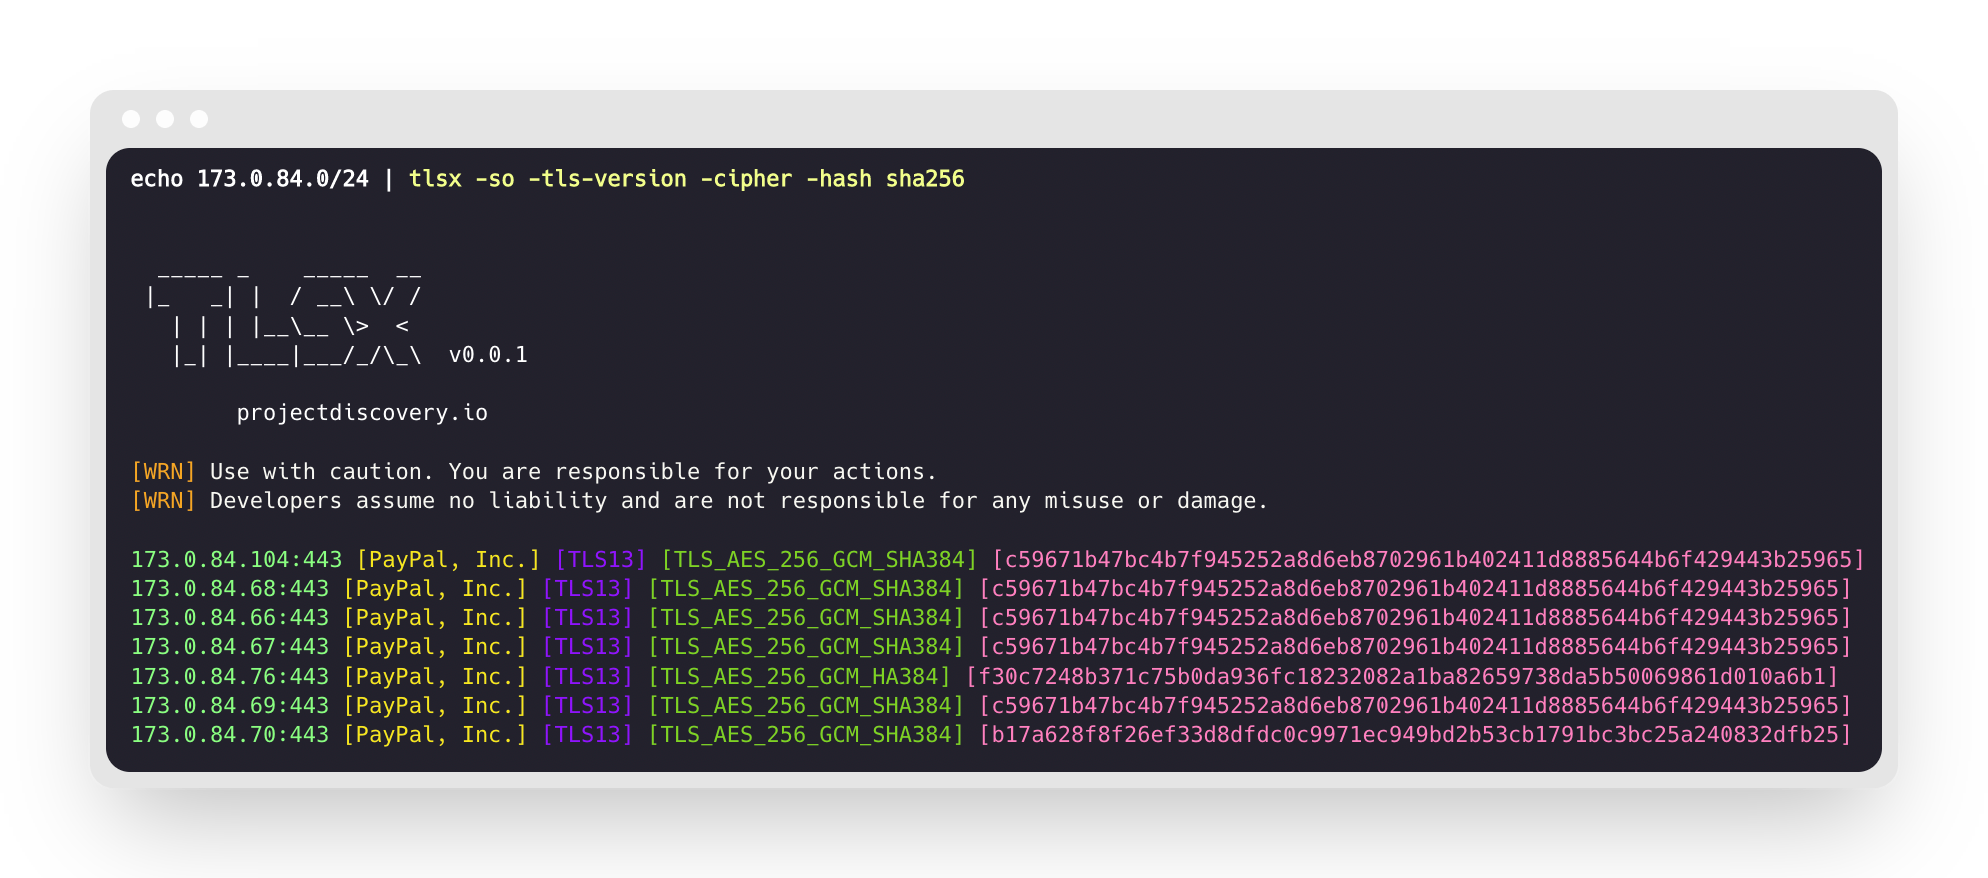
$ subfinder -d hackerone.com | tlsx -tls-version -cipher
mta-sts.hackerone.com:443 [TLS1.3] [TLS_AES_128_GCM_SHA256]
hackerone.com:443 [TLS1.3] [TLS_AES_128_GCM_SHA256]
api.hackerone.com:443 [TLS1.3] [TLS_AES_128_GCM_SHA256]
mta-sts.managed.hackerone.com:443 [TLS1.3] [TLS_AES_128_GCM_SHA256]
mta-sts.forwarding.hackerone.com:443 [TLS1.3] [TLS_AES_128_GCM_SHA256]
www.hackerone.com:443 [TLS1.3] [TLS_AES_128_GCM_SHA256]
support.hackerone.com:443 [TLS1.2] [TLS_ECDHE_RSA_WITH_AES_128_GCM_SHA256]
```
# TLS मिसकॉन्फ़िगरेशन
### समाप्त / स्व-हस्ताक्षरित / बेमेल / निरस्त / अविश्वसनीय प्रमाणपत्र
होस्ट की एक सूची tlsx को प्रदान की जा सकती है ताकि **समाप्त / स्व-हस्ताक्षरित / बेमेल / निरस्त / अविश्वसनीय** प्रमाणपत्रों का पता लगाया जा सके।```console
$ tlsx -l hosts.txt -expired -self-signed -mismatched -revoked -untrusted
_____ _ _____ __
|_ _| | / __\ \/ /
| | | |__\__ \> <
|_| |____|___/_/\_\ v0.0.1
projectdiscovery.io
[WRN] Use with caution. You are responsible for your actions.
[WRN] Developers assume no liability and are not responsible for any misuse or damage.
wrong.host.badssl.com:443 [mismatched]
self-signed.badssl.com:443 [self-signed]
expired.badssl.com:443 [expired]
revoked.badssl.com:443 [revoked]
untrusted-root.badssl.com:443 [untrusted]
```
### [JARM](https://engineering.salesforce.com/easily-identify-malicious-servers-on-the-internet-with-jarm-e095edac525a/) TLS फ़िंगरप्रिंट```console
$ echo hackerone.com | tlsx -jarm -silent
hackerone.com:443 [29d3dd00029d29d00042d43d00041d5de67cc9954cc85372523050f20b5007]
```
### [JA3](https://github.com/salesforce/ja3) TLS फ़िंगरप्रिंट```console
$ echo hackerone.com | tlsx -ja3 -silent
hackerone.com:443 [20c9baf81bfe96ff89722899e75d0190]
```
### JSON आउटपुट
**tlsx** विशिष्ट डेटा क्वेरी करने के लिए कई प्रोब फ्लैग्स का समर्थन करता है, लेकिन सारी जानकारी हमेशा JSON प्रारूप में उपलब्ध रहती है। स्वचालन और पोस्ट-प्रोसेसिंग के लिए `-json` आउटपुट का उपयोग करना सबसे सुविधाजनक विकल्प है।```console
echo example.com | tlsx -json -silent | jq .
```
The input chunk is empty — there is no content provided to translate. Please supply the Markdown text for chunk 35 and I’ll translate it into Hindi.```json
{
"timestamp": "2022-08-22T21:22:59.799053+05:30",
"host": "example.com",
"ip": "93.184.216.34",
"port": "443",
"probe_status": true,
"tls_version": "tls13",
"cipher": "TLS_AES_256_GCM_SHA384",
"not_before": "2022-03-14T00:00:00Z",
"not_after": "2023-03-14T23:59:59Z",
"subject_dn": "CN=www.example.org, O=Internet Corporation for Assigned Names and Numbers, L=Los Angeles, ST=California, C=US",
"subject_cn": "www.example.org",
"subject_org": [
"Internet Corporation for Assigned Names and Numbers"
],
"subject_an": [
"www.example.org",
"example.net",
"example.edu",
"example.com",
"example.org",
"www.example.com",
"www.example.edu",
"www.example.net"
],
"issuer_dn": "CN=DigiCert TLS RSA SHA256 2020 CA1, O=DigiCert Inc, C=US",
"issuer_cn": "DigiCert TLS RSA SHA256 2020 CA1",
"issuer_org": [
"DigiCert Inc"
],
"fingerprint_hash": {
"md5": "c5208a47259d540a6e3404dddb85af91",
"sha1": "df81dfa6b61eafdffffe1a250240db5d2e6cee25",
"sha256": "7f2fe8d6b18e9a47839256cd97938daa70e8515750298ddba2f3f4b8440113fc"
},
"tls_connection": "ctls",
"sni": "example.com"
}
```
### PDCP डैशबोर्ड एकीकरण
**tlsx** स्कैन परिणामों को विज़ुअलाइज़ेशन और विश्लेषण के लिए ProjectDiscovery Cloud Platform (PDCP) डैशबोर्ड पर अपलोड करने का समर्थन करता है।
#### रीयल-टाइम में परिणाम अपलोड करना
जैसे ही परिणाम खोजे जाते हैं, उन्हें स्वचालित रूप से अपलोड करने के लिए डैशबोर्ड अपलोड सक्षम करें:```console
$ tlsx -u example.com -pd -json
```
परिणाम स्वचालित रूप से PDCP पर अपलोड किए जाएंगे और उन्हें देखने के लिए आपको एक डैशबोर्ड URL प्राप्त होगा।
#### मौजूदा फ़ाइल अपलोड करना
पहले से सहेजी गई JSONL आउटपुट फ़ाइल को PDCP पर अपलोड करें:```console
$ tlsx -pdu results.jsonl -tid your-team-id -aname "My Scan"
```
#### कॉन्फ़िगरेशन विकल्प
- `-pd, --dashboard`: PDCP डैशबोर्ड पर रीयल-टाइम अपलोड सक्षम करें
- `-pdu, --dashboard-upload <file>`: PDCP में एक विशिष्ट JSONL फ़ाइल अपलोड करें
- `-auth <key>`: PDCP API कुंजी (पर्यावरण या क्रेडेंशियल हैंडलर के माध्यम से भी सेट की जा सकती है)
- `-tid, --team-id <id>`: अपलोड के लिए टीम ID निर्दिष्ट करें
- `-aid, --asset-id <id>`: मौजूदा एसेट ID पर अपलोड करें
- `-aname, --asset-name <name>`: एसेट समूह के लिए एक कस्टम नाम सेट करें
सभी विकल्पों के साथ उदाहरण:```console
$ tlsx -u example.com -pd -json -tid team123 -aname "Production Scan"
```
## कॉन्फ़िगरेशन
### स्कैन मोड
tlsx TLS कनेक्शन बनाने के लिए कई मोड प्रदान करता है -
- `auto` (विफलता पर अन्य मोड में स्वचालित फ़ॉलबैक) - **डिफ़ॉल्ट**
- `ctls` (**[crypto/tls](https://github.com/golang/go/blob/master/src/crypto/tls/tls.go)**)
- `ztls` (**[zcrypto/tls](https://github.com/zmap/zcrypto)**)
- `openssl` (**[openssl](https://github.com/openssl/openssl)**)
विशिष्ट मोड / लाइब्रेरी के लिए कुछ संकेत [लिंक्ड चर्चाओं](https://github.com/projectdiscovery/tlsx/discussions/2) में उजागर किए गए हैं, अधिकतम कवरेज सुनिश्चित करने के लिए `auto` मोड समर्थित है और किसी भी कनेक्शन त्रुटि पर `ztls` और `openssl` मोड का उपयोग करके कनेक्शन को पुनः प्रयास करके पुराने TLS संस्करण चलाने वाले होस्ट्स को स्कैन करता है।
पुराने / अप्रचलित TLS संस्करण का उपयोग करने वाली वेबसाइट को स्कैन करने के लिए `ztls` मोड का उपयोग करने का एक उदाहरण।```console
$ echo tls-v1-0.badssl.com | tlsx -port 1010 -sm ztls
_____ _ _____ __
|_ _| | / __\ \/ /
| | | |__\__ \> <
|_| |____|___/_/\_\ v0.0.1
projectdiscovery.io
[WRN] Use with caution. You are responsible for your actions.
[WRN] Developers assume no liability and are not responsible for any misuse or damage.
tls-v1-0.badssl.com:1010
```
### OpenSSL
OpenSSL कनेक्शन मोड का उपयोग करने के लिए, आपके सिस्टम पर openssl स्थापित होना आवश्यक है। अधिकांश आधुनिक सिस्टम openssl के साथ पहले से इंस्टॉल आते हैं, लेकिन यदि यह आपके सिस्टम पर मौजूद नहीं है, तो आप इसे मैन्युअल रूप से स्थापित कर सकते हैं। आप `openssl version` कमांड चलाकर जाँच सकते हैं कि openssl स्थापित है या नहीं। यदि openssl स्थापित है, तो यह कमांड संस्करण संख्या प्रदर्शित करेगा।
<table>
<tr>
<td>
### Pre-Handshake (प्रारंभिक समाप्ति)
**tlsx** SSL कनेक्शन को जल्दी समाप्त करने का समर्थन करता है, जिससे तेज़ स्कैनिंग और कम कनेक्शन अनुरोध होते हैं (TLS `serverhello` और प्रमाणपत्र डेटा एकत्र होने के बाद डिस्कनेक्ट होना)।
अधिक विवरण के लिए, कृपया [@erbbysam](https://twitter.com/erbbysam) द्वारा [Hunting-Certificates-And-Servers](https://github.com/erbbysam/Hunting-Certificates-And-Servers/blob/master/Hunting%20Certificates%20%26%20Servers.pdf) देखें।
`-pre-handshake` मोड का उपयोग करने का एक उदाहरण:
</td>
</tr>
</table>```console
$ tlsx -u example.com -pre-handshake
_____ _ _____ __
|_ _| | / __\ \/ /
| | | |__\__ \> <
|_| |____|___/_/\_\ v0.0.1
projectdiscovery.io
[WRN] Use with caution. You are responsible for your actions.
[WRN] Developers assume no liability and are not responsible for any misuse or damage.
example.com:443
```
> **नोट**:
> **pre-handshake** मोड `ztls` (**zcrypto/tls**) का उपयोग करता है, जिसका अर्थ है कि समर्थन `TLS v1.2` तक सीमित है, क्योंकि `TLS v1.3` को `ztls` लाइब्रेरी द्वारा समर्थित नहीं किया जाता है।
</table>
</tr>
</td>
### TLS संस्करण
**न्यूनतम** और **अधिकतम** TLS संस्करण `-min-version` और `-max-version` फ्लैग का उपयोग करके निर्दिष्ट किए जा सकते हैं; डिफ़ॉल्ट रूप से ये मान अंतर्निहित उपयोग की गई लाइब्रेरी द्वारा सेट किए जाते हैं।
TLS संस्करण के लिए स्वीकार्य मान नीचे निर्दिष्ट हैं।
- `ssl30`
- `tls10`
- `tls11`
- `tls12`
- `tls13`
यहाँ `max-version` का उपयोग करके उन होस्ट्स को स्कैन करने का एक उदाहरण है जो TLS के पुराने संस्करण, यानी **TLS v1.0** का समर्थन करते हैं।```console
$ tlsx -u example.com -max-version tls10
_____ _ _____ __
|_ _| | / __\ \/ /
| | | |__\__ \> <
|_| |____|___/_/\_\ v0.0.1
projectdiscovery.io
[WRN] Use with caution. You are responsible for your actions.
[WRN] Developers assume no liability and are not responsible for any misuse or damage.
example.com:443
```
### कस्टम साइफर
समर्थित कस्टम साइफर को `-cipher-input / -ci` फ्लैग का उपयोग करके प्रदान किया जा सकता है, प्रत्येक मोड के लिए समर्थित साइफर सूची [विकी पृष्ठ](https://github.com/projectdiscovery/tlsx/wiki/Ciphers) पर उपलब्ध है।```console
$ tlsx -u example.com -ci TLS_AES_256_GCM_SHA384 -cipher
```
I don't see any content after "INPUT:" — the chunk appears to be empty. There is nothing to translate. Please provide the actual Markdown content for chunk 51, and I'll translate it into Hindi.```console
$ tlsx -u example.com -ci cipher_list.txt -cipher
```
## स्वीकृतियाँ
यह प्रोग्राम वैकल्पिक रूप से निम्नलिखित का उपयोग करता है:
- [zcrypto](https://github.com/zmap/zcrypto) लाइब्रेरी zmap टीम से।
- [cfssl](https://github.com/cloudflare/cfssl) लाइब्रेरी cloudflare टीम से
- सिफर डेटा [ciphersuite.info](https://ciphersuite.info) से सिफरसुइट वर्गीकरण के लिए
--------
<div align="center">
tlsx को ❤️ के साथ [projectdiscovery](https://projectdiscovery.io) टीम द्वारा बनाया गया है और [MIT License](https://github.com/projectdiscovery/tlsx/blob/main/LICENSE) के अंतर्गत वितरित किया गया है।
<a href="https://discord.gg/projectdiscovery"><img src="https://assets.kitploit.com/production/public/readmes/41152/d0624f94cb9ea6401be5a089bb694bc963c47fa82aa3b758c893e3b0bbfdf663.png" width="300" alt="Join Discord"></a>
</div>
### सर्टिफिकेट ट्रांसपेरेंसी (CT) लॉग्स स्ट्रीमिंग
`tlsx` एक _fire-hose_ मोड में कार्य कर सकता है जो सार्वजनिक Certificate Transparency इकोसिस्टम से नव-जारी TLS सर्टिफिकेट को लगातार स्ट्रीम करता है, और होस्टनाम और मेटाडेटा का नियर-रियल-टाइम फ़ीड प्रदान करता है।
CT लॉग्स मोड को `-ctl` स्विच के माध्यम से सक्षम करें (जब कोई इनपुट प्रदान नहीं किया जाता है तो डिफ़ॉल्ट):```bash
tlsx -ctl -silent | jq .subject_an
```
#### आरंभिक ऑफसेट
टूल निम्नलिखित फ्लैग द्वारा नियंत्रित तीन परस्पर-अनन्य आरंभ व्यवहार प्रदान करता है:
| फ्लैग | व्यवहार |
|------|-----------|
| _default_ | अभी **शुरू करें** (स्टार्टअप पर ट्री-आकार) – केवल भविष्य के प्रमाणपत्र स्ट्रीम होते हैं |
| `-cb, --ctl-beginning` | प्रत्येक लॉग के लिए इंडेक्स **0** से प्रारंभ करें (पूर्ण ऐतिहासिक रीप्ले) |
| `-cti, --ctl-index <log>=<n>` | कस्टम प्रति-लॉग इंडेक्स (दोहराने योग्य)। निर्दिष्ट लॉग URL/ID के लिए प्रारंभिक इंडेक्स को _n_ पर सेट करता है। उदाहरण: `--ctl-index https://ct.googleapis.com/logs/argon2023=123456` |```bash
# Replay the entire history
$ tlsx -ctl -cb -silent > all_certs.jsonl
# Resume at custom positions for two logs
$ tlsx -ctl -cti https://ct.googleapis.com/logs/argon2023=987654 -cti cloudflare-nimbus2024=543210 \
-silent | jq -r .ct_source
```
---
[Read more](https://github.com/projectdiscovery/tlsx)
