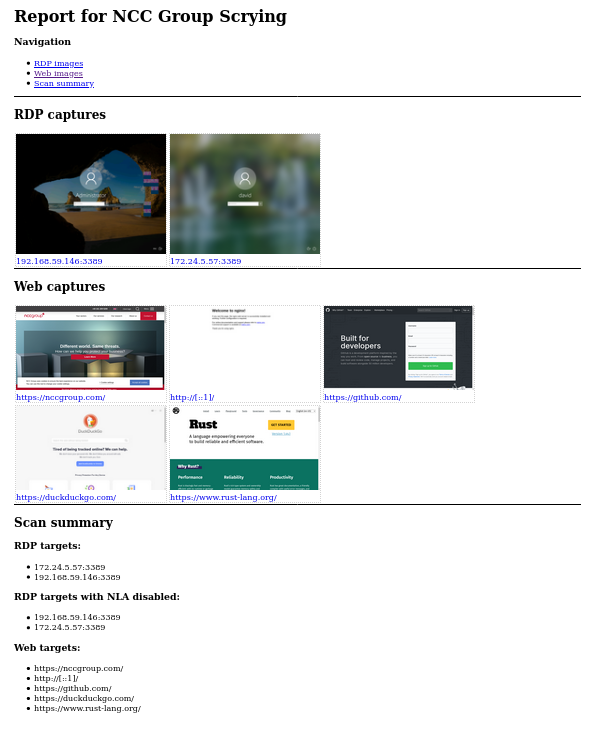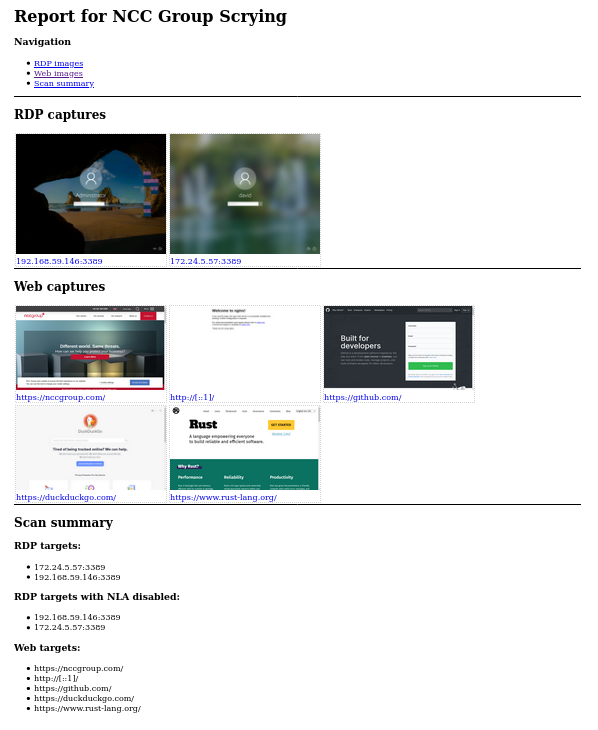
 nccgroup/scrying
RDP, वेब और VNC स्क्रीनशॉट को एक ही स्थान पर एकत्र करने का उपकरण



RDP, web और VNC स्क्रीनशॉट एक ही जगह इकट्ठा करने का एक नया उपकरण
यह उपकरण अभी भी विकासाधीन है और अधिकांशतः उपयोग योग्य होना चाहिए, लेकिन अभी पूरा नहीं हुआ है। कृपया किसी भी बग या सुविधा अनुरोध को GitHub मुद्दों के रूप में दर्ज करें।
चूंकि Eyewitness ने हाल ही में RDP समर्थन छोड़ दिया, अब RDP स्क्रीनशॉट कैप्चर करने के लिए कोई कार्यशील CLI उपकरण नहीं है। Nessus अभी भी काम करता है, लेकिन उससे छवियाँ निकालना एक कठिन काम है और वे निर्यात फ़ाइल में शामिल नहीं होतीं।
मैंने सोचा कि यह एक नया उपकरण लिखने का अच्छा अवसर है जो पिछले उपकरणों से अधिक शक्तिशाली हो। सुविधाओं की सूची देखें!
वेब स्क्रीनशॉट लेने के लिए, scrying वर्तमान में Chromium या Google Chrome की स्थापना पर निर्भर करता है। pacman -S chromium या अपने OS के समकक्ष के साथ स्थापित करें।
रिलीज़ टैब से नवीनतम रिलीज़ डाउनलोड करें। उन डिस्ट्रोस के लिए एक Debian पैकेज उपलब्ध है जो उनका उपयोग करते हैं ( sudo dpkg -i scrying*.deb के साथ स्थापित करें), और Windows, Mac और अन्य Linux के लिए ज़िप्ड बाइनरी उपलब्ध हैं।
एकल वेब पेज, RDP सर्वर, या VNC सर्वर को कैप्चर करें:
$ scrying -t http://example.com
$ scrying -t rdp://192.0.2.1
$ scrying -t 2001:db8::5 --mode web
$ scrying -t 2001:db8::5 --mode rdp
$ scrying -t 192.0.2.2
$ scrying -t vnc://[2001:db8::53]:5901
हेडलेस सर्वर पर चलाएँ:
# apt install xvfb # या OS समकक्ष
$ xvfb-run scrying -t http://example.com
nmap आउटपुट से स्वचालित रूप से स्क्रीनशॉट लें:
$ nmap -iL targets.txt -p 80,443,8080,8443,3389 -oX targets.xml
$ scrying --nmap targets.xml
छवियों के लिए भिन्न आउटपुट निर्देशिका चुनें:
$ scrying -t 2001:db8::3 --output-dir /tmp/scrying_outputs
लक्ष्य फ़ाइल से चलाएँ:
$ cat targets.txt
http://example.com
rdp://192.0.2.1
2001:db8::5
$ scrying -f targets.txt
वेब प्रॉक्सी के माध्यम से चलाएँ:
$ scrying -t http://example.com --web-proxy http://127.0.0.1:8080
$ scrying -t http://example.com --web-proxy socks5://\[::1\]:1080
छवि फ़ाइलें निम्नलिखित निर्देशिका संरचना में PNG के रूप में सहेजी जाती हैं:
output
├── report.html
├── rdp
│   └── 192.0.2.1-3389.png
├── vnc
│   └── 192.0.2.1-5900.png
└── web
    └── https_example.com.png
output/report.html पर रिपोर्ट देखें!
जिन सुविधाओं के आगे टिक है उन्हें लागू किया जा चुका है, बाकी TODO हैं
USAGE:
    scrying [OPTIONS] <--file <FILE>|--nmap <NMAP XML FILE>|--nessus <NESSUS XML FILE>|--target <TARGET>>

OPTIONS:
        --disable-report               Don't create a report.html [aliases: no-report]
    -f, --file <FILE>                  Targets file, one per line
    -h, --help                         Print help information
    -l, --log-file <LOG FILE>          Save logs to the given file
    -m, --mode <MODE>                  Force targets to be parsed as `web`, `rdp`, `vnc` [default:
                                       auto] [possible values: web, rdp, vnc, auto]
        --nessus <NESSUS XML FILE>     Nessus XML file
        --nmap <NMAP XML FILE>         Nmap XML file
    -o, --output <OUTPUT DIR>          Directory to save the captured images in [default: output]
        --proxy <PROXY>                Default SOCKS5 proxy to use for connections e.g.
                                       socks5://[::1]:1080
        --rdp-domain <RDP DOMAIN>      Domain name to provide to RDP servers that request one
        --rdp-pass <RDP PASS>          Password to provide to RDP servers that request one
        --rdp-proxy <RDP PROXY>        SOCKS5 proxy to use for RDP connections e.g.
                                       socks5://[::1]:1080
        --rdp-timeout <RDP TIMEOUT>    Seconds to wait after last bitmap before saving an image
                                       [default: 2]
        --rdp-user <RDP USER>          Username to provide to RDP servers that request one
    -s, --silent                       Suppress most log messages
        --size <SIZE>                  Set the size of captured images in pixels. Due to protocol
                                       limitations, sizes greater than 65535x65535 may get truncated
                                       in interesting ways. This argument has no effect on VNC
                                       screenshots. [default: 1280x1024]
    -t, --target <TARGET>              Target, e.g. http://example.com, rdp://[2001:db8::4]
        --test-import                  Exit after importing targets
        --threads <THREADS>            Number of worker threads for each target type [default: 10]
    -v, --verbose                      Increase log verbosity
    -V, --version                      Print version information
        --vnc-auth <VNC AUTH>          Password to provide to VNC servers that request one
        --web-mode <WEB MODE>          Choose between headless Chrom{e,ium} or native webview (GTK
                                       on Linux, Edge WebView2 on Windows, Cocoa WebView on Mac
                                       [default: chrome] [possible values: chrome, native]
        --web-path <WEB PATH>          Append a path to web requests. Provide multiple to request
                                       each path sequentially
        --web-proxy <WEB PROXY>        HTTP/SOCKS Proxy to use for web requests e.g.
                                       http://[::1]:8080