 trufflesecurity/of-cors
Automated CORS misconfiguration discovery tool using typosquatting domains and browser service workers to probe internal networks of bug bounty targets.

of-CORS is Truffle Security's tool suite for identifying and exploiting CORS misconfigurations on the internal networks of bug bounty targets using typosquatting.
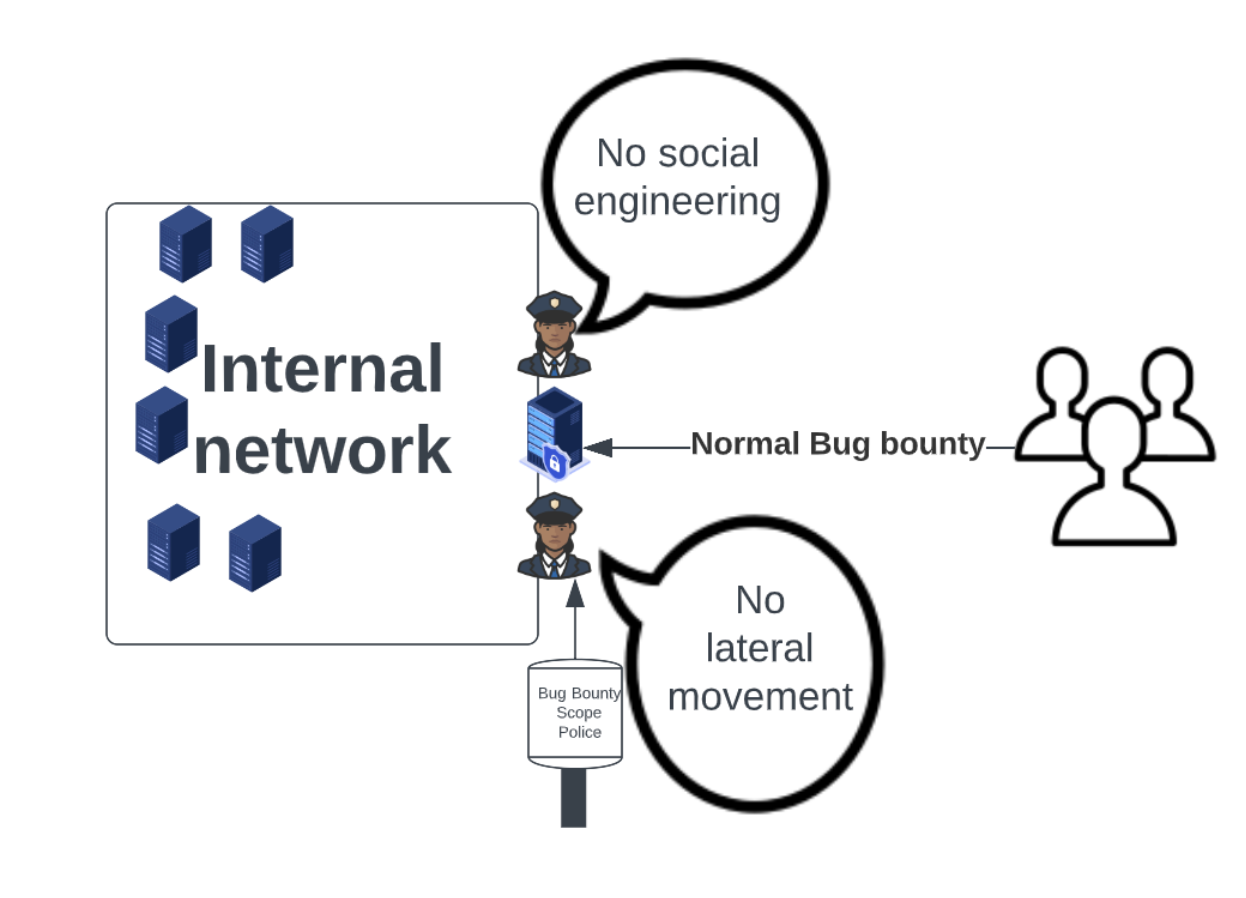
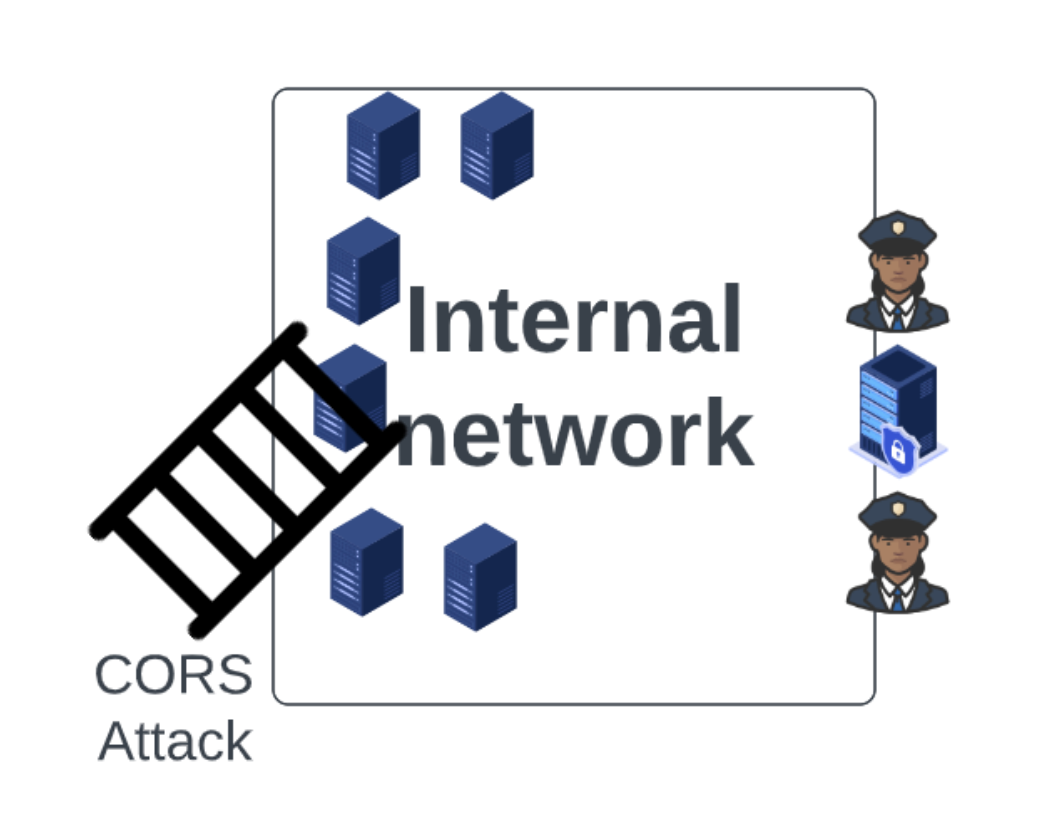
You can read more here https://trufflesecurity.com/blog/of-CORS
of-CORS is a Python3 web application built on top of Django and Django Rest Framework. Once set up and configured of-CORS will automatically register browser service workers in the browsers of any victims that visit the application. These service workers send HTTP requests to a list of pre-configured internal domains with the intention of discovering CORS misconfigurations on internal networks. The results of these requests (whether successful or otherwise) are then submitted via API back to the of-CORS instance.
Once a service worker has been registered in a victim's browser, a JavaScript payload redirects the browser away to the page that of-CORS believes they were originally trying to access.
The collected results can subsequently be viewed in a minimalist dashboard available on the of-CORS application.
The following steps can be taken to set up of-CORS in your own deployment.
Due to the complexity of getting of-CORS set up (namely complications around SSL/TLS, DNS, and allowing wildcard requests to both) we make use of two cloud providers (Heroku and Cloudflare) in the application stack and Terraform to automate their configuration.
Start by purchasing a domain an internal employee at the target company is likely to land on. We recommend buying a typo-squat domain of an internal domain. We've found copypaste errors are a good place to start.
So for example if the company you're testing CORS uses uberinternal.com for internal domains, you may want to purchase berinternal.com to start getting browser traffic from internal employees.

of-CORS uses Cloudflare for receiving and routing wildcard DNS requests as well as terminating SSL/TLS connections.
You'll need an active Cloudflare account to get DNS working correctly with of-CORS. Once you have a Cloudflare account you'll want to create an API key (which can be done at the dashboard here).
The API key will need to have sufficient privileges to add, delete, and configure zones as well as DNS records. This can be achieved by selecting the following permissions on the API token creation page:
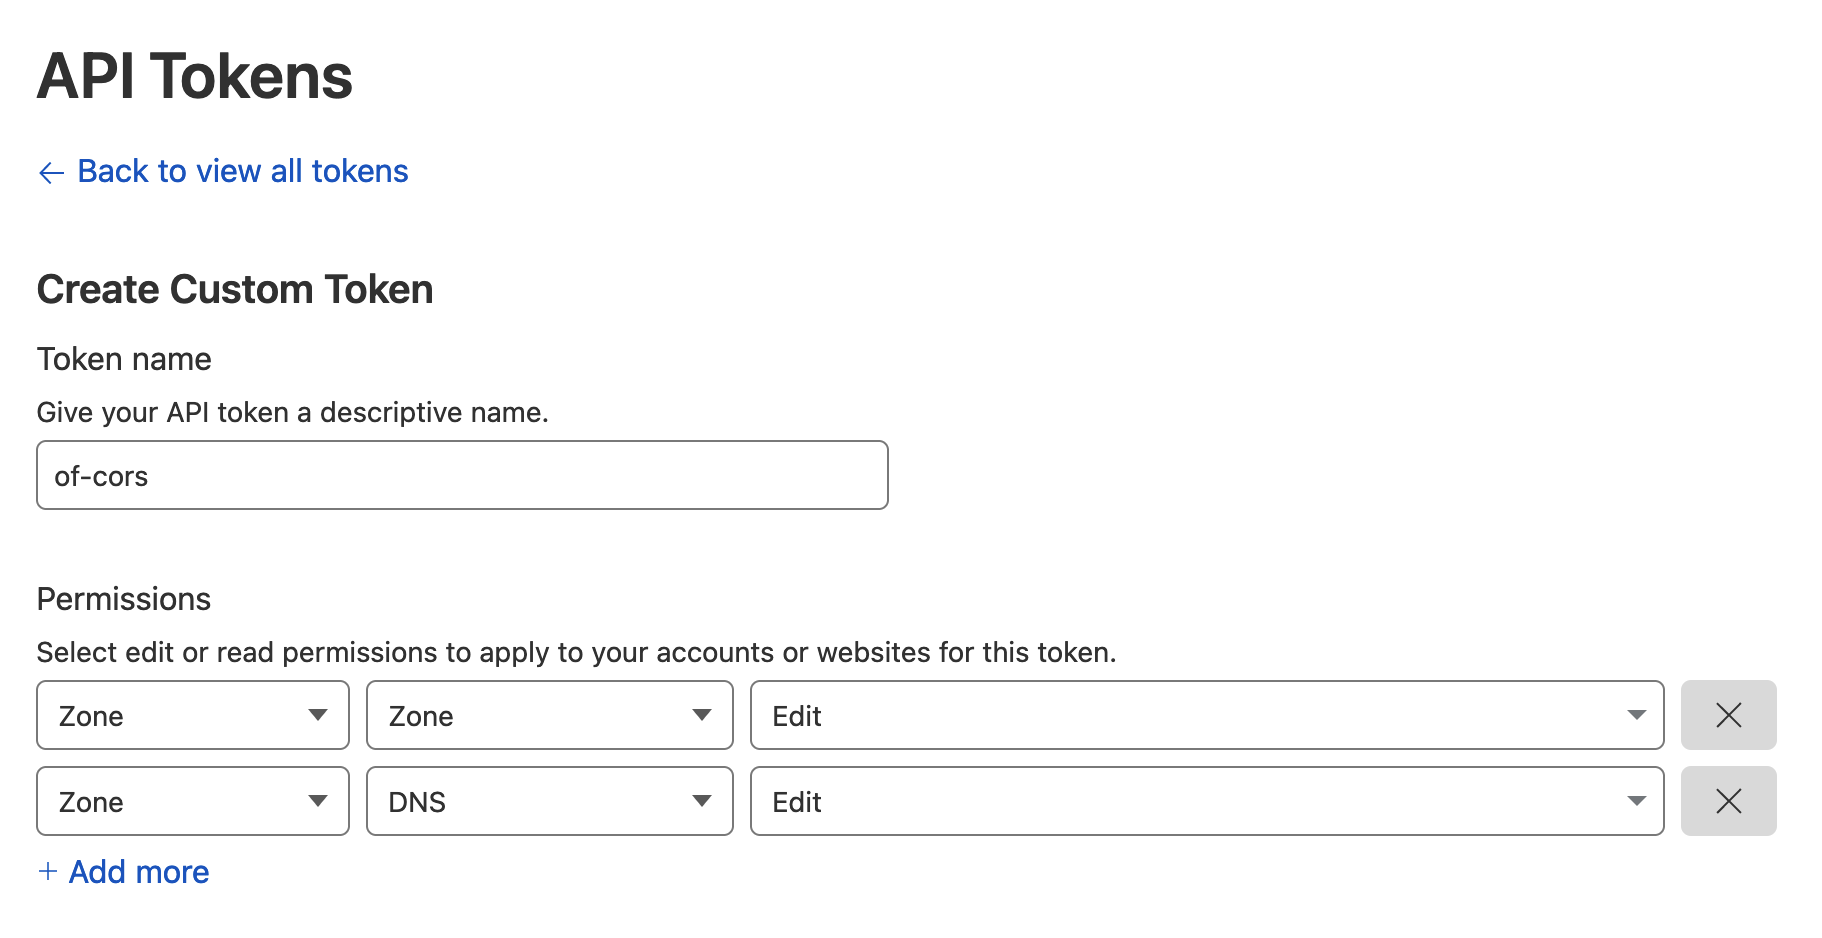
Once you've created an API token with the correct permissions you can proceed to the next step.
of-CORS uses Heroku for easy application deployment and hosting.
You'll need an active Heroku account to get the of-CORS application stack up and running. Once you have an account you'll want to install the Heroku command line interface (CLI) tool. With the CLI installed you can use it to start an authenticated CLI session with the following command:
heroku login
You can then confirm that your CLI is successfully authenticated by running the following command:
heroku whoami
Further documentation on authorizing the Heroku CLI for use with Terraform can be found here.
With the API keys necessary for our infrastructure now set up and ready we can move on to configuring of-CORS for deployment. Take a look at the contents of the following example YAML configuration file which can be found in the repository:
terraform:
  # You must change this to a unique string that is a valid Heroku app name
  heroku_app_name: best-of-cors
  # Fill this out with your Cloudflare API token
  cloudflare_api_token: this-is-my-api-token

hosts:
  # This can be an arbitrary string, but must be unique as a direct descendant of hosts
  testing:
    host_domain: 127.0.0.1:8080
    redirect_domain: google.com
    targets:
      - enable-cors.org
      - example.com
You'll need to create a new configuration YAML file of this format for deployment.
Under the terraform section you'll want to set heroku_app_name to a Heroku-compliant app name that is unique to your account. You'll also want to add your Cloudflare API key that you generated in the section above under the cloudflare_api_token directive.
The hosts section is where we define the domains that we expect of-CORS to receive traffic at and what to do when web visitors come along. Let's say that we have a company that we're targeting and we know that they have two internal domains (myinternalcorp1.com and myinternalcorp2.com). We went ahead and purchased the domain yinternalcorp1.com with the expectation that employees would accidentally visit it. In this case we would want to configure hosts as follows:
hosts:
  testing_1:
    host_domain: yinternalcorp1.com
    redirect_domain: myinternalcorp1.com
    targets:
      - myinternalcorp1.com
      - myinternalcorp2.com
The host_domain here is the domain where you expect to receive traffic (ie: the domain that was purchased). redirect_domain defines the domain where victims should get redirected to once a payload is launched. targets specifies the domains that payloads should be launched against when a victim visits of-CORS.
Let's say that we also purchased yinternalcorp2.com and want to configure of-CORS to launch attacks when it's visited. The hosts section could then be updated like the following:
hosts:
  testing_1:
    host_domain: yinternalcorp1.com
    redirect_domain: myinternalcorp1.com
    targets:
      - myinternalcorp1.com
      - myinternalcorp2.com
  testing_2:
    host_domain: yinternalcorp2.com
    redirect_domain: myinternalcorp2.com
    targets:
      - myinternalcorp1.com
      - myinternalcorp2.com
Now if a victim accidentally visits yinternalcorp1.com or yinternalcorp2.com the payloads for enumerating CORS misconfigurations on myinternalcorp1.com and myinternalcorp2.com would be launched and the victim's browser would subsequently be redirected to the correct domain.
You won't need to install Terraform, Heroku, Python with the Docker option. Just run this command with the right path for your yaml file set:
docker run -v $PWD/config.yml:/config.yml -it --rm trufflesecurity/of-cors
Deploying of-CORS relies on Terraform. You can follow the instructions for installing Terraform here. Once installed the terraform binary is expected to be available on your system's PATH.
