 som3canadian/some-tools
Some Pentest Tools. Install and keep up to date some pentesting tools. I used this to pass my OSCP exam.

Manage all your pentest tools in one place and keep them up to date with one command 😎
The goal of sometools is to be able to manage all your tools that are not include in Kali or that sudo apt install is not available. Sometools works better if tools are a repo but it can be tweak to works without it.
I was looking for a way to manage and keep up to date some tools that are not included in Kali-Linux. For example, I was looking for an easy way to manage privilege escalation scripts. One day I saw sec-tools from eugenekolo (which you can see at the bottom of the page) and it gave me the motivation to start working on mine right away. My main motivation was the check-update-all command, which let you update all your installed tools smoothly.
But keep in mind that is different. I built this for people that are working with Kali. Should work on other distro but I didn't include tool like Burp Suite or SQLmap because it comes in Kali by default.
$ git clone https://github.com/som3canadian/Some-Tools
$ cd Some-Tools
$ ./sometools.sh setup
# after setup, open new terminal or tab
$ ./sometools.sh list
# you can look in your .zshrc or .bashrc if you are not sure that the installation worked.
# For more info see Actions Detailed section.
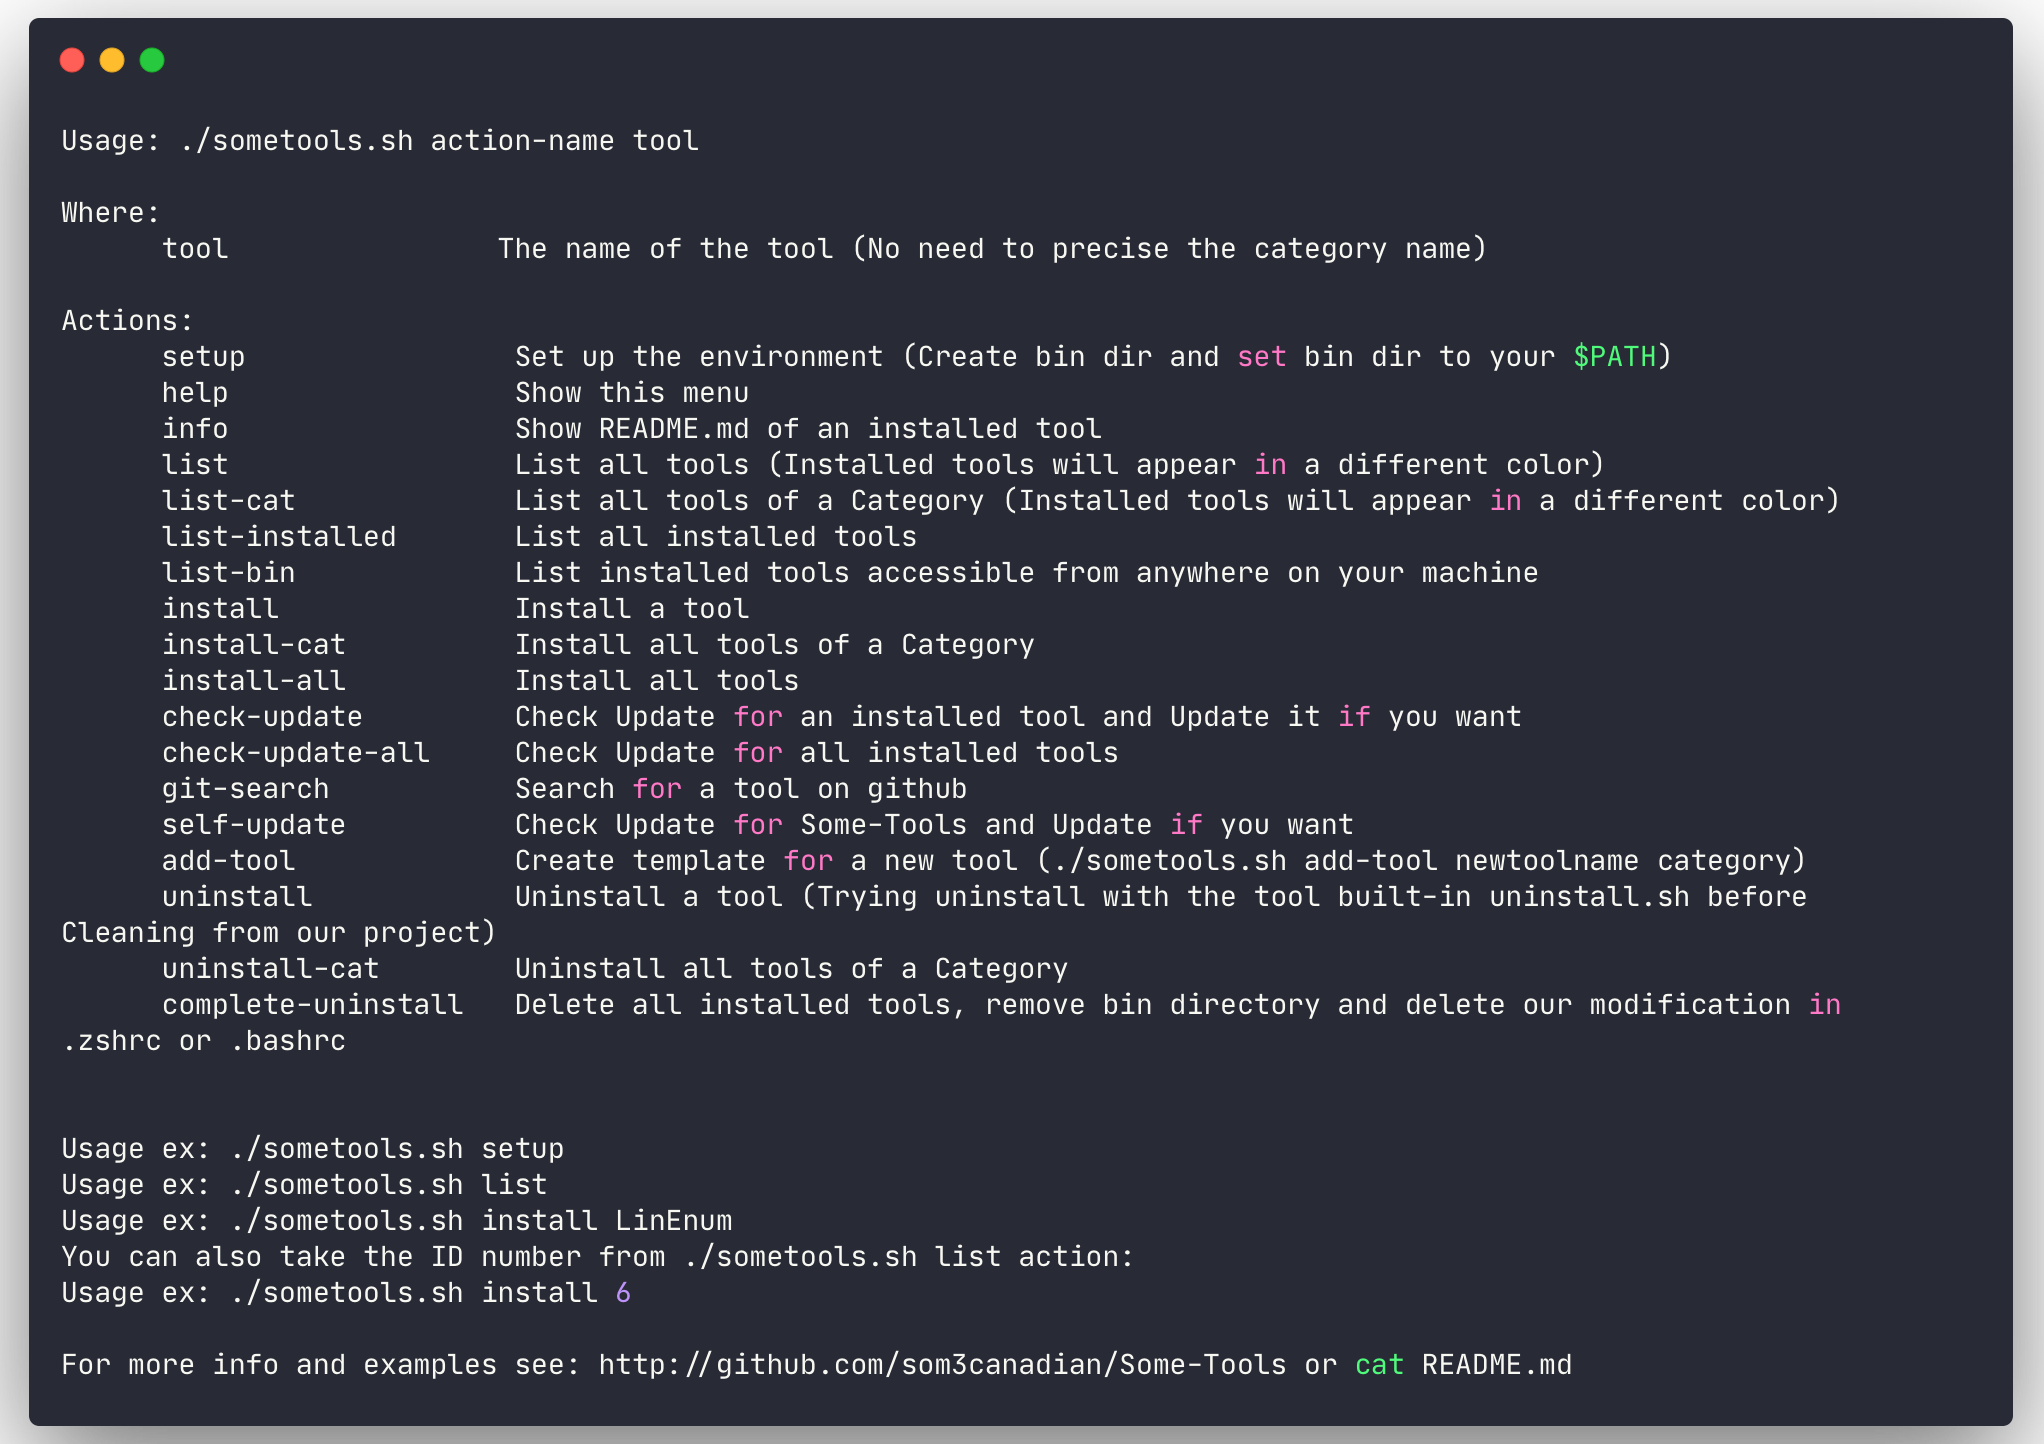
Note: No need to specify the category names when using a tool. Just use tool name or ID. You can see tool ID by doing ./sometools.sh list
Most used actions are:
# Inital setup. Should be the first command
$ ./sometools.sh setup
# List all available tools
$ ./sometools.sh list
# List all available tools of a category
$ ./sometools.sh list-cat Utilities
# List install tool(s)
$ ./sometools.sh list-installed
# List installed tools accessible from anywhere on your machine
$ ./sometool.sh list-bin
# Install a tool
$ ./sometools.sh install unicorn
# Using ID instead of tool name
$ ./sometools.sh install 4
# Install all tools of a Category
$ ./sometools.sh install-cat PrivEsc-Win
# Install All tools
$ ./sometools.sh install all
# Check update for all installed tools
# check-update-all command is the main reason why I made this
$ ./sometools.sh check-update-all
# Check for update
$ ./sometools.sh check-update PEAS
# Using ID instead of tool name
$ ./sometools.sh check-update 9
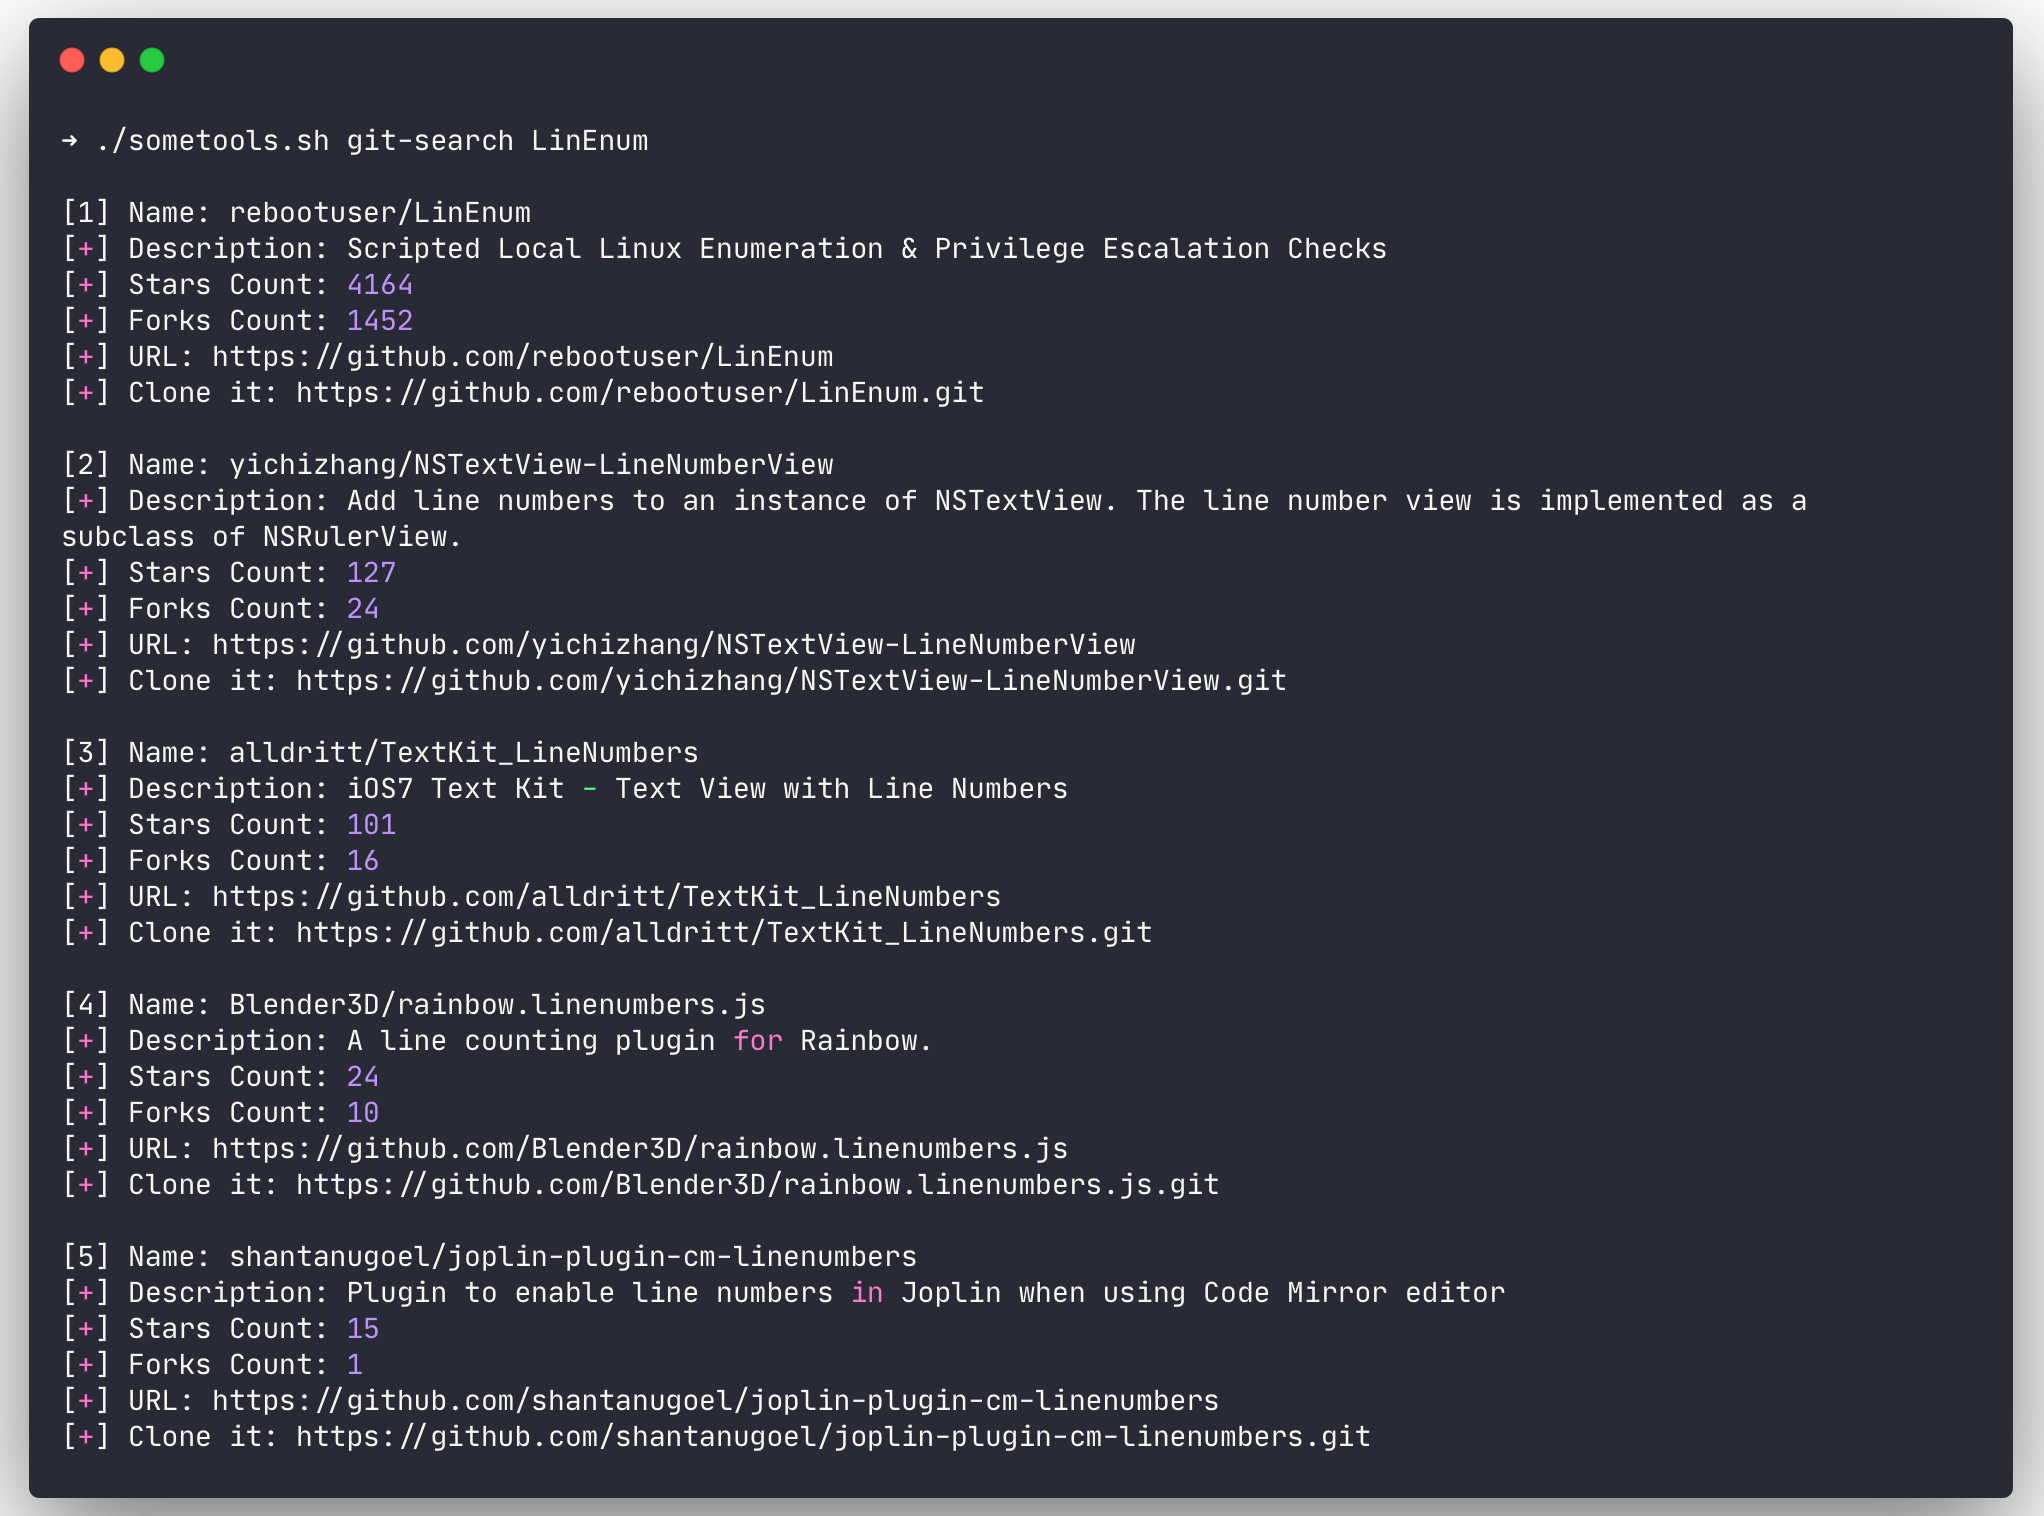
# Search for a tool on github
$ ./sometools.sh git-search LinEnum
# Search for a PoC in the PoC-in-GitHub tool
$ ./sometools.sh search-poc
# Show README.md of an installed tool
$ ./sometools.sh info unicorn
# Using ID instead of tool name
$ ./sometools.sh info 4
# Add a new tool
$ ./sometools.sh add-tool newtoolname PrivEsc-Lin
# Uninstall a tool
$ ./sometools.sh uninstall unicorn
# Using ID instead of tool name
$ ./sometools.sh uninstall 4
# Unistall all tools of a Category
$ ./sometools.sh uninstall-cat PrivEsc-Win
# Update some-tools
$ ./sometools.sh self-update
# Delete all installed tools, remove bin directory and delete our modification in .zshrc or .bashrc
$ ./sometools.sh complete-uninstall
The bin directory will be created when doing the setup action. This will be the dir path that we will add to our shell $PATH (your/install/dir/Some-Tools/bin). In the bin dir we will put copy(symlink) of tool(s) that we want executable everywhere on our machine. For example a tool like unicorn.py, you may want to execute unicorn from everywhere you want.
The setup action will aslo create bin/PrivEsc-Lin and bin/PrivEsc-Win in the process. In this directory we will keep our privilege escalation scripts. So, when you want to use your tools, you can fire a python http server and quickly upload the scripts you desire. The scripts in those folders will be update at the same time you update the tool(s) with check-update action.
