Project Pwnag0dchi
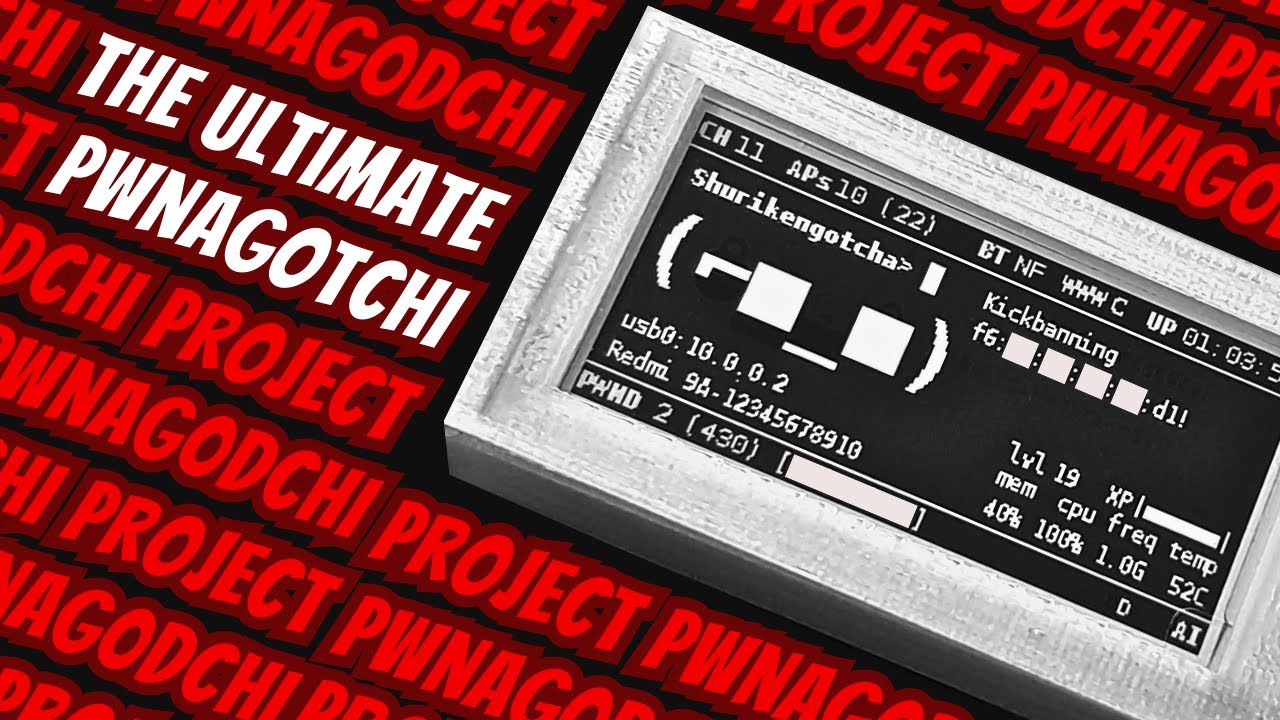
Created this since a lot of people were asking about the customized plugins & configurations I use. Following this guide, your Pwnagotchi will look exactly as seen on my socials & YouTube videos in ~5mins tops.
You'll also find a complete Pwnagotchi noob build guide + some common troubleshooting methods here.
I'll keep updating this as much as possible. If you have a suggestion or run into problems using this project, open up a GitHub Issue and we can talk about it!
Table of Contents
Project Pwnag0dchi Modifications
Features
- On-device dictionary attacks automatically upon finding handshakes (against customized, smaller wordlists)
- Individual toggles for association and deauthentication attacks to choose 1 of 3 attack approaches:
- Fully aggressive (association + deauthentication attacks)
- Less aggressive (either association or deauthentication attack)
- Fully passive (no attacks, just passive handshake capture)
- Downloadable handshakes from web UI (fixed)
- UI elements tweaked AF (positions, sizes, fonts, etc.)
- Space added to "CH" value to accomodate 5GHz channels without overlap
- Plugin modifications (for cosmetic purposes, decluttering, and slightly improved functionality (maybe))
- Added information to the screen:
- Latest cracked handshake in plain-text (as per WPA-sec)
- Level & XP bar (collect handshakes to gain XP and level up)
- Enabled attacks (association, deauthentication, or both, or none)
- Hardware monitoring (current memory usage, CPU usage, CPU frequency, and temperature)
- Internet connection/sharing status
- Current interface's IP address (helps with connecting via SSH / web UI)
- More stuff I may be forgetting
Sick Feature Showcase & Tutorial Video
Installing Project Pwnag0dchi
- Copy the files from the ″Plugins″ directory of this GitHub repo to
/usr/local/share/pwnagotchi/custom-plugins/
- Copy the files from the ″Configurations″ directory of this GitHub repo to
/etc/pwnagotchi/
- Apply all changes by restarting your Pwnagotchi
Login Credentials (Web UI)
changeme:changeme
Initial settings to be changed
Via web UI: Plugins > webcfg
Via /etc/pwnagotchi/config.toml
Then make the following additions / changes:
main.name should be whatever you'd like to name your Pwnagotchi (example: Pwnag0dchi)main.whitelist.#0 & main.plugins.grid.exclude should be the SSID of your home Wi-Fi network, so your Pwnagotchi does not attack it (example: Shuriken-WiFi_2.4GHz)main.plugins.wpa-sec.api_key should be your WPA-sec API key (go here first and click on "Get key" to get your free API key e-mailed to you
NOTE: When copy-pasting the API key to main.plugins.wpa-sec.api_key, make sure there are no spaces at the beginning or end of the API key
- Restart the Pwnagotchi service to apply changes using
sudo systemctl restart pwnagotchi.service. On the web UI, this can be done by clicking ″Save and Restart″ at the top in the webcfg plugin
Pwnagotchi Noob Guide
Parts To Get
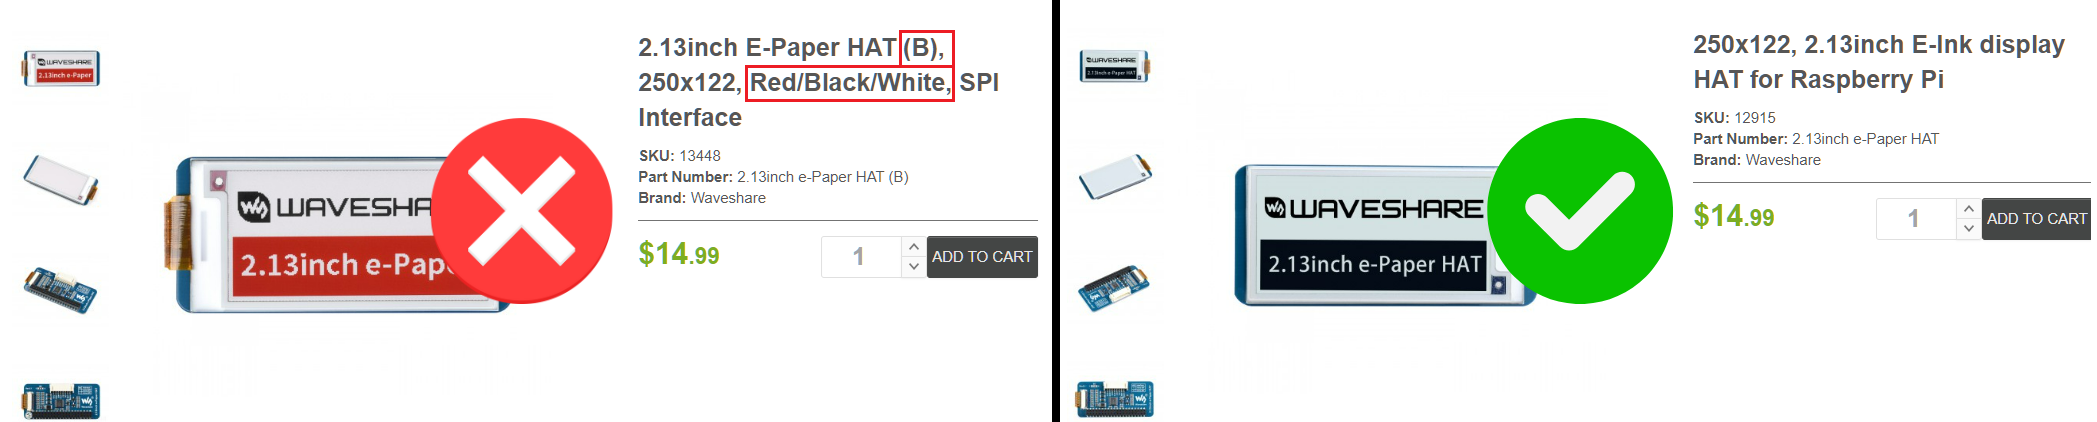
- Waveshare 2.13 inch e-Ink display (Amazon | Waveshare)
- Versions 3 & 4 work best. This is denoted by a small circular sticker on the board (like this)
- Ignore the "Rev2.1" that's printed on the board; that has nothing to do with the version
- Do NOT get the tri-color variant with black/white/red (variant "B"). Get only the black/white version. Both look pretty much identical and cost the same, so it's easy to purchase the wrong one
 shur1k-n/project-pwnag0dchi
