
 sensity-ai/dot
Real-time deepfake toolkit for penetration testing of identity verification and video conferencing systems. Supports face swap, image animation, and virtual camera injection for red team operations.







dot (aka Deepfake Offensive Toolkit) makes real-time, controllable deepfakes ready for virtual cameras injection. dot is created for performing penetration testing against e.g. identity verification and video conferencing systems, for the use by security analysts, Red Team members, and biometrics researchers.
If you want to learn more about dot is used for penetration tests with deepfakes in the industry, read these articles by The Verge and Biometric Update.
dot is developed for research and demonstration purposes. As an end user, you have the responsibility to obey all applicable laws when using this program. Authors and contributing developers assume no liability and are not responsible for any misuse or damage caused by the use of this program.
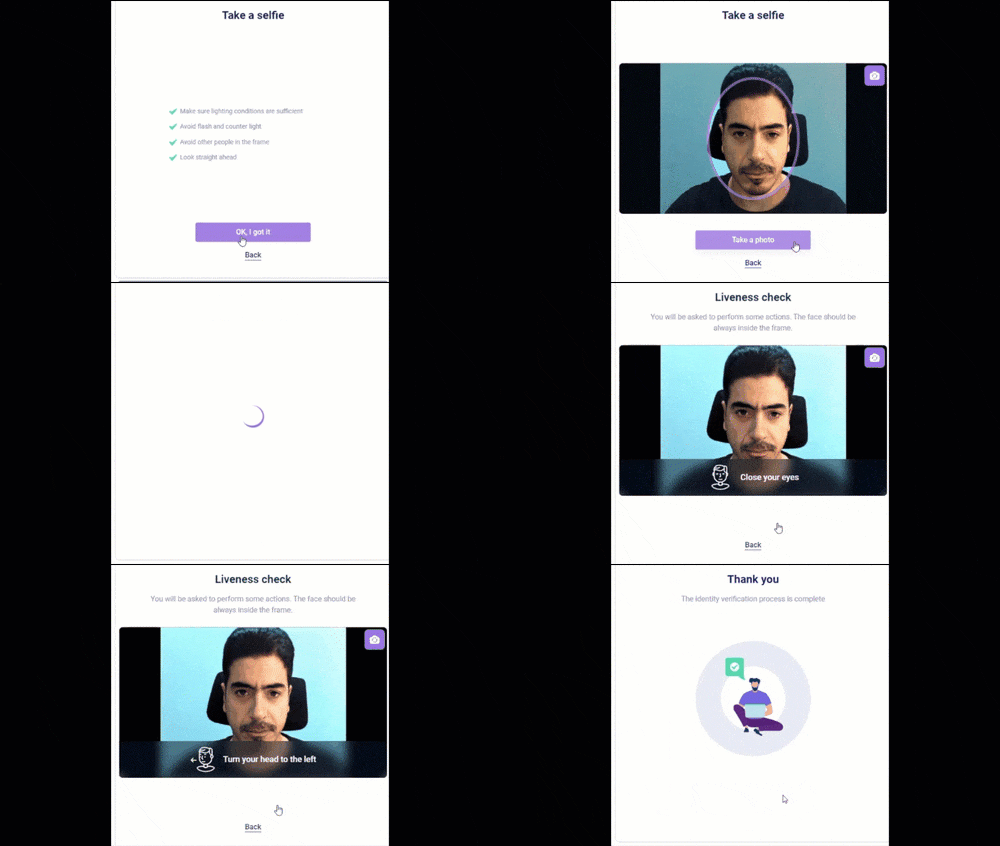
In a nutshell, dot works like this
flowchart LR;
    A(your webcam feed) --> B(suite of realtime deepfakes);
    B(suite of realtime deepfakes) --> C(virtual camera injection);
All deepfakes supported by dot do not require additional training. They can be used in real-time on the fly on a photo that becomes the target of face impersonation. Supported methods:
224 and 512
256 and 512Download and run the dot executable for your OS:
Windows (Tested on Windows 10 and 11):
dot.zip from here, unzip it and then run dot.exeUbuntu:
Mac (Tested on Apple M2 Sonoma 14.0):
dot-m2.zip from here and unzip itxattr -cr dot-executable.app to remove any extended attributesShow Package Contentsdot-executable from Contents/MacOS folderUsage example:
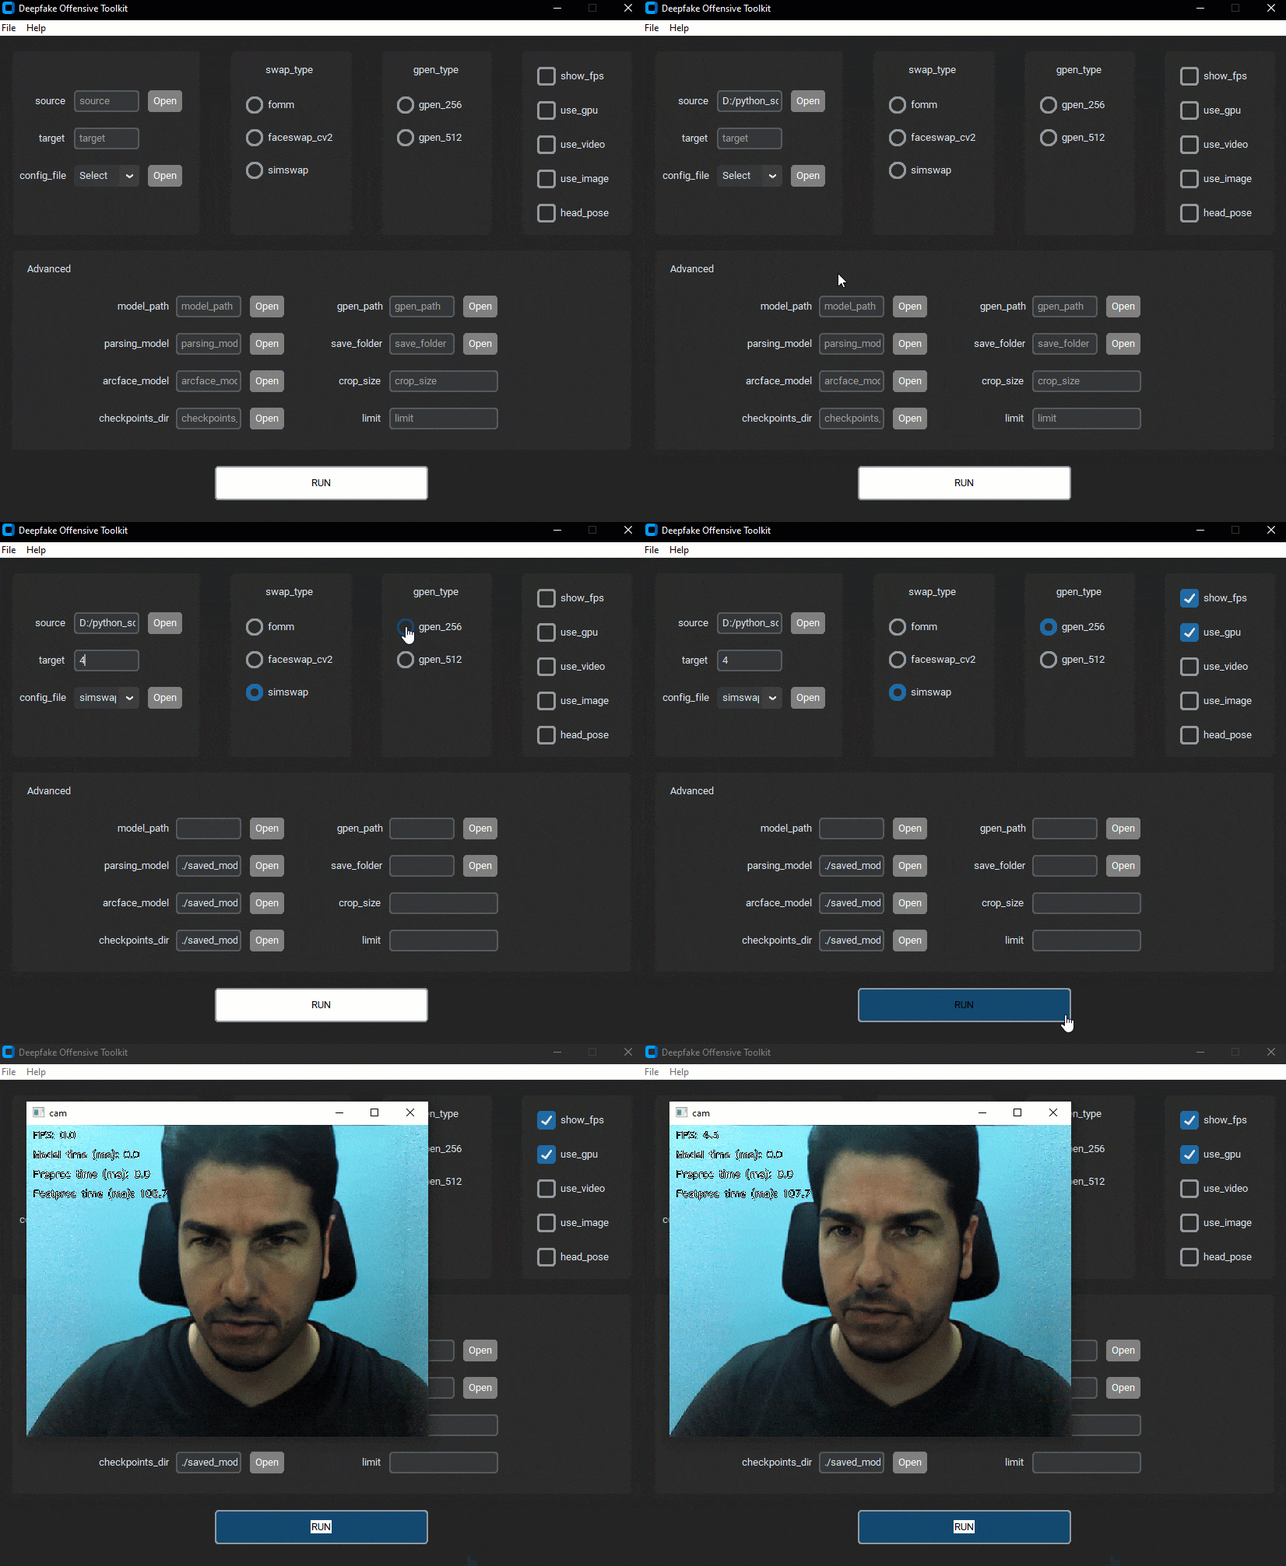
source.target. In most cases, 0 is the correct camera id.config_file. Select a default configuration from the dropdown list or use a custom file.use_gpu to use the GPU.RUN button to start the deepfake.For more information about each field, click on the menu Help/Usage.
Watch the following demo video for better understanding of the interface
Linux
sudo apt install ffmpeg cmake
MacOS
brew install ffmpeg cmake
Windows
The instructions assumes that you have Miniconda installed on your machine. If you don't, you can refer to this link for installation instructions.
conda env create -f envs/environment-gpu.yaml
conda activate dot
Install the torch and torchvision dependencies based on the CUDA version installed on your machine:
Install CUDA 11.8 from link
Install cudatoolkit from conda: conda install cudatoolkit=<cuda_version_no> (replace <cuda_version_no> with the version on your machine)
Install torch and torchvision dependencies: pip install torch==2.0.1+<cuda_tag> torchvision==0.15.2+<cuda_tag> torchaudio==2.0.2 --index-url https://download.pytorch.org/whl/cu118, where <cuda_tag> is the CUDA tag defined by Pytorch. For example, pip install torch==2.0.1+cu118 torchvision==0.15.2+cu118 torchaudio==2.0.2 --index-url https://download.pytorch.org/whl/cu118 for CUDA 11.8.
Note: torch1.9.0+cu111 can also be used.
To check that torch and torchvision are installed correctly, run the following command: python -c "import torch; print(torch.cuda.is_available())". If the output is True, the dependencies are installed with CUDA support.
conda env create -f envs/environment-apple-m2.yaml
conda activate dot
To check that torch and torchvision are installed correctly, run the following command: python -c "import torch; print(torch.backends.mps.is_available())". If the output is True, the dependencies are installed with Metal programming framework support.
conda env create -f envs/environment-cpu.yaml
conda activate dot
pip install -e .
Run dot --help to get a full list of available options.
Simswap
dot -c ./configs/simswap.yaml --target 0 --source "./data" --use_gpu
SimSwapHQ
dot -c ./configs/simswaphq.yaml --target 0 --source "./data" --use_gpu
FOMM
dot -c ./configs/fomm.yaml --target 0 --source "./data" --use_gpu
FaceSwap CV2
dot -c ./configs/faceswap_cv2.yaml --target 0 --source "./data" --use_gpu
Note: To enable face superresolution, use the flag --gpen_type gpen_256 or --gpen_type gpen_512. To use dot on CPU (not recommended), do not pass the --use_gpu flag.
Disclaimer: We use the
SimSwaptechnique for the following demonstration
Running dot via any of the above methods generates real-time Deepfake on the input video feed using source images from the data/ folder.
