 s4vitar/eviltrust
Herramienta ideal para el despliegue automatizado de un Rogue AP con capacidad de selección de plantilla + 2FA. No requiere de conexión cableada.


Ideal tool for automated deployment of a Rogue AP with template selection + 2FA capability.
This tool has several templates to use, including a custom template option, where the attacker can deploy their own template.
IMPORTANT: No wired connection is required, so the attack can be deployed from anywhere at any time.
NOW THE TOOL HAS A GRAPHICAL INTERFACE!
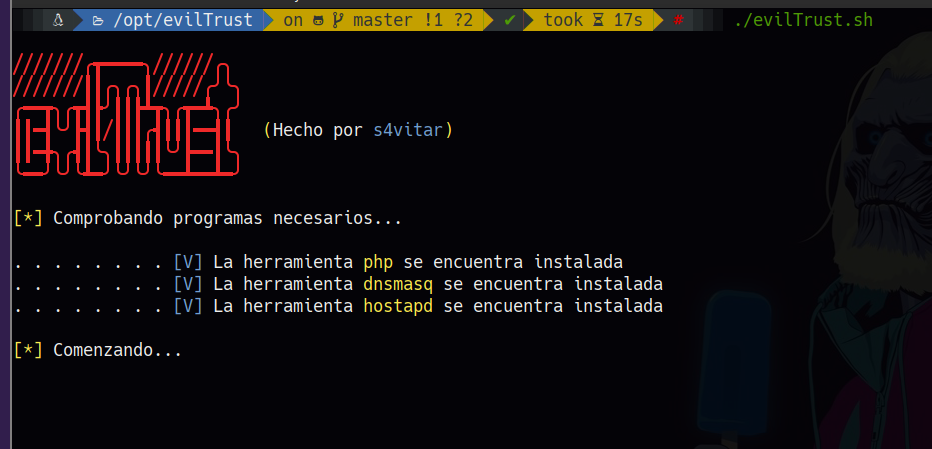
The tool starts by checking the necessary utilities to deploy the attack:
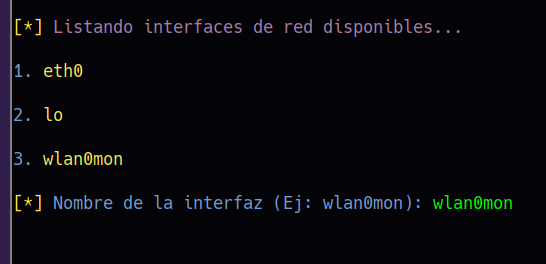
Once the verification is passed, the available network interfaces are listed. At this point you need to select the interface set to monitor mode (it is configured automatically):
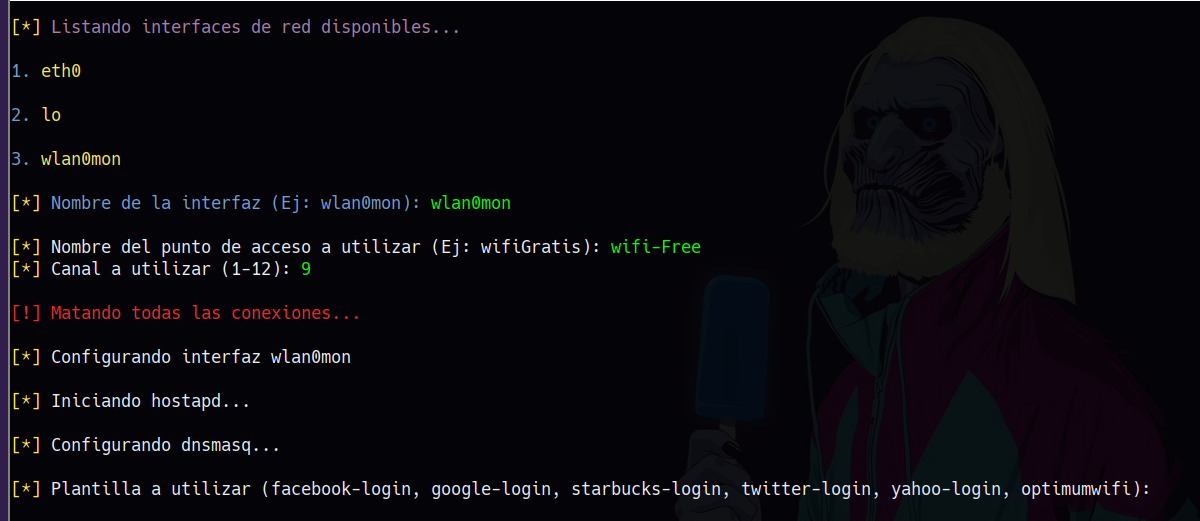
After selecting the monitor mode interface, you will need to specify the name of the access point you want to create as well as the channel you want it to operate on. Once specified, the interface will be configured in monitor mode to operate as a router, assigning the IP address 192.168.1.1 as the default gateway, acting in DHCP mode.
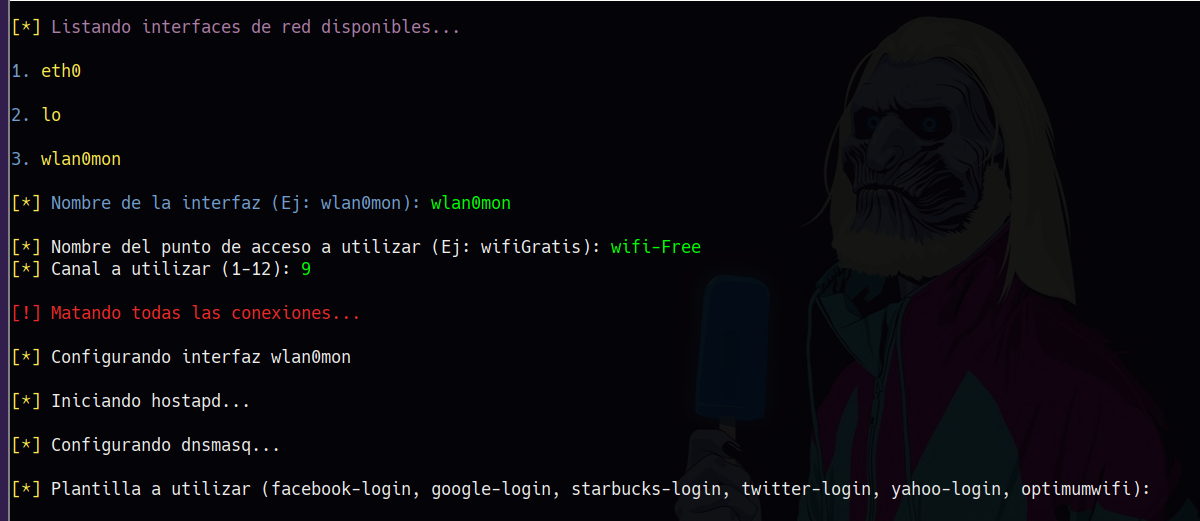
At this point you will need to specify the template you want to work with. It is important to select one of the listed example templates, specifying its name as shown below:

IMPORTANT: To use your own template, simply create a directory in the project main directory and specify its name; the tool will automatically mount the web server in that directory. The cliqq-payload template includes a malicious APK, ideal for obtaining a Meterpreter session once the victim downloads and executes it.
NOTE: The 'all_in_one' template creates a centralized captive portal to log in listing all social networks.
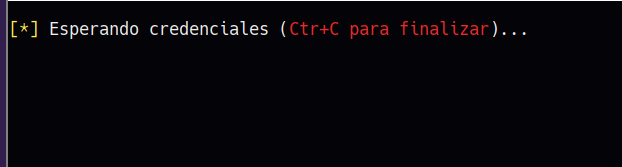
At this point, the access point will be set up and a window will be displayed waiting for credentials:
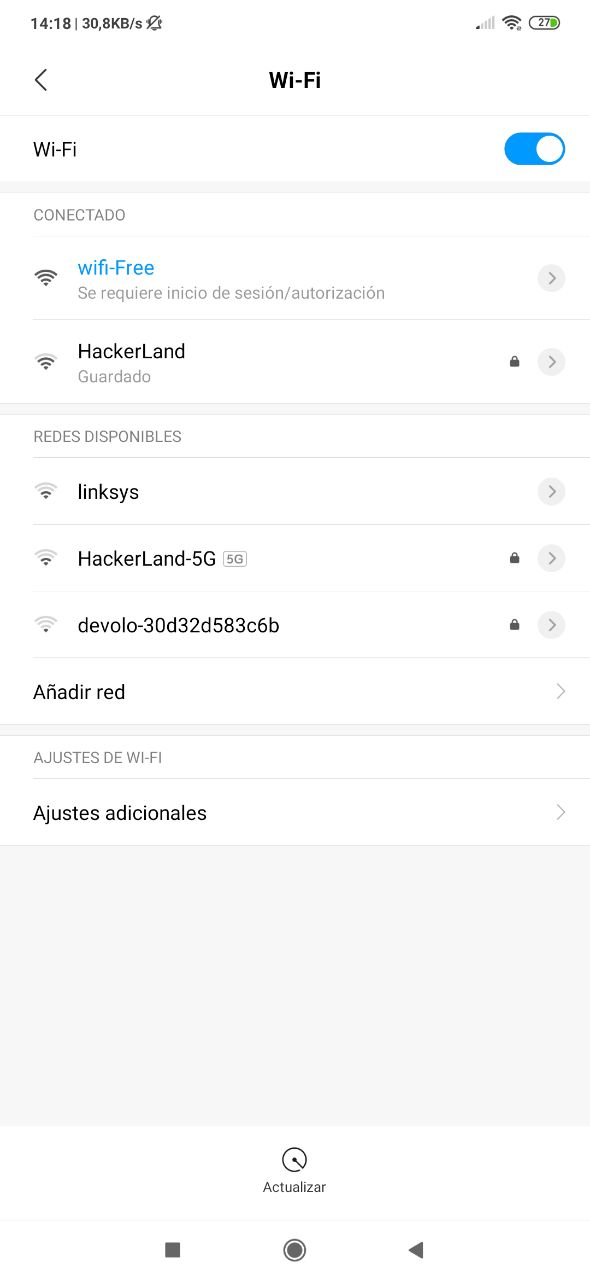
From the victim's side, the created access point can be seen. The victim connects to the AP (because we are all WiFi junkies :P) and receives the following notification:
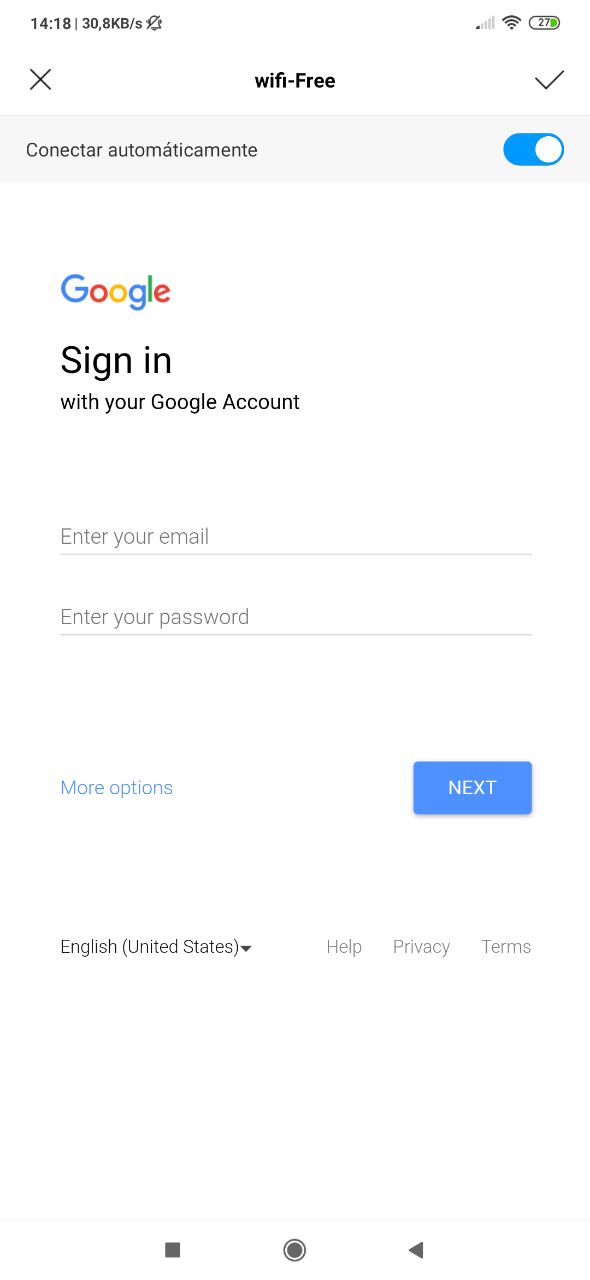
Automatically, the browser opens showing the web template configured in the selection phase:
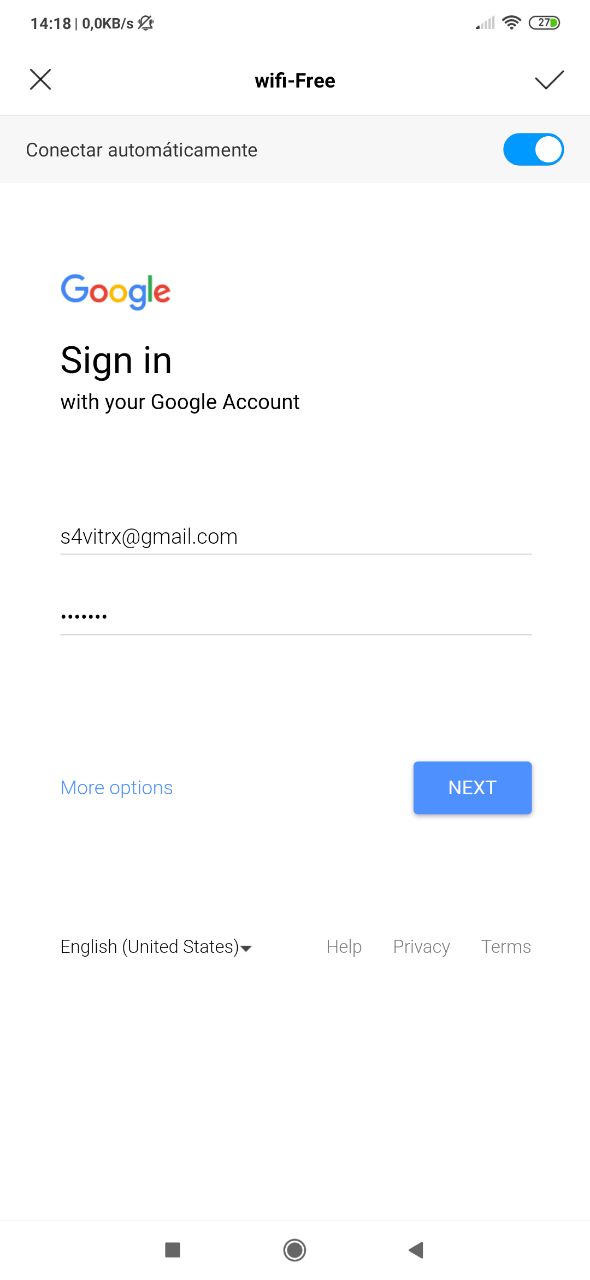
The victim enters their credentials, since they see that to continue browsing they must authenticate under the selected platform:
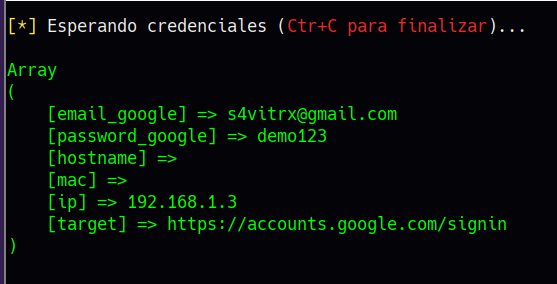
Once the credentials are entered, the attacker has their credentials:
To not fall short, in case the victim has a second authentication factor configured, after entering their credentials, the victim is redirected to the following web portal:
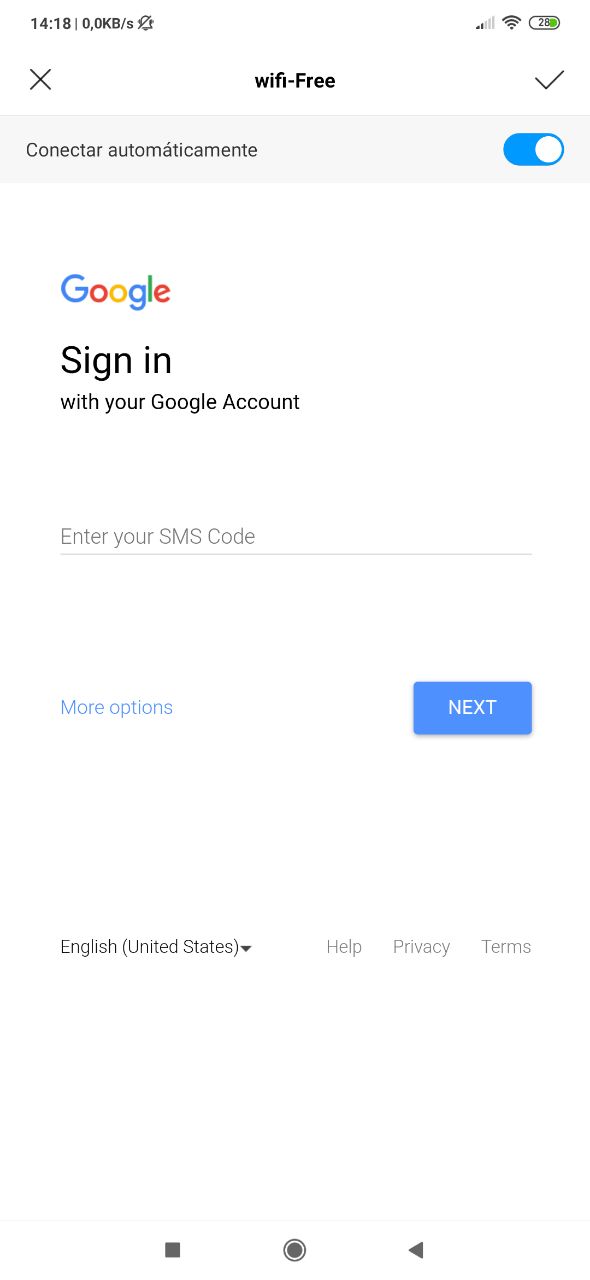
Why? Because of the following. Since we as attackers have the victim's credentials, we will immediately be validating their credentials from our browser. If the victim uses a second authentication factor, after logging in, we will get a notification that an SMS must be sent to the mobile device or email to log in.
What if the victim does not use a second authentication factor? No problem, we already have their credentials :)
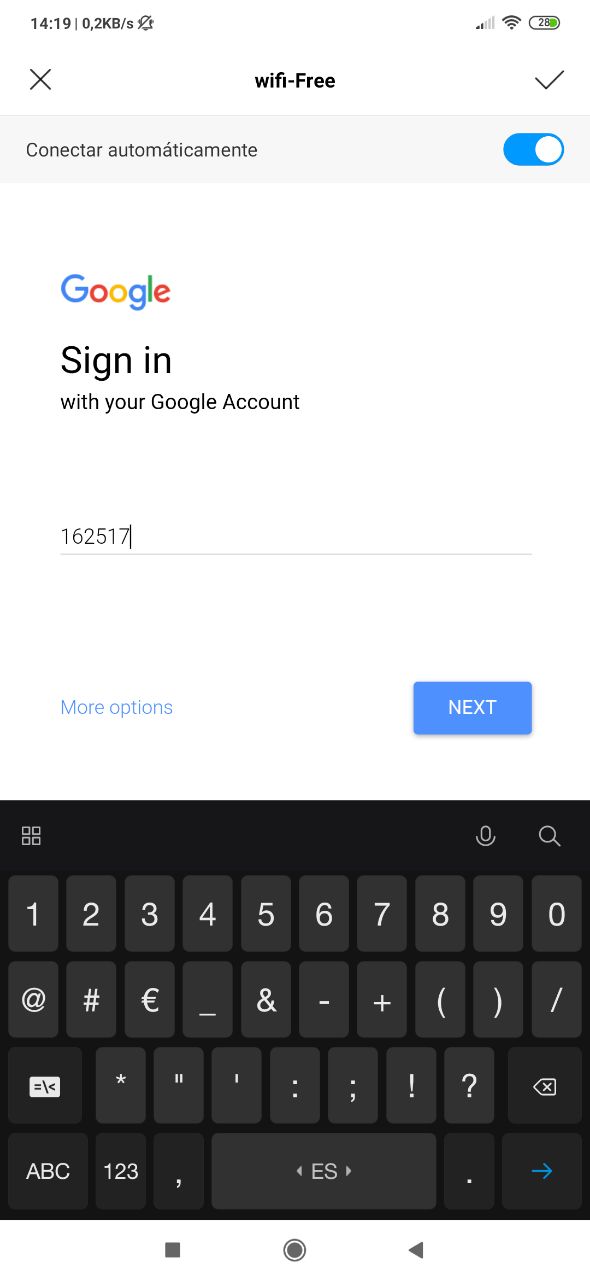
Since this check can be done manually almost immediately, the victim will be waiting for that SMS. Therefore, after logging in on our side and sending the SMS to the victim, the victim enters the received SMS on their device:
And the attacker now has the SMS needed to access their account in that login attempt:
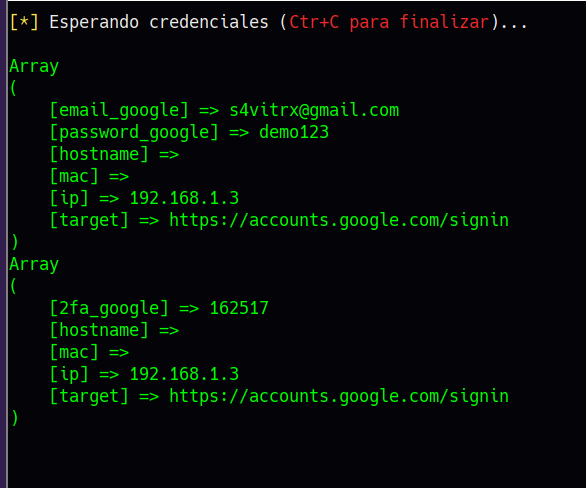
Since there are multiple templates, all received data is distinguished by tags that relate to the portal being used.
For the correct deployment of the attack, you simply need a network card that supports monitor mode. Monitor mode is configured automatically after running the tool.
When pressing the Ctrl+C combination at any time, the network interface will return to its normal state and all temporary files created will be deleted.
