
Skip to content
KitploitKITPLOIT
ToolsBlog
Submit
ToolsBlog
Submit

Hacking, PenTest, and Cybersecurity Tools for Your Security Arsenal!

Kitploit is a directory of hacking, cybersecurity, and pentesting tools. Discover the latest project updates to find vulnerabilities, analyze systems, automate testing, and strengthen your security.

··Feeds·Contact·Privacy·© 2026 Kitploit

Tool Directory

Categories

View all categories
Loading categories
pwnflow — A visual methodology tracking platform tailored for offensive security assessments | Kitploit
Tools/GitHubGitHub/rb-x/pwnflow
Penetration TestingUtilities & FrameworksLearning & EducationRed Teaming
GitHubrb-x/pwnflow

pwnflow

A visual methodology tracking platform tailored for offensive security assessments

View Repository
27539211 months agoReviewed by Kitploit

Most Popular

View all →

Discover the most used tools by our community.

Explore all tools

Browse our collection of tools

View all tools →
Share

Pwnflow

🎯 Visualize Your Security Testing & Analysis Journey

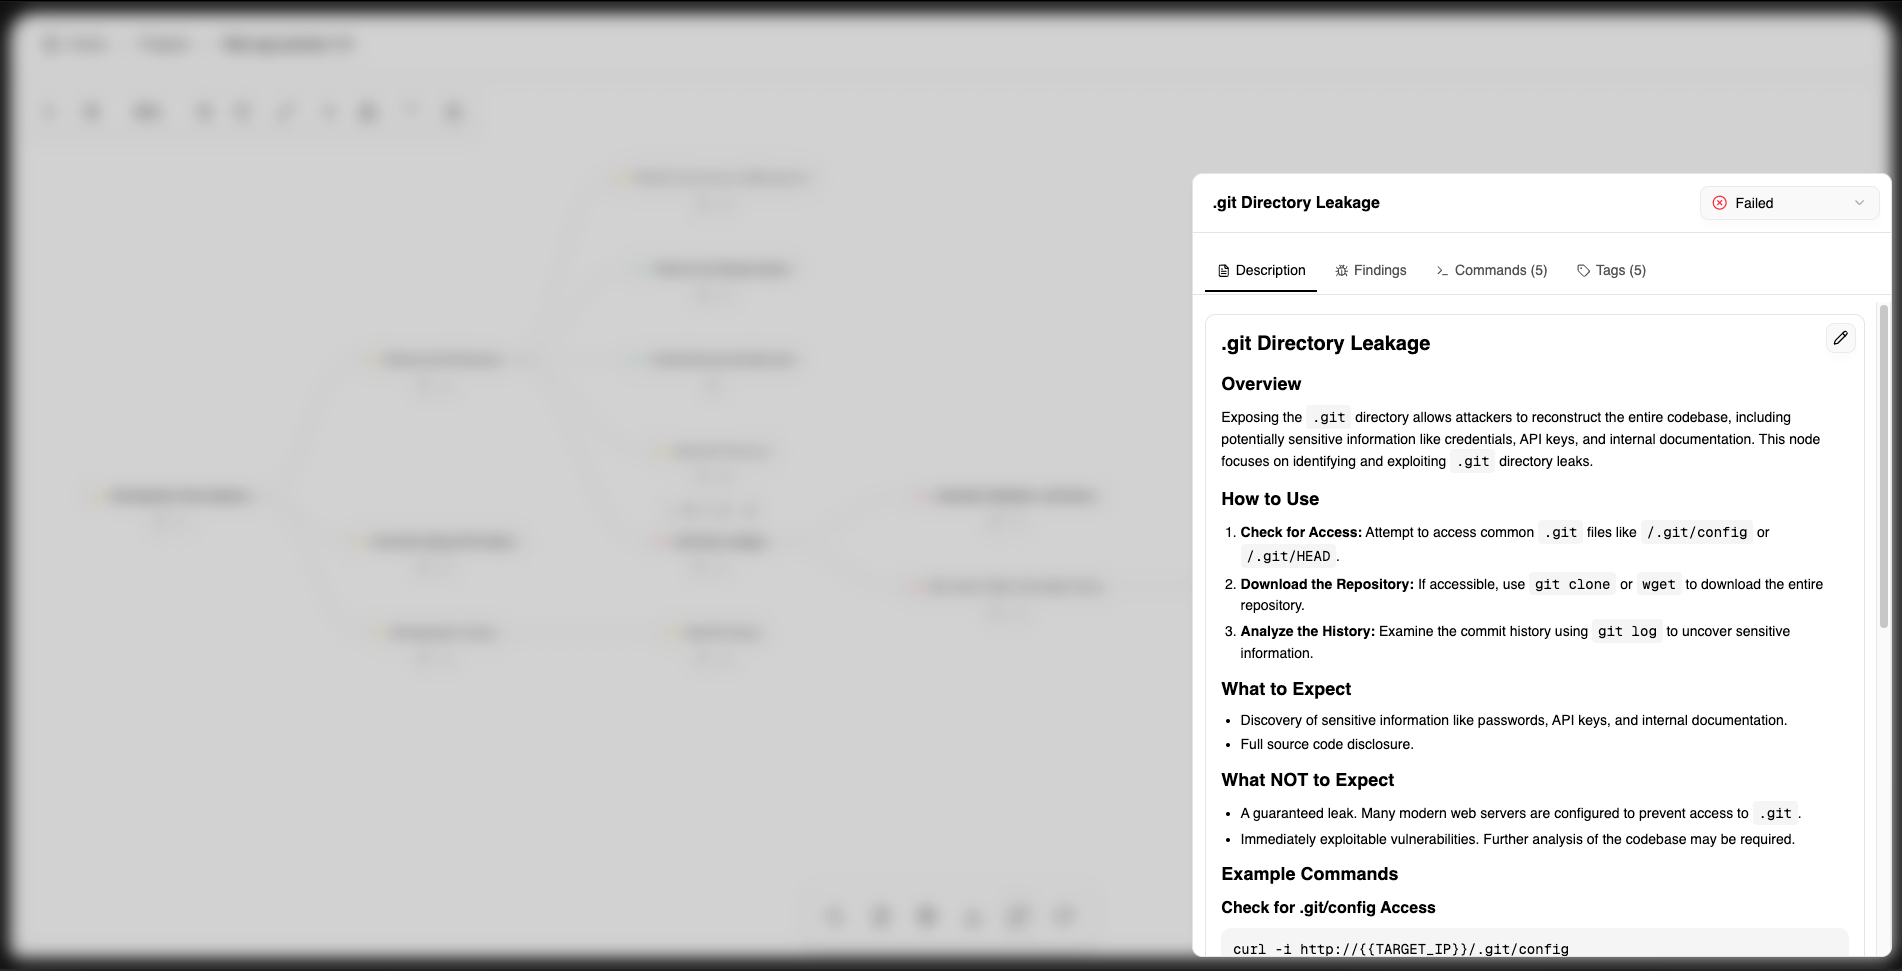
Pwnflow is a mind-mapping platform designed specifically for cybersecurity professionals. it helps you visualize, track, and share your security testing methodologies while maintaining complete control over your sensitive data.
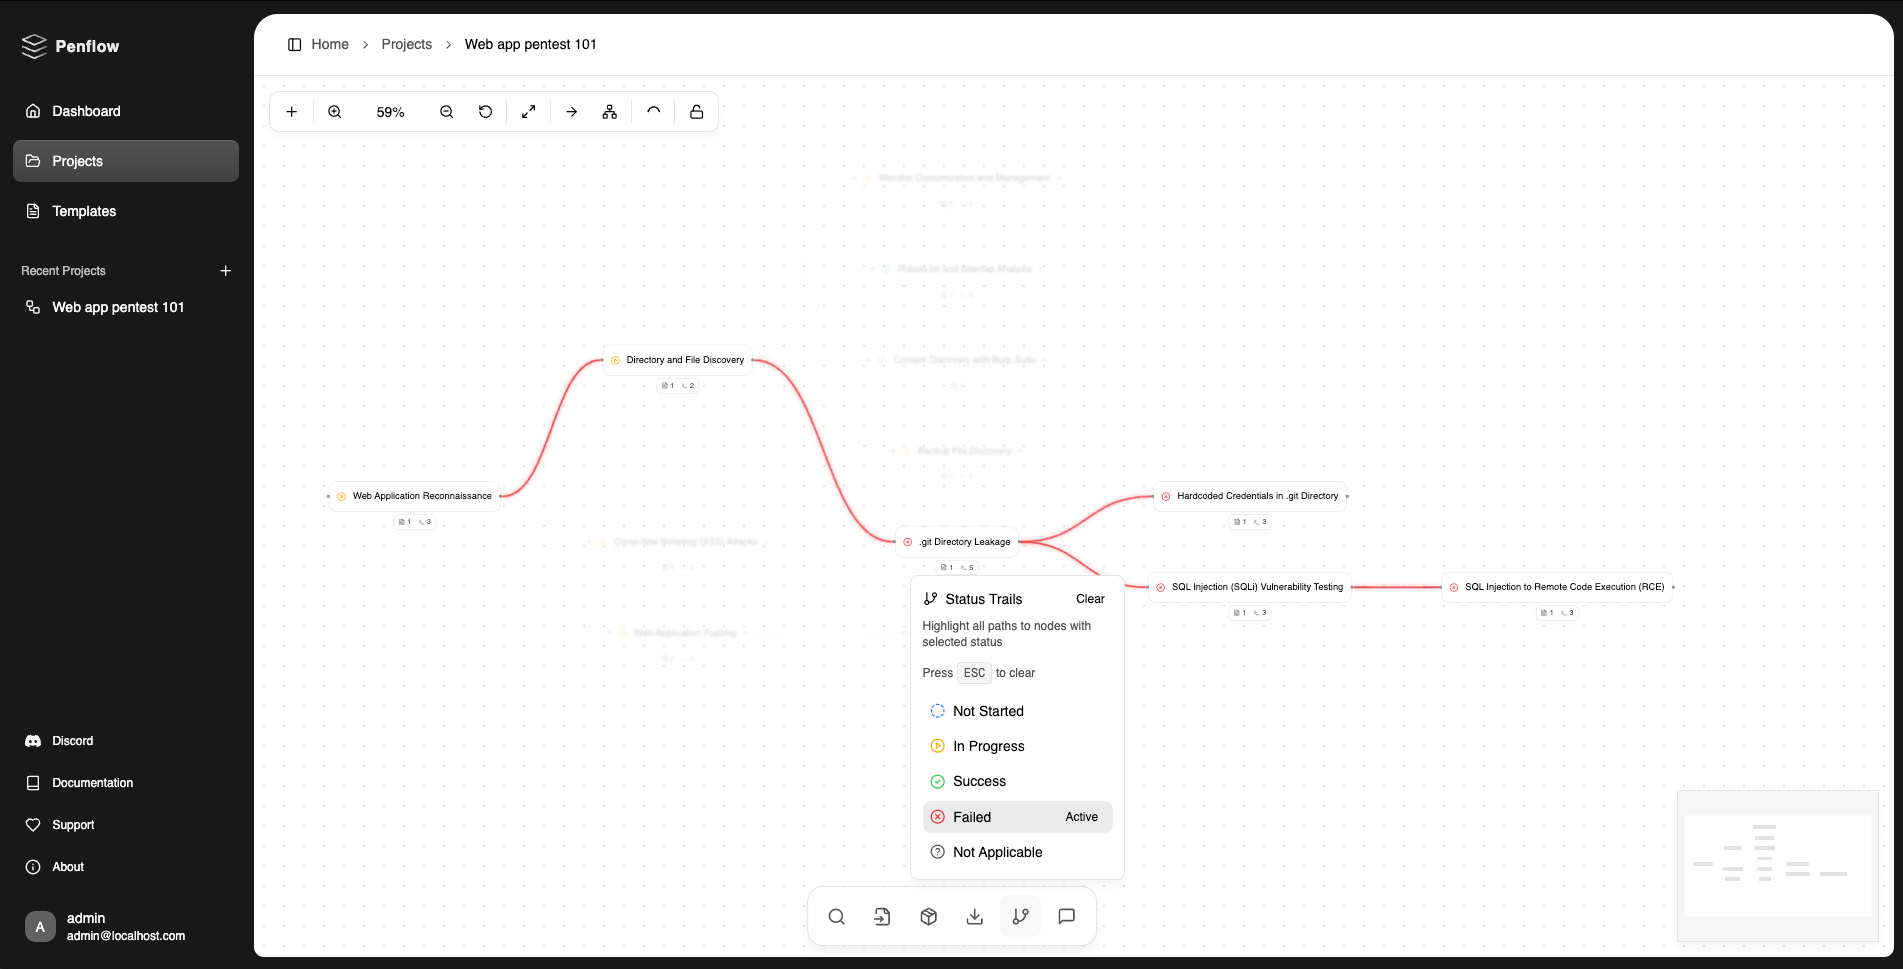
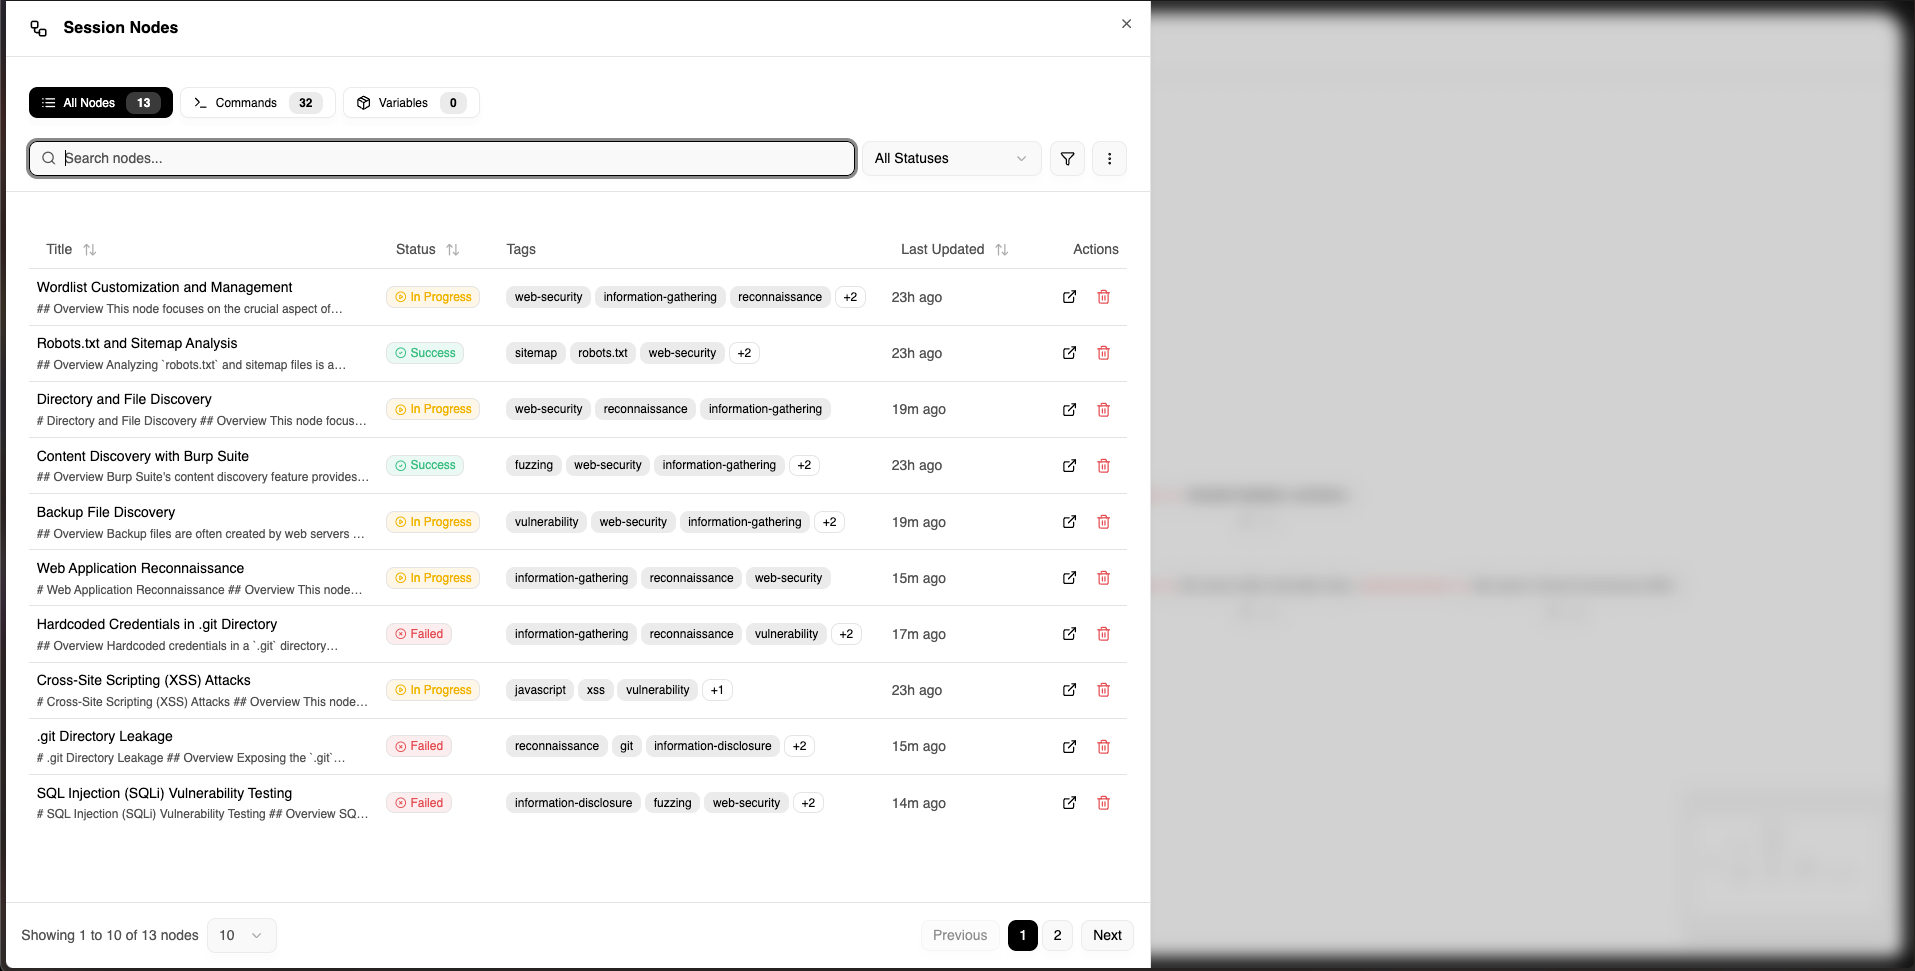
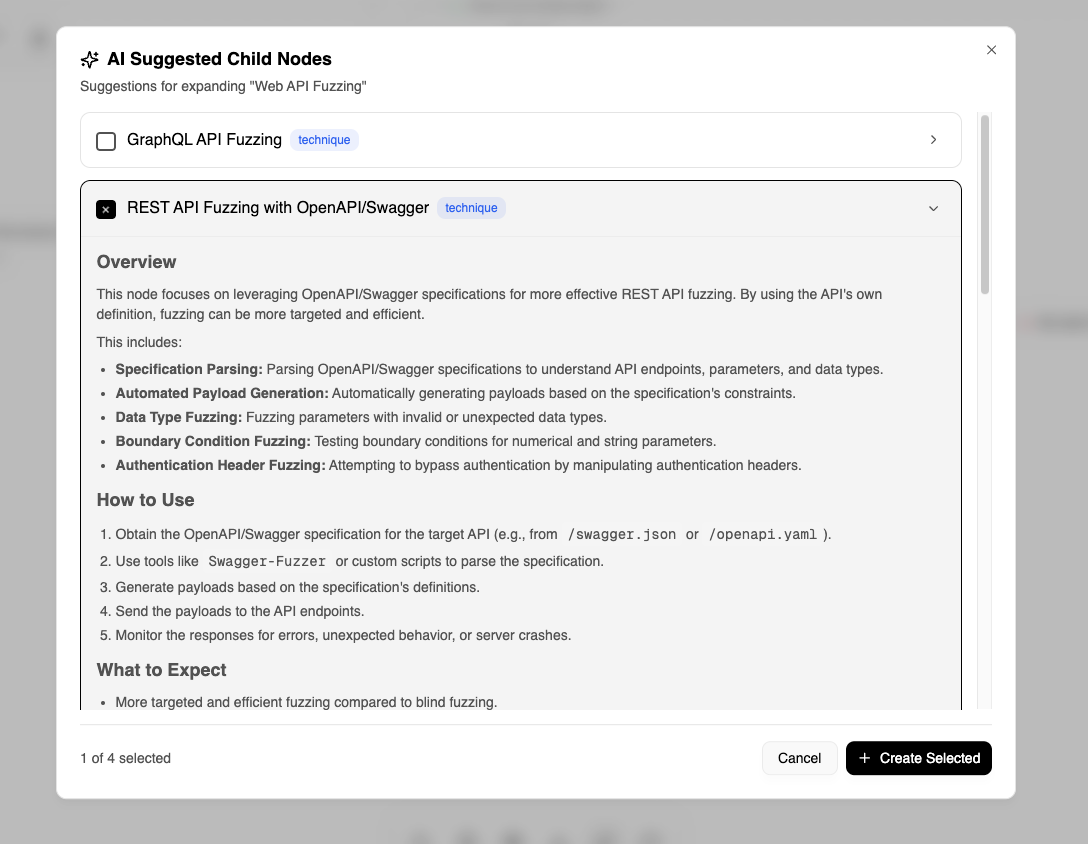
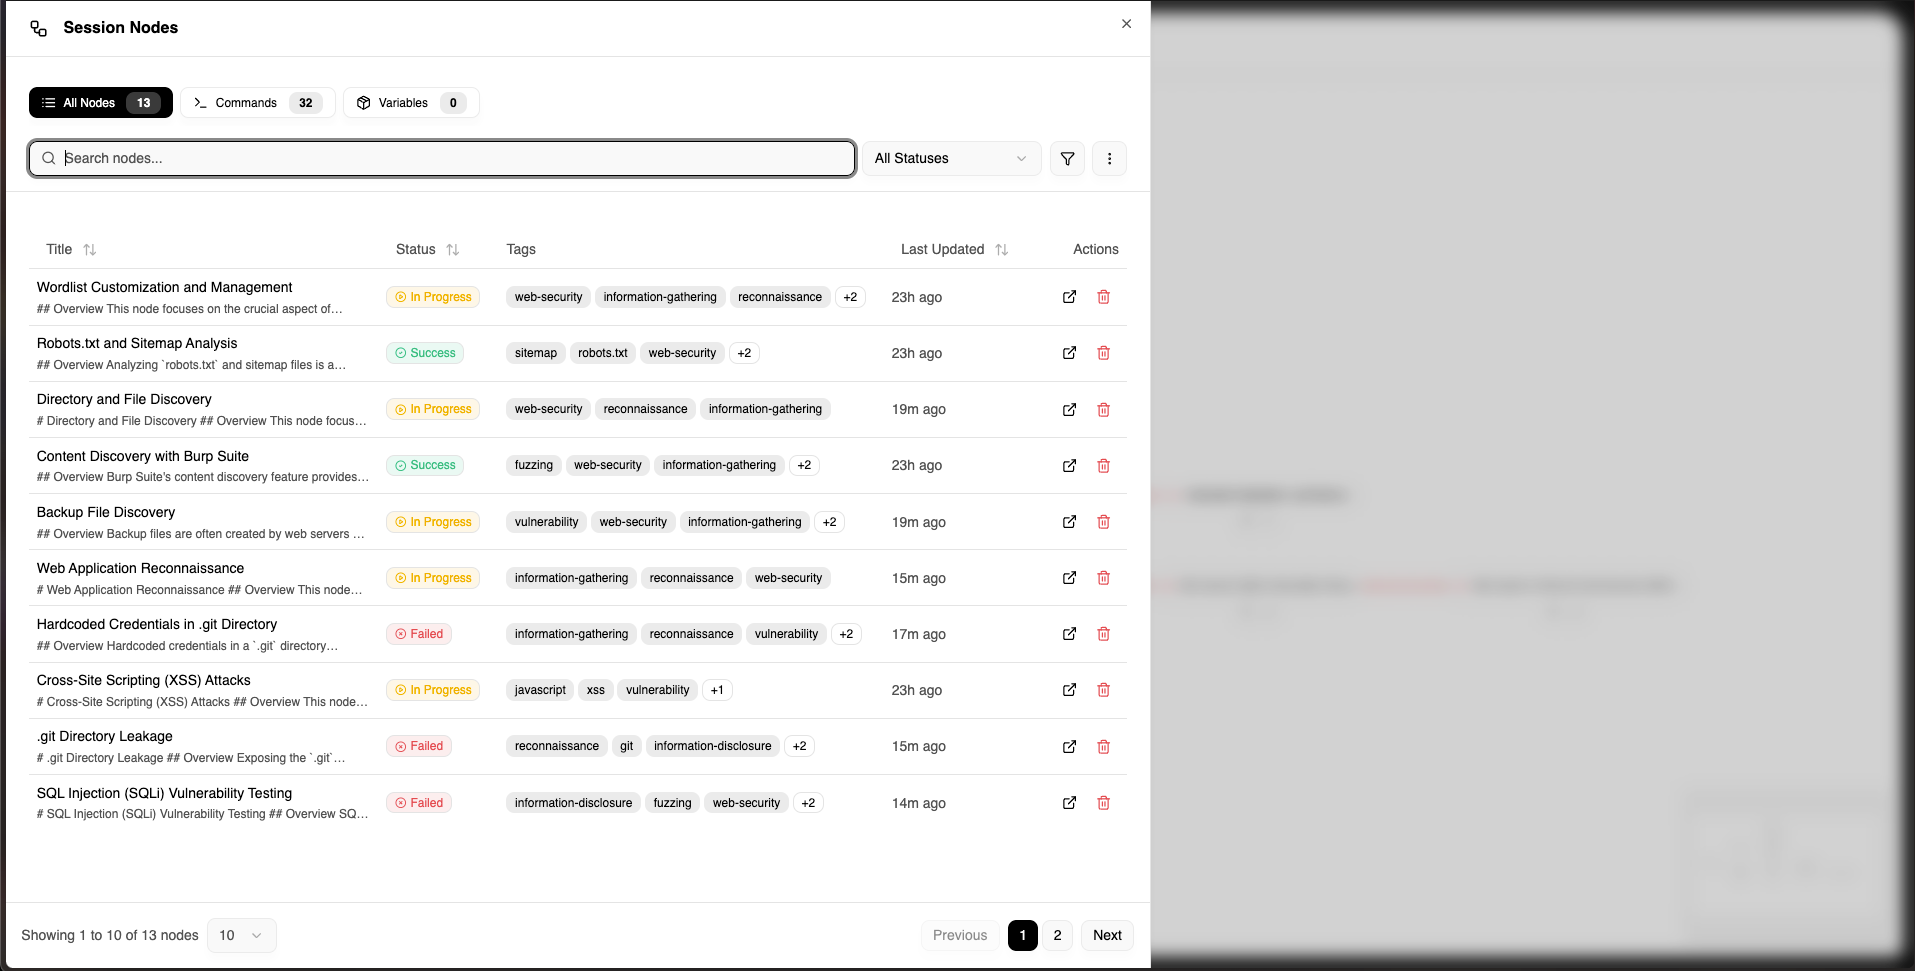
image image image image

🚀 Key Features

Core Capabilities

  • 🗺️ Interactive Mind Maps: Create and navigate complex security testing workflows with an intuitive visual interface
  • 🤖 AI-Powered Assistance: Generate node suggestions and expand your methodology with integrated AI capabilities
  • 📋 Command Templates: Save and reuse CLI commands with variable substitution
  • 📊 Progress Tracking: Visualize testing progress and methodology coverage

Security & Privacy

  • 🔐 Self-Hosted Option: Run entirely on your infrastructure
  • 🔒 Encrypted Exports: AES-256-GCM encryption for secure sharing of Projects & Templates
Download Tool
  • 🔏 Authentication/Authorization: Token-based authentication withresource-level access control
  • 🤖 AI Privacy: Only non-sensitive data (node titles/descriptions) shared with AI - no commands or sensitive details
  • Import/Export

    • 📥 Template Import: Load methodologies from GitHub or private repositories
    • 📤 Multiple Export Formats: CSV and encrypted formats
    • 🔄 Legacy Migration: Import from previous Pwnflow versions
    • 📦 Bulk Operations: Export multiple projects or templates at once

    🏗️ Architecture

    • Frontend: React 19 + TypeScript + Vite

      • TailwindCSS for styling
      • XYFlow for mind map visualization
      • Zustand for state management
    • Backend: FastAPI (Python 3.12)

      • Neo4j graph database for storing relationships
      • Redis

    🚀 Getting Started

    Prerequisites

    • Docker and Docker Compose
    • Node.js 18+ and pnpm (for development)
    • Python 3.12+ (for backend development)

    Quick Start with Docker

    1. Clone the repository:
    root@kitploit:~
    git clone https://github.com/rb-x/pwnflow.git
    cd pwnflow
    
    1. Make the run script executable:
    root@kitploit:~
    chmod +x run.sh
    
    1. Start the development environment:
    root@kitploit:~
    ./run.sh dev
    

    This will automatically:

    • Check for Docker and Docker Compose
    • Create .env.development with secure defaults (Neo4j password: password)
    • To enable the AI feature, press CTRL+C. Then, add your Gemini API Key in your .env file & restart the application by running ./run.sh dev
    • Start all services (Frontend, Backend, Neo4j, Redis)
    • Display service URLs
    1. Access the application:
    • Frontend: http://localhost:5173
    • Backend API: http://localhost:8000
    • API Documentation: http://localhost:8000/docs
    • Neo4j Browser: http://localhost:7474
    • Redis Commander: http://localhost:8081

    Other Commands

    root@kitploit:~
    ./run.sh prod   # Start production environment (with nginx)
    ./run.sh stop   # Stop all containers
    ./run.sh clean  # Stop and remove all containers and volumes
    

    Development Setup

    Option 1: Using Docker (Recommended)

    root@kitploit:~
    ./run.sh dev
    

    This starts all services with hot-reload enabled. Perfect for full-stack development.

    Option 2: Manual Development Setup

    If you prefer running services individually without Docker:

    Frontend Development

    root@kitploit:~
    cd frontend
    pnpm install
    pnpm dev          # Runs on http://localhost:5173
    

    Backend Development

    root@kitploit:~
    cd backend
    pipenv install --dev
    pipenv shell
    python main.py    # Runs on http://localhost:8000
    

    Note: For manual setup, you'll need Neo4j and Redis running locally:

    • Neo4j: Download from neo4j.com
    • Redis: brew install redis (macOS) or apt install redis (Linux)

    📁 Project Structure

    root@kitploit:~
    pwnflow/
    ├── frontend/           # React TypeScript application
    │   ├── src/
    │   │   ├── components/ # UI components
    │   │   ├── pages/      # Route pages
    │   │   ├── services/   # API services
    │   │   └── store/      # State management
    │   └── package.json
    ├── backend/            # FastAPI application
    │   ├── api/           # API endpoints
    │   ├── crud/          # Database operations
    │   ├── models/        # Data models
    │   ├── schemas/       # Pydantic schemas
    │   └── services/      # Business logic
    └── docker-compose.*.yml
    

    🔧 Configuration

    The run.sh script handles all environment configuration automatically:

    • Development (./run.sh dev): Creates .env.development with secure defaults
    • Production (./run.sh prod): Creates .env.production with strong passwords

    To add AI features, simply edit the generated .env.development or .env.production file and add your GOOGLE_API_KEY.

    Production Deployment

    For production deployment:

    1. Run the production setup:
    root@kitploit:~
    ./run.sh prod
    

    This will:

    • Check for existing .env.production file
    • Generate secure passwords and secrets if needed
    • Prompt you to update CORS origins for your domain
    • Run security checklist before starting
    • Start all services behind nginx proxy
    1. On first run, update .env.production:
    • Set your domain in BACKEND_CORS_ORIGINS
    • Add your GOOGLE_API_KEY for AI features (optional)
    • Review all generated passwords
    1. Create your first user (registration is disabled by default for security):
    root@kitploit:~
    # Create admin user via CLI (inside backend container)
    docker exec -it pwnflow-backend-prod python create_user.py create admin [email protected]
    
    # Or using docker-compose:
    docker compose -f docker-compose.prod.yml exec backend python create_user.py create admin [email protected]
    
    # The script will output:
    # User created successfully:
    # Username: admin
    # Password: <secure-random-password>
    # Email: [email protected]
    
    1. Additional production steps:

    ⚠️ Security Notice: We absolutely don't recommend exposing Pwnflow to the internet. If you must:

    1. Whitelist trusted IP addresses through your WAF or firewall
    2. Registration is disabled by default - only manual user creation via SSH
    • Set up SSL/TLS certificates (Let's Encrypt recommended)
    • Set up monitoring and logging
    • Implement regular security updates

    📚 Documentation

    🚧 Documentation is currently being updated for the new full-stack architecture

    🎯 Use Cases

    Pwnflow is perfect for:

    • Penetration Testers: Track methodology and findings
    • Security Analysts: Document investigation workflows
    • Incident Responders: Map out response procedures
    • Security Teams: Share knowledge and methodologies
    • Researchers: Organize and visualize attack paths

    🛡️ Security

    Pwnflow is designed with security in mind:

    • Privacy-First AI: AI features only access node titles and descriptions - never sensitive data like findings or variables
    • Encrypted Exports: Secure sharing with AES-256-GCM encryption
    • Zero Telemetry: No tracking or data collection
    • Open Source: Full transparency and community-driven security

    Created with ❤️ in 🇫🇷 by Riadh BOUCHAHOUA (rb-x) & Ludovic COULON (LasCC)


    Join the Pwnflow community and revolutionize your security testing workflow!

    Website-legacy | Documentation-legacy | Templates-legacy