 pvharmo2/gha-lab-6255f5fc33
Security-research lab reproducing CVE-2023-6572 (GHSA-gqvf-3hgp-5hxv): command injection in gradio-app/gradio's workflow_run handling of generate-changeset.yml

Automated research artifact — not the upstream project.
This repository is a disposable lab built by an automated harness for a master's thesis at Université Laval on reproducing published GitHub Actions workflow vulnerabilities. It is a verbatim snapshot of
gradio-app/gradioat commit1d986217f6f4fc1829e528d2afe365635788204f(2023-11-03), redistributed under that project's own licence, whose file is included unchanged in this snapshot.The upstream project is not involved, is never targeted, and the vulnerability studied here is already public. Every secret and variable in this repository is a randomly generated dummy value — no real credential is present. Action references and runner images are pinned to what they resolved to on 2023-11-03; see
pinning.mdin the harness output for every change made to the snapshot.Questions or objections: [email protected]

Build & share delightful machine learning apps easily




Website | Documentation | Guides | Getting Started | Examples | 中文
Gradio is an open-source Python library that is used to build machine learning and data science demos and web applications.
With Gradio, you can quickly create a beautiful user interface around your machine learning models or data science workflow and let people "try it out" by dragging-and-dropping in their own images, pasting text, recording their own voice, and interacting with your demo, all through the browser.
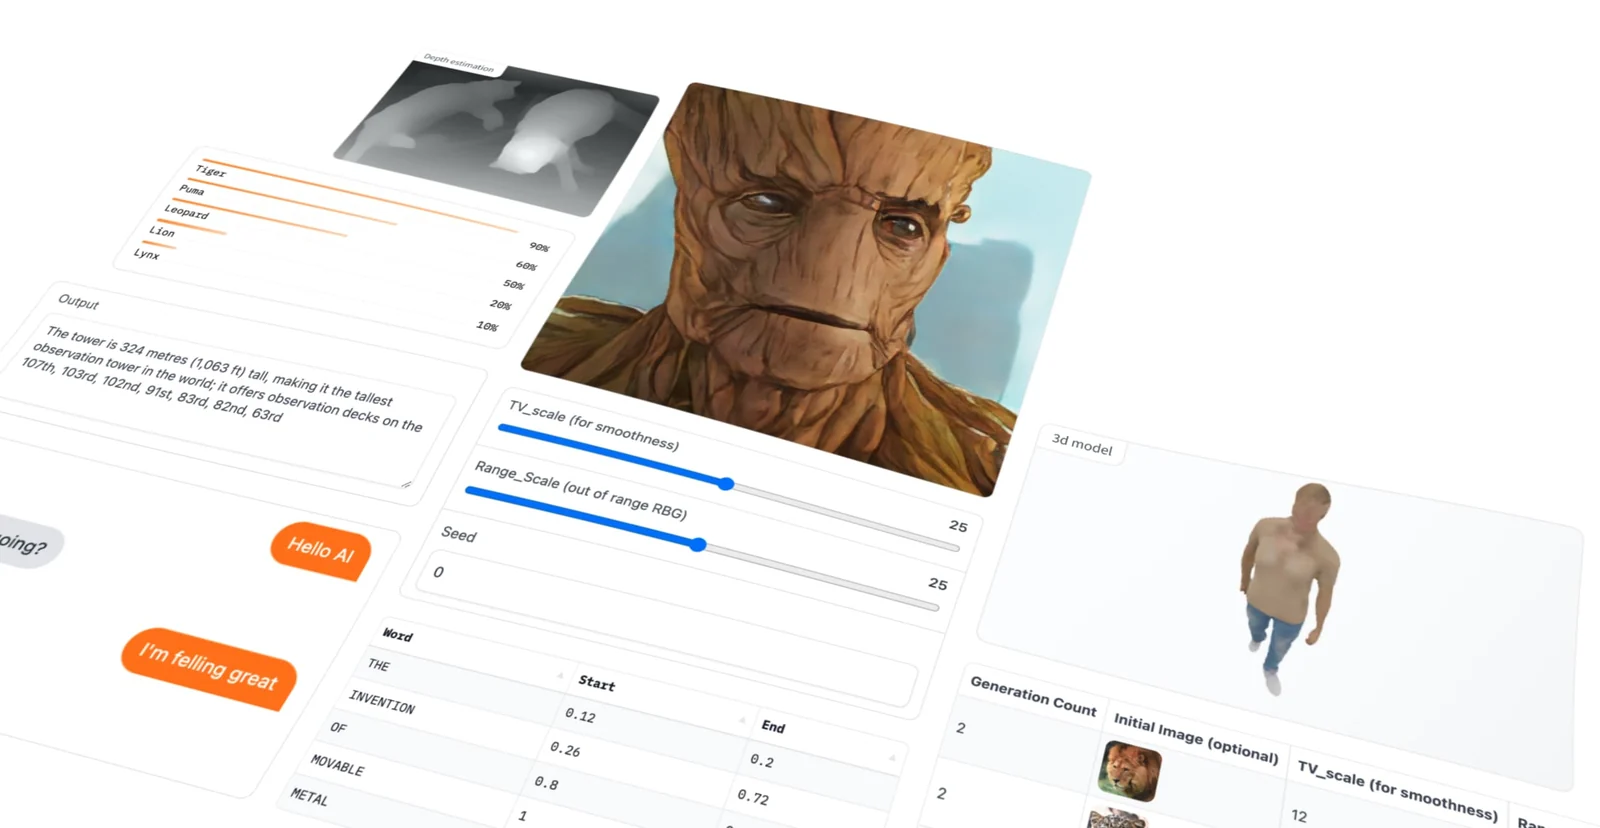
Gradio is useful for:
Demoing your machine learning models for clients/collaborators/users/students.
Deploying your models quickly with automatic shareable links and getting feedback on model performance.
Debugging your model interactively during development using built-in input manipulation tools tools.
Prerequisite: Gradio requires Python 3.8 or higher, that's all!
One of the best ways to share your machine learning model, API, or data science workflow with others is to create an interactive app that allows your users or colleagues to try out the demo in their browsers.
Gradio allows you to build demos and share them, all in Python. And usually in just a few lines of code! So let's get started.
To get Gradio running with a simple "Hello, World" example, follow these three steps:
1. Install Gradio using pip:
pip install gradio
2. Run the code below as a Python script or in a Jupyter Notebook (or Google Colab):
import gradio as gr

def greet(name):
    return "Hello " + name + "!"

demo = gr.Interface(fn=greet, inputs="text", outputs="text")

demo.launch()
We shorten the imported name to gr for better readability of code using Gradio. This is a widely adopted convention that you should follow so that anyone working with your code can easily understand it.
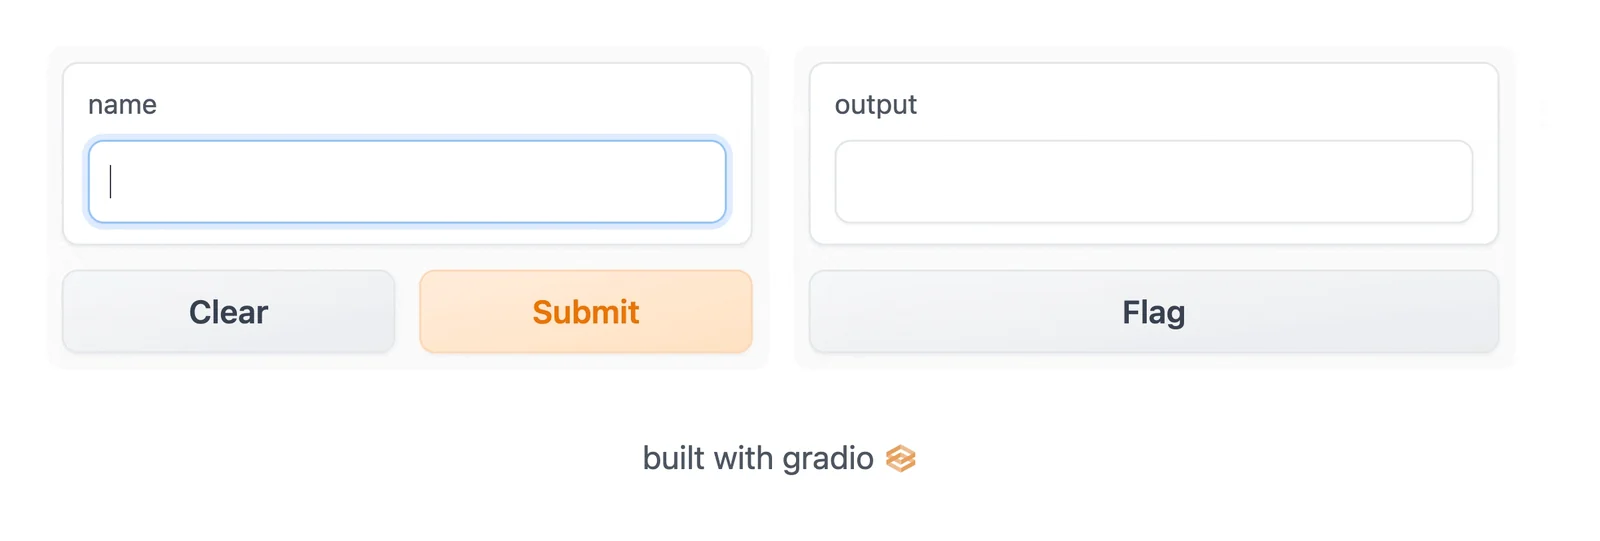
3. The demo below will appear automatically within the Jupyter Notebook, or pop in a browser on http://localhost:7860 if running from a script:
When developing locally, if you want to run the code as a Python script, you can use the Gradio CLI to launch the application in reload mode, which will provide seamless and fast development. Learn more about reloading in the Auto-Reloading Guide.
gradio app.py
Note: you can also do python app.py, but it won't provide the automatic reload mechanism.
Interface ClassYou'll notice that in order to make the demo, we created a gr.Interface. This Interface class can wrap any Python function with a user interface. In the example above, we saw a simple text-based function, but the function could be anything from music generator to a tax calculator to the prediction function of a pretrained machine learning model.
The core Interface class is initialized with three required parameters:
fn: the function to wrap a UI aroundinputs: which component(s) to use for the input (e.g. "text", "image" or "audio")outputs: which component(s) to use for the output (e.g. "text", "image" or "label")Let's take a closer look at these components used to provide input and output.
We saw some simple Textbox components in the previous examples, but what if you want to change how the UI components look or behave?
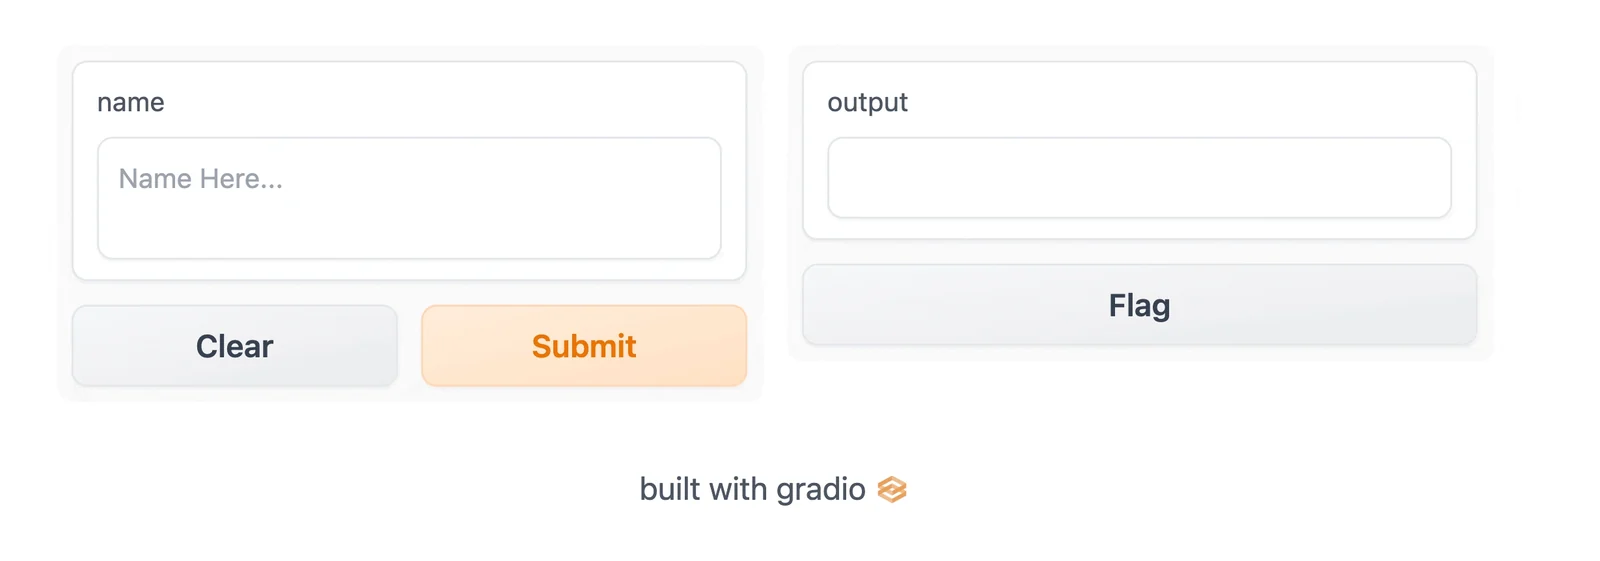
Let's say you want to customize the input text field — for example, you wanted it to be larger and have a text placeholder. If we use the actual class for Textbox instead of using the string shortcut, you have access to much more customizability through component attributes.
import gradio as gr

def greet(name):
    return "Hello " + name + "!"

demo = gr.Interface(
    fn=greet,
    inputs=gr.Textbox(lines=2, placeholder="Name Here..."),
    outputs="text",
)
demo.launch()
Suppose you had a more complex function, with multiple inputs and outputs. In the example below, we define a function that takes a string, boolean, and number, and returns a string and number. Take a look how you pass a list of input and output components.
import gradio as gr

def greet(name, is_morning, temperature):
    salutation = "Good morning" if is_morning else "Good evening"
    greeting = f"{salutation} {name}. It is {temperature} degrees today"
    celsius = (temperature - 32) * 5 / 9
    return greeting, round(celsius, 2)

demo = gr.Interface(
    fn=greet,
    inputs=["text", "checkbox", gr.Slider(0, 100)],
    outputs=["text", "number"],
)
demo.launch()

