
Skip to content
KitploitKITPLOIT
ToolsBlog
Log in
Submit
ToolsBlog
Submit

Hacking, PenTest, and Cybersecurity Tools for Your Security Arsenal!

Kitploit is a directory of hacking, cybersecurity, and pentesting tools. Discover the latest project updates to find vulnerabilities, analyze systems, automate testing, and strengthen your security.

Β·Β·FeedsΒ·ContactΒ·PrivacyΒ·Β© 2026 Kitploit

Tool Directory

Categories

View all categories
Loading categories
Tools/GitHubGitHub/psyb0t/piraterf
Embedded Systems SecurityGeneral Purpose UtilitiesOSINT (Open Source Intelligence)ExploitationRFID/NFC ToolsFuzzingWireless SecurityPenetration TestingHardware & IoT SecurityLearning & EducationRed Teaming
GitHubpsyb0t/piraterf

piraterf

PIrateRF transforms your Raspberry Pi Zero W into a portable RF signal generator that spawns its own WiFi hotspot. Control everything from FM broadcasts to digital modes through your browser - hack the airwaves from anywhere! πŸ“‘βš‘

View RepositoryWebsite
27429242 months agoReviewed by Kitploit

Most Popular

View all β†’

Discover the most used tools by our community.

Explore all tools

Browse our collection of tools

View all tools β†’
Share

πŸ΄β€β˜ οΈ PIrateRF - Software-Defined Radio Transmission Platform

PIrateRF

PIrateRF transforms your Raspberry Pi Zero W into a portable RF signal generator that spawns its own WiFi hotspot. Control everything from FM broadcasts to digital modes through your browser - hack the airwaves from anywhere! πŸ“‘βš‘

🎬 Click here for PIrateRF Promo Video

πŸ“Ί Click here for PIrateRF Showcase Video


⚠️ LEGAL NOTICE

PIrateRF is designed for amateur radio experimentation and education - including safe indoor testing without external antennas. Built for engineers who understand that good RF practices matter more than arbitrary administrative boundaries. Users are responsible for compliance with all local RF regulations and licensing requirements. I am not responsible for any of your stupid fuckin' decisions!

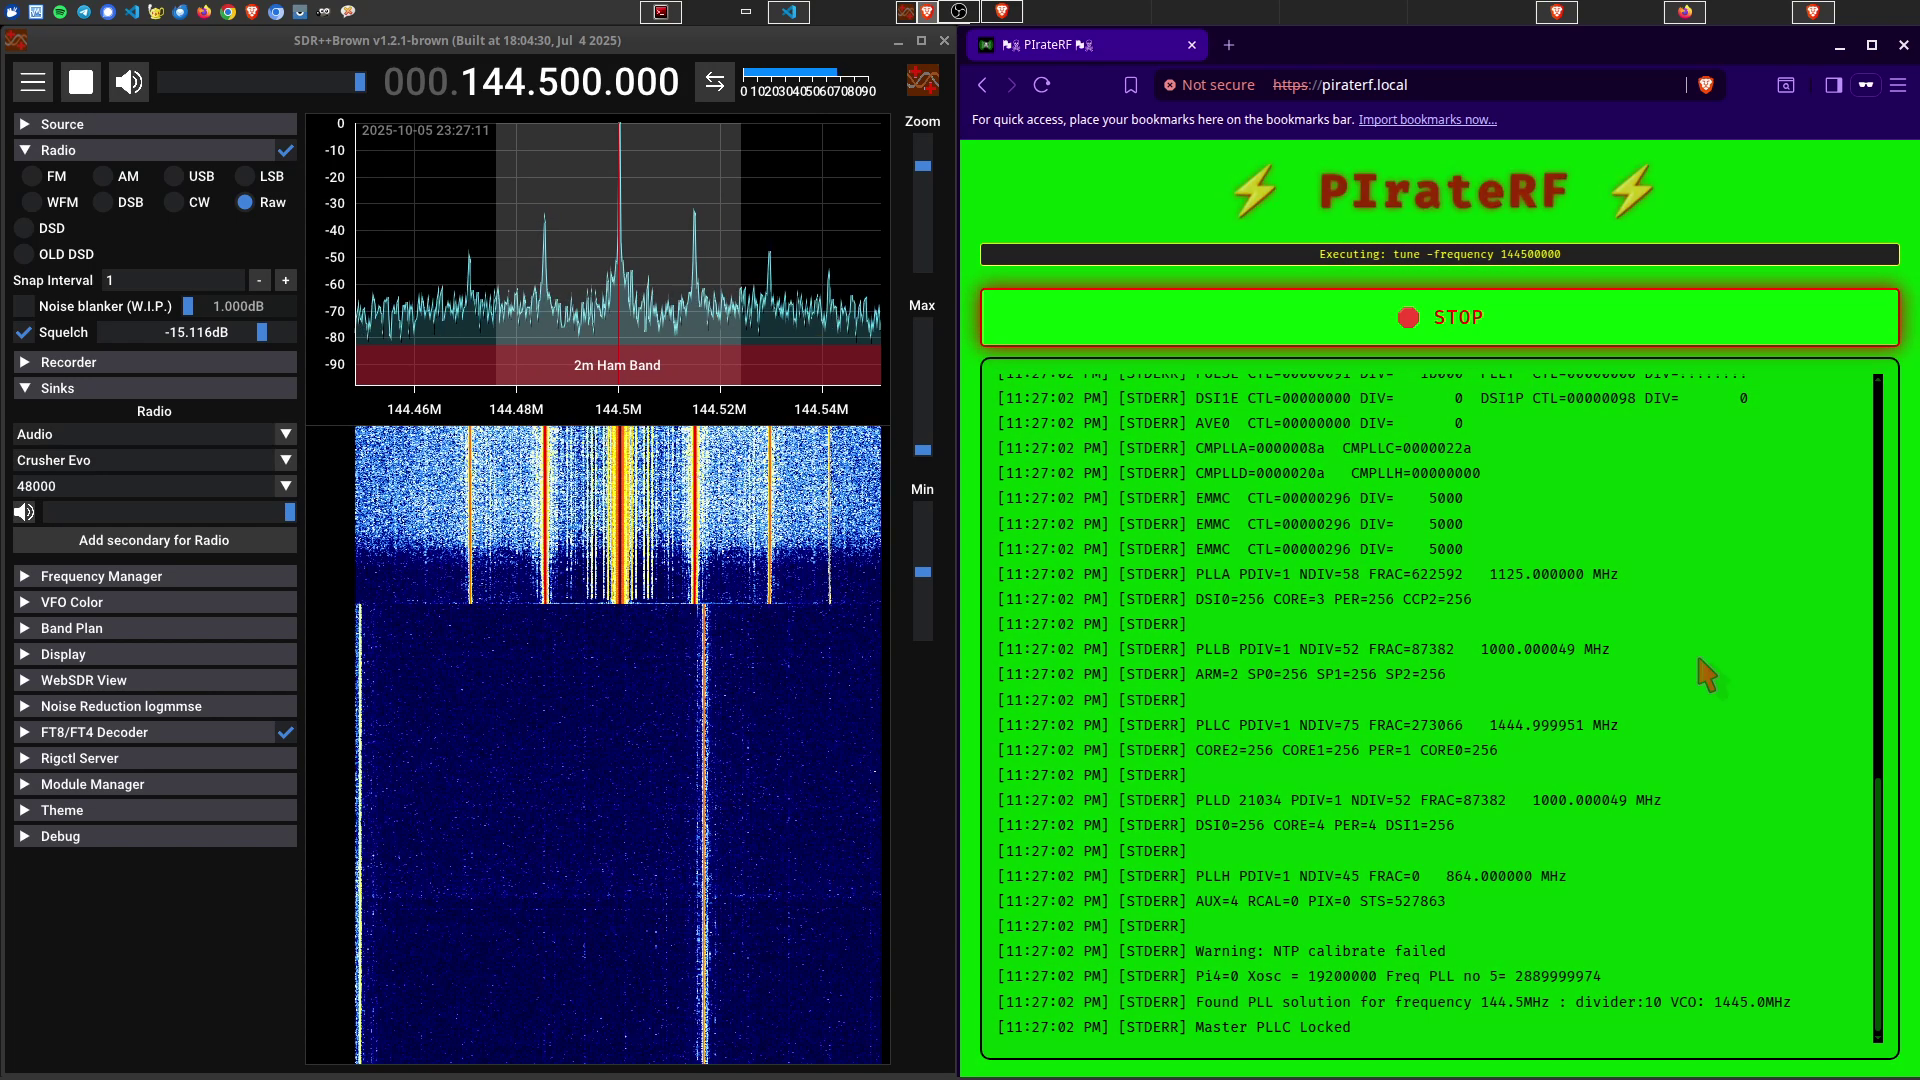
All demonstration images and testing in this documentation were performed indoors without an antenna, with a maximum range of approximately 5 meters.


πŸ“‹ Table of Contents

  • 🎯 12 Different Transmission Modes
  • πŸš€ Quick Setup Guide
    • Prerequisites
    • Option 1: Pre-Built Image (Recommended)
    • Option 2: Manual Build Setup
      • 🚨 IMPORTANT: Pi Zero Setup First!
      • 1. Initial Setup
      • 2. Complete Pi Setup
      • 3. Connect and Use
  • πŸŽ‰ Pirate Crew Mode
  • πŸ”Œ Antenna Setup
  • πŸ“‘ Transmission Modes Explained
    • 🎡 FM Station
    • πŸŽ™οΈ Live Microphone Broadcast
    • πŸ“Ÿ FT8
    • πŸ“  RTTY
    • πŸ“Š FSK
    • πŸ“± POCSAG
    • πŸ“» Morse Code
    • πŸŽ›οΈ Carrier Wave
    • 🌊 Frequency Sweep
    • πŸ“Ί SSTV
    • 🎨 Spectrum Paint
    • πŸ“‘ IQ
  • πŸ’Ύ Preset System
  • πŸ› οΈ Development Commands
    • Local Development
    • Pi Management
  • πŸ“ Project Structure
  • πŸ΄β€β˜ οΈ Legal and Safety Notice
    • Amateur Radio License Required
    • Frequency Regulations
    • Hardware Requirements (for proper use)
    • Geographic Restrictions
    • 🏠 Indoor Testing & Experimentation
  • πŸ“‘ Standard Operating Frequencies
    • HF Amateur Bands (3-30 MHz)
    • VHF/UHF Amateur Bands
    • FT8 Standard Frequencies (USB mode)
    • RTTY Standard Frequencies (USB mode)
    • SSTV Standard Frequencies
    • FM Repeater Standard Splits
  • πŸ”— Core Dependencies
  • πŸ“ License
  • πŸ“‹ Changelog
  • TODO

🎯 12 Different Transmission Modes

  • 🎡 FM Station - Full FM broadcasting with RDS metadata, playlists, and audio processing
  • πŸŽ™οΈ Live Microphone Broadcast - Real-time microphone streaming with configurable modulation (AM/DSB/USB/LSB/FM/RAW)
  • πŸ“Ÿ FT8 - Long-range digital mode for weak-signal communication on HF bands
  • πŸ“  RTTY - Radio teletype using Baudot code and FSK modulation
  • πŸ“Š FSK - Frequency Shift Keying for digital data transmission
  • πŸ“± POCSAG - Digital pager messaging system
  • πŸ“» Morse Code - CW transmission with configurable WPM
  • πŸŽ›οΈ Carrier Wave - Simple carrier generation for testing
  • 🌊 Frequency Sweep - RF sweeps for antenna testing and analysis
  • πŸ“Ί SSTV - Slow Scan Television image transmission
  • 🎨 Spectrum Paint - Convert images to RF spectrum art
  • πŸ“‘ IQ - Raw IQ sample replay for signal reproduction and testing

All controlled through a standalone WiFi access point - connect any device and start transmitting like the RF rebel you were meant to be! Perfect for international waters operations and regions with more... flexible spectrum policies.

πŸš€ Quick Setup Guide

Prerequisites

  • Raspberry Pi Zero 1 W (original model, recommended) with 4GB+ SD card
    • Other Pi models: rpitx itself works on Pi 1, 2, 3, 3B+, Zero, Zero W, and Pi 4 β€” but PIrateRF's deployment scripts, WiFi AP setup, cross-compilation, and pre-built image are all built specifically for the Pi Zero 1 W. Other boards may work with manual setup but are untested.

Option 1: Pre-Built Image (Recommended)

Skip all the build bullshit and get straight to RF chaos:

  1. Download the pre-built image: PIrateRF Image v2025-11-23
  2. Flash to SD card using:
    • Raspberry Pi Imager (recommended): Select "Use custom image" and choose the downloaded .img file
    • Command line: sudo dd if=piraterf_2025-11-23_22-18-49.img of=/dev/sdX bs=4M status=progress (replace /dev/sdX with your SD card)
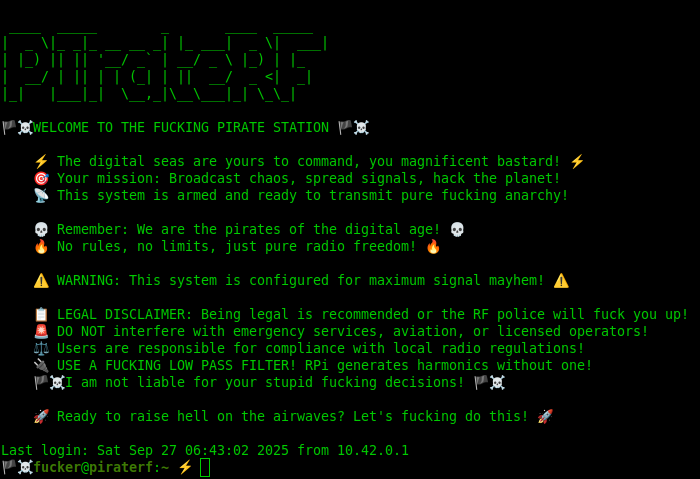
  3. Boot the Pi Zero W and connect to WiFi: "πŸ΄β€β˜ οΈπŸ“‘" (password: "FUCKER!!!")
  4. Open browser: https://piraterf.local and start transmitting immediately!

Default Settings:

  • WiFi AP: SSID "πŸ΄β€β˜ οΈπŸ“‘", Password "FUCKER!!!"
  • SSH Access: User fucker, Password FUCKER, Hostname piraterf.local
  • Web Interface: https://piraterf.local

Option 2: Manual Build Setup

🚨 IMPORTANT: Pi Zero Setup First!

Before you do ANYTHING else, get your fucking Pi Zero W connected and accessible via SSH. Follow this tutorial that actually works:

πŸ‘‰ Pi Zero W USB Connection Tutorial

This will get your Pi Zero connected via USB with SSH access so you can actually deploy PIrateRF to the little bastard.

🌐 INTERNET SHARING REQUIRED: After USB connection is working, you MUST share internet from your computer to the Pi Zero. The setup scripts need to download packages and dependencies - no internet, no RF chaos.

Set up internet sharing on Ubuntu/Linux:

  1. Set connection to shared: In Ubuntu Network Settings, find the USB connection (usually usb0), click on it, go to IPv4 settings, and change the method from "Link-Local Only" to "Shared to other computers"

  2. Stop Docker services (they interfere with networking):

sudo systemctl stop docker.socket
sudo systemctl stop docker
  1. Restart NetworkManager:
sudo systemctl restart NetworkManager
  1. Configure iptables rules (replace usb0 and enp5s0 with your actual interfaces):
sudo iptables -A FORWARD -i usb0 -o enp5s0 -j ACCEPT
sudo iptables -A FORWARD -i enp5s0 -o usb0 -j ACCEPT
sudo iptables -t nat -A POSTROUTING -s 10.42.0.0/24 -o enp5s0 -j MASQUERADE
  1. Test it: SSH into your Pi with ssh [email protected] (or whatever [email protected] you set up) and run ping 8.8.8.8 - if it works, you're ready to cause some RF mayhem!

Find your interfaces: Use ip link show to see usb0 (Pi connection) and your main internet interface.

1. Initial Setup

# Clone the repository
git clone https://github.com/psyb0t/piraterf.git
cd piraterf
Download Tool