 philesiv/xsleaker
Searcher for cross-site leaks (XS-Leaks)

XSLeaker is a tool that helps to find XS-Leaks on websites. The tool compares resource values for that a leak technique is known (e.g. number of iframes) between different states.
XSLeaker consists of two components, a chrome extension that is used to gather the resource values in different states and a node.js server that is used to compare and display the results.
The following resource values are checked for differences:
Assuming the user want to test n different states the following setup must be done:
Create n Chrome profiles, one for each state. As the profiles can be reused, the user only has to create new Chrome profiles if more than n states should be tested.
Install the XSLeaker Chrome extension for each profile.
This setup must be done only once, except if the user want to test more then n states.
Open n browser windows with different profiles.
Activate the browser extension in each window. This is done with the "Activate" button in the popup .
Optionally, choose a state name (e.g., admin account). This is recommended because it makes identifying the states in the results much easier.
Setup the different states for the website that should be tested, one for each window(e.g., logging in as different users).
Choose one window and activate the Master Mode through the switch in the popup window. The other windows now follow URL changes from the master window.
Within the master window, navigate to the site that should be tested. Every other window navigates to the same page.
Start the testing with a click on the "Send Results" button in the popup of the master window.
Navigate to the web interface (e.g. http://localhost:3000) provided by Node.js to check for differences.
For the next test of the same website, the user only has to navigate to the target URL with the master window and has to press the "Send Results" button again.
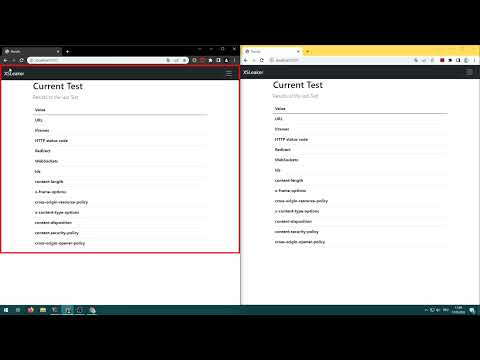
Click on the image to see XSLeaker in action:
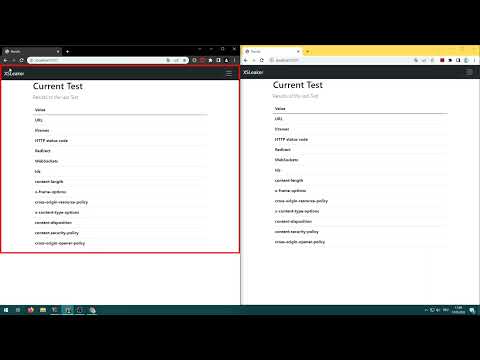
The web interface that is hosted with node.js has following sites
Results: Shows the most recent testresults
History: Shows all tests that are done in the past. By clicking on a raw in the table the results of the test are shown.
Automation: The Automation page allows the user to upload a list of URLs that should be tested. The "Start Test" button navigates every connected browser window to one URL after another and runs the test. The results can be checked in the history.
Note: You first need to setup the states you want to test in the different windows.
Currently there is a Bug that the differences that are saved in the database are not always correct. Double check the differences by looking at the test results after the automated test.
Test: A test bench that can be used to test if XSLeaker is working properly. On http://localhost:3000/tests a state can be choosen. Then state dependent properties can be set. Once several browser windows with different states are open navigate to the testsite (http://localhost:3000/tests/testsite) with the master windows and run the test.
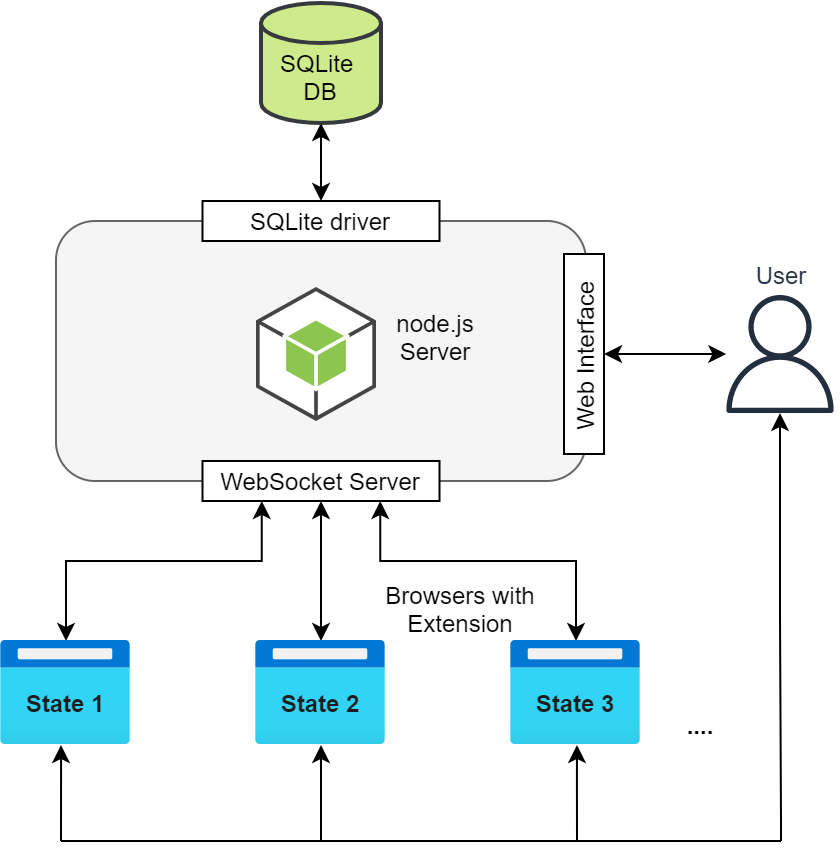
The Image shows the architecture of XSLeaker. The different browser windows with different states connects to the node.js applictation through WebSockets. The server provides a web inteface where the user can check the testresults (see XSLeaker web interface). The server saves the test results in an SQLite database.
