 nccgroup/cowcloud
Serverless AWS solution for distributing recon and vulnerability scanning workloads. Submit tasks via web UI; EC2 workers execute custom Python scripts with tools like Nmap.

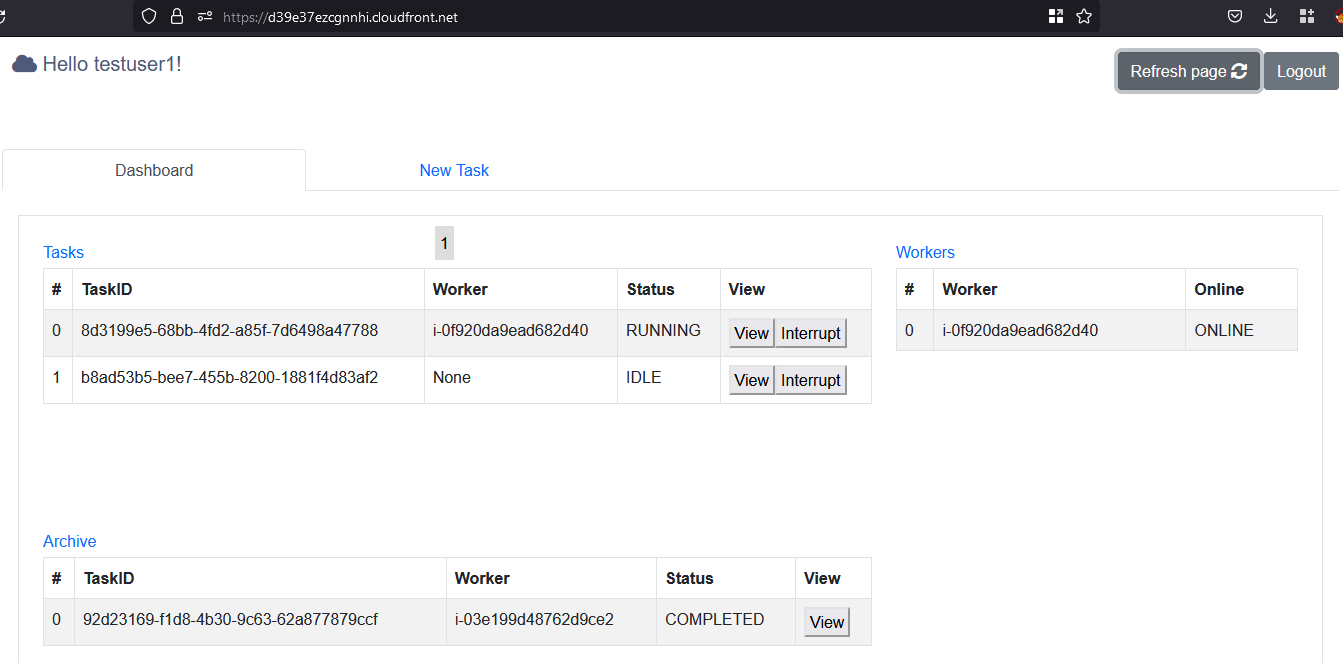
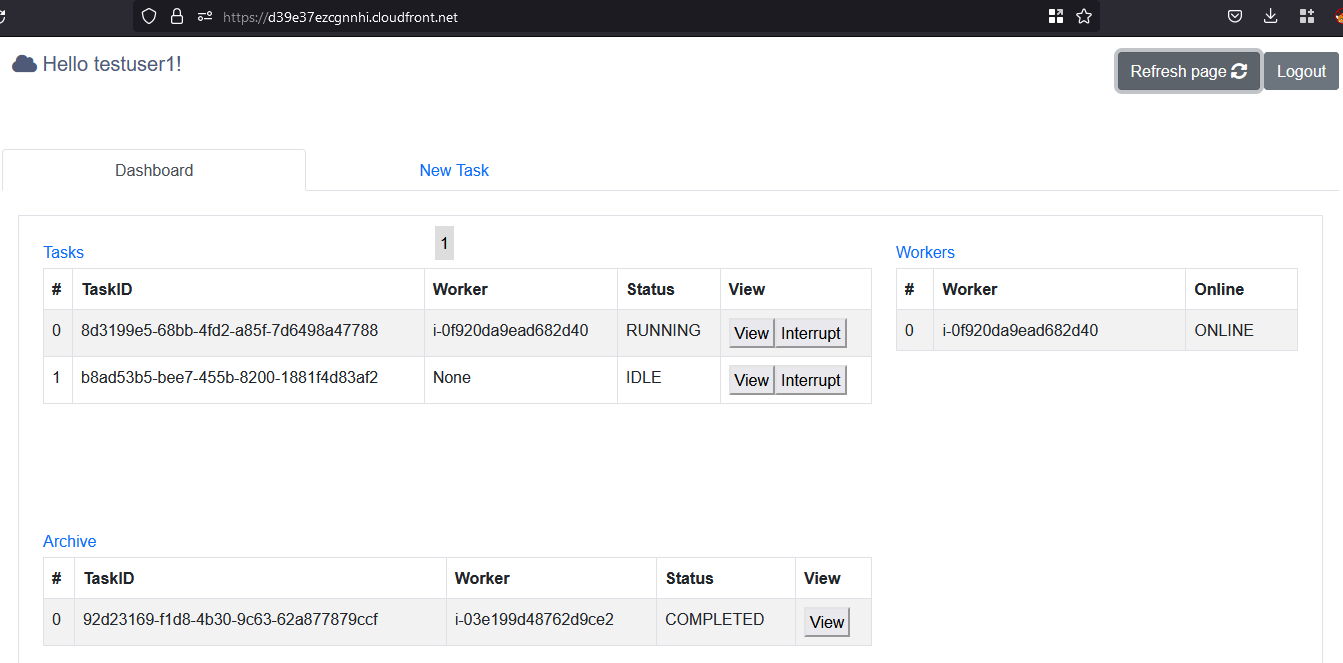
CowCloud was originally created to run recon tools and vulnerability scans in a distributed way; for example, one use case might be by bug bounty hunters. This solution is intended to abstract end users from the underlying work required to distribute workloads in AWS. CowCloud provides users with a friendly web interface to view and create new tasks that later on are consumed by Python code running on worker nodes (EC2 instances). It is intended that the Python code will be customised as well as the EC2 AMIs.
As an example, let’s say you want to run Nmap scans. In that case, you can simply pick an AMI from the AMI Catalog and update the field image_id in Terraform/ec2_module/ec2_module.tf. Then, the file ec2py/template.py would have to be updated to customize the arguments for the Nmap scan (-Pn, -p 443, etc). Lastly, the user_data field in the Terraform/ec2_module/ec2_module.tf configuration file would have to be updated to install Nmap and its dependencies.
Another option is to install and run several commercial tools, in that case, you might want to create your own EC2 instance or snapshot. In this case you would install all the dependencies and activate the licences so you could use this AMI as the gold image for your workers
CowCloud can be broken down into three main components:
These are the key features:
autoscalingStrategy.py)retention_time expiresextra_docker_params in the template.py file (this is explained in the Administrator/maintainer section below)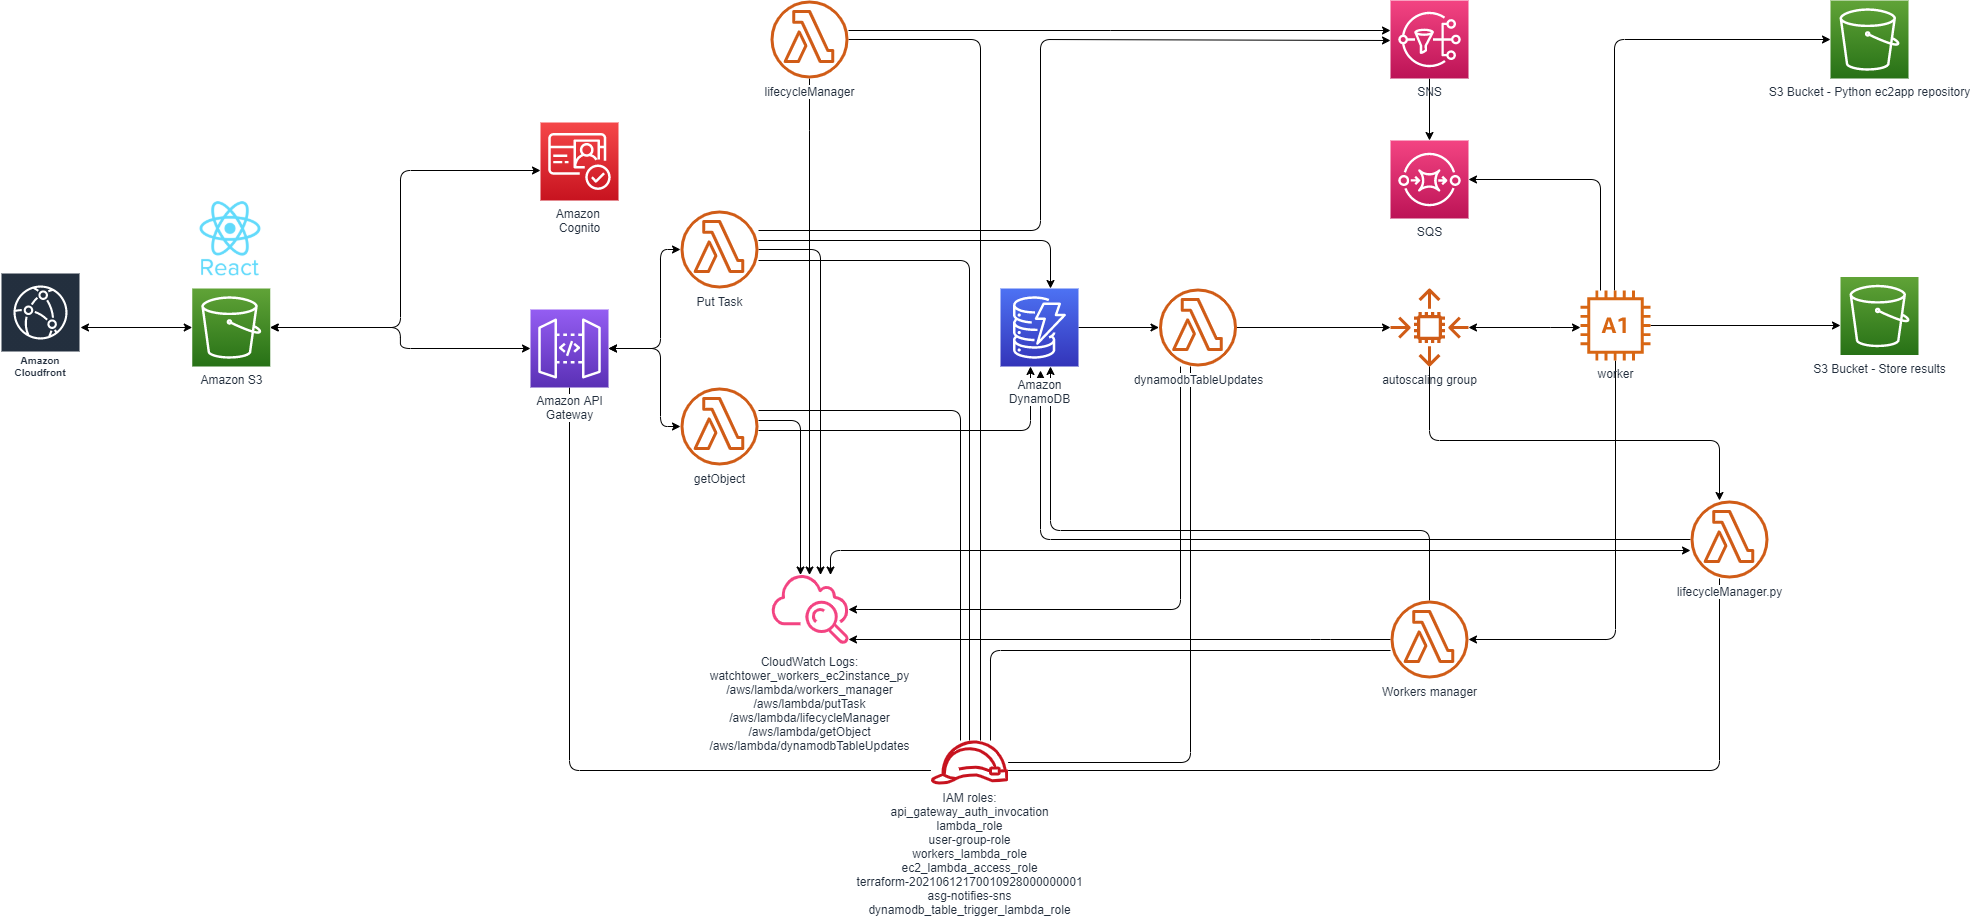
| variable | default value | description |
|---|---|---|
eipenable | false | If true, the solution allocates a pool of elastic IP addresses associated with the worker nodes as they are spun up. The number of EIP to reserve is worked out using this formulasum([var.max_workers, var.maximum_number_of_terminating_machines]) |
cidr_whitelist | [] | The CIDR whitelist to allow only certain IP ranges in the firewall. E.g. ["195.95.131.0/24"] |
max_workers and max_queued_tasks_per_worker | max_workers: 3, max_queued_tasks_per_worker: 10 | These two settings determine when to scale in or scale out, e.g. max_workers 3, max_queued_tasks_per_worker 10. This means if the number of tasks overpasses ten, a new EC2 instance will be created. If there are more than twenty tasks, a maximum of three EC2 instances will be available to distribute the workloads (check out algorithm present in this script Terraform/dynamodb_module/autoscalingTool/autoscalingStrategy.py). |
maximum_number_of_terminating_machines | 2 | This defines the number of instances that are set to terminate but are on hold until the process/scan completes the task. |
heartbeat_timeout | 900 | This defines the time that those workers are on hold. After this time expires, the worker will be forcibly terminated. |
instance_type | t2.micro | https://aws.amazon.com/ec2/instance-types/ |
ami | null | https://aws.amazon.com/es/amazon-linux-ami/ |
retention_time | 7 | Set the retention time (days) for logs and the expiration of the archive table items (completed tasks). |
As a result of executing the Terraform, a new file is created (config.js);, this contains the configuration required for the React JS app to authenticate against the Cognito user pool directory. After the infrastructure has been deployed, you have to build the React app and upload the folder build. In addition, you have to upload the Python code to an S3 bucket that acts as a code repository. This process has been automated in two scripts setup.bat and setup.sh so you don't have to worry about this, this is just to summarize this stage.
The infrastructure is deployed in the us-east-1 region by default, although this can be changed in the locals.tf file within the Terraform folder.
Steps:
variables.tf; the ami variable has to point to an existing EC2 AMI, which could be your golden AMI or one from the EC2 Catalogaws configure. Check you have configured it properly by running this command: aws sts get-caller-identity; when correctly configured this should not return an erroraws ec2 create-key-pair –key-name cowCloud –query “cowCloud” –output text > ec2_module/cowCloud.pem