
 matank001/moxy
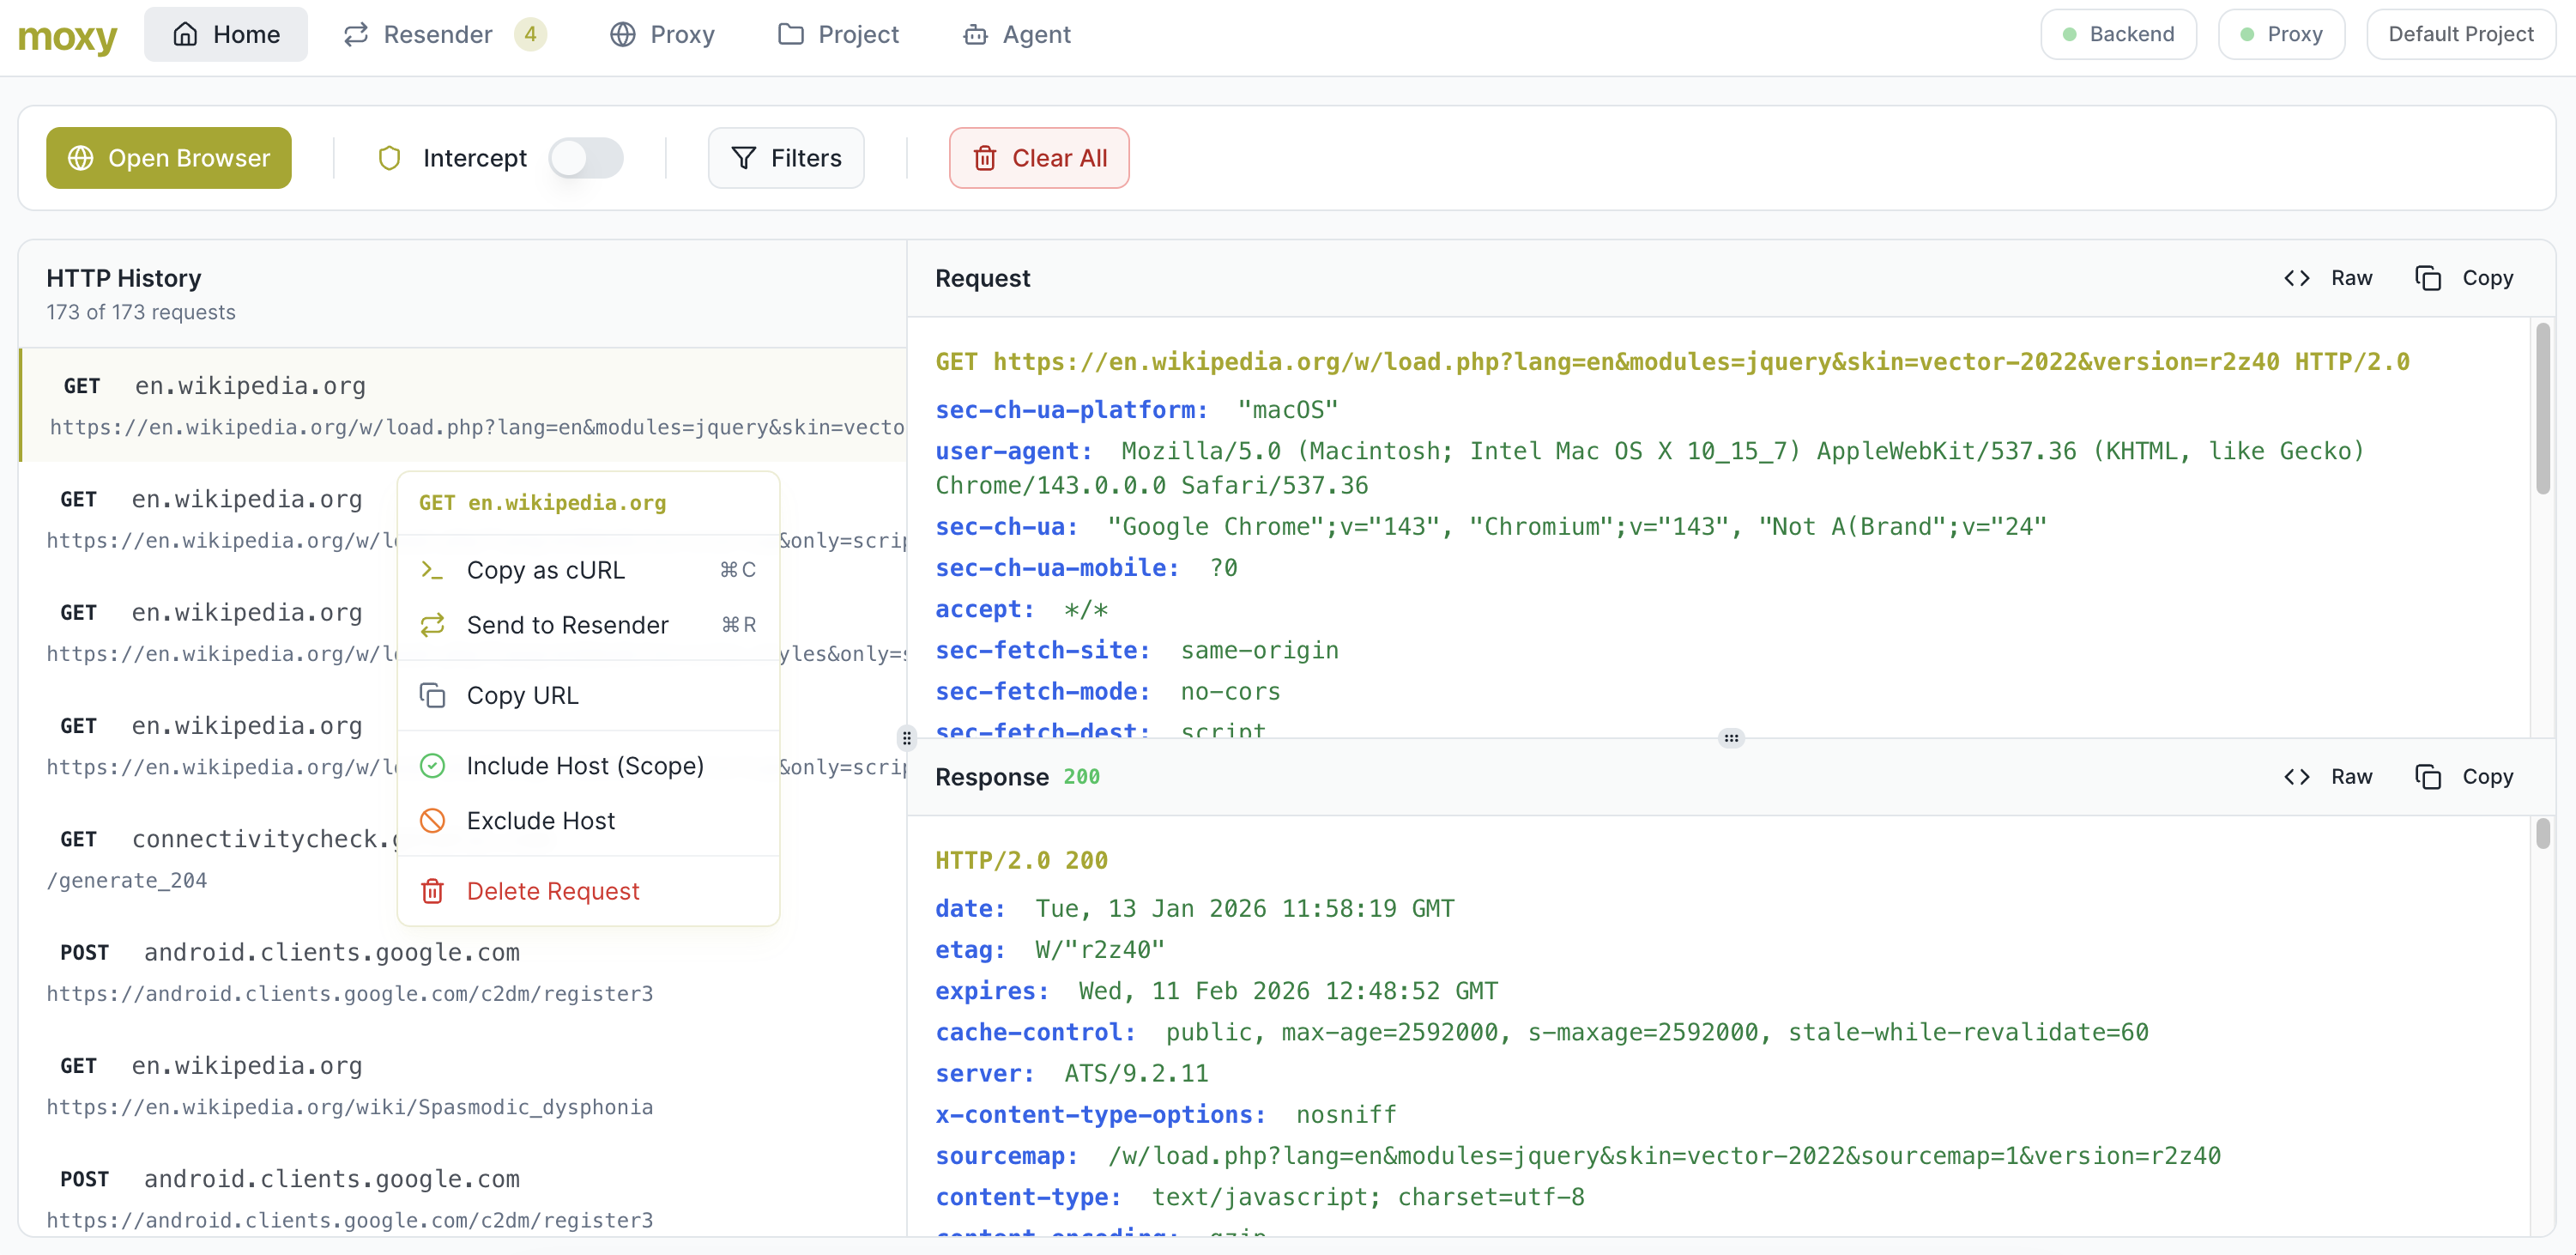
Moxy is an open-source DAST tool designed for modern web application security testing. It provides an easy-to-use interface with agentic capabilities to assist and automate pentesting workflows.

Moxy (Next-Gen Man in the middle proxy) Open-source DAST tool for pentesting powered by agentic AI capabilities (Supporting Ollama). Built on top of browser-use, Moxy streamlines dynamic application security testing.
🚀 INSANELY EASY TO USE
And it's free, who doesn't like free stuff?
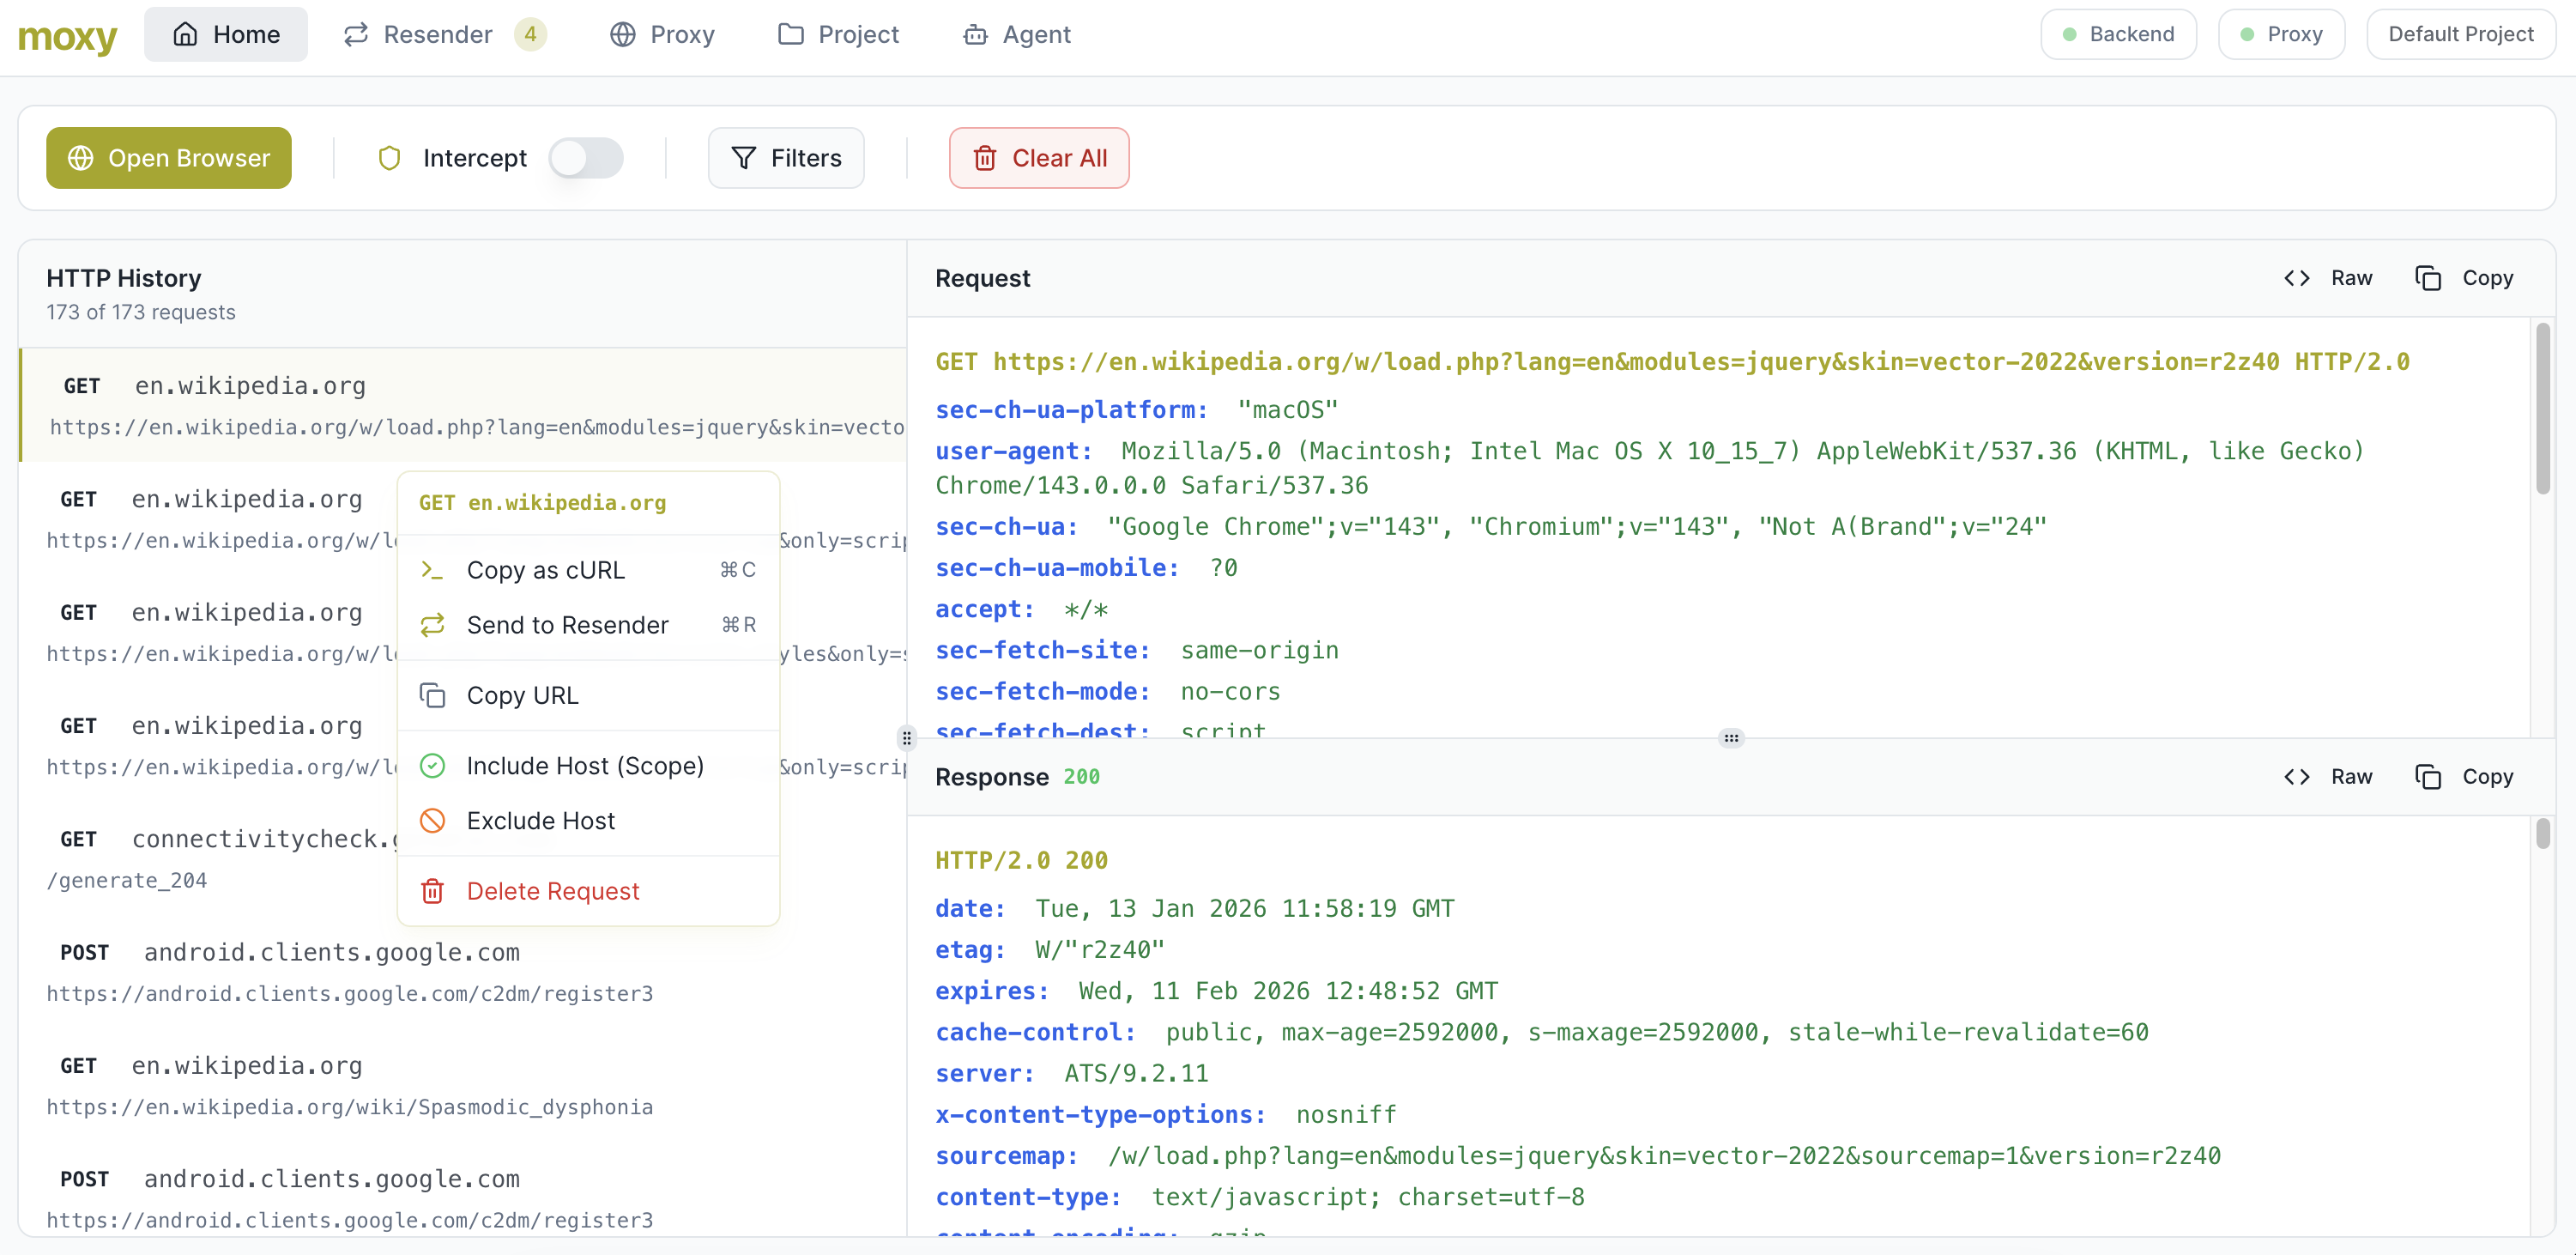
Preview Alert:
🚧 Moxy is in active development and currently in preview/beta.
Expect breaking changes, instability, and missing features.
Use at your own risk and follow project updates for latest improvements!
To run this for now, you need to run the frontend and backend separately.
Before running Moxy, you need to install uv (astral-uv), a fast Python package installer and resolver.
Install uv:
uv on your system.Note:
uvis required for managing Python dependencies in the backend. If you don't have it installed, the backend commands will fail.
Navigate to the backend directory:
cd backend
Install dependencies and run the backend server:
uv sync
uv run moxy
Navigate to the frontend directory:
cd frontend
Install dependencies:
npm install
Start the frontend development server:
npm run moxy
Note:
By default, the frontend runs at http://localhost:8080
and the backend runs at http://localhost:5000
Moxy can be run using Docker for easier deployment and consistent environments. In this way you can collaborate and install easily.
projects_data holds all the databases and logs needed. It's the data folder.
Pull and run the pre-built image from GitHub Container Registry:
docker run -d \
  --name moxy \
  -p 5000:5000 \
  -p 8081:8081 \
  -v $(pwd)/projects_data:/app/projects_data \
  ghcr.io/matank001/moxy:latest
Build and start the container:
docker-compose up -d --build
Access the application:
Configure your browser to use the proxy:
When running in Docker, you need to manually configure your browser to use the proxy:
localhost (or 127.0.0.1)8081Note:
The proxy runs inside the Docker container but is accessible onlocalhost:8081on your host machine.
You can configure proxy settings in your browser's network settings or use browser extensions for proxy management.
View logs:
docker-compose logs -f
Stop the container:
docker-compose down
Create a .env file in the project root to configure the application (you need to put it inside the backend/ directory):
Note:
The.envfile is optional. Docker Compose automatically loads it if present (no warning if missing).
All project data is persisted in theprojects_datadirectory, which is mounted as a volume.
By default, Moxy works without requiring any AI configuration or credentials - even browser-based DAST flows don't use AI unless enabled.
Moxy supports both OpenAI's API and Ollama (local AI) for agentic features. To enable AI-powered capabilities:
For local development: Create an .env file in the backend directory with the appropriate configuration.
For Docker: Create a .env file in the project root (same directory as docker-compose.yml).
For cloud-based AI processing with OpenAI, configure your .env file as follows:
OPENAI_API_KEY=sk-proj-...             # Your OpenAI API key
MODEL=gpt-4o-mini                       # Optional: defaults to gpt-4o-mini if not specified
For local AI processing with Ollama, configure your .env file as follows:
USE_OLLAMA=true
OPENAI_API_KEY=test                    # Required but value is ignored when using Ollama
OPENAI_BASE_URL=http://localhost:11434/v1/  # Ollama API endpoint
MODEL=qwen3:8b                         # Your preferred Ollama model
Capabilities of the Agent:
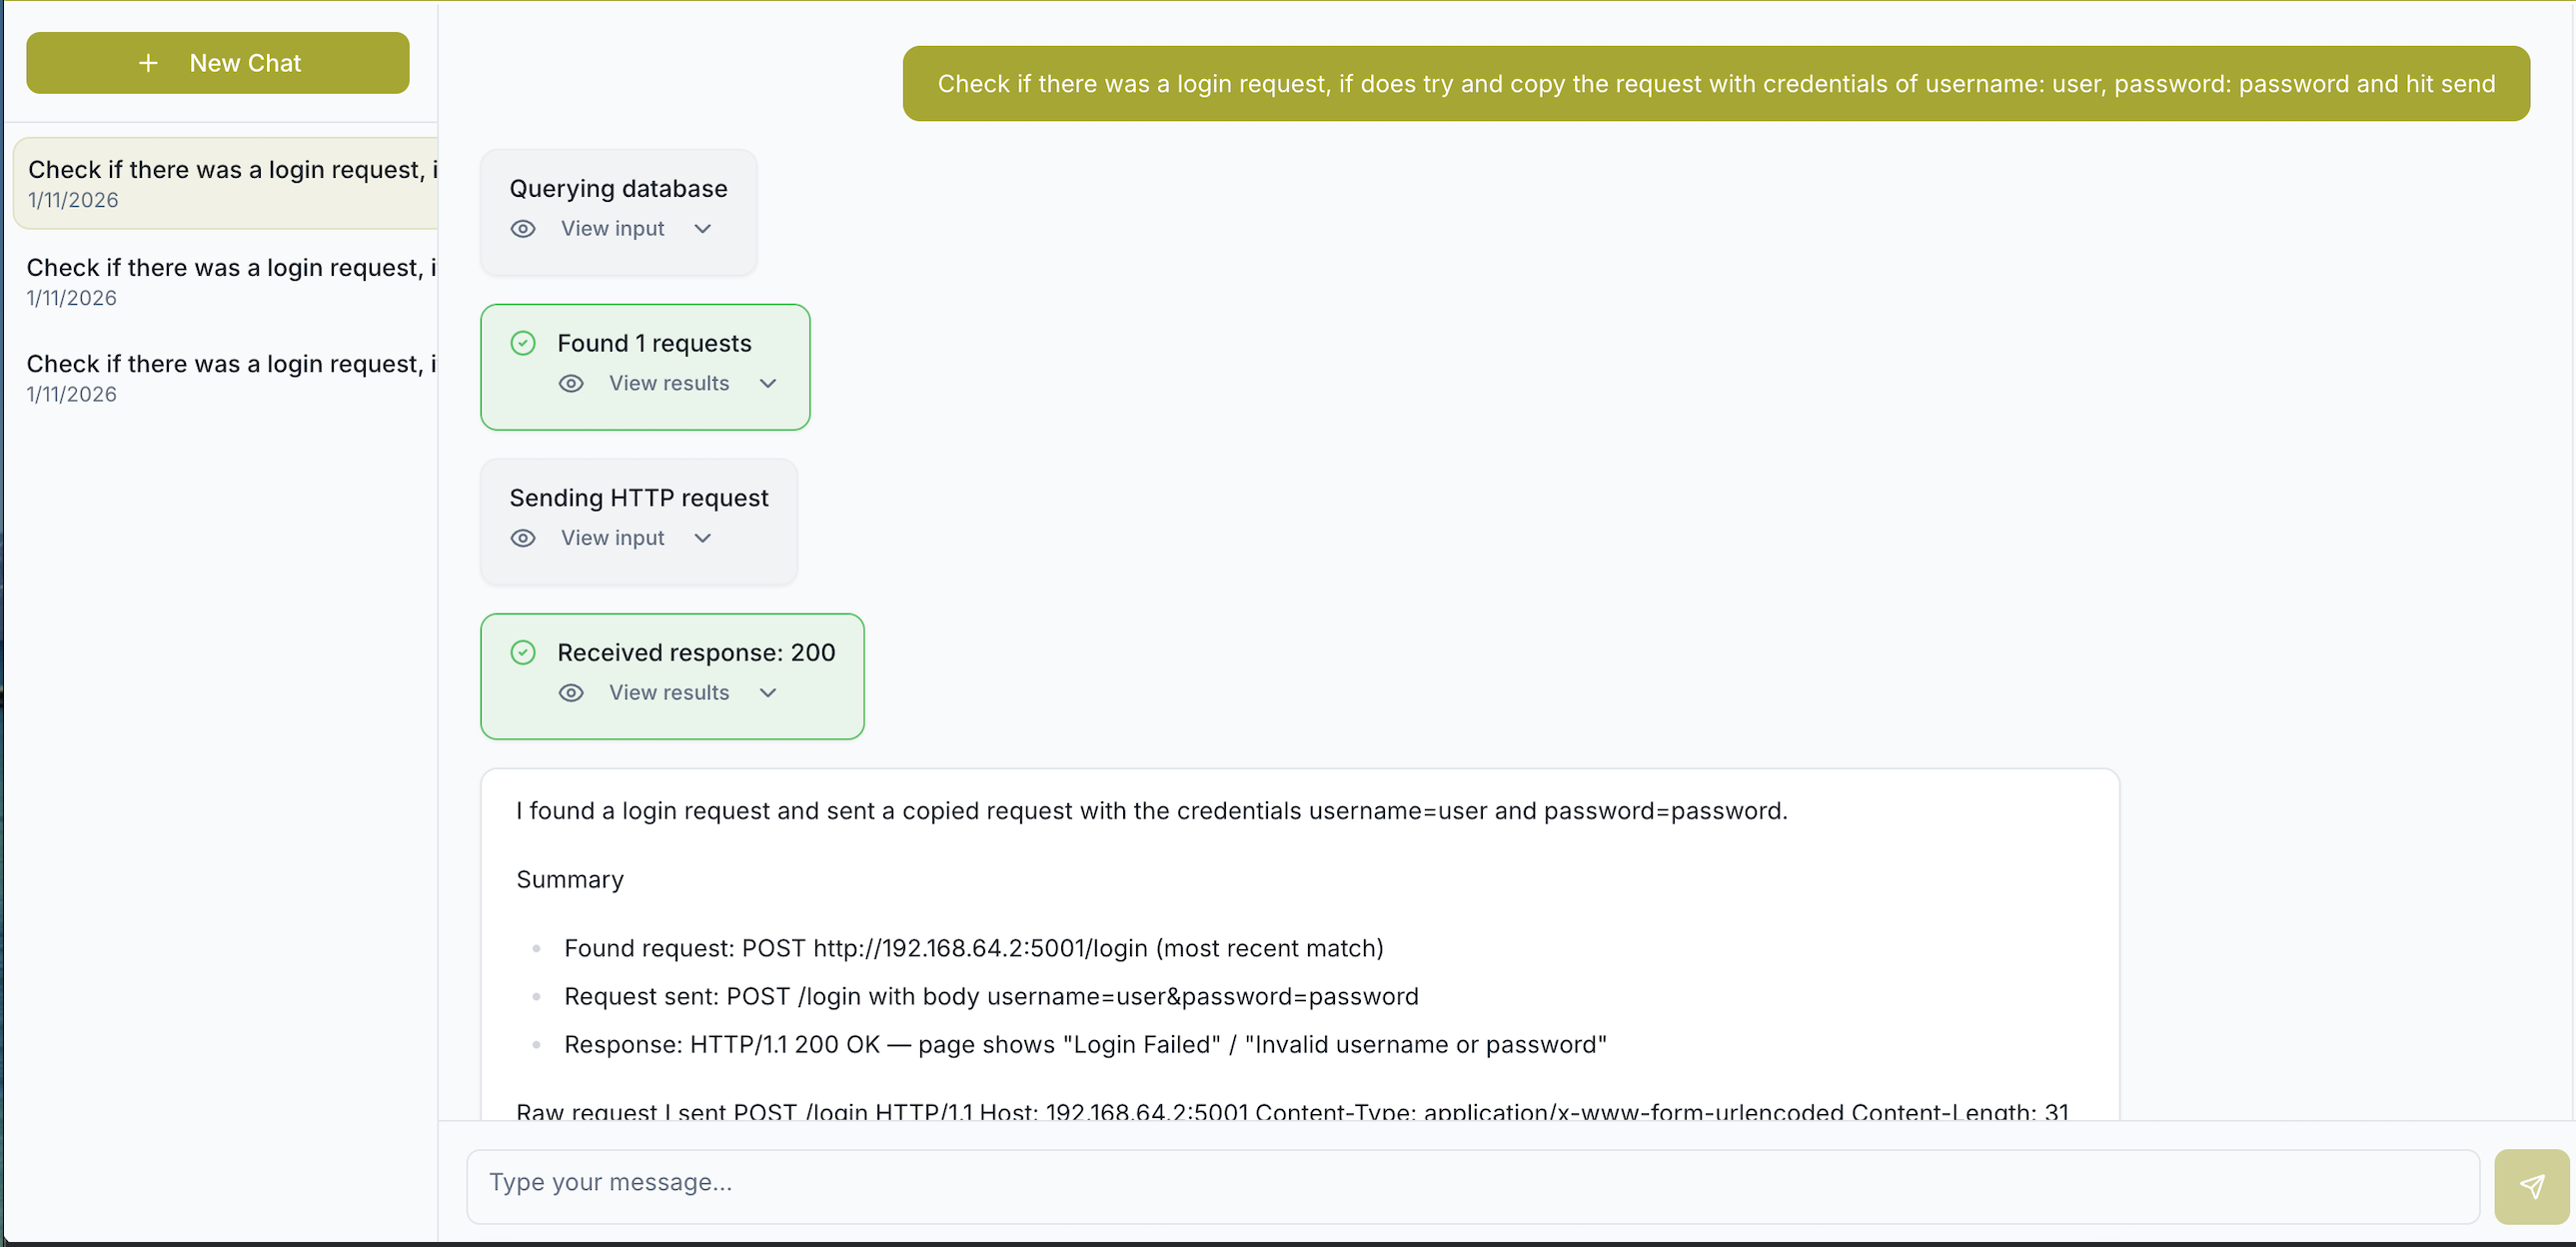
The agent uses AI to reason about your application's attack surface, replay or modify traffic, and even drive browser sessions to generate new test scenarios.
Warning:
The agentic AI modes are currently experimental and may be unstable.
Moxy leverages MITMproxy as an intercepting HTTP/HTTPS proxy to capture and modify traffic during dynamic application security testing.
By default, the proxy runs on port 8081.
You can configure your browser or system to use http://localhost:8081 as a proxy to route traffic through MITMproxy and allow Moxy to analyze and interact with requests in real time.
To analyze HTTP and HTTPS traffic from Firefox through Moxy, you need to configure Firefox to use Moxy's proxy and import the proxy certificate so that browser traffic (including HTTPS) can be properly intercepted.
Make sure Moxy (and its MITMproxy process) is running.
Settings (or Preferences on some systems).localhost and Port to 8081.
localhost:8081 as well.Now, all browser traffic will be routed through Moxy's proxy at
http://localhost:8081.
mitmproxy-ca-cert.pem).Settings → Privacy & Security in Firefox.