 lyehe/porterminal
Quick n' dirty web/mcp terminal tunneling your phone & pc


One command. One URL. A real terminal for your agent, a live view for you.




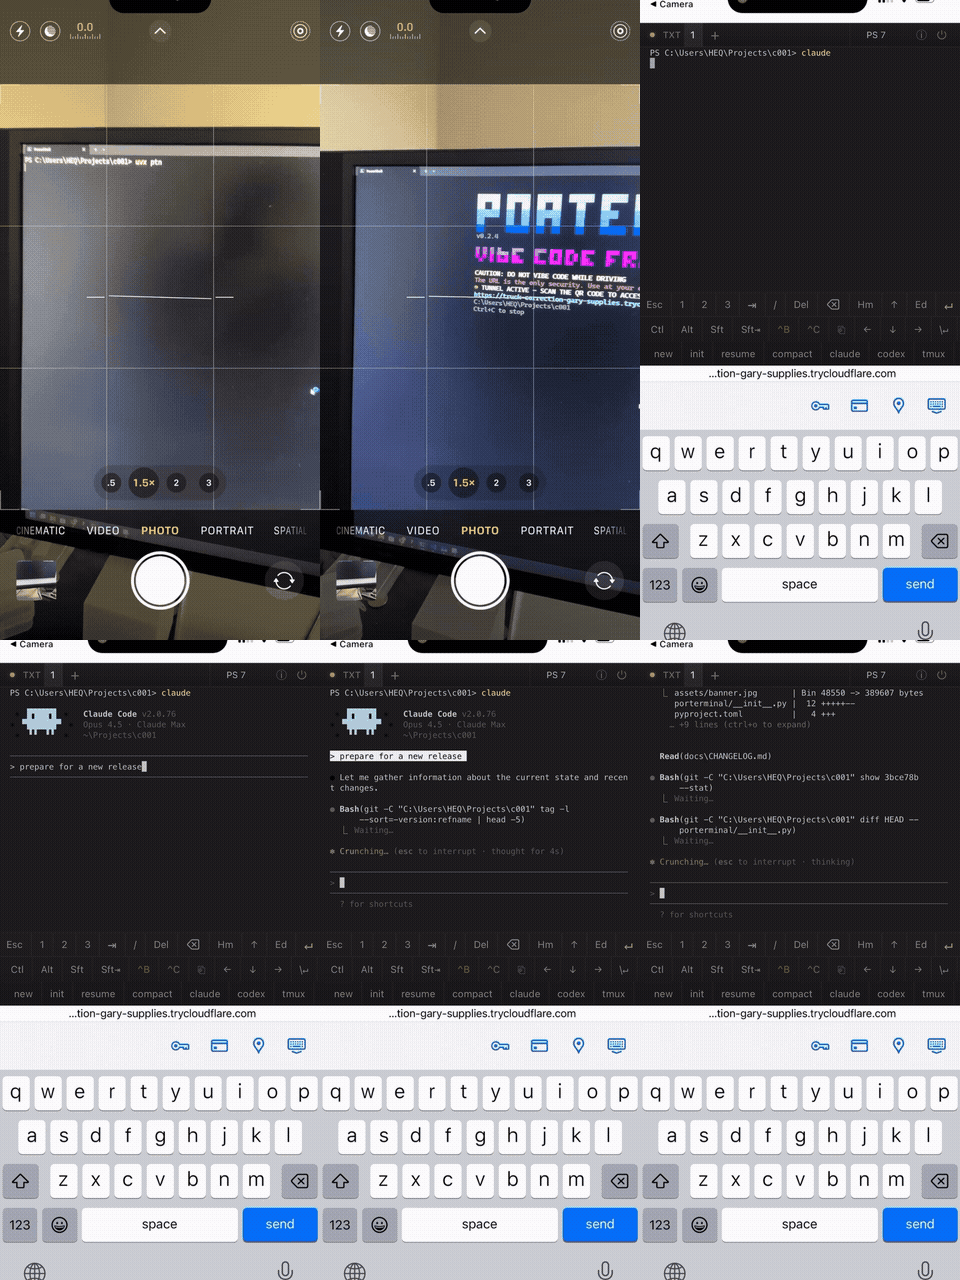
Run Porterminal on a Windows, macOS, or Linux computer and give the generated link to your AI agent. It gets a real shell with the files, tools, and projects on that machine. Open the same link on your phone or in any browser to watch the agent work and type into its terminal.
On the computer you want to give your agent:
uvx ptn
c in the local Porterminal window
to copy the URL and connection instructions. Paste them into your agent
with a task. The agent needs remote MCP support or a way to make HTTP requests.To start in a particular project, use uvx ptn /path/to/project.
For installation options, see installation, or use an installer below.
The link is the key to the computer. The complete URL and QR code grant shell access. Share them only with people and agents you trust. Read the security model.
| Your agent | You |
|---|---|
| Runs commands in the computer's real shell | Watches the same output live in a browser |
| Reads terminal screens and answers prompts | Types into the same terminal when needed |
| Keeps shell state across tool calls | Switches between agent and personal tabs |
| Uses MCP or HTTP to connect | Uses the QR code or URL from a phone or desktop |
Terminal input is shared; coordinate typing with your agent. Porterminal supports interactive terminal apps, multiple tabs, and reconnecting to running sessions while the server and session remain alive.
The phone UI includes Ctrl/Alt/Shift keys, touch selection, scrolling, pinch-to-zoom, and a compose field for editing or dictating longer input. See terminal controls.
Give an agent a small invoice project with a failing check. Watch it find the bug, edit the file, and turn the checks green. Then answer the receipt's label prompt from your phone and have the agent read the result.
The demo guide includes a ready-to-copy project, an agent task, and a 60-second recording plan. It demonstrates commands, file changes, verification, and human input in one shared session.
Pressing c copies instructions for the available connection methods.
The running server also serves them at <url>/llms.txt.
Here, <url> is the complete generated URL, including its access code.
| Agent capability | Connection |
|---|---|
| Remote MCP | <url>/mcp — Streamable HTTP |
| HTTP requests | <url>/api/agent/run — REST |
| Browser automation | Open <url>/; use Terminal screen and Terminal input |
MCP exposes four tools: run_command, read_screen, send_keys, and
send_signal. REST returns a session_id that the agent reuses for subsequent
commands and interaction. Agent shells appear as 🤖 tabs in your browser.
See agent access for client setup, request examples, session lifetimes, and long-running commands.
Requires Python 3.12+. Porterminal attempts to install cloudflared
automatically when it is missing.
| Method | Run or install | Update |
|---|---|---|
| uvx | uvx ptn | uvx --isolated ptn@latest |
| uv tool | uv tool install ptn | uv tool upgrade ptn |
| pipx | pipx install ptn | pipx upgrade ptn |
| pip | pip install ptn | pip install -U ptn |
Install uv and Porterminal together:
Windows (PowerShell):
powershell -ExecutionPolicy ByPass -c "irm https://raw.githubusercontent.com/porterminal/porterminal/master/install.ps1 | iex"
macOS / Linux:
curl -LsSf https://raw.githubusercontent.com/porterminal/porterminal/master/install.sh | sh
After installing, run ptn or ptn /path/to/project.
| Option | Purpose |
|---|---|
--no-tunnel | Run without a Cloudflare tunnel |
--mcp-only | Expose MCP only; disables the QR code, browser terminal, and REST API |
--compose | Start with the mobile compose field enabled |
--init | Generate .ptn/ptn.yaml with buttons discovered from project scripts |
--password | Add a password to browser terminal access |
--help | Show all options |
--version | Show the installed version |
While running: c copies the agent instructions, u copies only the
URL, and s shows the share text on screen (q closes it).
Ctrl+C stops Porterminal. In MCP-only mode the share keys use the MCP URL.
Custom shells, toolbar buttons, and startup settings live in ptn.yaml.
See configuration.
Porterminal gives access to a real shell with your user's permissions. The starting directory is a convenience, not a sandbox or a limit on file access.
Each launch creates a new 128-bit random access path. The bare tunnel hostname and wrong paths return 404, but anyone with the complete URL can use the shell. Keep the URL and QR code private, stop Porterminal when finished, and restart it to rotate the access code if the link leaks.
The optional password protects browser connections. MCP and REST use the complete URL as their credential and do not require that password.
See security for the full model and password behavior. Report vulnerabilities through the security policy.
