 gamehunterkaan/autopwn-suite
AutoPWN Suite is a project for scanning vulnerabilities and exploiting systems automatically.

AutoPWN Suite is a project for scanning vulnerabilities and exploiting systems automatically.








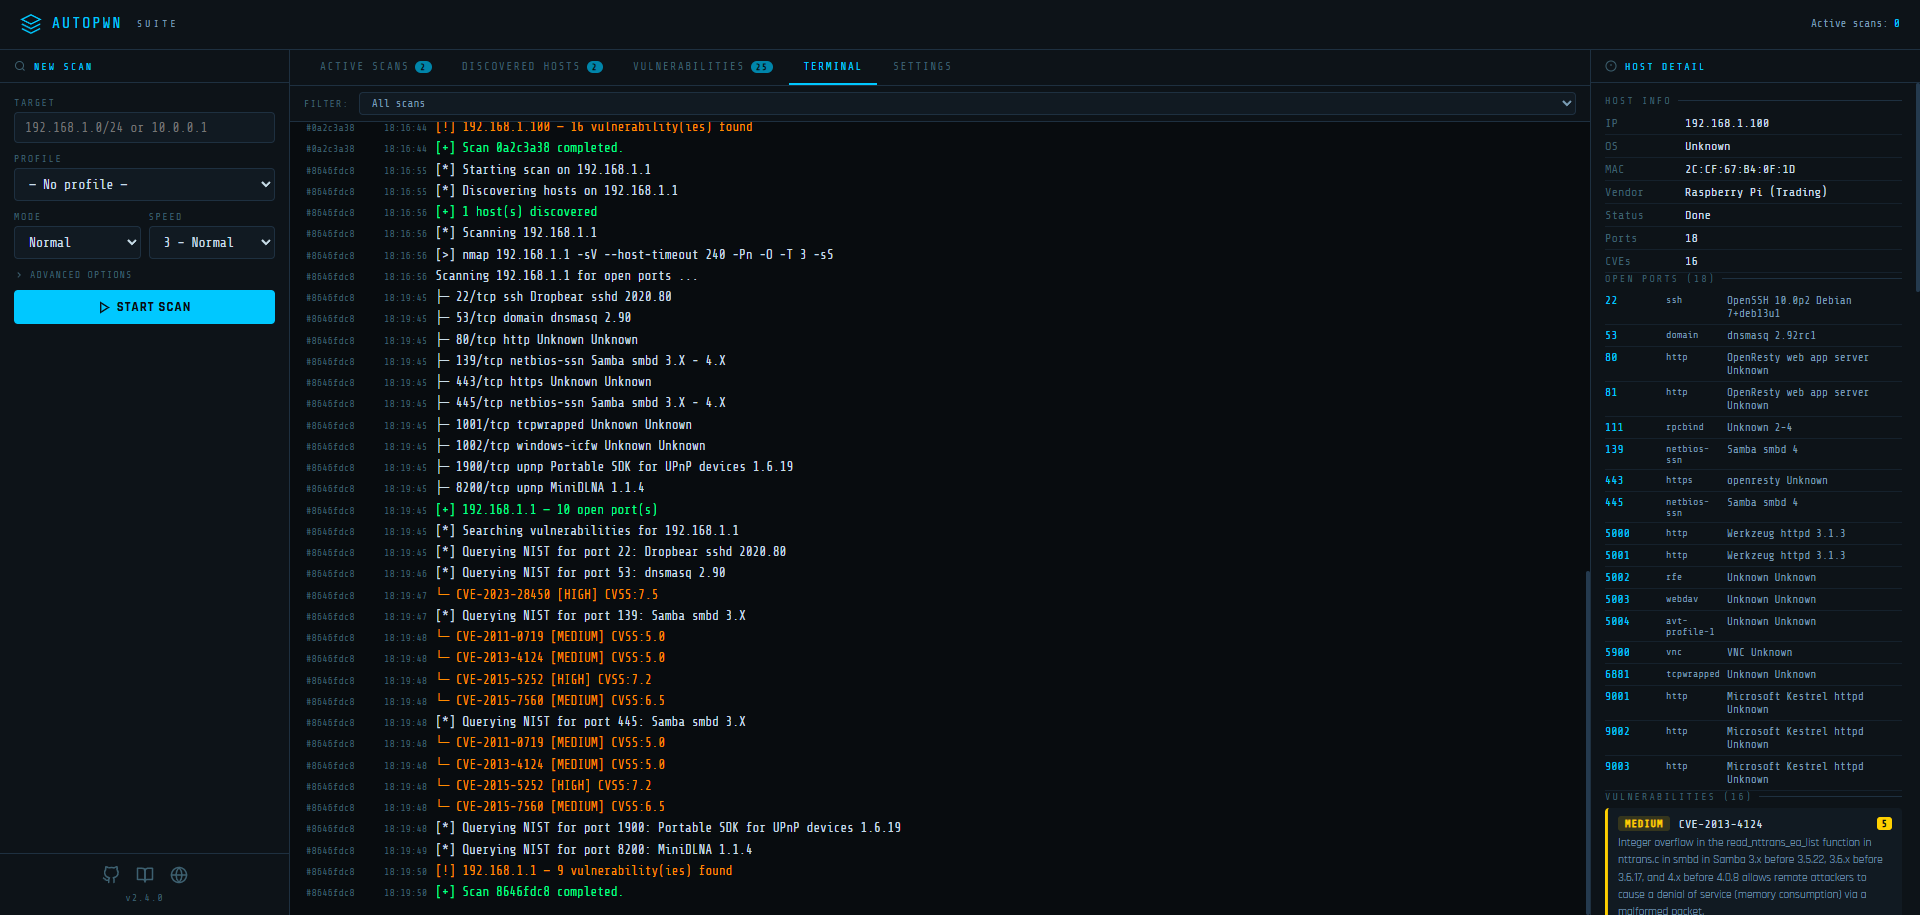
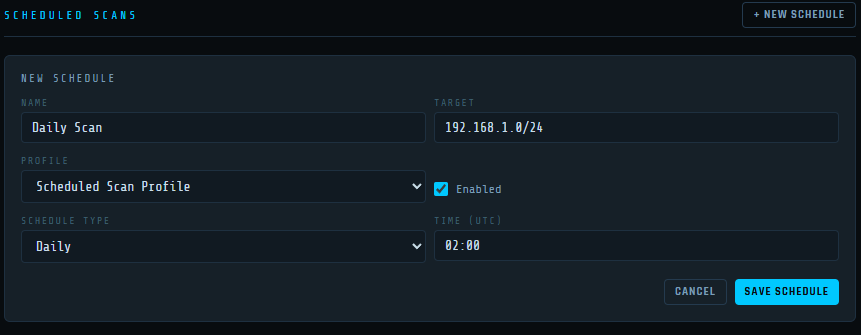
AutoPWN Suite includes a built-in web dashboard for managing scans from your browser.
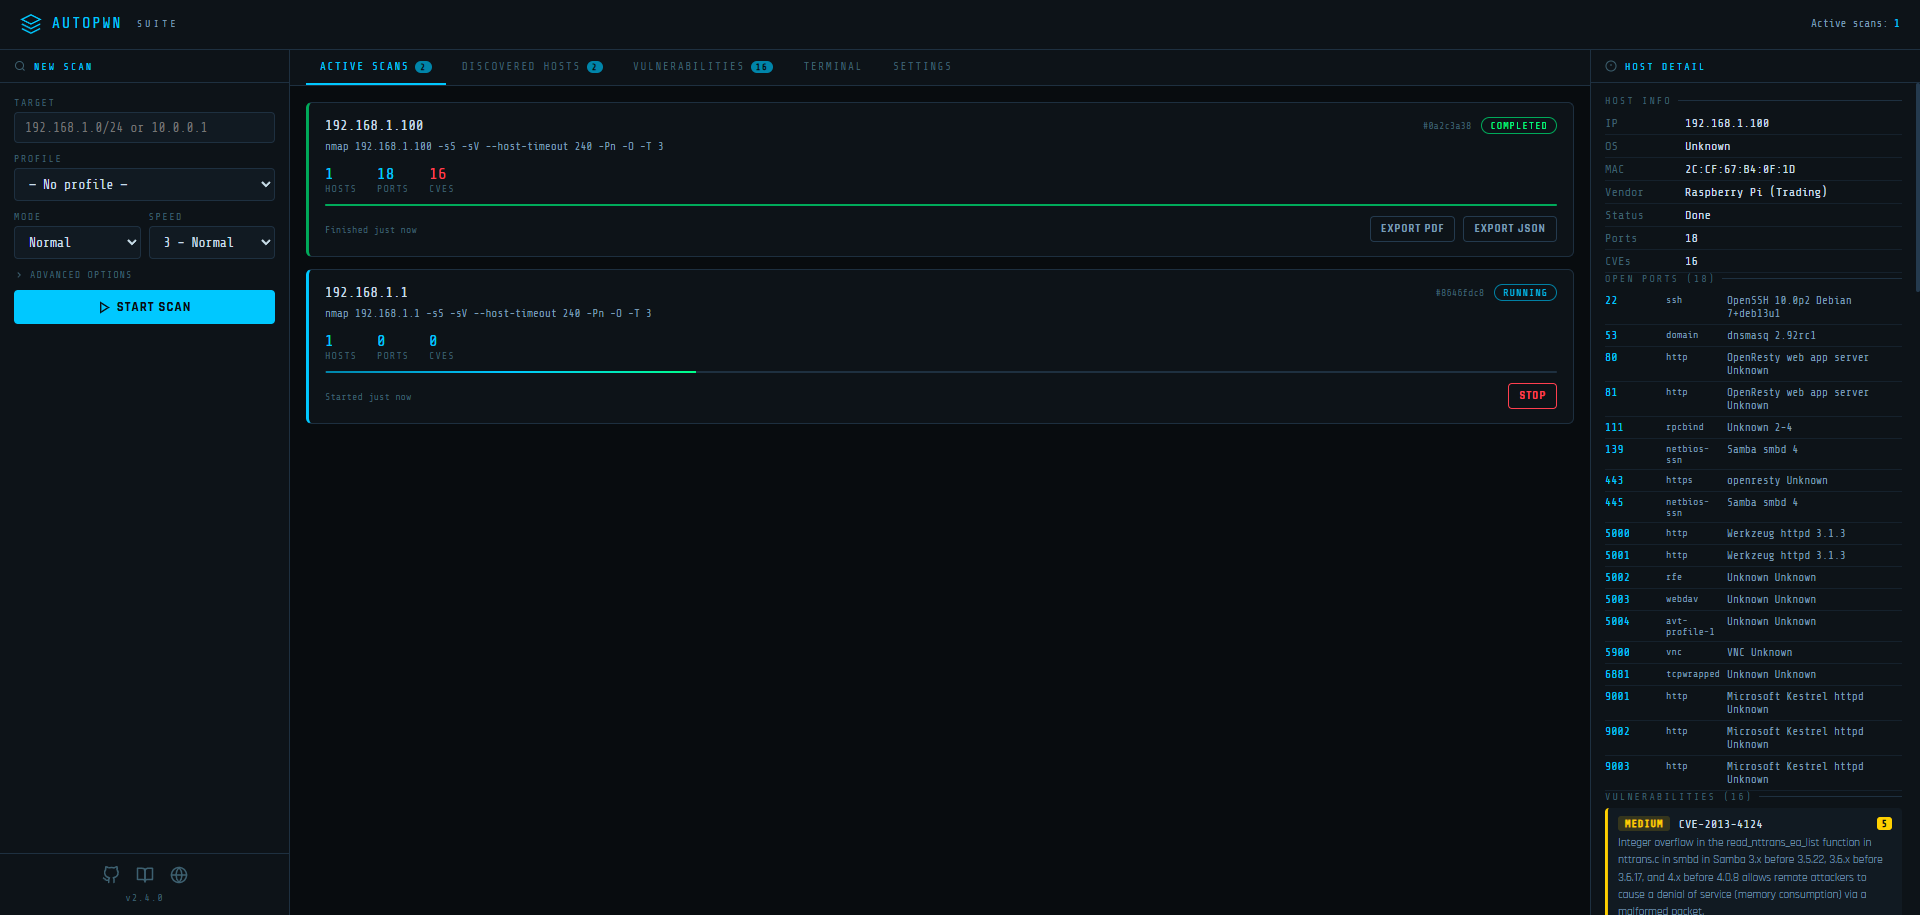
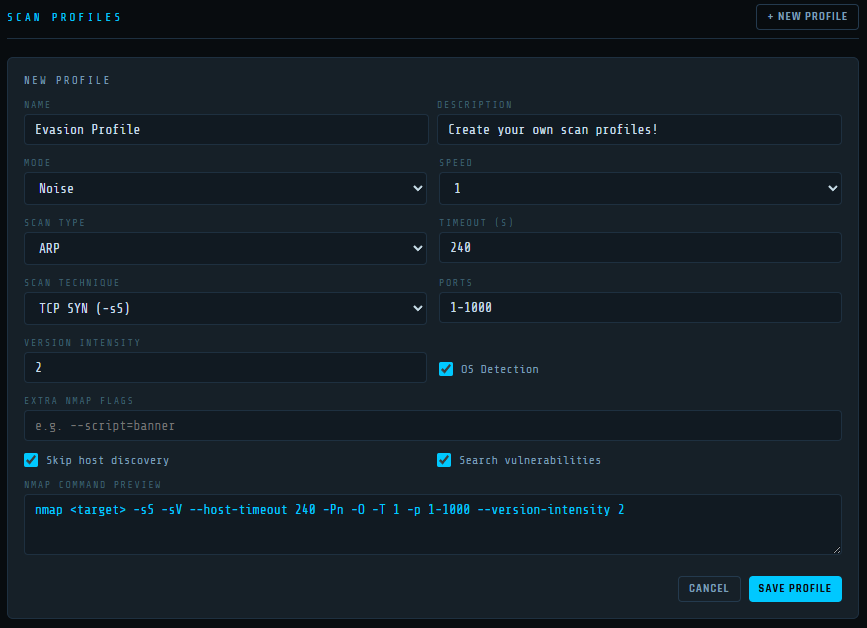
AutoPWN Suite uses nmap TCP-SYN scan to enumerate the host and detect the version of software running on it. After gathering enough information about the host, AutoPWN Suite automatically generates a list of keywords to search the NIST vulnerability database.
AutoPWN Suite has a very user friendly easy to read output.

git clone https://github.com/GamehunterKaan/AutoPWN-Suite.git
cd AutoPWN-Suite
pip install -r requirements.txt
For a system-wide installation on Linux (which requires root privileges), use the provided installation script. (Recommended)
# Install as root
sudo bash install.sh
# Uninstall
sudo bash uninstall.sh
You can clone the repo and create a virtual environment. This installation method can be used for non-root installation in Linux.
git clone https://github.com/GamehunterKaan/AutoPWN-Suite.git
cd AutoPWN-Suite
python3 -m venv .venv
source .venv/bin/activate
pip install -r requirements.txt
The fastest way to get the web UI running. Download the docker-compose.yml file and run:
docker compose up -d
The web UI will be available at http://localhost:8080.
Edit docker-compose.yml to change host, port or data directory:
environment:
  - AUTOPWN_DATA_DIR=/data        # Where settings/profiles/schedules are stored
  - AUTOPWN_WEB_HOST=0.0.0.0     # Listen address
  - AUTOPWN_WEB_PORT=8080        # Listen port
Note: Host networking (
network_mode: host) is required for nmap to discover and scan devices on your local network.
You can also run the CLI via Docker:
docker run -it --net=host gamehunterkaan/autopwn-suite -t 192.168.1.0/24 -y
You can use Google Cloud Shell.

Running with root privileges (sudo) is always recommended.
autopwn-suite -y
autopwn-suite -t <target ip address>
autopwn-suite -s <1, 2, 3, 4, 5>
autopwn-suite -m <evade, noise, normal>
For more details about usage and flags use -h flag.
autopwn-suite --daemon-install
Launch the web dashboard:
autopwn-suite --web
With custom host and port:
autopwn-suite --web --web-host 0.0.0.0 --web-port 3000
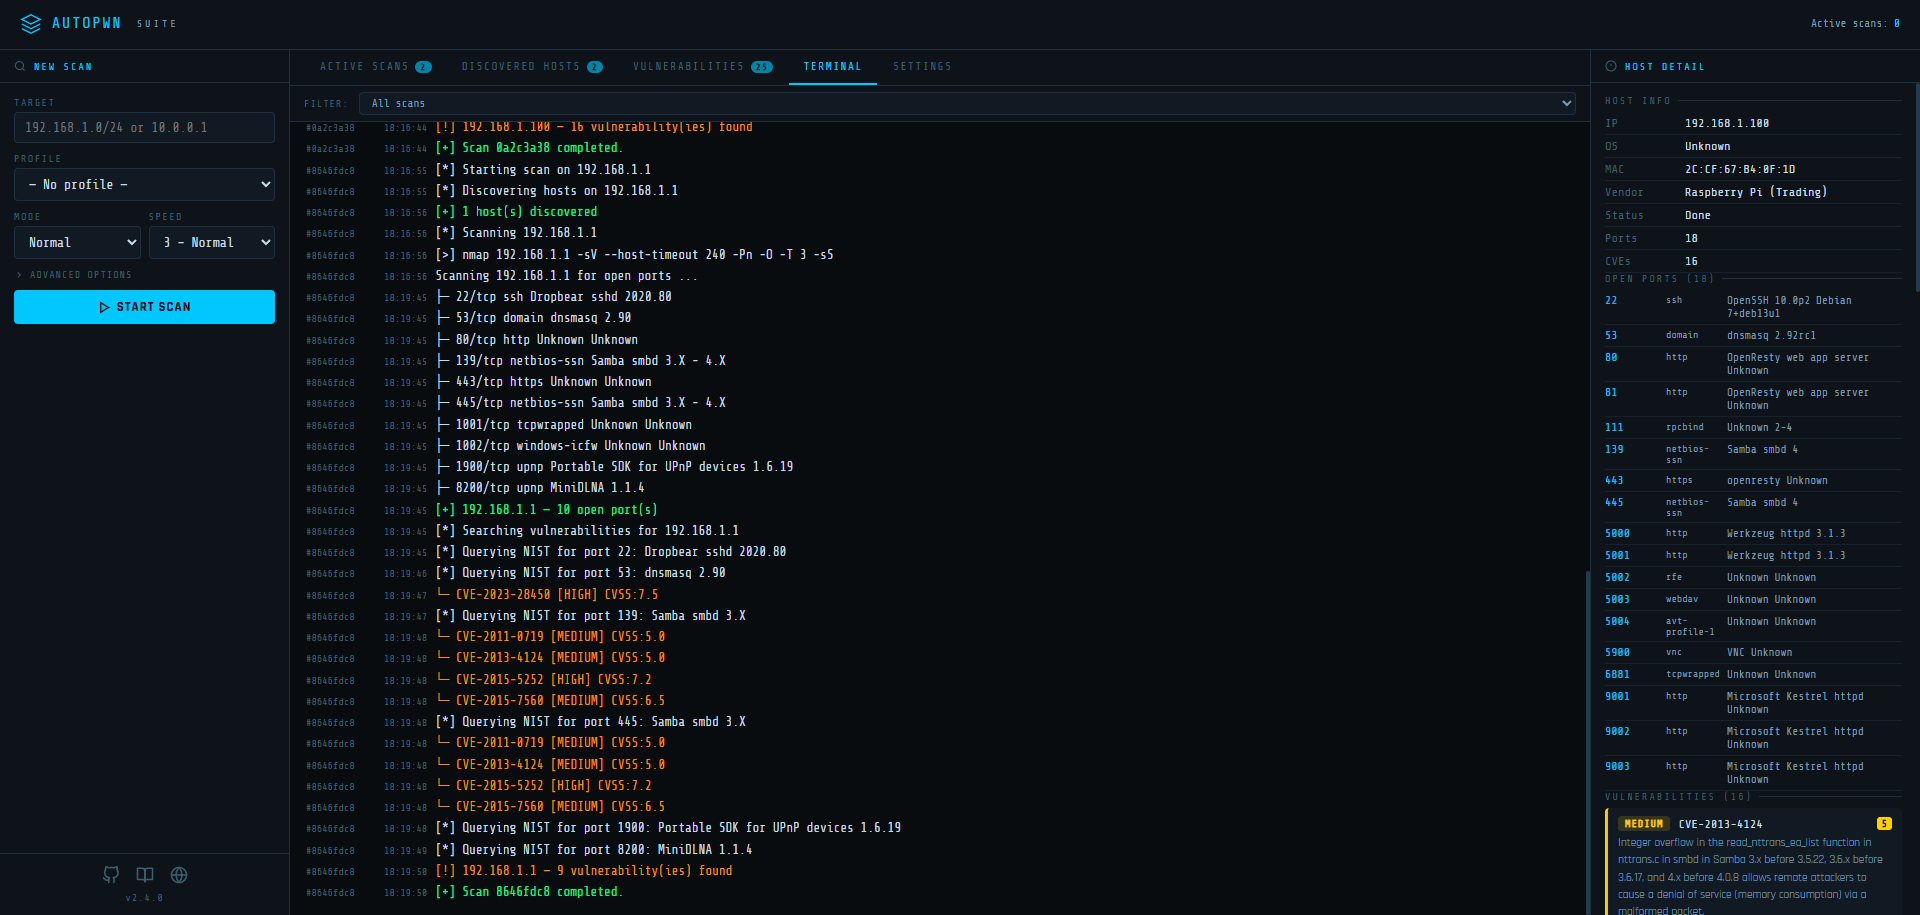
The web UI exposes a full REST API:
| Method | Endpoint | Description |
|---|---|---|
GET | /api/scans | List all scan jobs |
POST | /api/scan/start | Start a new scan |
POST | /api/scan/stop | Stop a running scan |
GET | /api/hosts | All discovered hosts (merged) |
GET | /api/log | Log history |
GET | /api/events | SSE event stream |
GET | /api/settings | Get all settings |
PUT | /api/settings | Update settings |
GET | /api/profiles | List scan profiles |
POST | /api/profiles | Create a profile |
PUT | /api/profiles/<id> | Update a profile |
DELETE | /api/profiles/<id> | Delete a profile |
GET | /api/schedules | List scheduled scans |
POST | /api/schedules | Create a schedule |
PUT | /api/schedules/<id> | Update a schedule |
DELETE | /api/schedules/<id> | Delete a schedule |
from autopwn_suite.api import AutoScanner

scanner = AutoScanner()
json_results = scanner.scan("192.168.0.1")
scanner.save_to_file("autopwn.json")
You can use poetry to install dependencies and run tests.
poetry install
# Run all tests with coverage
poetry run test

# Run tests without coverage
poetry run test --no-cov

# Run only unit tests
poetry run test -m unit

# Run only integration tests
poetry run test -m integration

# Run tests excluding slow tests
poetry run test -m "not slow"
docker compose up --build
