 blacklanternsecurity/writehat
A pentest reporting tool written in Python. Free yourself from Microsoft Word.

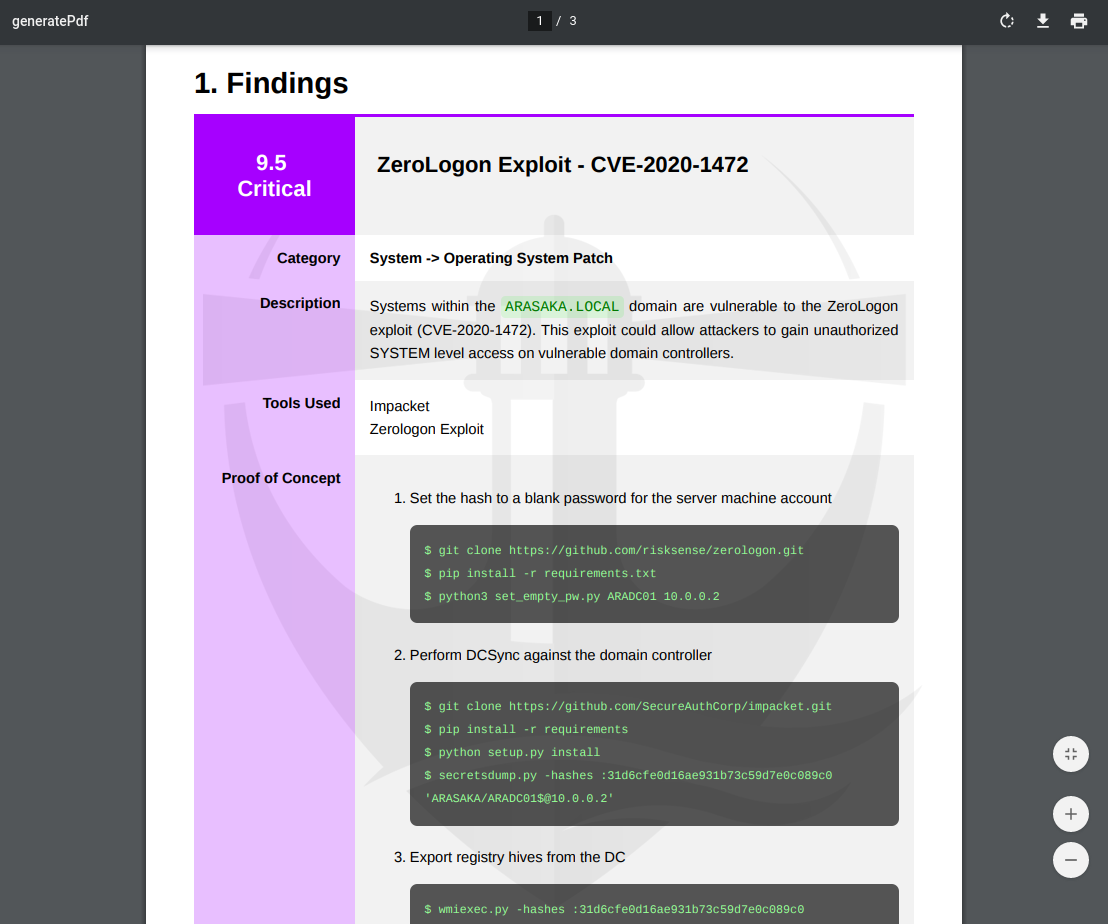
 WriteHat is a reporting tool which removes Microsoft Word (and many hours of suffering) from the reporting process. Markdown --> HTML --> PDF. Created by penetration testers, for penetration testers - but can be used to generate any kind of report. Written in Django (Python 3).
docker and docker-compose
apt, pacman, dnf, etc.$ sudo apt install docker.io docker-compose
WriteHat can be deployed in a single command:
$ git clone https://github.com/blacklanternsecurity/writehat && cd writehat && docker-compose up
Log in at https://127.0.0.1 (default: admin / PLEASECHANGETHISFORHEAVENSSAKE)
Install Docker and Docker Compose
Clone the WriteHat Repo into /opt
$ cd /opt
$ git clone https://github.com/blacklanternsecurity/writehat
$ cd writehat
Create Secure Passwords in writehat/config/writehat.conf for:
docker-compose.yml)docker-compose.yml)writehat/config/writehat.conf and docker-compose.yml: (chown root:root; chmod 600)Add Your Desired Hostname to allowed_hosts in writehat/config/writehat.conf
(Optional) Replace the self-signed SSL certificates in nginx/:
writehat.crtwritehat.keyTest That Everything's Working:
$ docker-compose up --build
Note: If using a VPN, you need to be disconnected from the VPN the first time you run bring up the services with docker-compose. This is so docker can successfully create the virtual network.
Install and Activate the Systemd Service:
This will start WriteHat automatically upon boot
$ sudo cp writehat/config/writehat.service /etc/systemd/system/
$ sudo systemctl enable writehat --now
Tail the Service Logs:
$ sudo journalctl -xefu writehat.service
Create Users
Browse to https://127.0.0.1/admin after logging in with the admin user specified in writehat/config/writehat.conf
Note: There are some actions which only an admin can perform (e.g. database backups) An admin user is automatically created from the username and password in writehat/config/writehat.conf, but you can also promote an LDAP user to admin:
# Enter the app container
$ docker-compose exec writehat bash

# Promote the user and exit
$ ./manage.py ldap_promote <ldap_username>
$ exit
Here are basic explanations for some WriteHat terms which may not be obvious.
Engagement
 ├─ Customer
 ├─ Finding Group 1
 │   ├─ Finding
 │   └─ Finding
 ├─ Finding Group 2
 │   ├─ Finding
 │   └─ Finding
 ├─ Report 1
 └─ Report 2
     └─ Page Template
An Engagement is where content is created for the customer. This is where the work happens - creating reports and entering findings.
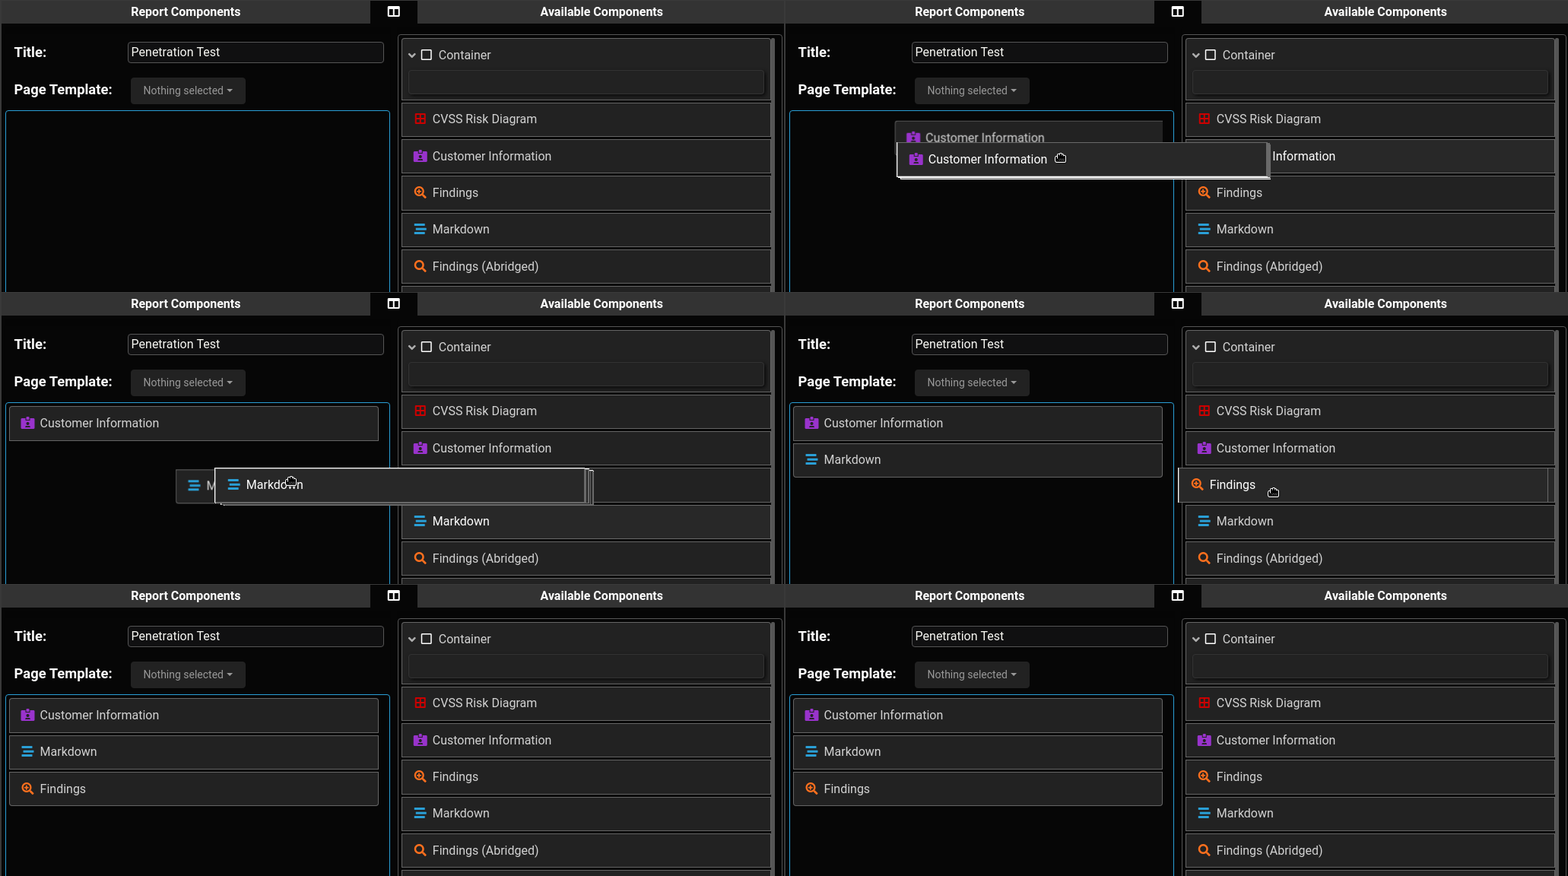
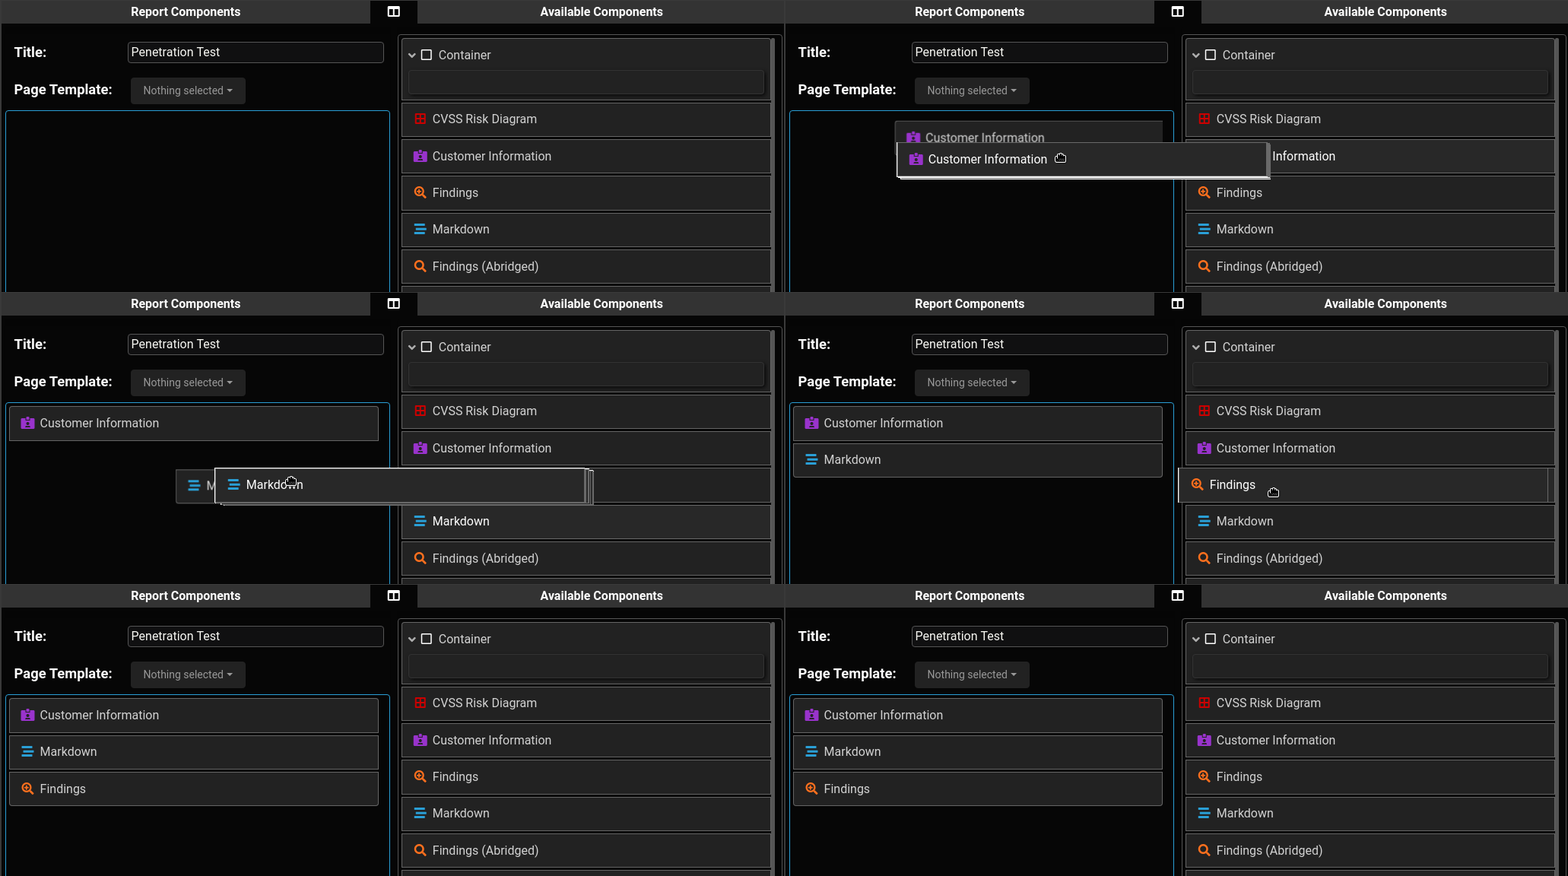
A Report is a modular, hierarchical arrangement of Components which can be easily updated via a drag-and-drop interface, then rendered into HTML or PDF. An engagement can have multiple Reports. A Page Template can be used to customize the background and footer. A Report can also be converted into a Report Template.
A report Component is a section or module of the report that can be dragged/dropped into place inside the report creator. Examples include "Title Page", "Markdown", "Findings", etc. There are plenty of built-in components, but you can make your own as well. (They're just HTML/CSS + Python, so it's pretty easy. See the guide below)
A Report Template can be used as a starting point for a Report (in an Engagement). Reports can also be converted to Report Templates.
A Finding Group is a collection of findings that are scored in the same way (e.g. CVSS or DREAD). You can create multiple finding groups per engagement (e.g. "Technical Findings" and "Treasury Findings"). When inserting the findings into the Report (via the "Findings" Component, for example), you need to select which Finding Group you want to populate that Component.
A Page Template lets you customize report background images and footers. You can set one Page Template as the default, and it will be applied globally unless overridden at the Engagement or Report level.
 Each report component is made up of the following:
writehat/components/writehat/templates/componentTemplates/writehat/static/css/component/ (optional)We recommend referencing the existing files in these directories; they work well as starting points / examples.
A simple custom component would look like this:
components/CustomComponent.py:from .base import *
class CustomComponentForm(ComponentForm):
summary = forms.CharField(label='Component Text', widget=forms.Textarea, max_length=50000, required=False)
field_order = ['name', 'summary', 'pageBreakBefore', 'showTitle']
class Component(BaseComponent):
default_name = 'Custom Report Component'
formClass = CustomComponentForm
# the "templatable" attribute decides whether or not that field
# gets saved if the report is ever converted into a template
fieldList = {
'summary': StringField(markdown=True, templatable=True),
}
# make sure to specify the HTML template
htmlTemplate = 'componentTemplates/CustomComponent.html'
# Font Awesome icon type + color (HTML/CSS)
# This is just eye candy in the web app
iconType = 'fas fa-stream'
iconColor = 'var(--blue)'
# the "preprocess" function is executed when the report is rendered
# use this to perform any last-minute operations on its data
def preprocess(self, context):
