 alexdetrano/4can
Open-source Raspberry Pi HAT providing 4 CAN interfaces for automotive bus testing, CAN-in-the-middle attacks, and simultaneous multi-bus traffic monitoring via socketcan.

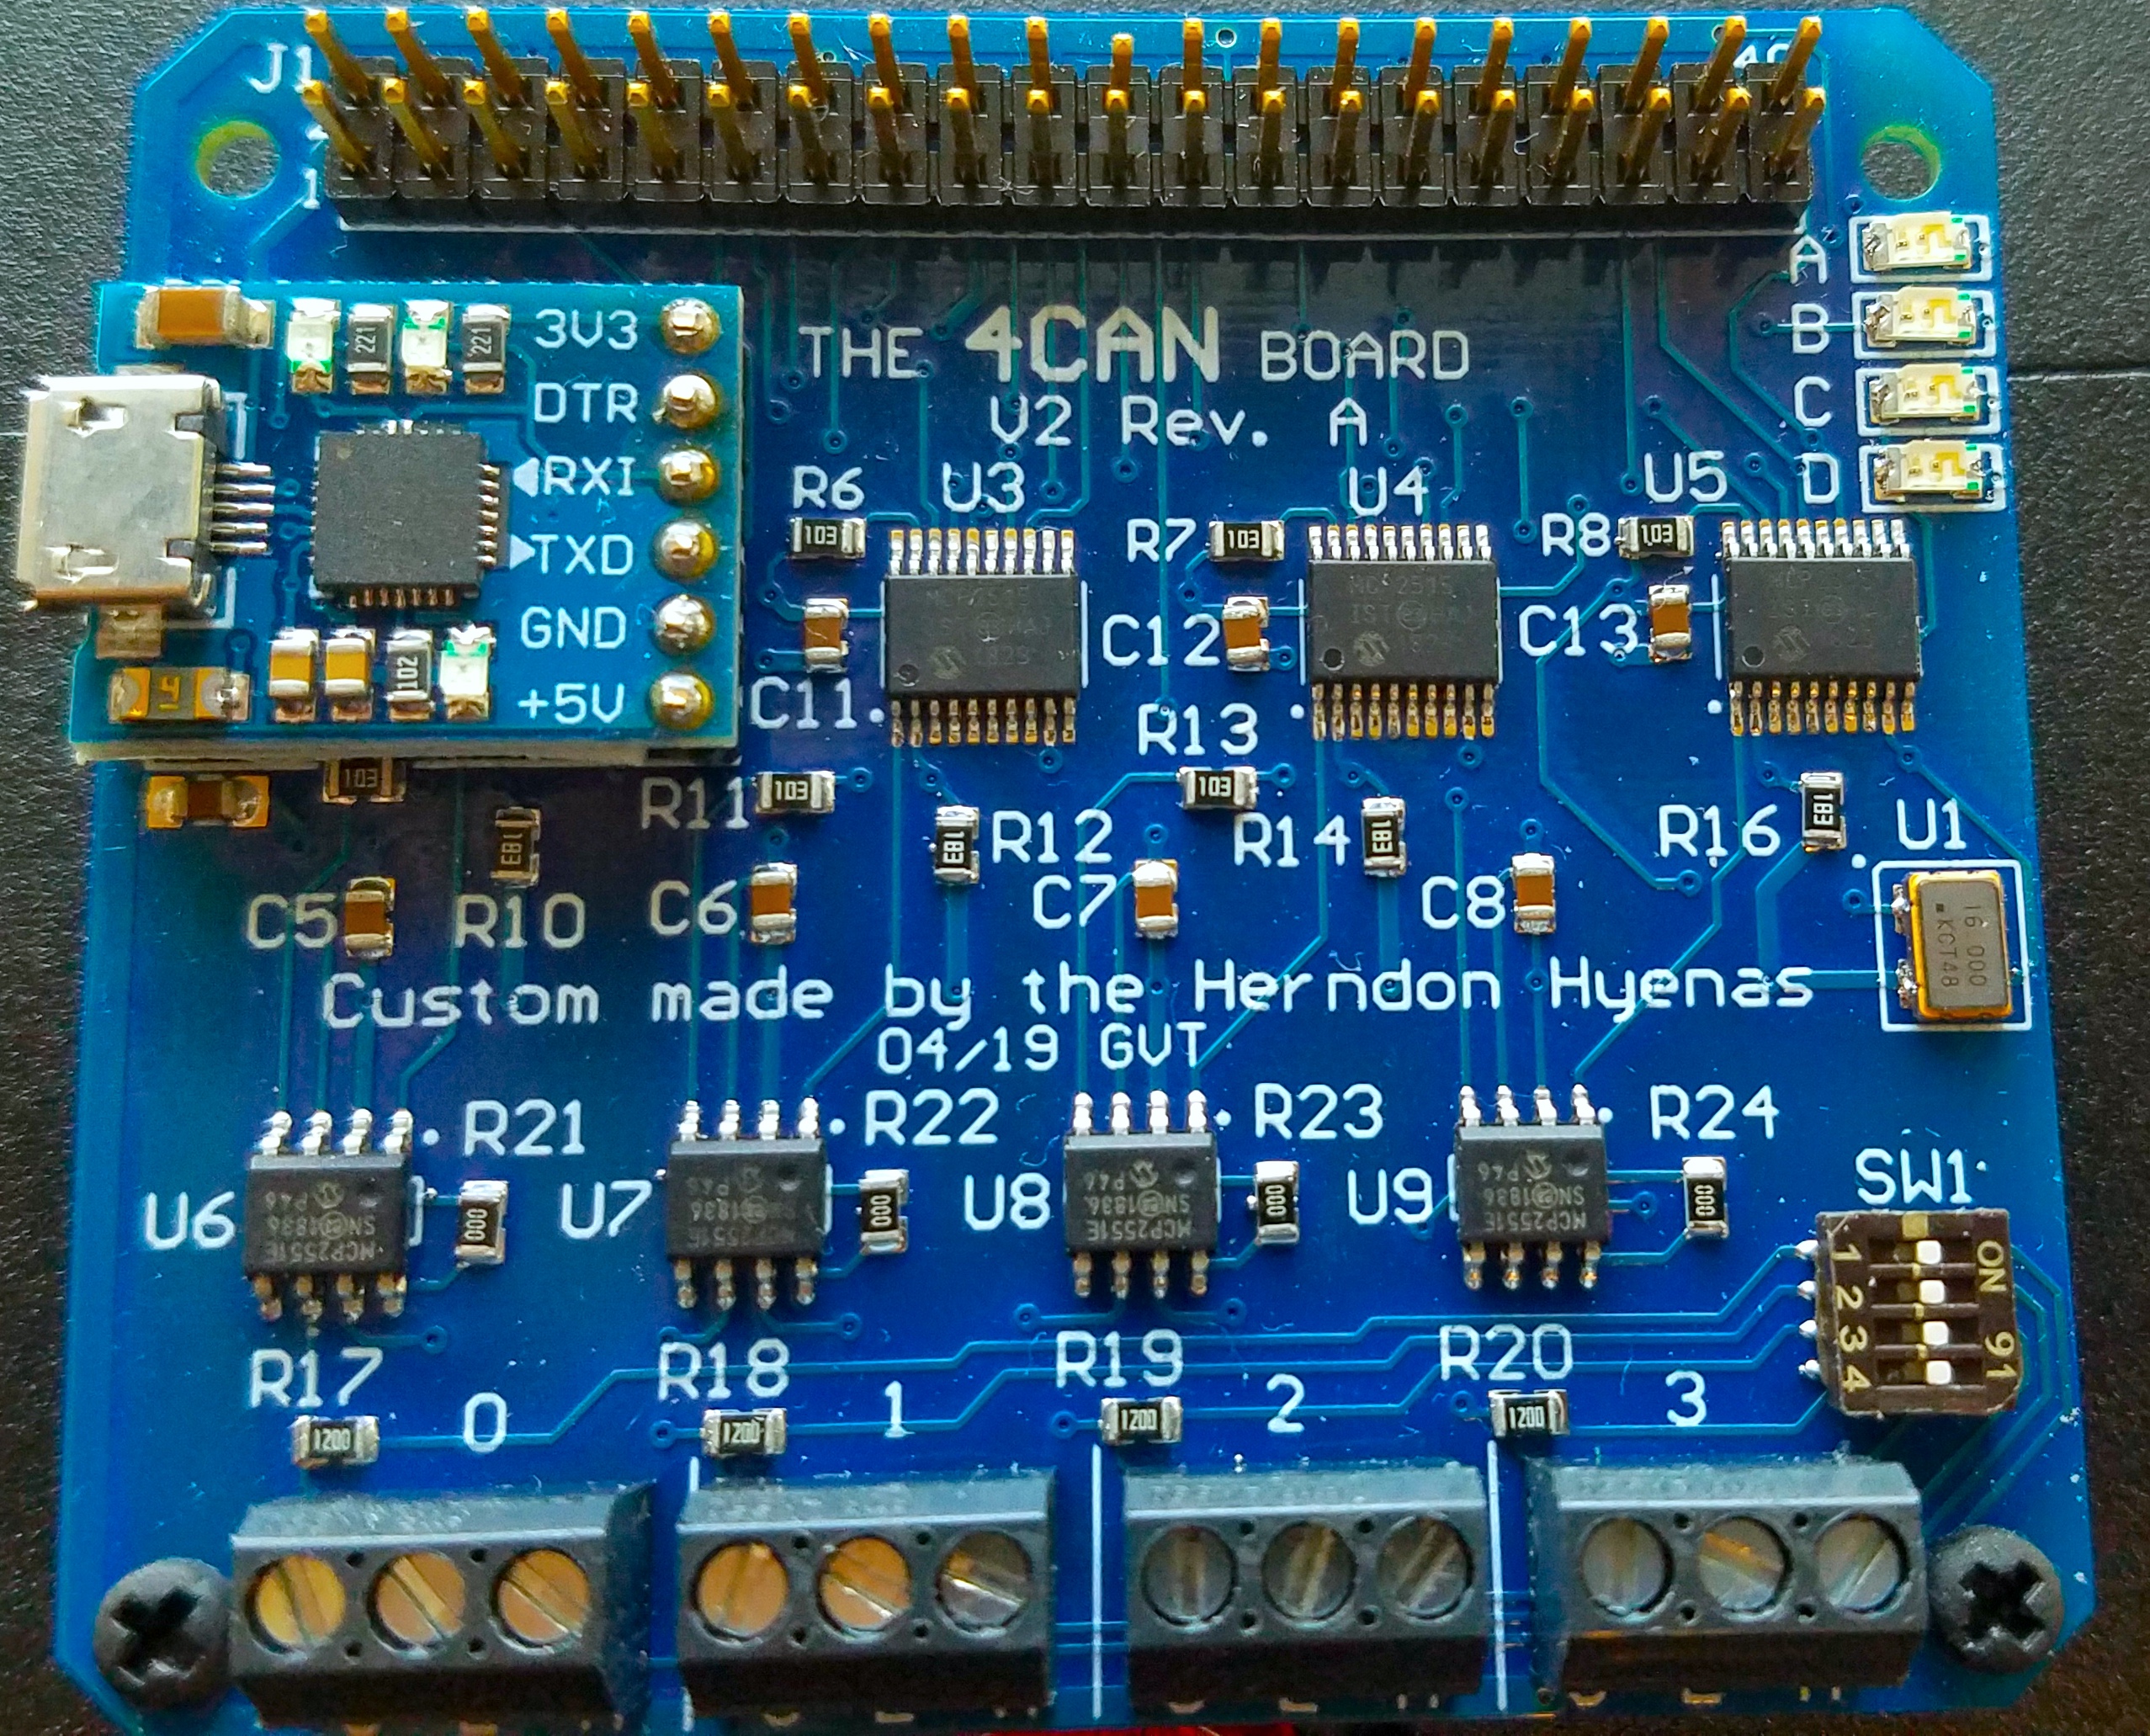
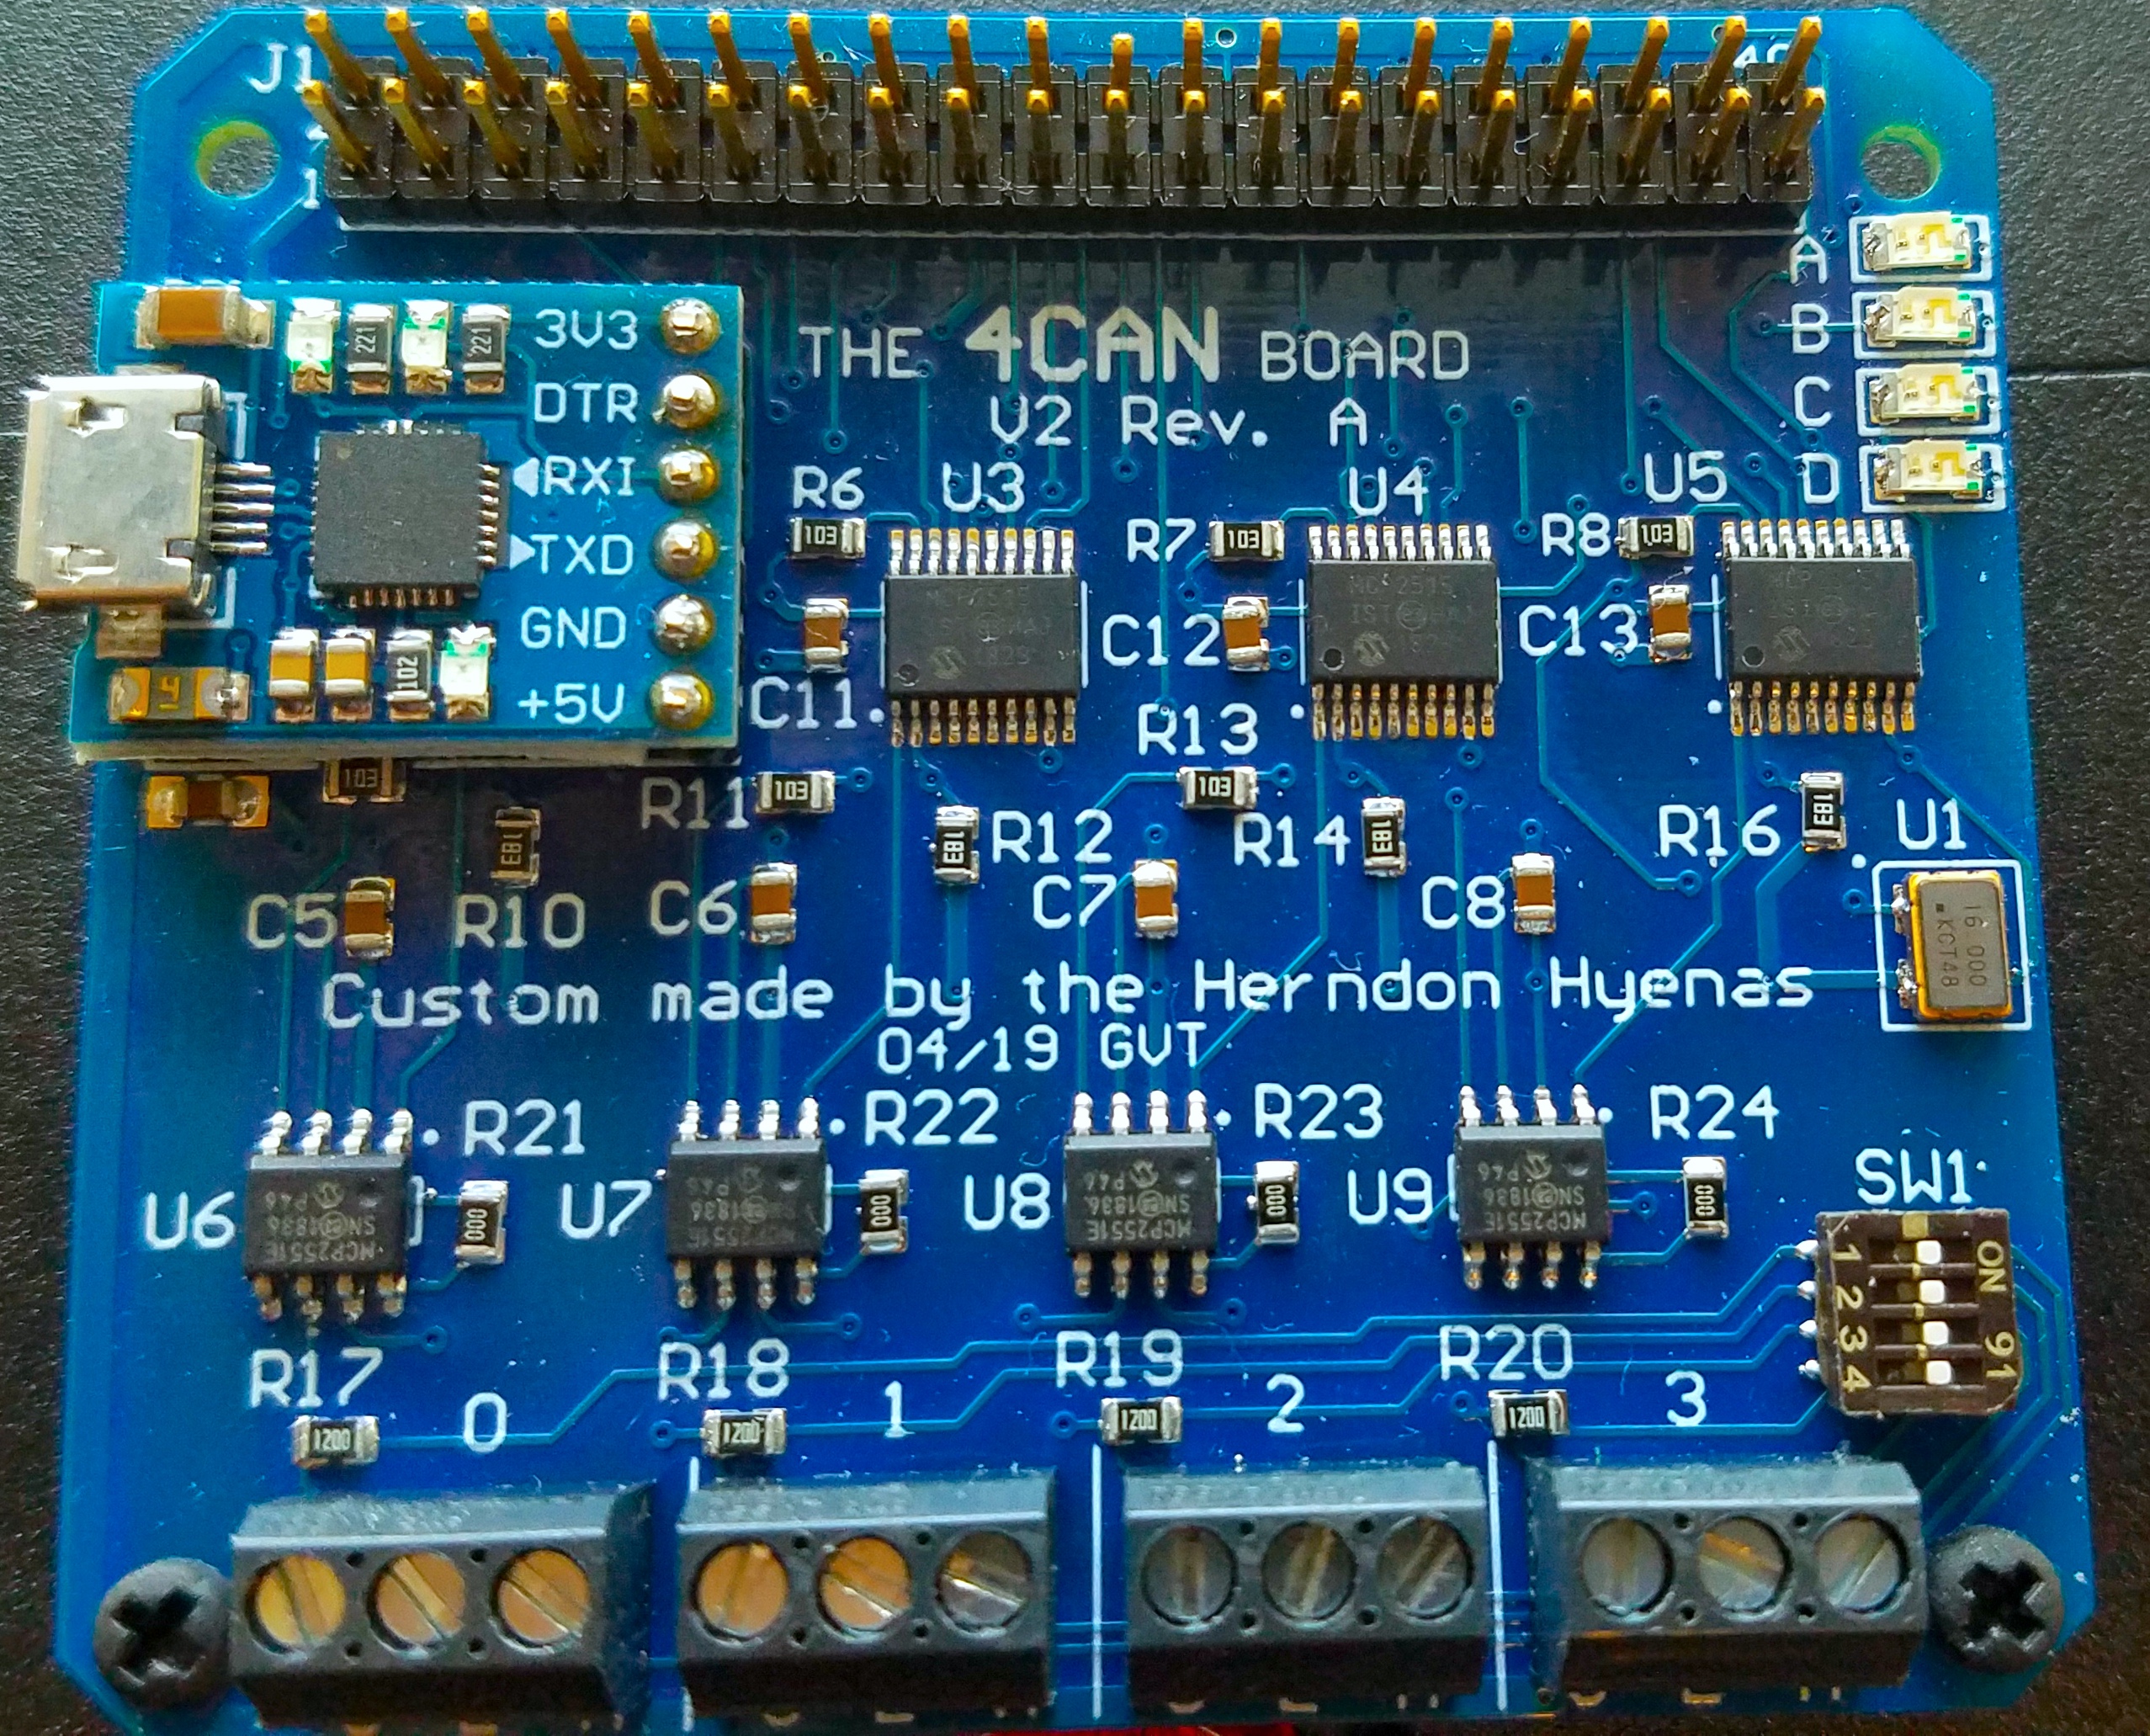
The 4CAN is a Raspberry Pi HAT which provides 4 CAN interfaces. The 4CAN is 100% compattible with socketcan and can-utils, and is very easy to get up and running. A microUSB-UART serial adaptor is included to make troubleshooting the pi easier, and there are 4 LEDs on board, 2 of which are bidirectional green/red. And the best news of all is the 4CAN is open source, so you can build your own!
There aren't many cheap devices which offer 4 CAN interfaces, compatible with socketcan, and is small, compact, and fits nicely with a Raspberry Pi. Having 4 CAN busses allows testing 4 CAN buses simultaneously, as well as doing CAN-in-the-middle with 2 buses simultaneously.
Tested on the following raspbian images using a pi3b+
4can also works with the Raspberry pi 4
4can should also work with a pi0w, but it's recommended to use at least a pi3b. Also recommend using a heatsink on the pi, because the pi can get a little toasty running 4 can interfaces.
run the install.sh script (requires sudo) to automatically install everything, and then reboot.
The install script will do the following:
sudo mkdir /boot/overlays/bak
sudo cp /boot/overlays/mcp2515* /boot/overlays/bak
sudo cp ./dtbo/*.dtbo /boot/overlays
sudo cp /boot/config.txt /boot/config.txt.bak
cat << EOF >> /boot/config.txt
# 4CAN setup
# the order of the interfaces matter
# ie can3,can2,can1,can0 must be preserved
# otherwise can0 will not REALLY be can0
dtparam=spi=on
dtoverlay=spi1-2cs

dtoverlay=mcp2515-can3,oscillator=16000000,interrupt=24
dtoverlay=mcp2515-can2,oscillator=16000000,interrupt=23
dtoverlay=mcp2515-can1,oscillator=16000000,interrupt=25
dtoverlay=mcp2515-can0,oscillator=16000000,interrupt=22


# enable uart
enable_uart=1
EOF
Before using 4can, make sure that the socketcan kernel module is loaded with sudo modprobe can_dev. This shouldn't be necessary since the pi will load the correct kernel module based on the device tree, but it doesn't hurt to check.
Once installed, run the 4can.sh to bring up CAN interfaces
./4can.sh
wire up the can interfaces and do candump -acc any to check they are working.
note: requires can-utils
to install sudo apt install can-utils
Note: Sometimes interfaces come up out of order, reboot the pi and that should fix it. If not, you might have to modify /boot/config.txt.
The 4can uses a number of GPIO on the raspberry pi. The GPIO pins available for use are
3, 5, 8, 10, 27, 28, 32, 36 (physical pin numbering)
All the ground pins are tied together and can should be used as ground connections. The 3.3v, and 5v pins can be used to supply voltage as well.
Consult the schematic for more details.
Remember to connect the external CAN ground to the 4can ground (the "C" connection on the screw terminal). This will ensure good ground integrity and minimize tx/rx errors.
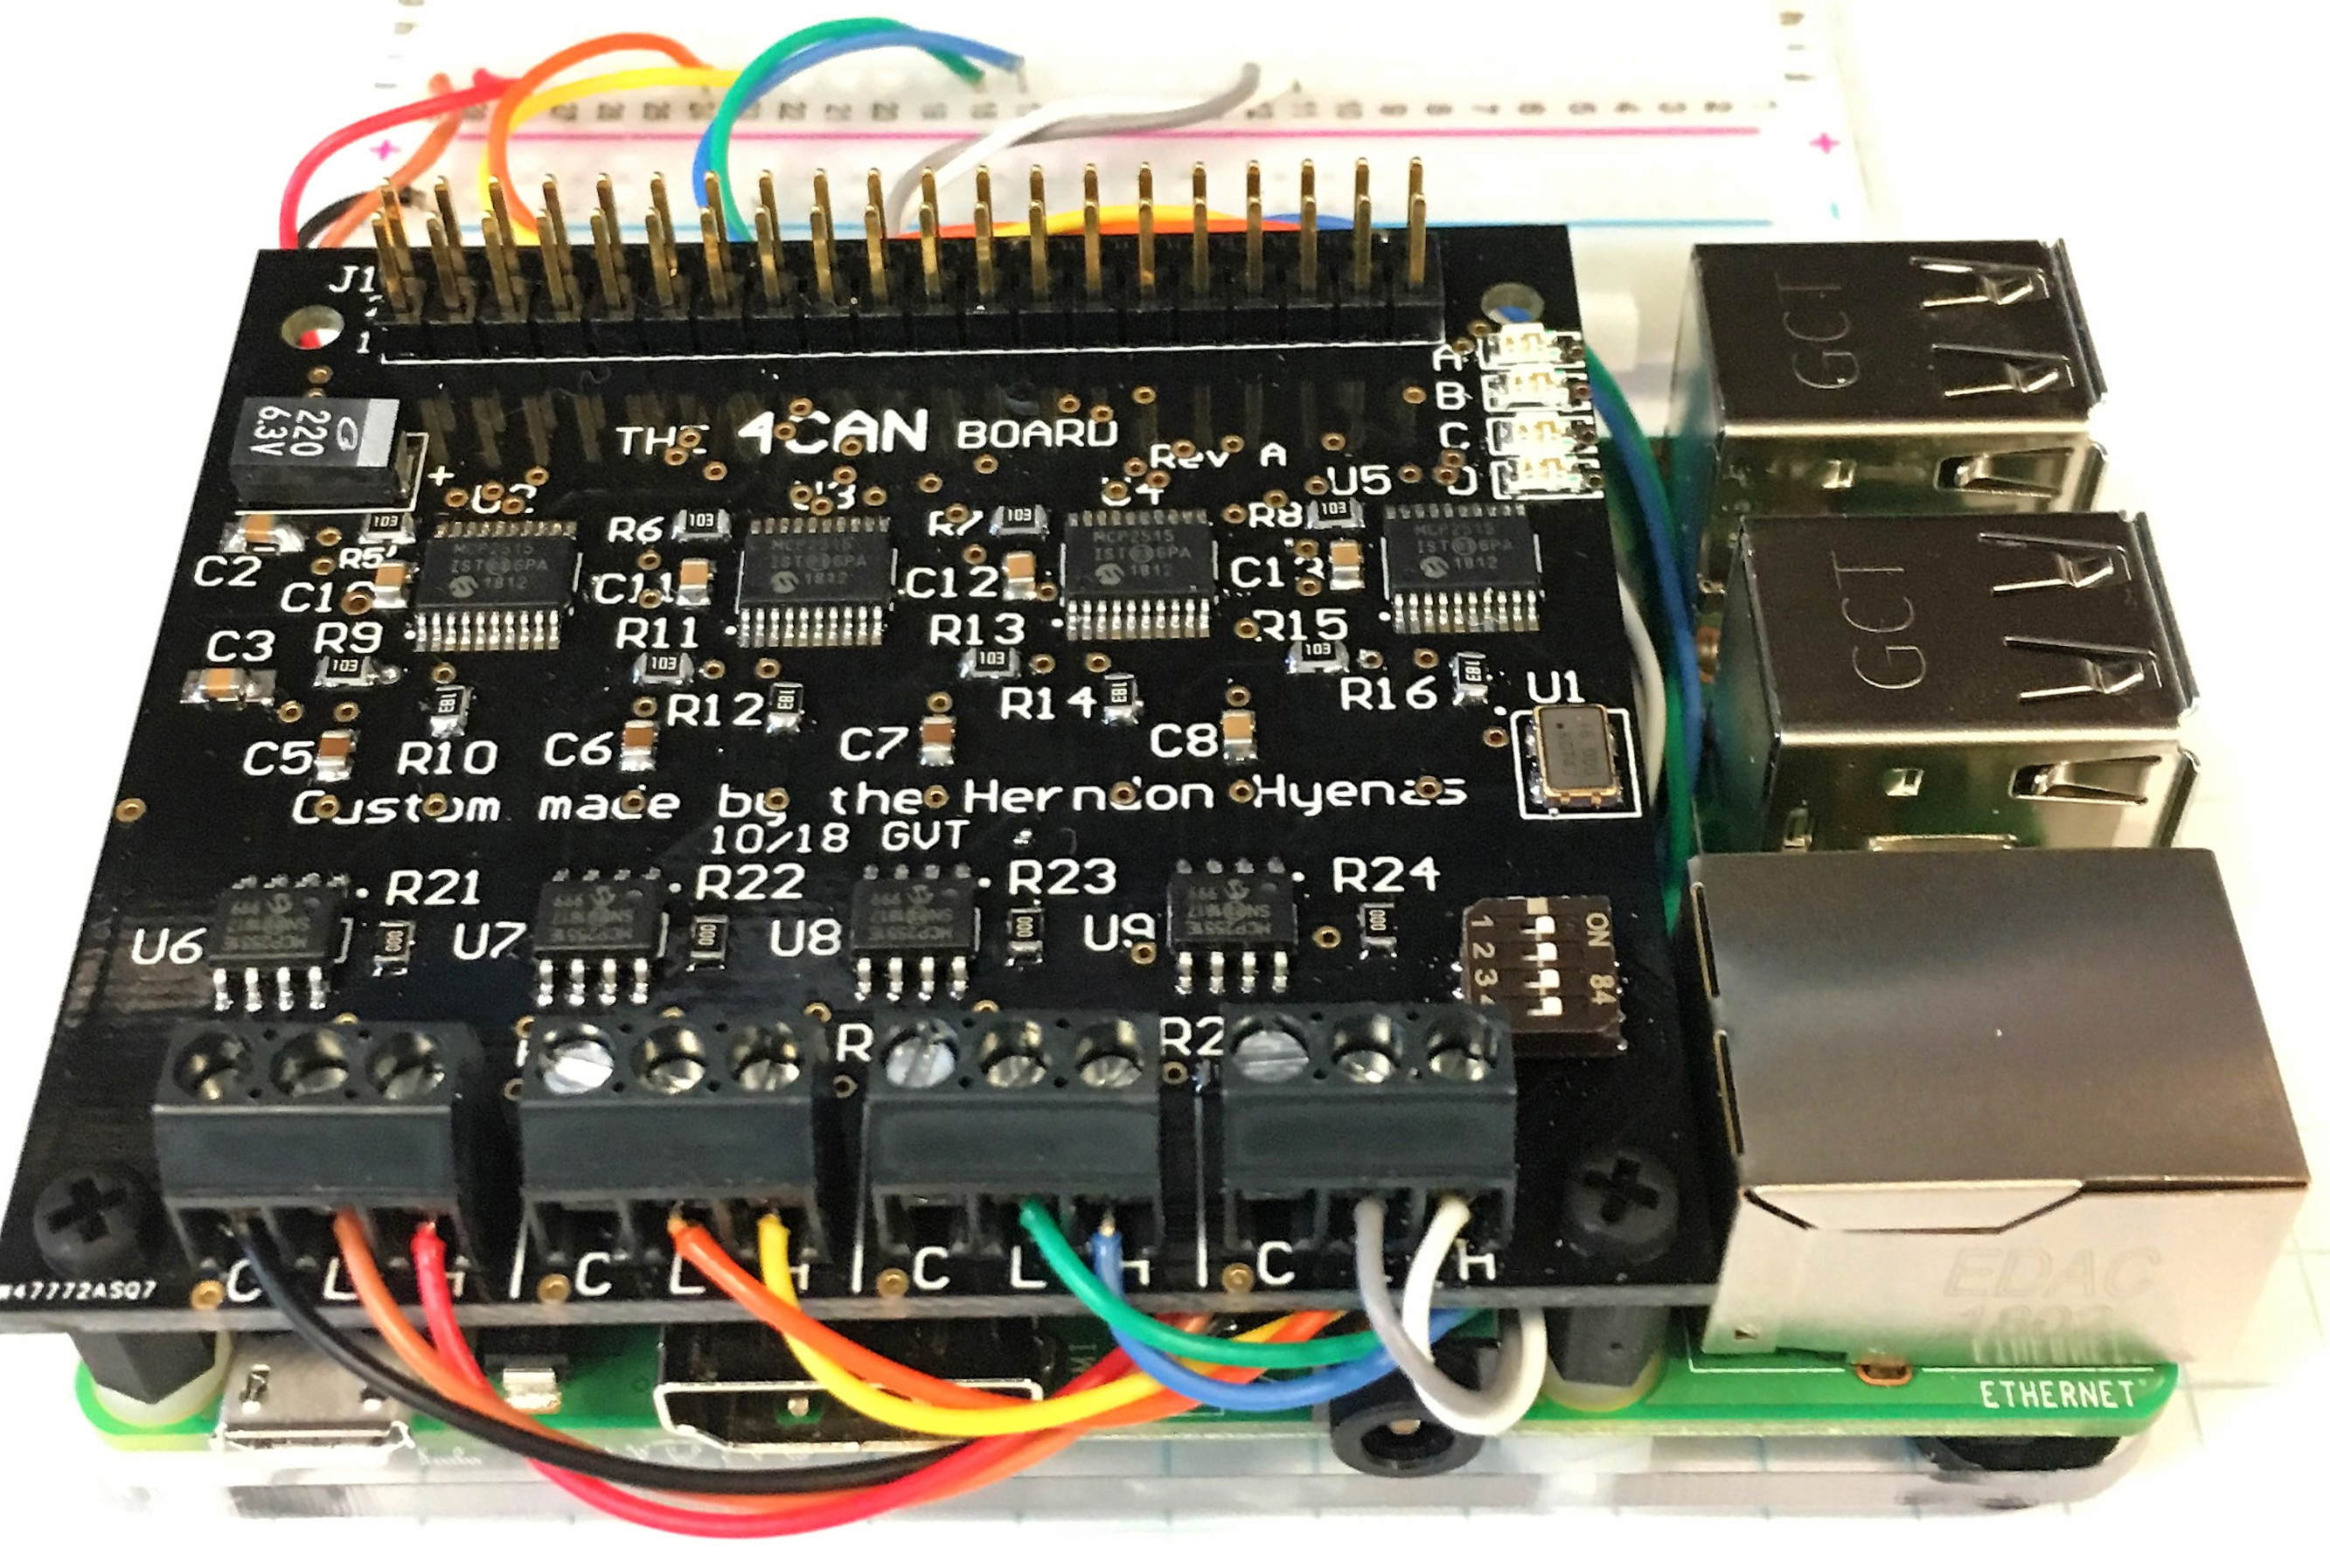 | 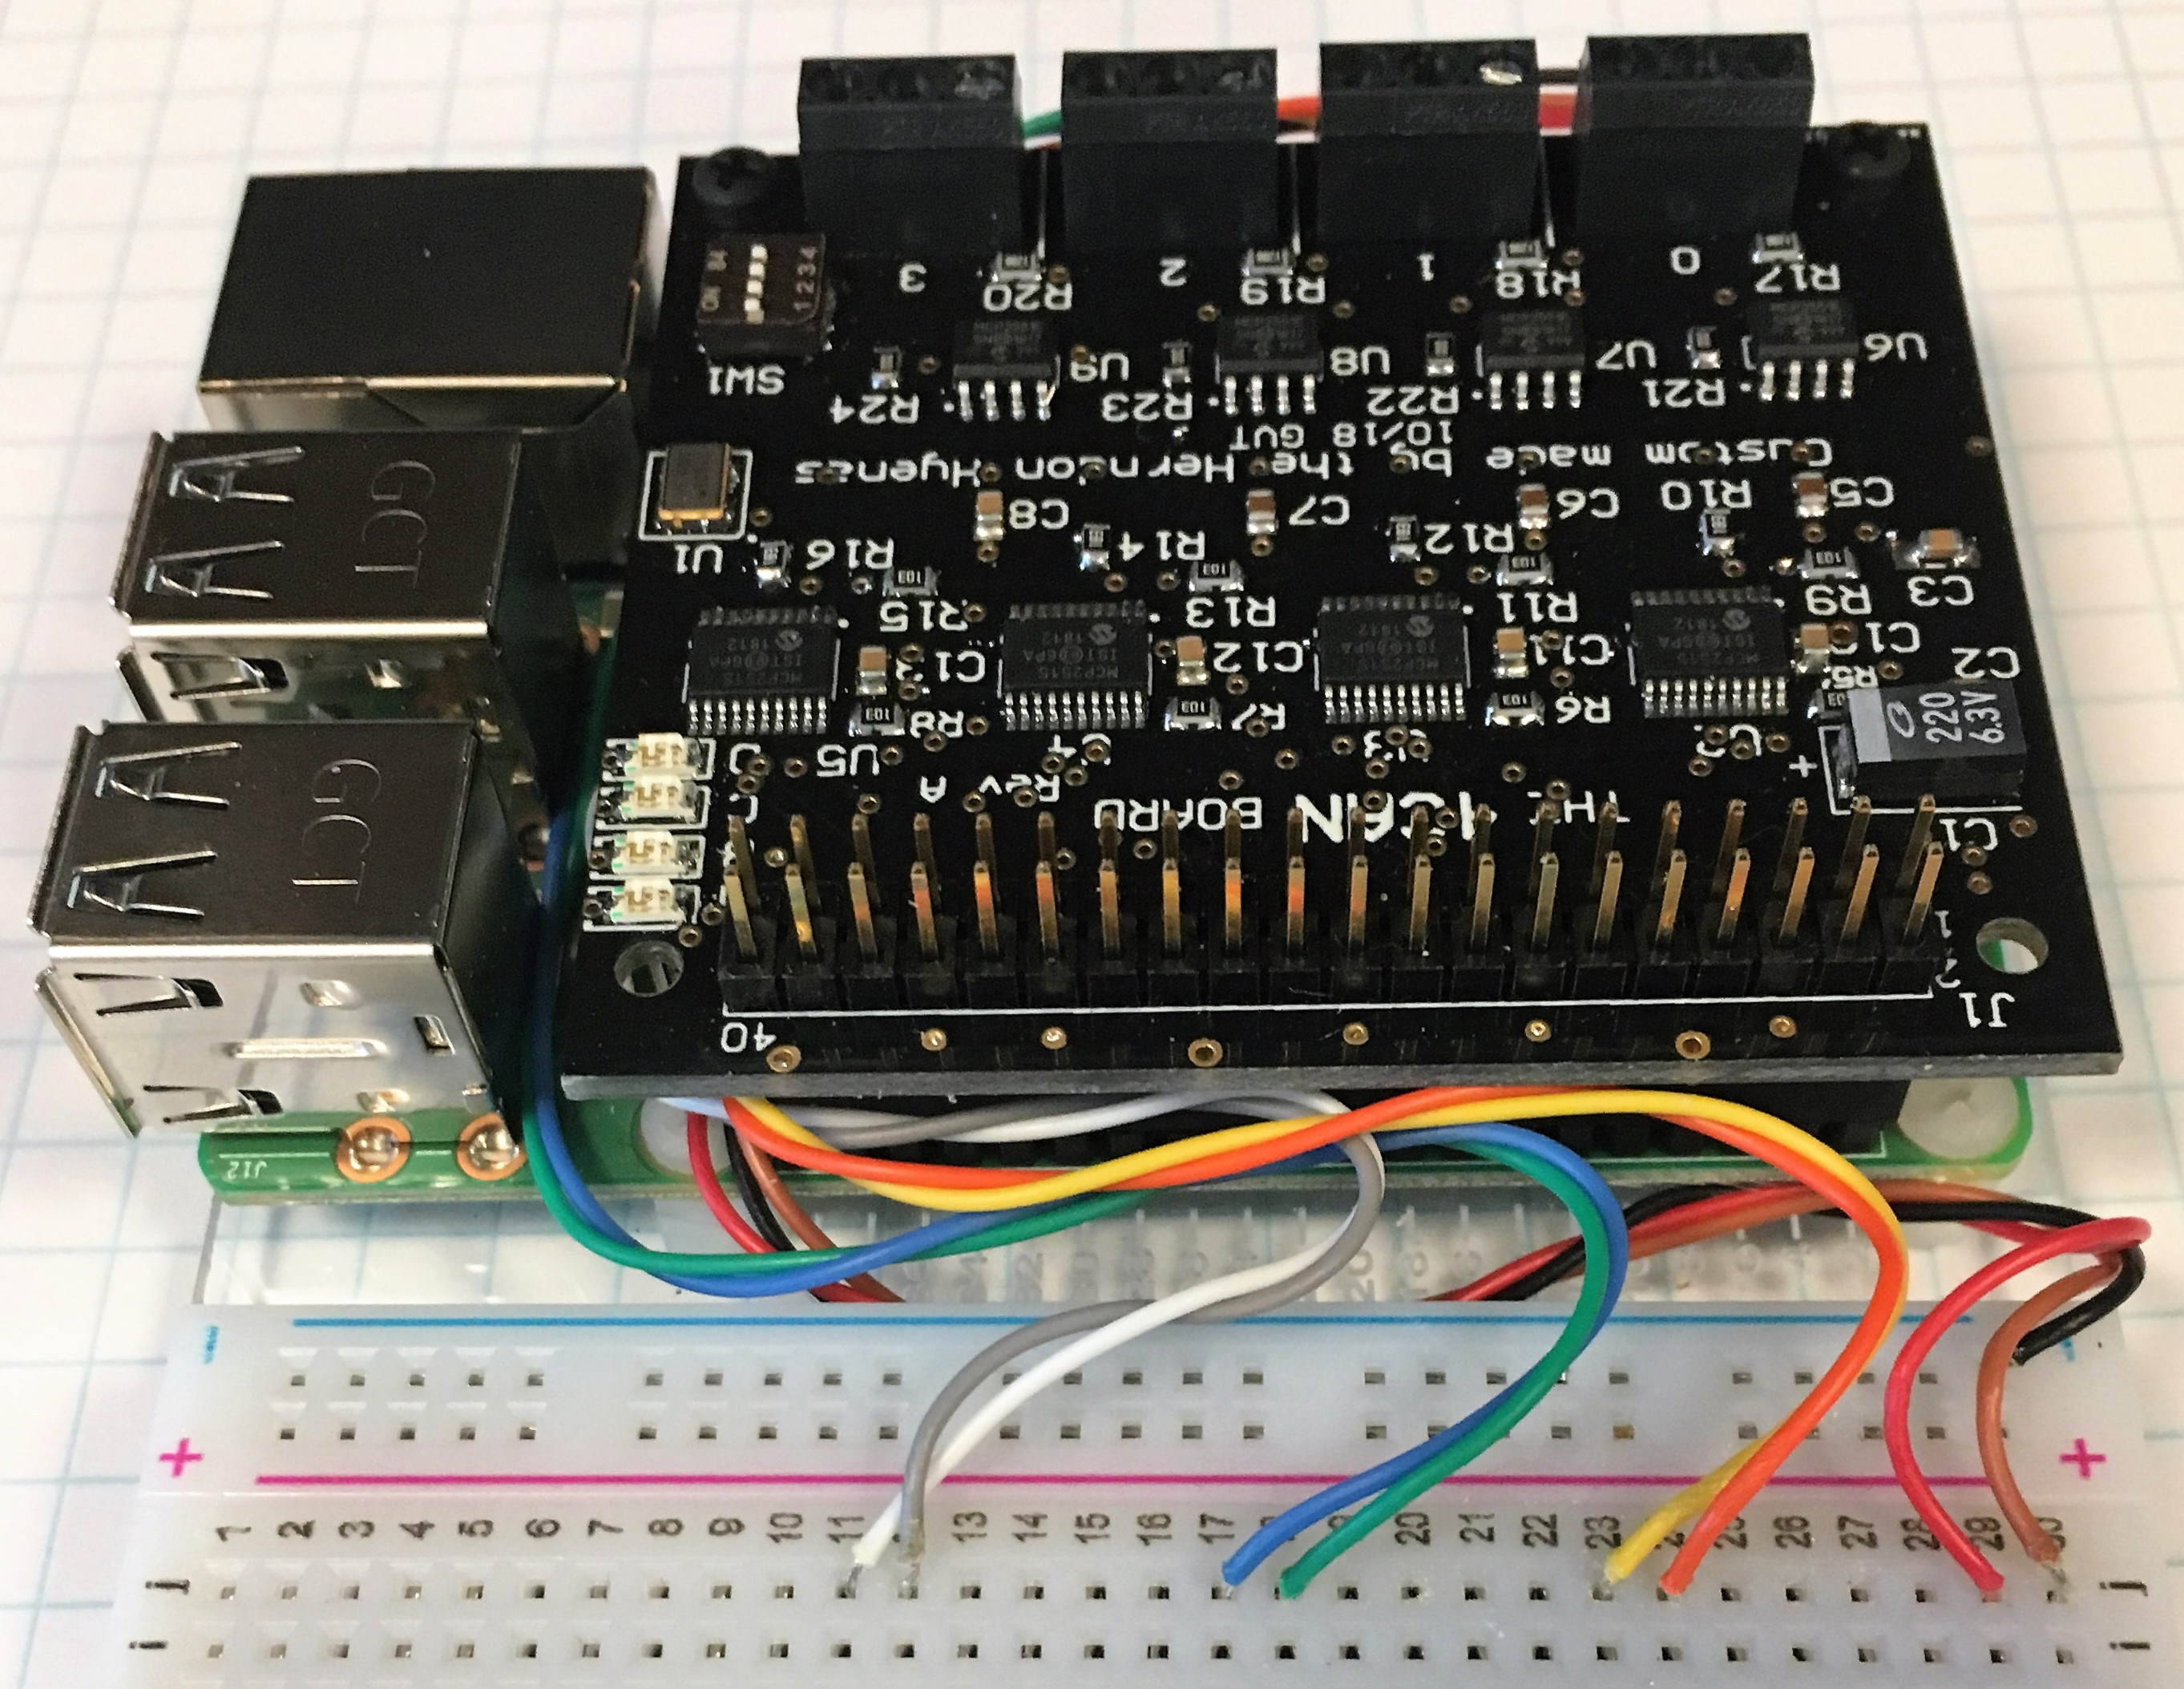 |
When using the 4can with the HyenaPlate, the CAN wires can be routed underneath the pi and connected to the breadboard. This is mainly for aesthetics, but other benefits include not having to constantly screw/unscrew the screw terminals to make new connections, easier troubleshooting, and more stable connections.
For even more aesthetics, the resistor color code can be used to assign colors to signals. For example, in the image above:
| interface | CAN-L | CAN-H |
|---|---|---|
| CAN0 | brown | red |
| CAN1 | orange | yellow |
| CAN2 | blue | violet |
| CAN3 | green | white |
black can be used for ground.
The 4can was inspired by and is loosely based on the IndustrialBerry QUAD CAN BUS adapter for Raspberry CanBerry. Although we modified the design to suit our needs, we must give credit to the fantastic work done by IndustrialBerry. The 4CAN, as well as the IndustrialBerry are licensed under a Creative Commons Attribution Share-Alike license.
Credit must also be given to George Tarnovsky, for schematic, layout, assembly, and verification!
